
✅
Link to the plugin page: https://zeroqode.com/plugin/pdf-generator-for-bubble-mobile-1781085102839x133842433986479440
Demo to preview the plugin:
✅
✅
Introduction
PDF Native is a powerful Bubble plugin that lets you generate and customize professional PDFs natively inside your app. Add text, images, tables, QR codes, watermarks, headers, footers, custom margins and more - all fully customizable and easy to use.
Prerequisites
This plugin is designed specifically for the mobile version of the Bubble editor. To test the plugin on your mobile device, use the TestFlight app available at: https://testflight.apple.com/join/j73hHPR6
⚠️
Please note that the testing app is currently available for iOS only.

How to setup
- Install the PDF Generator for Bubble Mobile plugin in your Bubble editor.
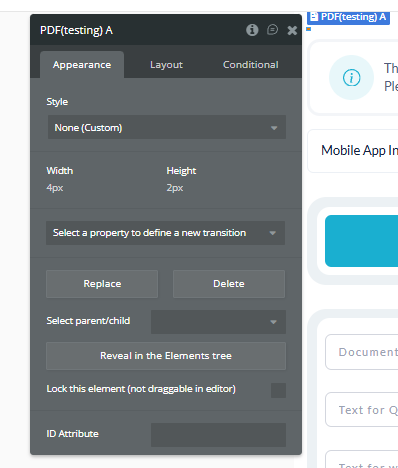
- Place the PDF Native plugin element on your page (if required).
- Add the relevant workflows/actions to generate PDF (e.g. "Add Text", "Add Table", "Generate PDF").
- Configure your settings: page size, orientation, margins.
- If using external images, ensure they are accessible (or converted to base64).
- If using header/footer or pagination, enable and set up the appropriate options in the plugin action.
Element Actions
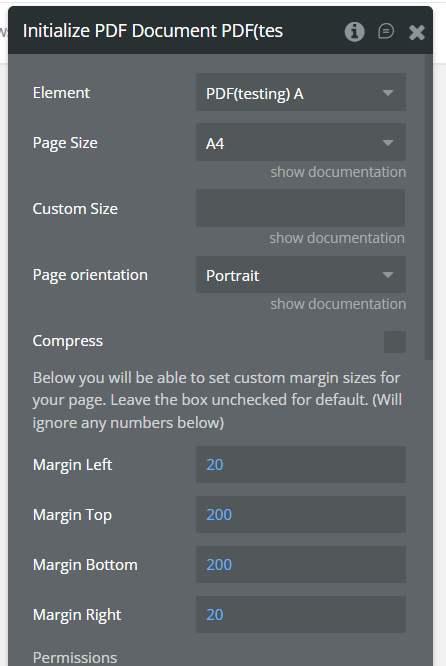
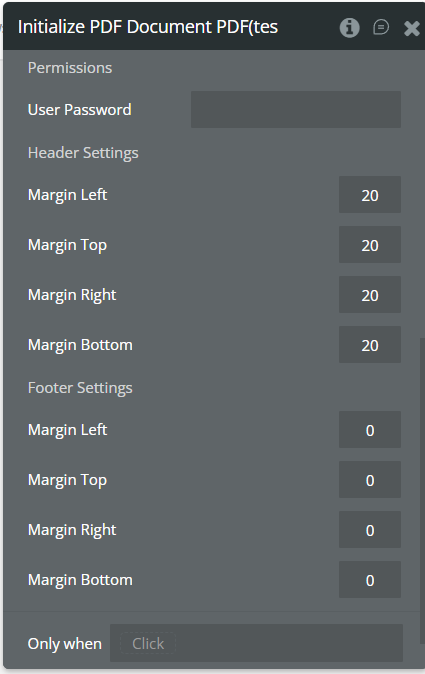
Initialize PDF Document
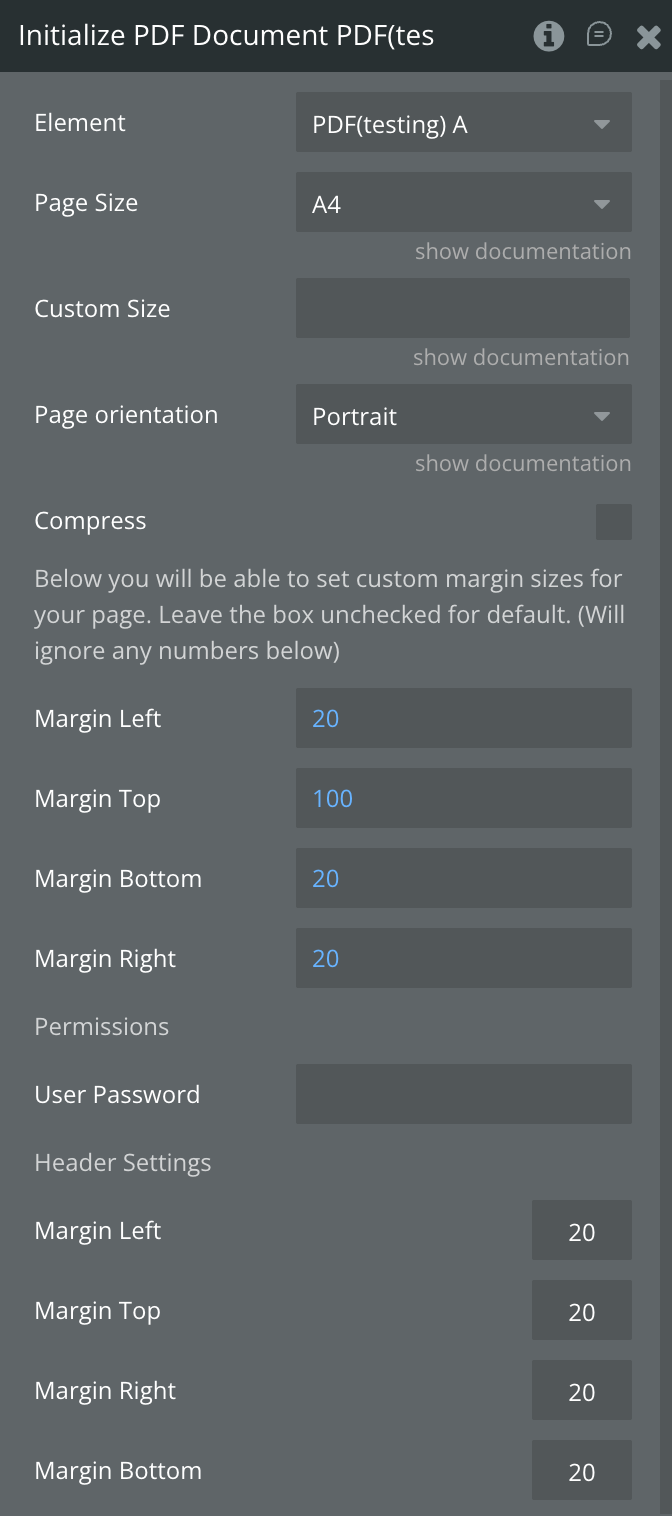
This action sets up your PDF document’s main layout, page size, orientation, margins, header/footer, and (optionally) password protection.
Run this as the first action before adding any content!
Field | Description | Type |
Element | The PDF element to use for document creation. | Dropdown |
Page Size | Standard size for your PDF (e.g. A4, Letter, etc.) | Dropdown |
Custom Size | (Optional) Set a custom width/height if "Custom Size" is selected. | Text |
Page orientation | Choose Portrait or Landscape. | Dropdown |
Compress | Enable/disable PDF compression. (Default: enabled) | Checkbox |
Margin Left | Space from left edge of the page (in points or mm). Default: 20 | Number |
Margin Top | Space from top edge of the page. Default: 100 | Number |
Margin Bottom | Space from bottom edge of the page. Default: 20 | Number |
Margin Right | Space from right edge of the page. Default: 20 | Number |
User Password | (Optional) Password to protect opening the PDF. | Text |
Header Settings | ||
Margin Left | ||
Margin Top | ||
Margin Right | ||
Margin Bottom | ||
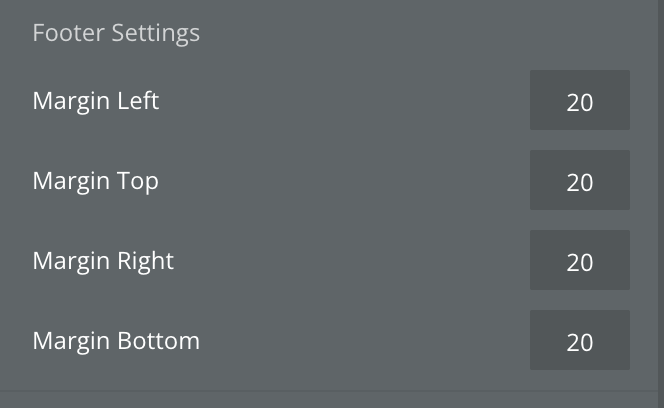
Footer Settings | ||
Margin Left | Number | |
Margin Top | Number | |
Margin Right | Number | |
Margin Bottom | Number |
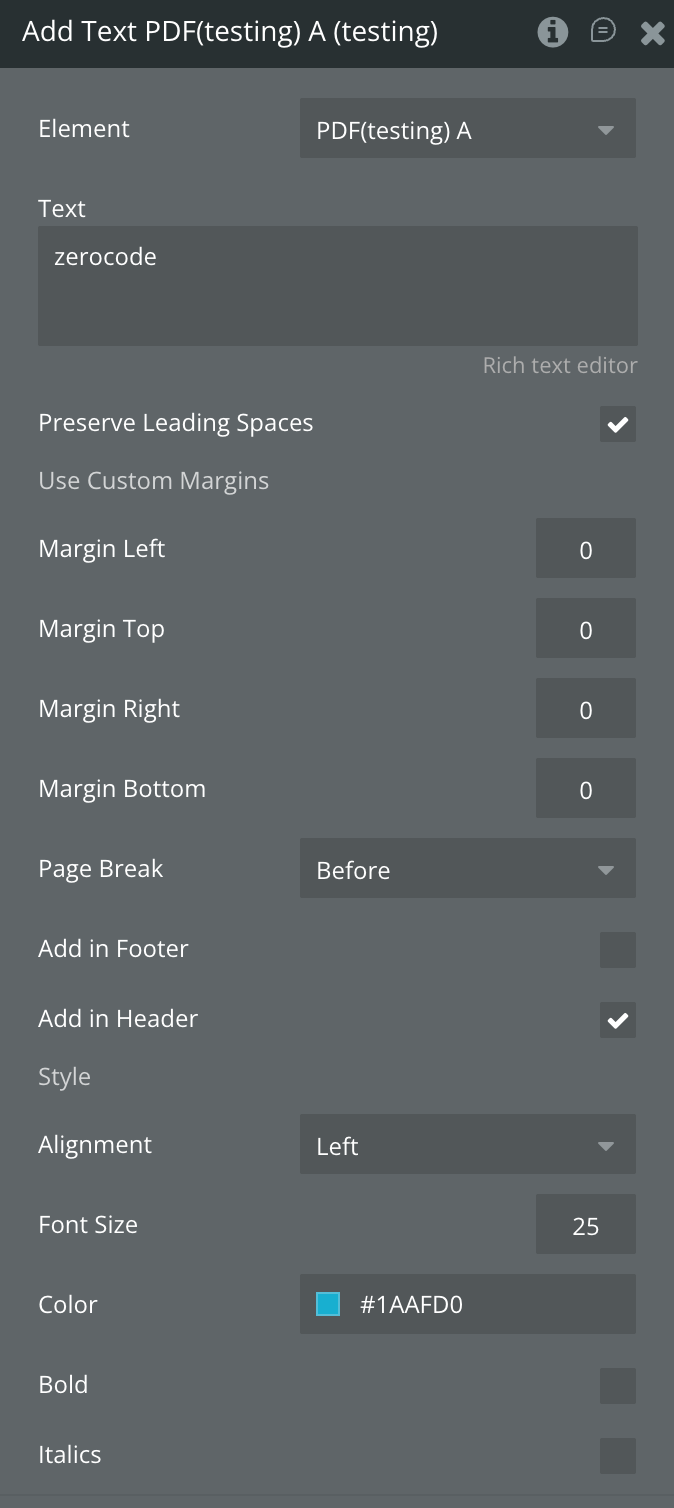
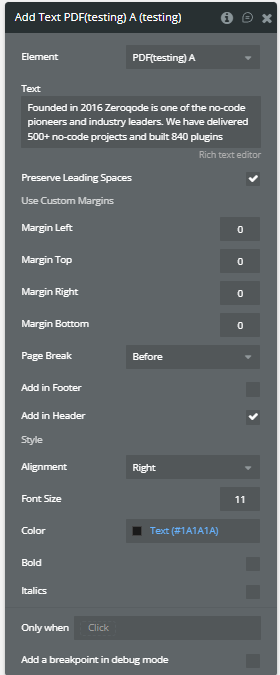
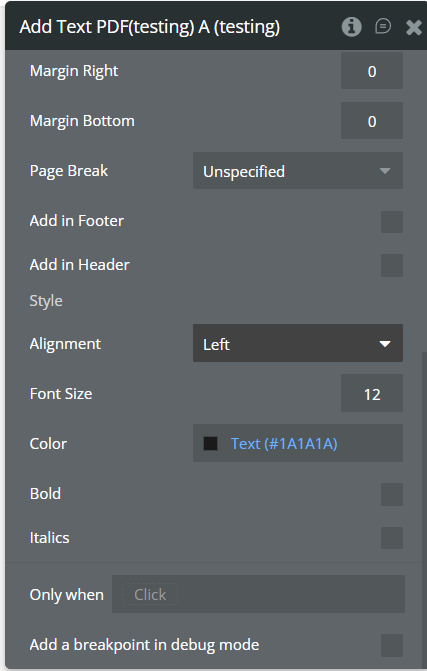
Add Text
This action lets you add custom text anywhere in your PDF.
Supports custom font size, color, alignment, bold, italics, adding to header/footer, page breaks, and more.
Field | Description | Type |
Element | The PDF element to use for adding the text. | Dropdown |
Text | The text you want to add to the PDF. Supports rich text and line breaks. | Text |
Preserve Leading Spaces | If checked, leading spaces and formatting are preserved (for code, preformatted text). | Checkbox |
Use Custom Margins | Allows you to override the default margins for this text block. | Checkbox |
Margin Left | Custom left margin for this text block. | Number |
Margin Top | Custom top margin for this text block. | Number |
Margin Right | Custom right margin for this text block. | Number |
Margin Bottom | Custom bottom margin for this text block. | Number |
Page Break | Insert a page break before or after this text. Options: None, Before, After. | Dropdown |
Add in Footer | If checked, this text will appear in the footer of every page. | Checkbox |
Add in Header | If checked, this text will appear in the header of every page. | Checkbox |
Alignment | Text alignment: Left, Center, Right, Justify. | Dropdown |
Font Size | Size of the font (in points). Default: 12 | Number |
Color | Text color (hex or RGB). Example: #1AAFD0 | Color |
Bold | If checked, makes text bold. | Checkbox |
Italics | If checked, makes text italic. | Checkbox |
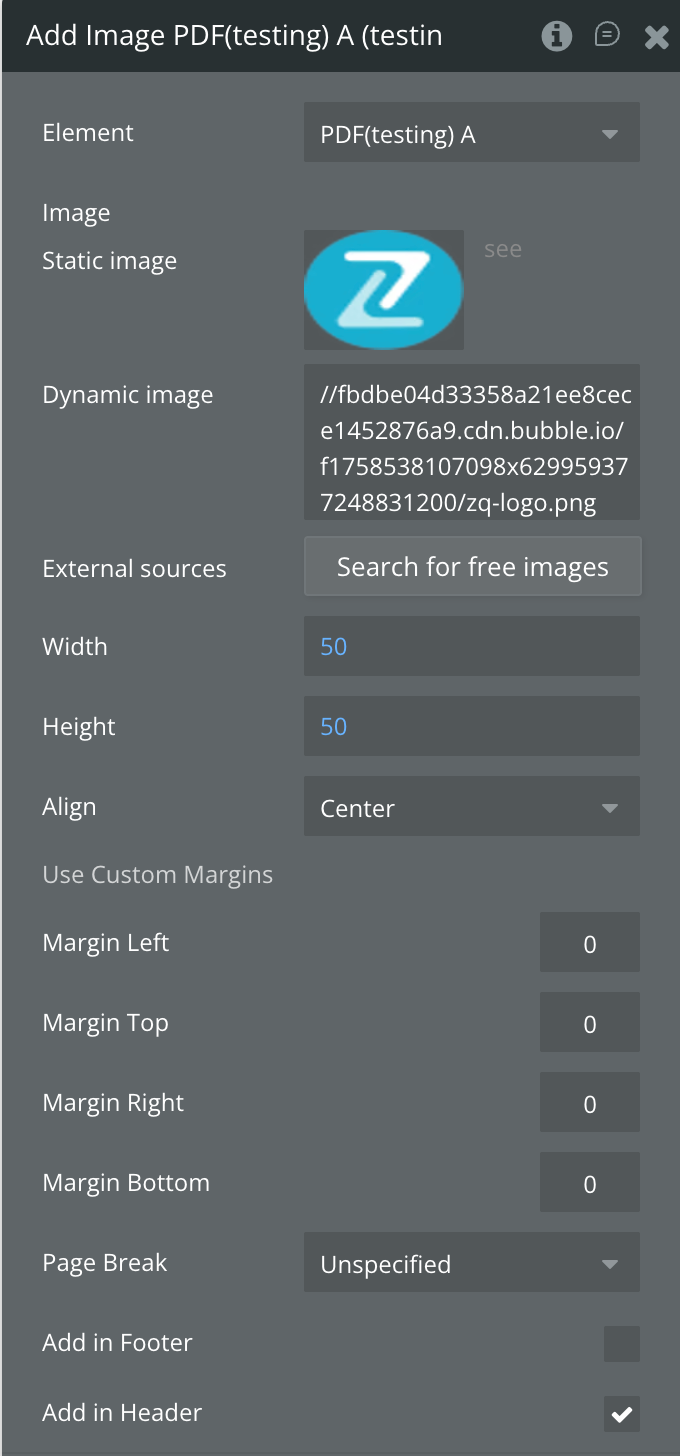
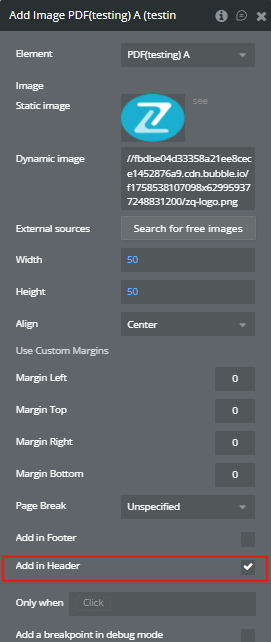
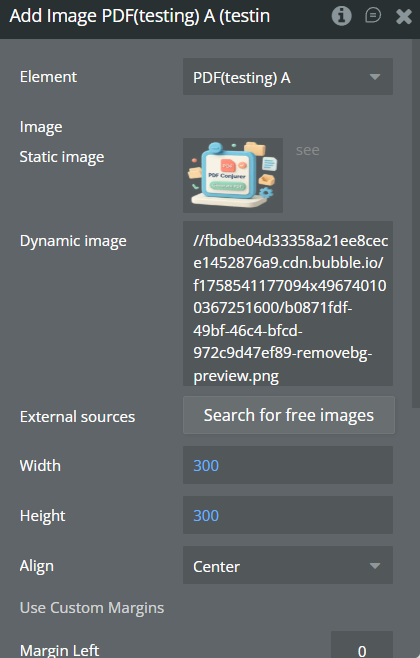
Add Image
Add static or dynamic images to your PDF with full control over size, alignment, margins, and positioning in header/footer.
Use this action to insert company logos, product images, QR codes, or any visual content into your document.
Field | Description | Type |
Element | The PDF element to use for adding the image. | Dropdown |
Static Image | Select an image from the Bubble file manager or database. | Image |
Dynamic Image | Enter a dynamic image URL or file path (e.g., from a database field). | Text |
External Sources | Search for free images online to use. | Text/Search |
Width | Width of the image in the PDF (in points or mm). | Number |
Height | Height of the image in the PDF (in points or mm). | Number |
Align | Horizontal alignment: Left, Center, Right. | Dropdown |
Use Custom Margins | Enable to set custom margins for this image. | Checkbox |
Margin Left | Custom left margin for the image. | Number |
Margin Top | Custom top margin for the image. | Number |
Margin Right | Custom right margin for the image. | Number |
Margin Bottom | Custom bottom margin for the image. | Number |
Page Break | Insert a page break before or after this image. Options: None, Before, After, Unspecified. | Dropdown |
Add in Footer | If checked, image will appear in the footer of every page. | Checkbox |
Add in Header | If checked, image will appear in the header of every page. | Checkbox |
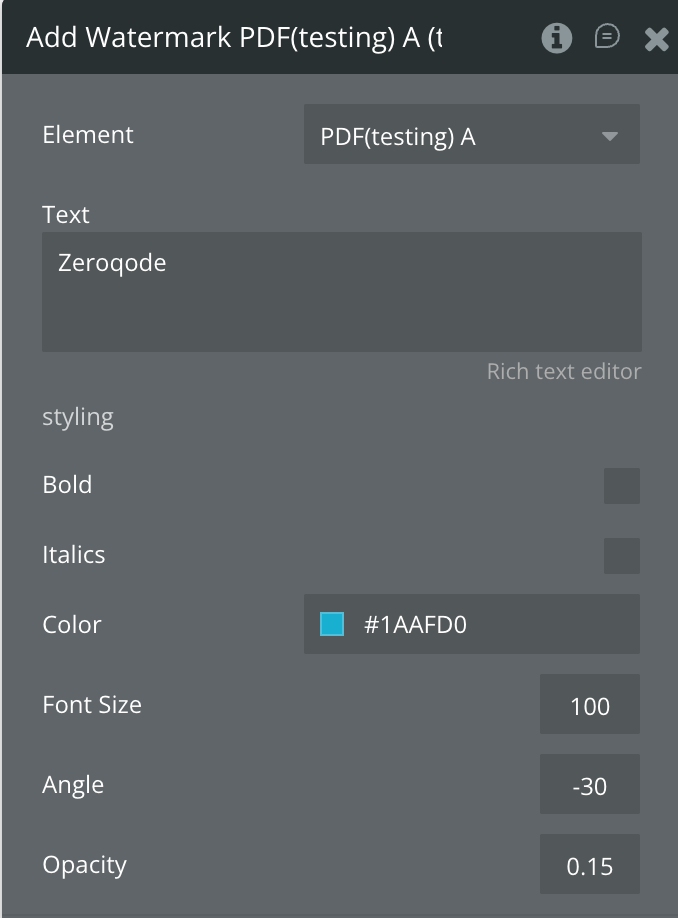
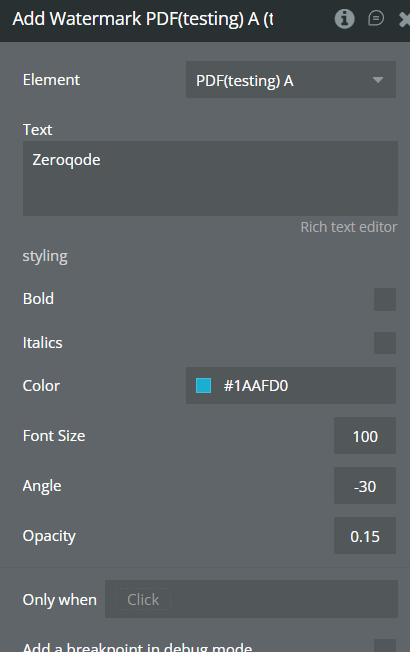
Add Watermark
Add a text watermark to your PDF pages with custom color, opacity, rotation, size, and style. Perfect for adding branding, DRAFT, CONFIDENTIAL, or copyright marks across your document.
Field | Description | Type |
Element | The PDF element where you add the watermark. | Dropdown |
Text | The watermark text (e.g., “Zeroqode”, “CONFIDENTIAL”, “DRAFT”). | Text |
Bold | If checked, makes the watermark bold. | Checkbox |
Italics | If checked, makes the watermark italic. | Checkbox |
Color | Color of the watermark text (hex code, e.g. #1AAFD0). | Color |
Font Size | Font size of the watermark (large values recommended, e.g. 100). | Number |
Angle | Rotation angle of the watermark (in degrees, negative for slant). | Number |
Opacity | Transparency (0 to 1, e.g. 0.15 is very transparent, 1 is solid). | Number |
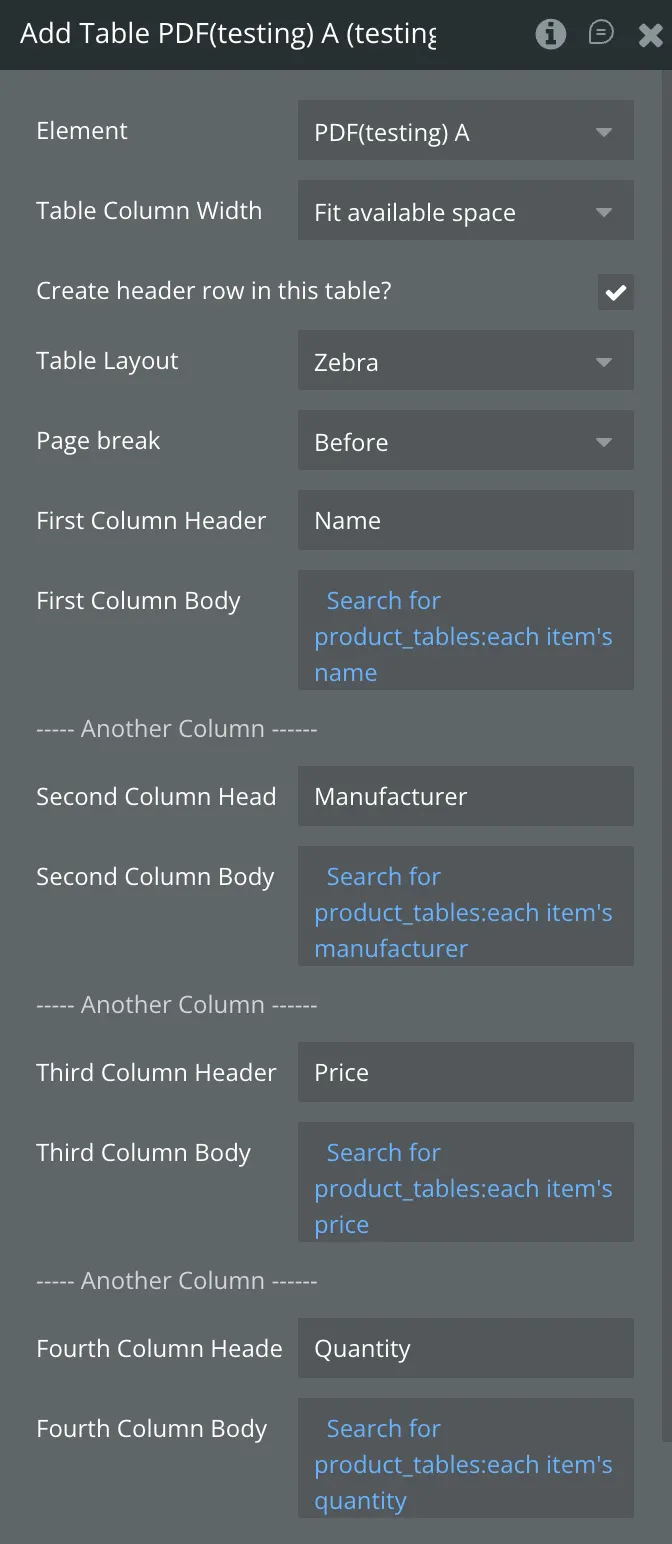
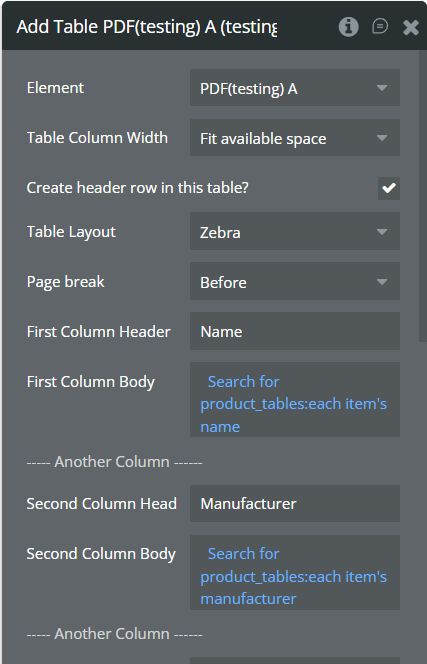
Add Table
Add dynamic or static tables to your PDF. Use this action to display products, invoices, lists, reports, or any structured data, with full control over columns, header, layout, color, and margins.
Field | Description | Example Value | Type |
Element | PDF element unde apare tabelul | PDF(testing) A | Dropdown |
Table Column Width | Modul de lățime a coloanelor | Fit available space | Dropdown |
Create header row in this table? | Include sau nu rând de antet | yes/no | Checkbox |
Table Layout | Stil vizual al tabelului | Zebra | Dropdown |
Page break | Unde apare întreruperea de pagină | Before | Dropdown |
First Column Header | Nume coloană 1 | Name | Text |
First Column Body | Date coloană 1 (dinamic/static) | Search for ...:each item's ... | Text/Dynamic |
Second Column Header | Nume coloană 2 | Manufacturer | Text |
Second Column Body | Date coloană 2 | Search for ...:each item's ... | Text/Dynamic |
Third Column Header | Nume coloană 3 | Price | Text |
Third Column Body | Date coloană 3 | Search for ...:each item's ... | Text/Dynamic |
Fourth Column Header | Nume coloană 4 | Quantity | Text |
Fourth Column Body | Date coloană 4 | Search for ...:each item's ... | Text/Dynamic |
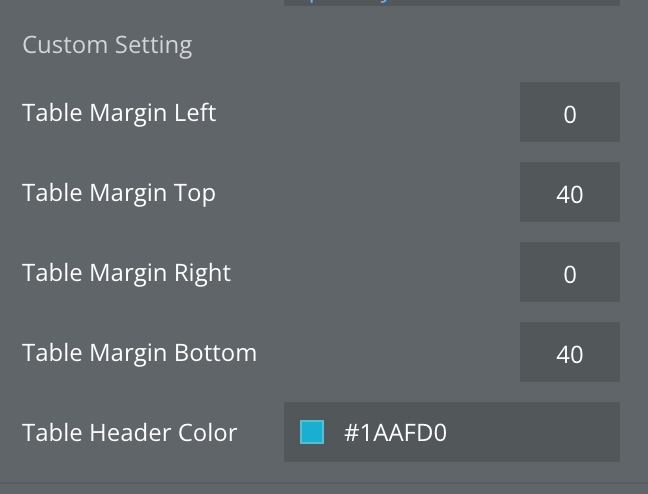
Table Margin Left | Margine stânga | 0 | Number |
Table Margin Top | Margine sus | 40 | Number |
Table Margin Right | Margine dreapta | 0 | Number |
Table Margin Bottom | Margine jos | 40 | Number |
Table Header Color | Culoarea de fundal a antetului tabelului | #1AAFD0 | Color |
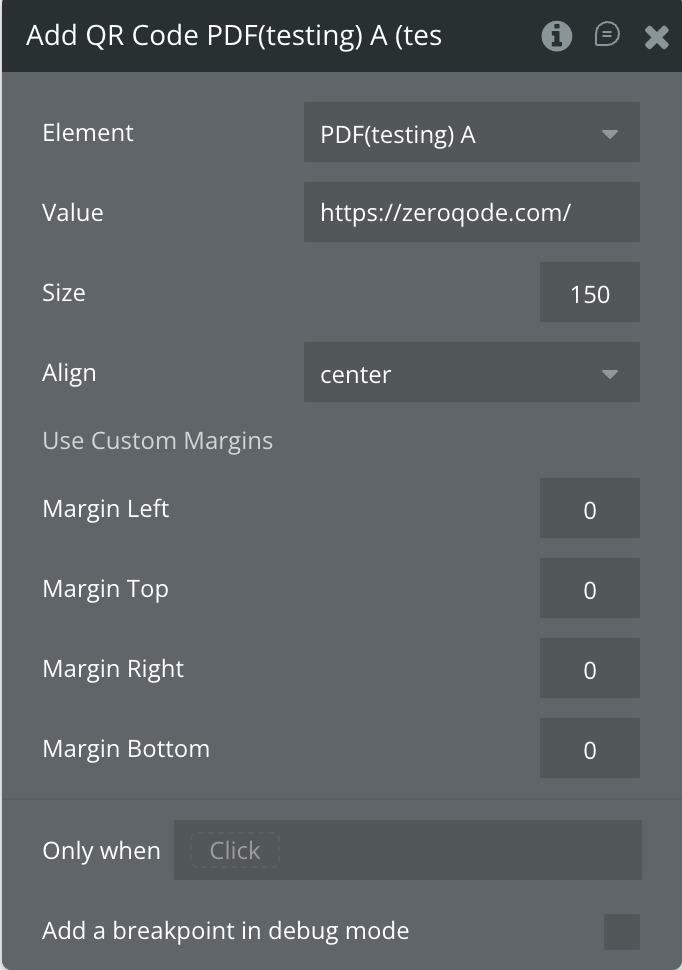
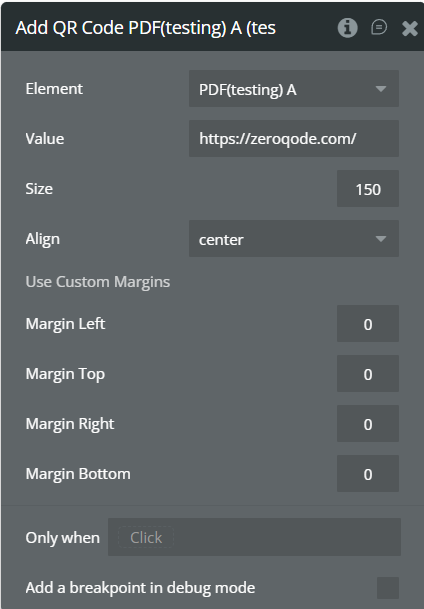
Add QR Code
Add a QR code to your PDF, with custom size, alignment, and margins.
Perfect for sharing website links, digital signatures, event check-ins, WiFi access, or any scannable info directly din PDF.
Field | Description | Type |
Element | The PDF element where you add the QR code. | Dropdown |
Value | The data to encode in the QR code (text, URL, email, phone, etc). | Text |
Size | Width/height of the QR code (square) in points or px. | Number |
Align | Alignment inside the PDF (left, center, right). | Dropdown |
Margin Left | Space from left edge. | Number |
Margin Top | Space from top. | Number |
Margin Right | Space from right edge. | Number |
Margin Bottom | Space from bottom edge. | Number |
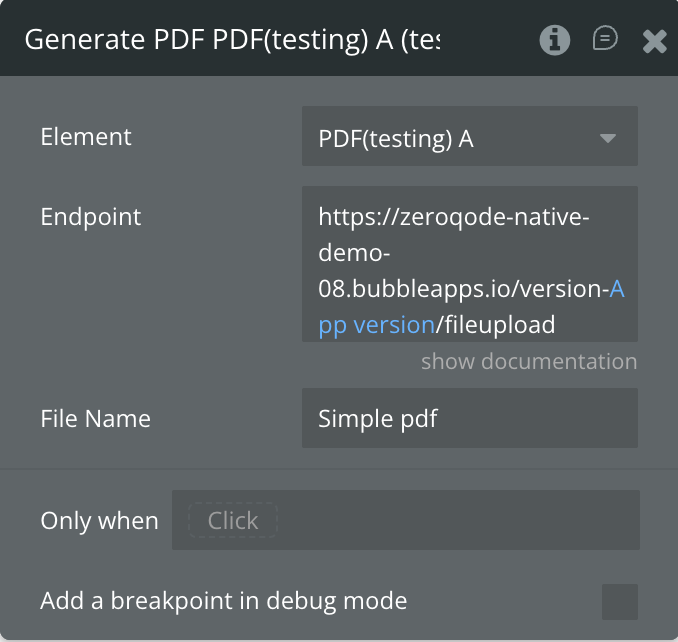
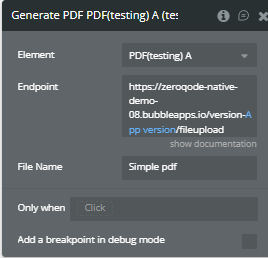
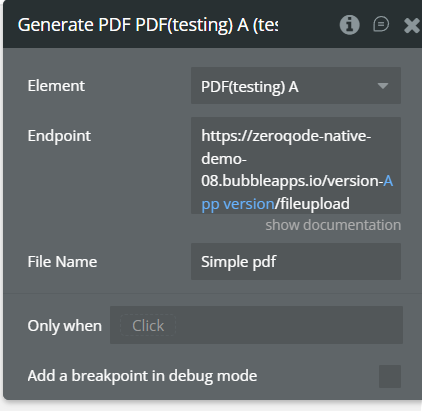
Generate PDF
Use it as the last step in your PDF workflow, after you’ve added all texts, images, tables, QR codes, signatures, and watermark.
Field | Description | Type |
Element | The PDF element for which to generate/export the document. | Dropdown |
Endpoint | The backend endpoint (Bubble API Workflow) that handles PDF generation and storage. | Text (URL) |
File Name | The name of the exported PDF file (e.g. invoice-2025.pdf). | Text |
Element States
Name | Description | Type |
Pdf Status | Current status of the PDF workflow (e.g. “initializing”, “generating”, “done”, “error”). | Text |
Pdf Url | Direct URL to the generated PDF file (can be used for download or preview). | Text |
Pdf Size KB | Size of the generated PDF file in kilobytes. | Number |
Pdf Error | Error message if PDF generation fails (shows error details for debugging). | Text |
Element Events
Caption | Description |
Pdf Generated | Triggered when PDF generation is finished and the file is available (use to start a download, show a success message, etc). |
Workflow example
How to Build Your First PDF
Imagine this plugin as a LEGO set for your mobile app — a flexible toolkit that lets you build amazing, fully functional documents such as Tickets with QR codes, Invoices, Certificates, Booking Confirmations, and many other fantastic PDFs you can deliver directly to your users.
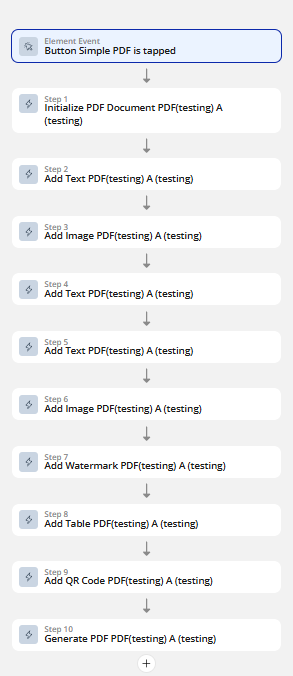
For creating any PDF, the first action must always be:
🪄 Step 1: Initialize PDF Document
This step defines the global settings for your file - page size, orientation, and margins.
Think of it as setting up the “paper” before you start placing text or images.
⚠️
Important: Pay attention to both page margins and header/footer margins
When building your PDF, you need to consider not only the page margins, but also the margins defined inside your header and footer.
These three areas work together — if they’re not aligned correctly, your content may overlap or start too high/low on the page.
🧠 How it works
If you decide to add a header or footer, the page margins must include their height, plus the distance you want before the first element on the page.
For example:
- If your header height is
100
- And you want your first text block to start
20units below it
Then your Page Top Margin should be:
👉
Header height (100) + Distance (20) = 120This ensures the content starts exactly below the header without overlap.
The same logic applies to the footer — the bottom page margin must be at least equal to the footer height plus any desired padding below your main content.
🧾 Step 2: Create the Header
After defining the correct margins in the Initialize PDF Document step, you can start building your header (the top section of your PDF).
This is where you typically place your logo, title, or date — the elements that repeat across all pages of your document.
📌 Including Elements in the Header or Footer
Each “Add Image” or “Add Text” action in the plugin includes a checkbox:
🧠
How it works
The element (image, text, etc.) will be rendered inside the header or footer area.
It will appear on every page of the document — perfect for logos, titles, dates, or footnotes.
- Add Image (company logo, Add in Header = yes)
- Add Text (“Company Report”, Add in Header = yes, bold, center, size 25)
💧 Step 3: Add a Watermark
A watermark is a semi-transparent text placed behind all page content — usually used to show ownership, brand identity, or document status (e.g. CONFIDENTIAL, PAID, COPY).
It gives your PDF a professional look and extra protection against duplication.
✍️ Step 4: Add Text
Use Add Text to insert any paragraph, title, or note into your PDF. You can fully control the position, style, and formatting of each text block.
🖼️ Step 5: Add Image
Use Add Image to place logos, photos, or any visuals in your PDF. You can control the size, position, and repetition of each image.
- Generate PDF
🔲 Step 6: Add QR Code
Use Add QR Code to insert a scannable code that links to your website, order page, or ticket validation link.
Perfect for digital tickets, invoices, or certificates.
📊 Step 7: Add Table (Dynamic Inventory Data)
Use Add Table to display dynamic lists such as product inventories, invoices, booking summaries, or order details.
Each row and column can be generated automatically from your Bubble database or API data.
📄 Step 8: Generate PDF
The final step in your workflow is Generate PDF — this action compiles everything you’ve added (text, images, QR codes, tables, watermarks, etc.) into one ready-to-use document.

Changelogs
Update 23.06.26 - Version 1.1.0
- Bubble Plugin Page Update (Description).
Update 05.06.26 - Version 1.0.0
- Initial Plugin Release.