Demo to preview the plugin:
Live Demo: https://pluginpreview.bubbleapps.io/viewport
Introduction
Top Of Viewport Detector is a Bubble plugin that detects when a specific element on the page reaches the top of the viewport or is positioned above it. The plugin changes its state from “no” to “yes” when the specified element reaches the top of the visible screen area, and back to “no” when the element moves below this boundary.
This is particularly useful for creating interactive scroll effects such as sticky menus, animations triggered at specific scroll points, or initiating actions when a user scrolls to a particular element on the page.

How to setup
To set up the Top Of Viewport Detector plugin, follow these steps:
- Make sure the ID attributes option is enabled in your Bubble application. To do this, go to ‘Settings’ -> ‘General’ -> and activate ‘Expose the option to add an ID attribute to HTML elements’.
- Place the Top Of Viewport Detector element on your application page.
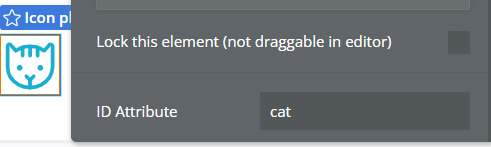
- For the element you want to track, set a unique ID via the properties panel in the Bubble editor.
- In the Top Of Viewport Detector element settings, specify the ID of the element you want to track.
- Optionally, you can configure the Offset to adjust the point at which the plugin’s state will change.
Plugin Element Properties
The plugin contains a TopOfViewport visual element that should be placed on the page.
TopOfViewport
Fields:
Title | Description | Type |
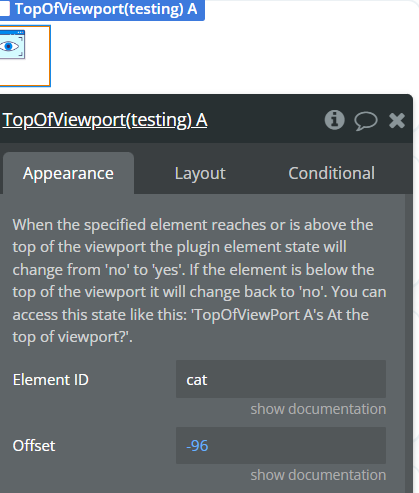
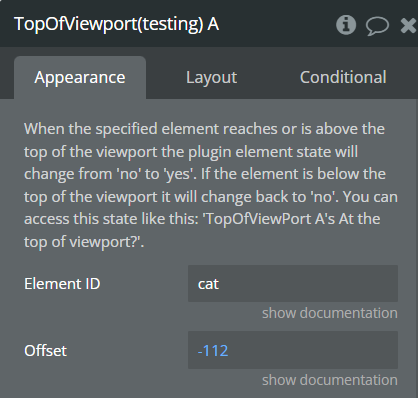
Element ID | The ID of the element you want to track. You must activate the ID attributes option in Bubble settings: ‘Settings’ -> ‘General’ -> ‘Expose the option to add an ID attribute to HTML elements’. | Text |
Offset | A numerical value to adjust the trigger point. A positive value moves the trigger point down, a negative value moves it up. | Number |
Element Actions
This plugin has no element actions.
Exposed states
Name | Description | Type |
At the top of viewport? | Indicates whether the tracked element is at the top of the viewport. A value of “yes” means the element has reached the top of the viewport or is above it. A value of “no” means the element is below the top of the viewport. | Boolean |
Workflow example
Here’s an example of using the Top Of Viewport Detector plugin to create a sticky menu:
- Place the TopOfViewport element on the page.
- Add the menu that should become sticky and give it a unique ID via the properties panel.
- In the TopOfViewport element properties, specify the ID of your menu.
- Create a condition in the Bubble workflow:
- When ‘TopOfViewport’s At the top of viewport?’ changes to ‘yes’
- Do: Change ‘Menu Group’s Style’ to ‘position: fixed; top: 0; width: 100%;’
- Add another condition:
- When ‘TopOfViewport’s At the top of viewport?’ changes to ‘no’
- Do: Change ‘Menu Group’s Style’ to ‘position: static;’
Now your menu will remain fixed at the top of the screen when the user scrolls below its original position.