Demo to preview the settings
Introduction
Find Apple Music Tracks and Albums by Apple Music ID, ISRC or search query (supports advanced search).
Prerequisites
You must have an developer account with Apple.For the plugin to work, you need to create an API Token. Now let's look at what you need to do in detail:
Create Apple Developer account - https://developer.apple.com/ Step 1 -Create an Apple ID
You need to have an Apple ID before you can make an iOS developer account. Follow the steps below if you don’t already have one:
- Go to developer.apple.com and click on account.
- Don’t have an Apple ID? click “Create yours now.”
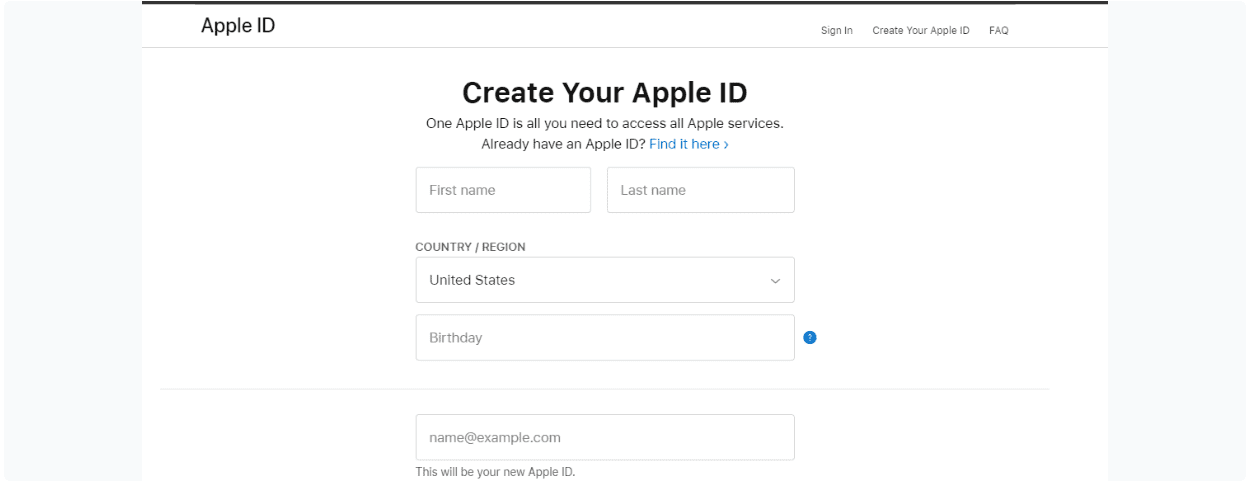
- Go to Create Apple ID and fill in your legal information.
- Enter and save information like your valid first and last name, country, date of birth, email address, and password. Accept the terms and conditions.
- Answer the security questions, and you’re done making an Apple ID.
Step 2 – Sign in at the Apple Developer Program
Once you have signed in, you will see the “Apple Developer Program” banner. Follow the steps below to complete the corresponding procedure:
- Select Apple’s Developer Program
- Review the information and then click Submit
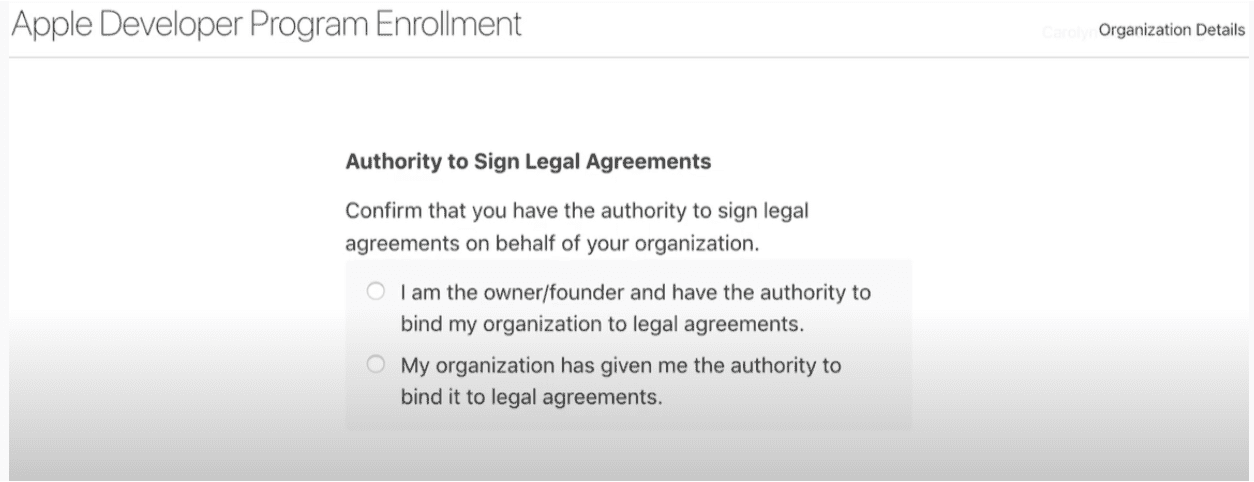
- Select an Account Type
- Organization
- Individual
Remember that Apple allows you to choose from the following Account Types based on your legal entity and business requirements. There are two types of accounts:
Step 3 – Set up Two Factor Authentication
Two-factor authentication adds an extra layer of security to your Apple ID. When you turn on two-factor authentication, you’ll be asked to enter a four-digit code each time you sign in with your Apple ID on a new device or browser.
To set up two-factor authentication
- Go to the Apple ID account page, then click “Security” and “Edit.”
- On the next page, select “Turn On Two-Factor Authentication.”
- Enter your Apple ID password and click “Continue.”
- Then follow the instructions that appear on the screen.
Once two-factor is enabled, it’s important not to share any verification codes with anyone else.
Step 4 -Enter profile details
After that, you need to put in some basic information about yourself and your business. This is how it goes:
- Confirm your email.
- Enter your legal name
- Country Location
- Account/Entity Type (as described above)
- Click Start Your Enrollment to finish.
The next step is to put in your contact info and agree to the terms.
Step 5 – Verify your account information
Now, you’ll be directed to a page where you can check your account information is correct. When everything looks good, hit the ‘Continue’ button and get ready for the next step!
Step 6 – Sign in with Apple Id
Once you’re done with account verification, you’ll be taken to the page where you can sign up for an account. After that, sign in to your account.
Step 7 – Enter billing information
After you enter the information, you will be taken to a page where you can pay. In this case, you will need to enter:
- Billing Contact Details
- Billing Address Details
- Payment Method Details
- Look at the order total and click “Continue” to confirm and pay.
Step 8 – Go ahead and list your dream app
Boom! You’ve completed the enrollment process!
Now it’s time to get your app into users’ hands. All that is left for you to do is upload it onto the App Store with your Developer Account on App Store Connect – navigate to ‘My Apps’ and fill out an application listing there.
How to setup
Create a Developer Token
1) Use a Media Services private key to sign one or more tokens
- Register a media identifier for each app that uses the Apple Music API, MusicKit, or ShazamKit.
- Create and download a private key with MusicKit and/or ShazamKit enabled.
- Associate the private key with the media identifier. You can associate two keys with each media identifier.
- Get the key identifier (kid) to create a JSON Web Token (JWT) that you’ll use to communicate with the capabilities you enable
2) Generate a JWT Token
a. Create a jwt header
b. Create a jwt payload
c. Sign the jwt
a) Create JWT Header
To create a JWT to communicate with the App Store Server API or External Purchase Server API, use the following fields and values in the header:
Header Field | Value |
alg - Encryption Algorithm | ES256
All JWTs must be signed with ES256 encryption |
kid - Key ID | Your private key ID from App Store Connect (Ex: 2X9R4HXF34) |
typ - Token Type | JWT |
To get your key ID, copy it from App Store Connect by logging in to App Store Connect, then:
- Select Users and Access, then select the Keys tab.
- The key IDs appear in a column under the Active heading. Hover the cursor next to a key ID to display the Copy Key ID link.
- Click Copy Key ID.
If you have more than one API key, copy the key ID of the private key that you use to sign the JWT.
Here’s an example of a JWT header:
{
"alg": "ES256",
"kid": "2X9R4HXF34",
"typ": "JWT"
}
b) Create JWT Payload
The JWT payload contains information specific to the App Store Server API and External Purchase Server API, such as issuer ID and expiration time. Use the following fields — also known as JWT claims — to include these values in the JWT payload:
Payload Field | Value |
iss - Issuer | Your issuer ID from the Keys page in App Store Connect (Ex: "57246542-96fe-1a63-e053-0824d011072a") |
iat - Issued At | The time at which you issue the token, in UNIX time, in seconds (Ex: 1623085200) |
exp - Expiration Time | The token’s expiration time, in UNIX time, in seconds. Tokens that expire more than 60 minutes after the time in iat are not valid (Ex: 1623086400) |
aud - Audience | appstoreconnect-v1 |
bid - Bundle ID | Your app’s bundle ID (Ex: “com.example.testbundleid”) |
To get your issuer ID, log in to App Store Connect, then:
- Select Users and Access, then select the Keys tab.
- The issuer ID appears near the top of the page. To copy the issuer ID, click Copy next to the ID.
Here’s an example of a JWT Payload:
{
"iss": "57246542-96fe-1a63e053-0824d011072a",
"iat": 1623085200,
"exp": 1623086400,
"aud": "appstoreconnect-v1",
"bid": "com.example.testbundleid"
}
Note that the JWT is valid for up to one hour after the time you indicate in the iat field, or it expires sooner if you set the exp field for an earlier time.
c) Sign the JWT Token
Use the private key associated with the key ID you specified in the header to sign the token using ES256 encryption.
There are a variety of open source libraries available online for creating and signing JWT tokens. See JWT.io for more information.
Element actions
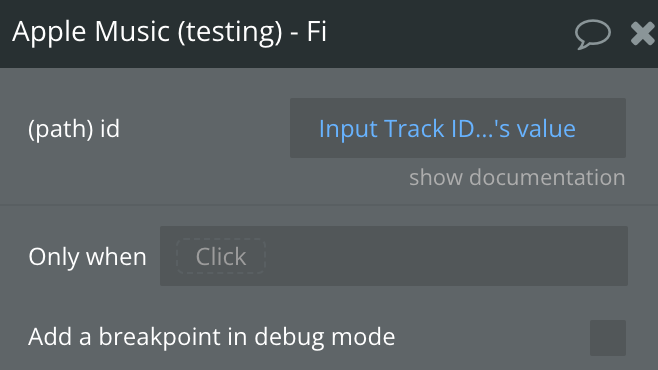
Find Track by ID
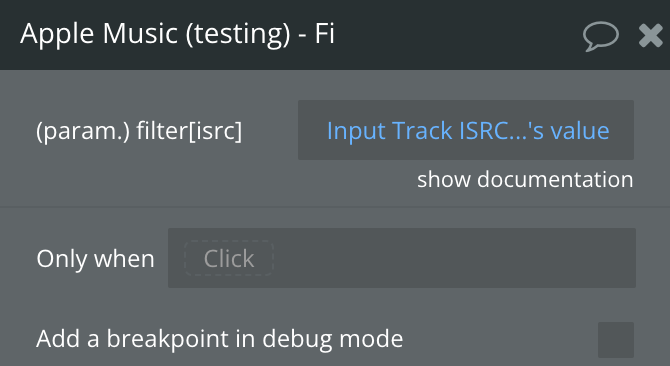
Find Track by ISRC
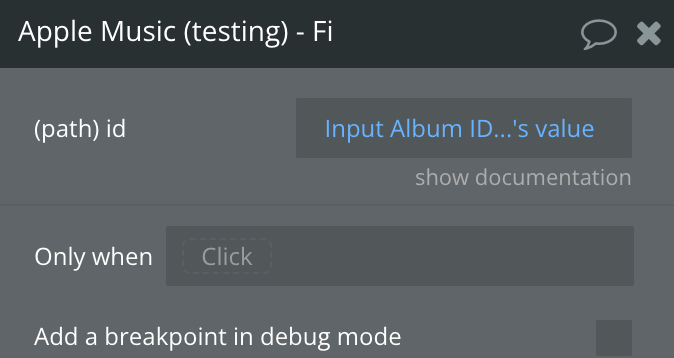
Find Album by ID
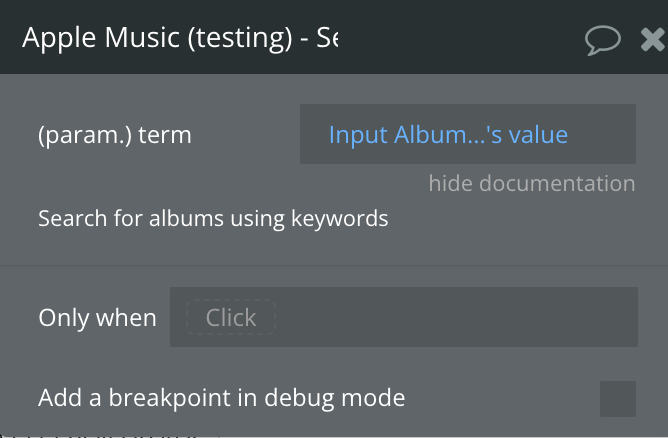
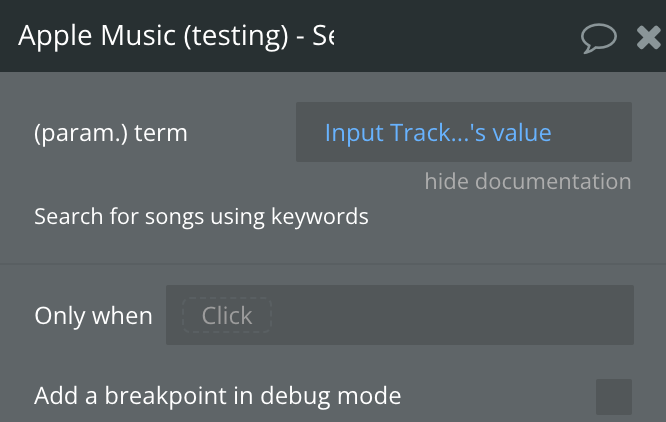
Search Track
Search Album