Demo to preview the settings
Introduction
This plugin lets you make screenshots and record videos on desktop and mobile devices. It supports front and back camera recording, mirroring, and custom output format selection.

Prerequisites
The device must be using a browser that supports media recorder. You can check if your browser is included here https://caniuse.com/mediarecorder
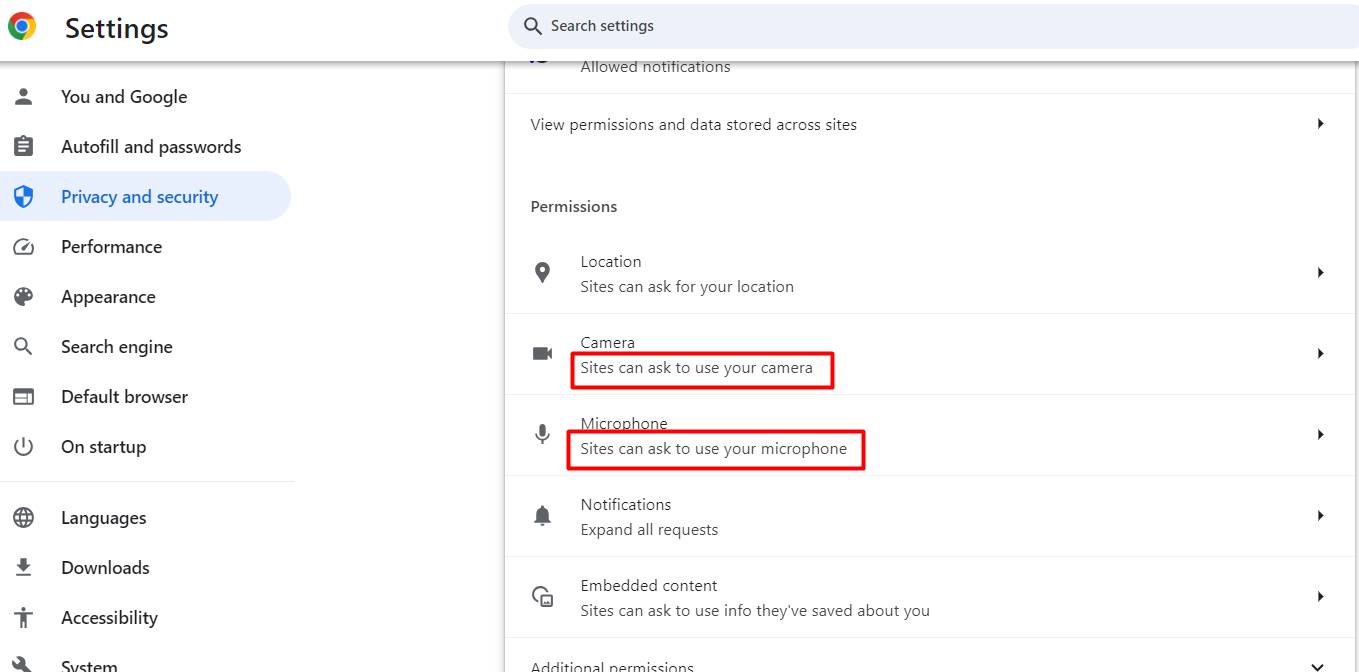
To use this plugin for you and your app users and access your camera and microphone, please ensure that your browser settings allow access to these devices. You may need to check and adjust your browser's permissions for camera and microphone access.
Once you've ensured the settings are configured correctly, the plugin will prompt you to grant access when needed.
MediaRecorder API used for recording videos with this plugin is not currently supported for Firefox version 124 and 125
Tutorial
How to setup
Taking Screenshots
- Add the CamCapture element to your page. It will show the camera preview. Resize the element to your desired size.

- Double-click the element and fill in its parameters
- Max file size (specifies what can be the max weight of the video you can upload to bubble)
- File uploads enabled (check it if you intend to upload the video to bubble after the recording is finished)
- Camera to use (front or back)
- Mirror (mirror the camera image horizontally)
- Turn on automatically (the browser will ask camera access permission automatically on load)
- Enable microphone
- Max video length (sec) (the recording will stop automatically when this number is reached)
- Preferred video extension (optional)
- Preferred MIME type (optional)
- File name (what your file will be called when you download it)
- Download on finish (yes / no)
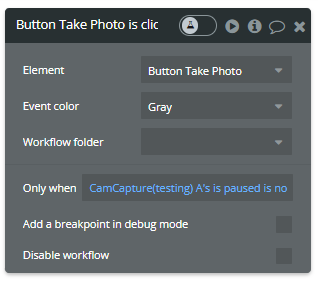
- Add a “Take Photo” button to your page.

- Double-click the button you’ve added. And then click “Edit workflows”.
- In the event workflow page set the “Only when” field value to “CamCapture’s is paused is no”.
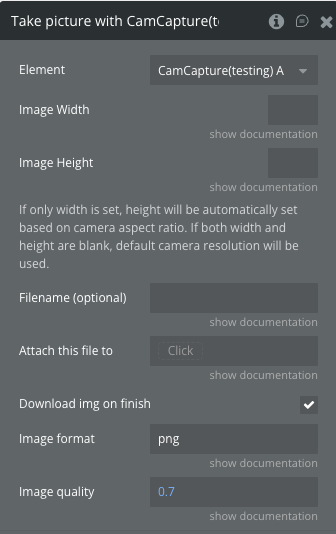
- Add the “Take picture with Cam Capture” action also from the Element Actions.

- Add a new image element to the page to display the result. Set the source of the image to “CamCapture’s Local image url”.
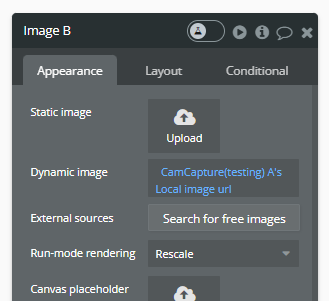
- Click preview and test the setup. You will be prompted to give the camera access permission. After granting the permission, click the “Take Photo” button and you should see your screenshot in the preview image element.
Recording And Saving Videos
- Add the Cam Capture element to your page. It will show the camera preview. Resize the element to your desired size.

- Add a “Record” and a “Stop” button to your page.

- Double-click the Record button. And then click “Edit workflows”.
- Set the value of the Only when field to “CamCapture’s is recording is no and CamCapture’s is saving s no”.
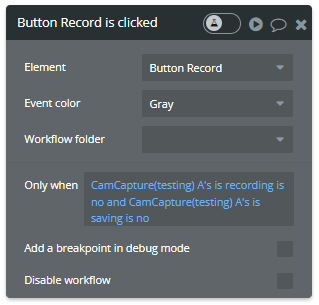
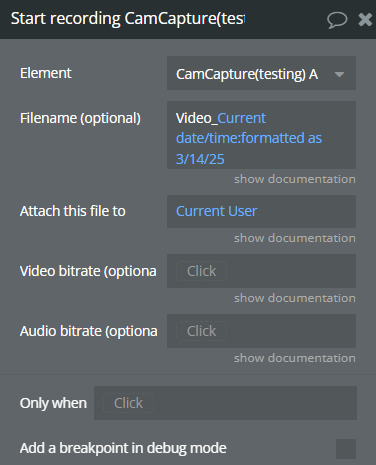
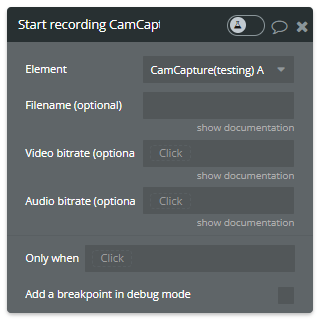
- Add the action “Start recording CamCapture”.

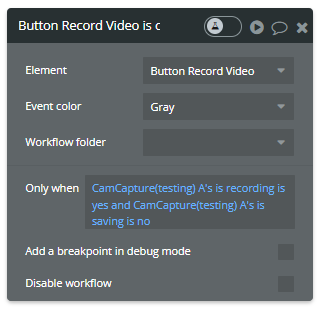
- Now double-click the Stop button. And then click “Edit workflows”.
- Set the value of the Only when field to “CamCapture is recording is yes and CamCapture is saving is no”.
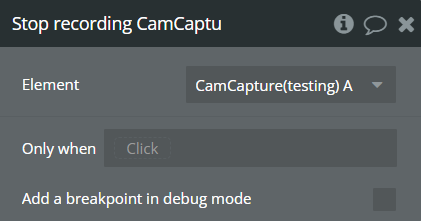
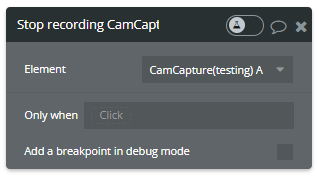
- Then add a Stop recording CamCapture action to this event.

- Lastly, add a video player element to display the recorded video. The video player element is available as a separate plugin element inside CamCapture.
- Set its source to “CamCapture’s captured video”
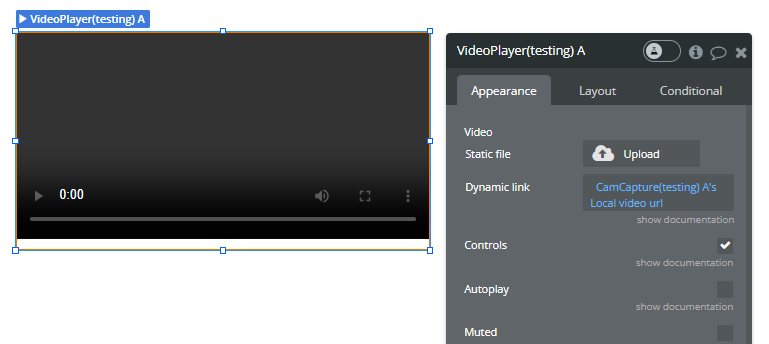
- Test your setup. Click preview. Then hit the record button, and then the Stop button. Your recorded video should appear in the video element.
How to save videos?
Follow the instructions above to set up a video capture workflow.
Double click the CamCapture element and set the “File uploads enabled” to “yes”.
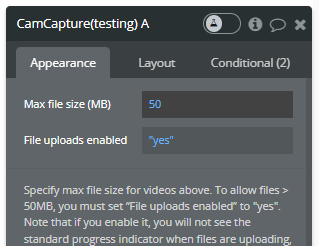
Now when you stop the recording the video will be saved to the Bubble data store.
If you want to track the progress of your video upload, you should display your own progress bar. One way to do this is by adding Bubble’s “Progress Bar” plugin to your page. You can then set the value of the progress bar to “Cam Capture’s upload percentage”.
Plugin Element Properties
Cam Capture
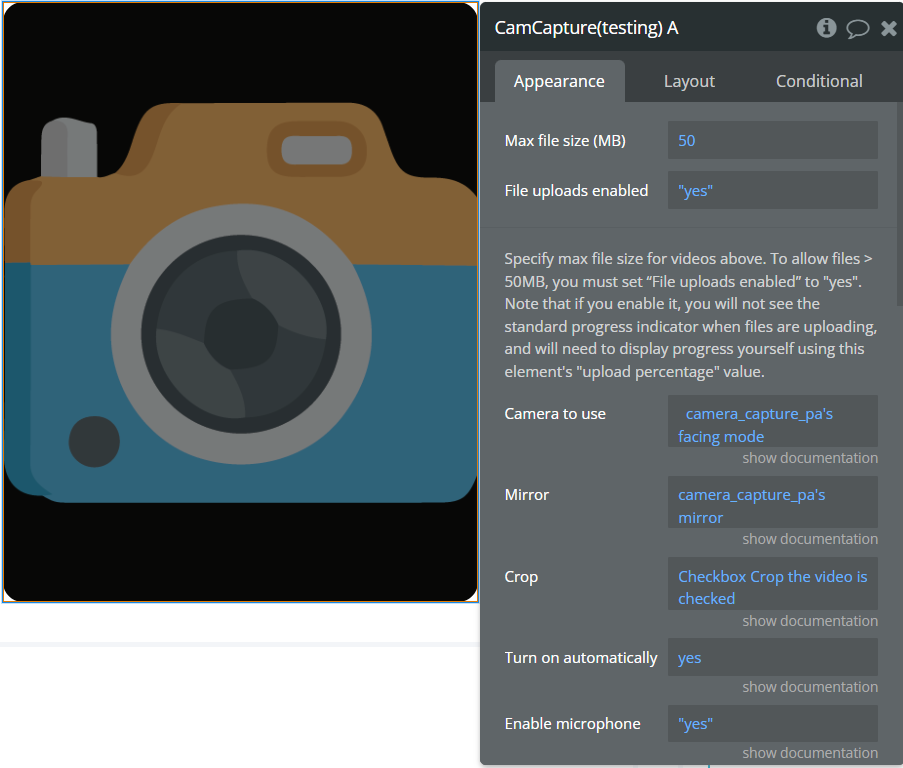
Fields:
Title | Description | Type |
Specify max file size for videos above. To allow files > 50MB, you must set “File uploads enabled” to “yes”. Note that if you enable it, you will not see the standard progress indicator when files are uploading, and will need to display progress yourself using this element’s “upload percentage” value. | ||
Enable file size limit | Automatically stops recording before reaching Bubble's maximum file size limit to prevent upload failures. Recording stops at 94% of the limit (e.g., 47MB for a 50MB limit), providing a 6% safety buffer.
REQUIREMENTS:
•Element's field 'Max file size (MB)' must be > 0
EXPOSED_STATES:
•'Current recording size (MB)' - Real-time size tracking
•'Recording size percent' - Progress towards limit (0-100%)
The plugin monitors size every 100ms and stops automatically when the safety threshold is reached, ensuring successful uploads within Bubble's file size constraints. | Checkbox (yes/no) (optional) |
Camera to use | “front or back”. If user’s device only has one camera, it will be used regardless of this setting. You can use the “facing modes” property to access a list of supported facing modes for the current device. Available options: Front, Back | Text |
Mirror | Choose whether to mirror the captured image or not | Checkbox (yes/no) (optional) |
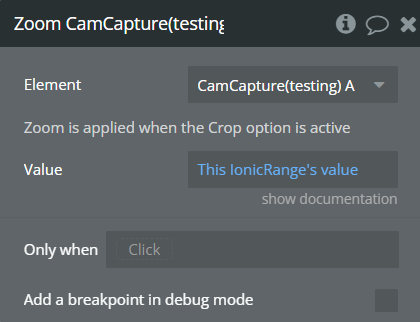
Crop | Check to crop the video according to the size of the element on the page. Use an action Zoom to change a zoom level | Checkbox (yes/no) |
Turn on automatically | Request camera permission and start the camera automatically when the page loads? | Checkbox (yes/no) (optional) |
Enable microphone | Enable microphone, for video recordings | Checkbox (yes/no) (optional) |
Max video length (seconds) | If set, recording will stop automatically when recorded duration reaches this value in seconds. | Number (optional) |
Advanced options | ||
Preferred video file extension | The file extensions supported by the video recorder are dependent on the browser used. By default, the plugin attempts to find the best option, but if you have a preference you can set it here. It will only be used if the current browser supports it. Example format: “webm”, “mkv” (no quotes) | Text (optional) |
Preferred video MIME type | The MIME types supported by the video recorder are dependent on the browser used. By default, the plugin attempts to find the best option, but if you have a preference you can set it here. It will only be used if the current browser supports it. Example formats: “video/webm”, “video/webm;codecs=vp9”, “video/x-matroska;codecs=h264” (no quotes) | Text (optional) |
File name | The name of the file when downloaded / uploaded to storage | Text (optional) |
Download on finish | Should the video be downloaded on stop? | Checkbox (yes/no) (optional) |
Aspect ratio | Use “16:9” for a fixed aspect ratio, or “inherit” according to the plugin element’s width and height settings. Available options: inherit, 16:9 | Dropdown |
Element Actions
Take picture with
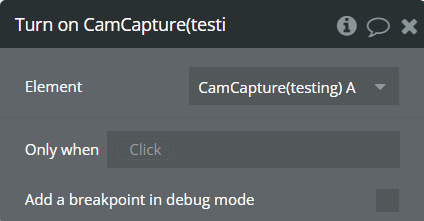
Turn on
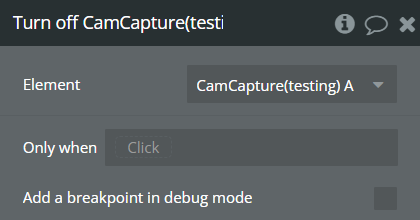
Turn off
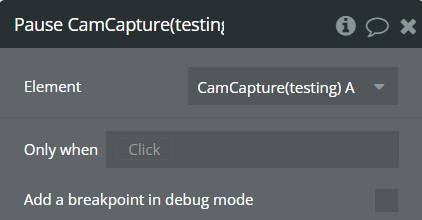
Pause
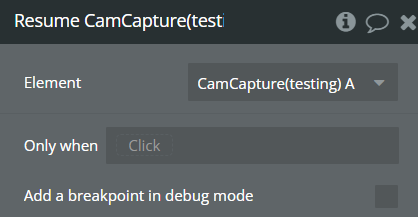
Resume
Start recording
Stop recording
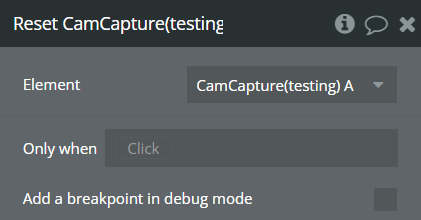
Reset
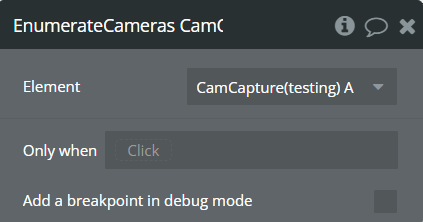
EnumerateCameras
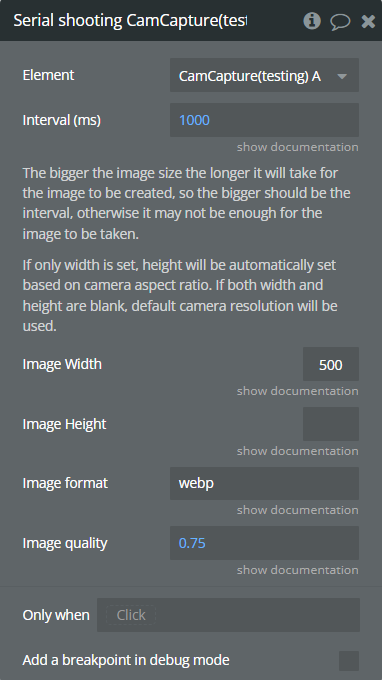
Serial shooting
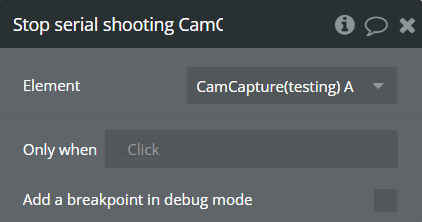
Stop serial shooting
Zoom
Exposed states
Title | Description | Type |
Image url | The url of the image uploaded to bubble | Image |
Has camera | Returns yes if the user’s device has a camera | Checkbox (yes/no) |
Is saving | Returns yes while the captured image is saving | Checkbox (yes/no) |
Cam permission was denied | Returns yes if the user has denied permission to use their camera | Checkbox (yes/no) |
Is paused | Returns yes while camera feed is paused | Checkbox (yes/no) |
Facing modes | A list of available facing modes | Text |
Started | Returns yes once the camera permission has been granted and the camera has been turned on | Checkbox (yes/no) |
Recording is supported | Returns yes if the browser supports video recording | Checkbox (yes/no) |
Is recording | Returns yes while recording | Checkbox (yes/no) |
Upload percentage | The file upload progress percentage, if “File uploads” is enabled | Number |
Element loaded | The plugin element has loaded. If the plugin is in a popup or other hidden group, it will not load until visible. Most plugin actions will not work before the element has loaded. | Checkbox (yes/no) |
Image capture is supported | Returns yes if the browser supports image capture | Checkbox (yes/no) |
Recorded duration (seconds) | The current duration of recorded video, in seconds | Number |
Local video url | Local video url valid only in the browser | Text |
VideoUrl | Url of the video saved to Bubble data store | Text |
Local image url | Local image url valid only in the browser | Text |
List of shots | Images from action Serial shooting | Text |
Error camera\mic access | State updates when was trying to get access to camera and\or to microphone.
List of possible values:
• empty(no value)
• The user has blocked access to the camera and/or microphone.
• Camera or microphone not found.
• The device is busy or unavailable at the moment. Check if the camera is being used by another app or tab.
• The video capture operation was interrupted. Check if the camera is being used by another app or tab.
• Security Error. Occurred if user media support is disabled on the user agent(on the browser)
• An unexpected error occurred while accessing media devices: description about error
| Text |
Current recording size (MB) | Current size of the recording in megabytes (updated in real-time) | Number |
Recording size percent | Percentage of maximum file size used (0-100) | Number |
Element Events
Title | Description |
camera permission was denied | The user denied access to their camera |
is clicked | The camera preview video was clicked |
video saving started | The process of saving a video started |
video saving ended | The process of saving a video ended |
video can’t be uploaded | Video can’t be uploaded |
video upload failed | Video upload failed due to some error |
image saving started | The process of saving image started |
image saving ended | The process of saving image ended |
image is got (serial shooting) | Triggers after each shoot |
Video Player
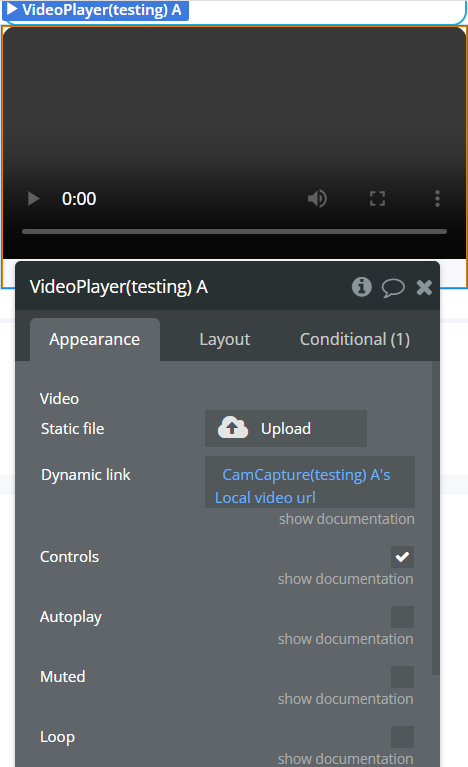
Fields:
Title | Description | Type |
Video | Video file to play | File (optional) |
Controls | Whether to show playback controls or not | Checkbox (yes/no) |
Autoplay | Note: Autoplay is not respected by all browsers. In some browsers (e.g. Chrome 70.0) autoplay doesn’t work if the “muted” attribute is not also enabled. | Checkbox (yes/no) |
Muted | Whether the video should play muted or not | Checkbox (yes/no) |
Loop | Whether the video should loop or not | Checkbox (yes/no) |
Additional Features
Pause / resume
Pause (freeze) the camera preview and resume it. You can take a picture while the camera is paused.
Start / stop
By default, the camera starts automatically on page load. You can disable this behaviour by unchecking the “Start automatically” box in the plugin properties and instead use the “start” action to control when to begin accessing the user’s camera.
Use “stop” to stop accessing the camera, which turns off the webcam usage indicator light the device might have.
Mirror
Mirrors the camera feed and resulting image.
Front / back camera
Some devices feature both front and back cameras. You can retrieve a list of all cameras that can be used from the plugin and select which to use in the plugin properties. You can also change the camera in use dynamically using the plugin’s “Conditional” tab.


