Link to plugin page: https://zeroqode.com/plugin/1689626640924x884331207814572000
Demo to preview the settings
Introduction
As a Revolut Business customer, you can use your Revolut Merchant account and the Merchant API to accept online payments straight into your Merchant account. In addition, you can manage orders and customers.
If you have your own e-commerce website, you can use a payment pop-up or a card field.
This plugin combines Revolut Checkout and Revolut Merchant API calls.
Prerequisites
You must have your Revolut API token.

How to setup
Each Merchant API request must contain an authorization header in the following format to make a call:

Before you start, ensure that you've successfully applied for a Merchant Account in your Revolut Business Account.
The Public key is on the same path in your Revolut Business account as the Secret key. There are two different functions for each:
- Public key should be provided with payment methods at checkout
- Secret key is used as a part of the authorization header for all server calls, e.g., creating order
Complete the following steps to generate the Production API keys (Secret, Public):
- Log in to your Revolut Business portal.
- On the top left corner, click your account name, click APIs then select Merchant API.
- Under the Production API Secret key and Production API Public key sections you will find the API keys needed. If it's your first time on this page, you will need to click the Generate button to create your unique API keys.
You can also use this link to directly open the Merchant API page.
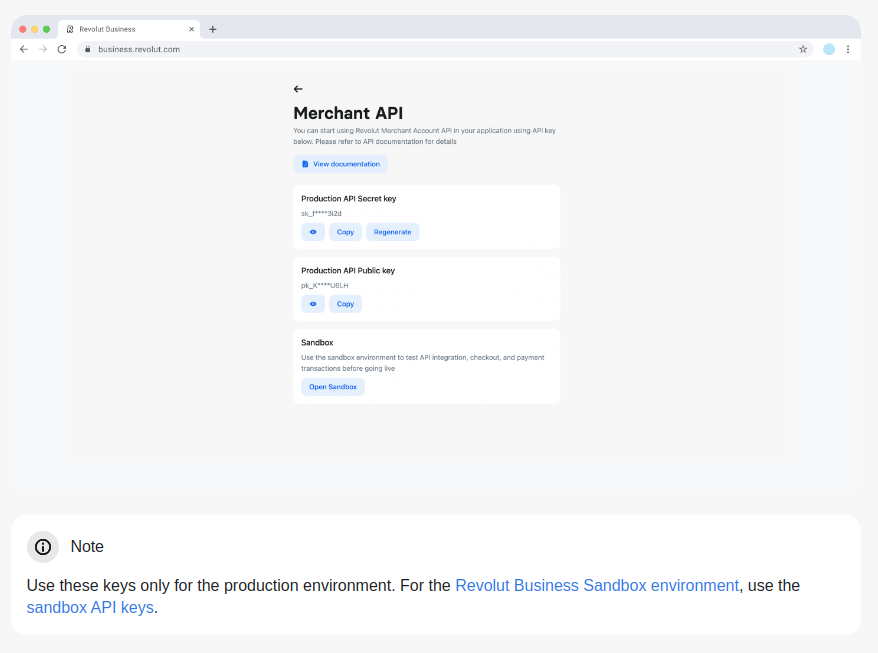
Paste your API secret key into the plugin settings fields in your app

Plugin Element Properties
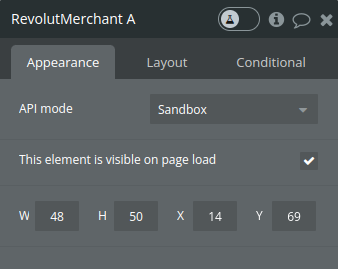
The plugin contains a Revolut Merchant visual element that should be used on a page.
Title | Description | Type |
API mode | Use the sandbox while testing and replace it with the production one when you are ready to deploy. | Dropdown |
Element Actions
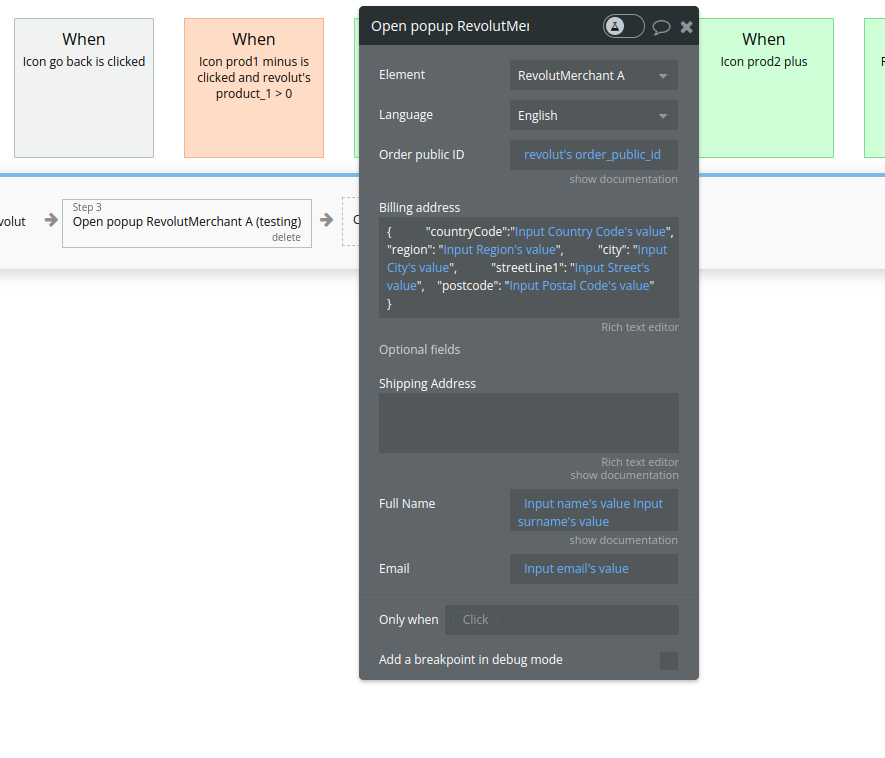
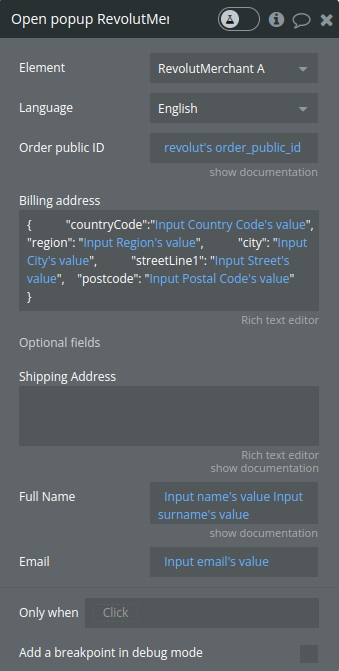
1. Open popup - configure and initiate a checkout experience with specific customer details.
Title | Description | Type |
Language | The language preference for the checkout process, which is used to determine the locale. | Dropdown |
Order public ID | The unique identifier for the order that is being processed.Get from field named "public_id" when creating an order. | text |
Billing address | A JSON string representing the customer's billing address, which is parsed into an object within the function.Ex: { "countryCode": "GB", "region": "Greater London", "city": "London", "streetLine1": "Revolut", "streetLine2": "1 Canada Square", "postcode": "EC2V 6DN" } | JSON string |
Shipping Address | A JSON string representing the customer's shipping address, which is optional and parsed into an object within the function if provided. | JSON string |
Full Name | The customer's name. | text |
Email | The customer's email address. | text |
Exposed states
Name | Description | Type |
Error message | This state holds any error messages that might be returned by the Revolut Checkout process in the event of a failure. | Text |
Element Events
Name | Description |
Success | This event is triggered if the onSuccess callback is called, indicating that the checkout process was completed successfully. |
Error | This event is triggered if the onError callback is called, indicating that there was an error during the checkout process. |
Canceled | This event is triggered if the onCancel callback is called, indicating that the user canceled the checkout process. |
Plugin Data/Action Calls (API Calls only)
Action Calls
1. Create order - Create an
Order object.
Creating orders is one of the basic operations of the Merchant API. Most of the other operations are related to creating orders. Furthermore, the payment methods merchants can use to take payments for their orders are also building on order creation.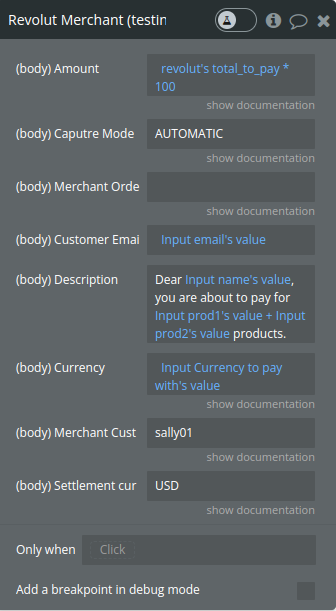
Parameters:
Name | Description | Type |
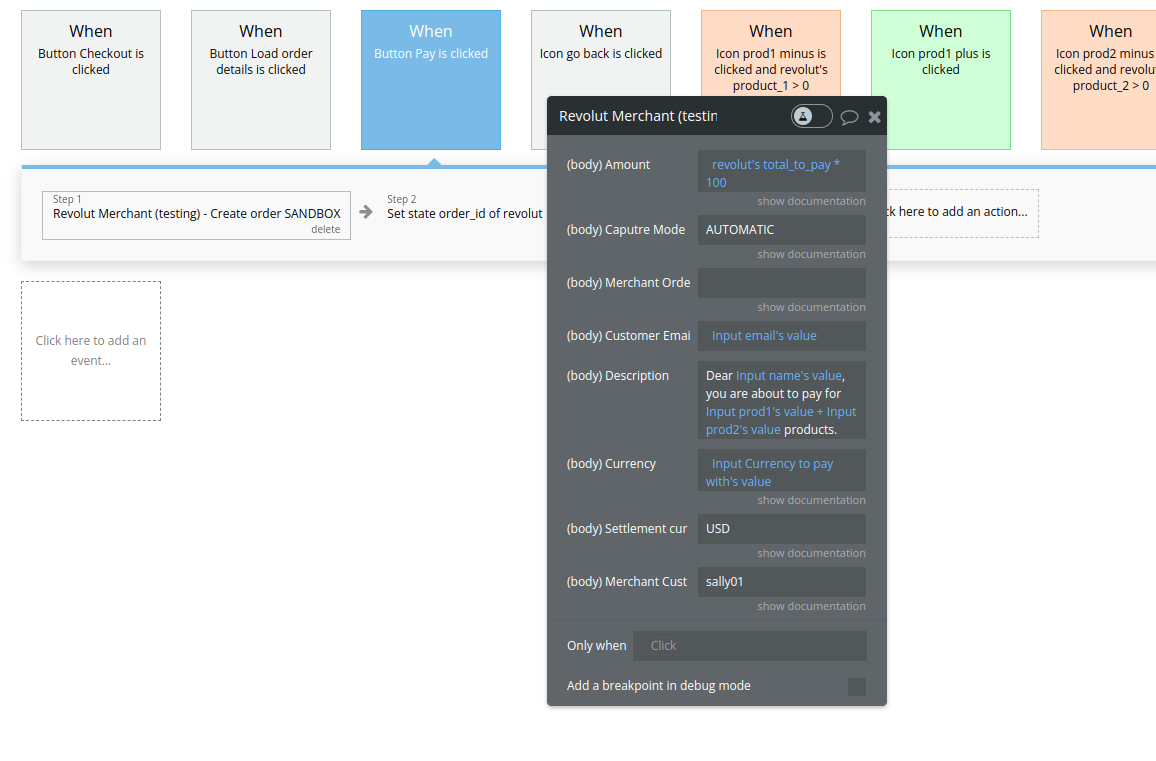
Amount | The amount of the order (minor currency unit). For example, enter 7034 for €70.34 in the field. | Number |
Capture mode | AUTOMATIC or MANUAL By choosing automatic, you don't have to perform any further steps after confirmation. By choosing manual you will need to go to the web interface and click "Authorise", or do the authorization via the API. | Text(AUTOMATIC/MANUAL) |
Merchant Order ID | Merchant order ID for external reference.
Use this field to set the ID that your own system can use to easily track orders. Can be empty. | Text |
Customer Email | The customer's email address. | Text |
Description | The description of the order. | Text |
Currency | ISO 4217 currency code in upper case. | Text |
Settlement currency | ISO 4217 currency code in upper case.
If settlement_currency is different from the value of currency, the money will be exchanged when the amount is settled to your merchant account. In case of a refund or chargeback, the money will be exchanged to the order's initial currency.
If settlement_currency is not specified, this value is taken from currency | Text |
Merchant Customer ID | Permanent ID of a customer used to retrieve, update, delete a customer. This ID can also be used to link customer to an order. | Text |
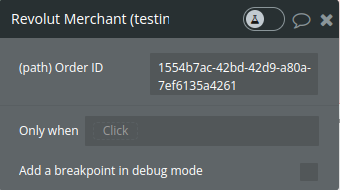
- Capture order - Capture the funds of an existing, uncaptured order. When the payment for an order is authorised, the order is captured and sent to the processing stage.
Name | Description | Type |
Order ID | The ID of the Order object. | Text |
- Refund order -
Issue a refund for a completed order. A refund can be either full or partial. Funds are refunded to the customer's original payment method.
The
refund operation creates a new order that represents such refund.You can initiate a refund for an order only when it is in the
COMPLETED state.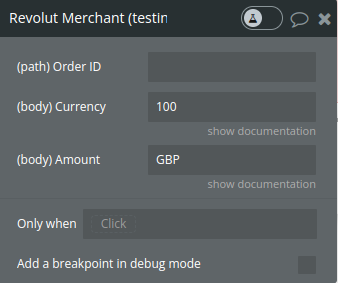
Name | Description | Type |
Order ID | The ID of the Order object. | Text |
Amount | The amount of the refund (minor currency unit). For example, enter 7034 for €70.34 in the field.
This amount can't exceed the remaining amount of the original order. To get the refundable amount, subtract the value of the refunded_amount from the value of the order_amount in the original order. | Number |
Currency | ISO 4217 currency code in upper case. | Text |
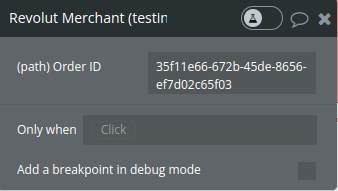
- Cancel order
Cancel an existing uncaptured order.
You can only cancel an order that is in one of the following states:
- In the
AUTHORISEDstate, which means that thecapture_modeof an order is set toMANUALand the customer has made a successful payment.
- In the
PENDINGstate, which means that it doesn't have any successful payment associated with it.
Name | Description | Type |
Order ID | The ID of the Order object. | Text |
- Set Webhook - Set up a webhook URL so that the Merchant API can push event notifications to the specified URL.
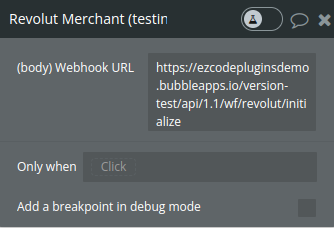
Name | Description | Type |
Webhook URL | The valid webhook URL that event notifications are sent to. | Text |
How to set a webhook:
- Set your backend API workflow in the initialize mode, for example: https://ezcodepluginsdemo.bubbleapps.io/api/1.1/wf/revolut/initialize
Don't close the page and leave the initialize mode opened.
- Call the action Set webhook with that url
- Do a demo transaction and you will see that initialize mode will be done, and there will appear new available fields.
- Remove the /initialize text from end fo url path, like this: https://ezcodepluginsdemo.bubbleapps.io/api/1.1/wf/revolut/
- Call Set webhook again with this url Done!
Data Calls
- Get order - Retrieve the details of an order that has been created. Provide the unique order ID, and the corresponding order information is returned.
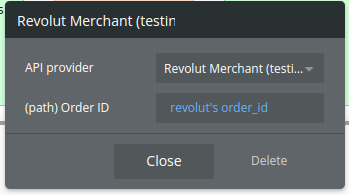
Name | Description | Type |
Order ID | The ID of the Order object. | Text |
Workflow example
- Set an event to trigger actions, for example click on the Pay button, use the Creare Order API call to create an order , set all the fields in the action element
- Set custom states
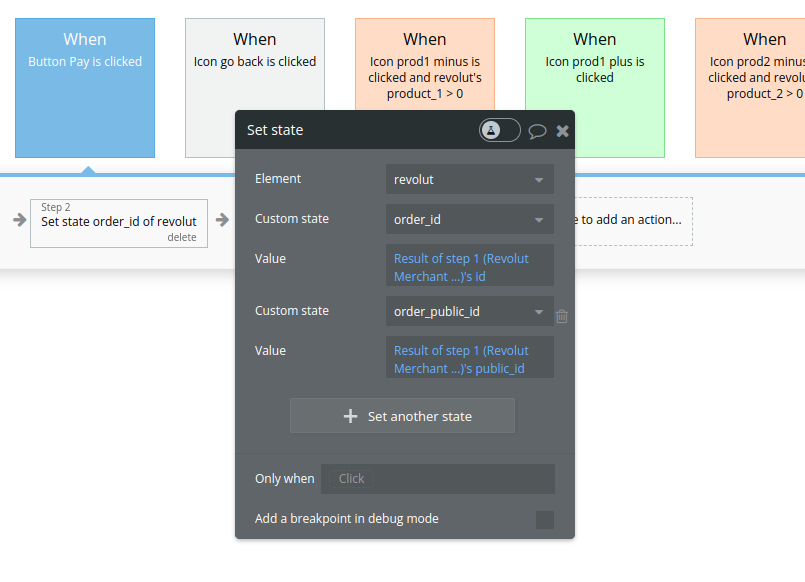
- Use the Revolut Merchant element action Open popup to complete the payment
