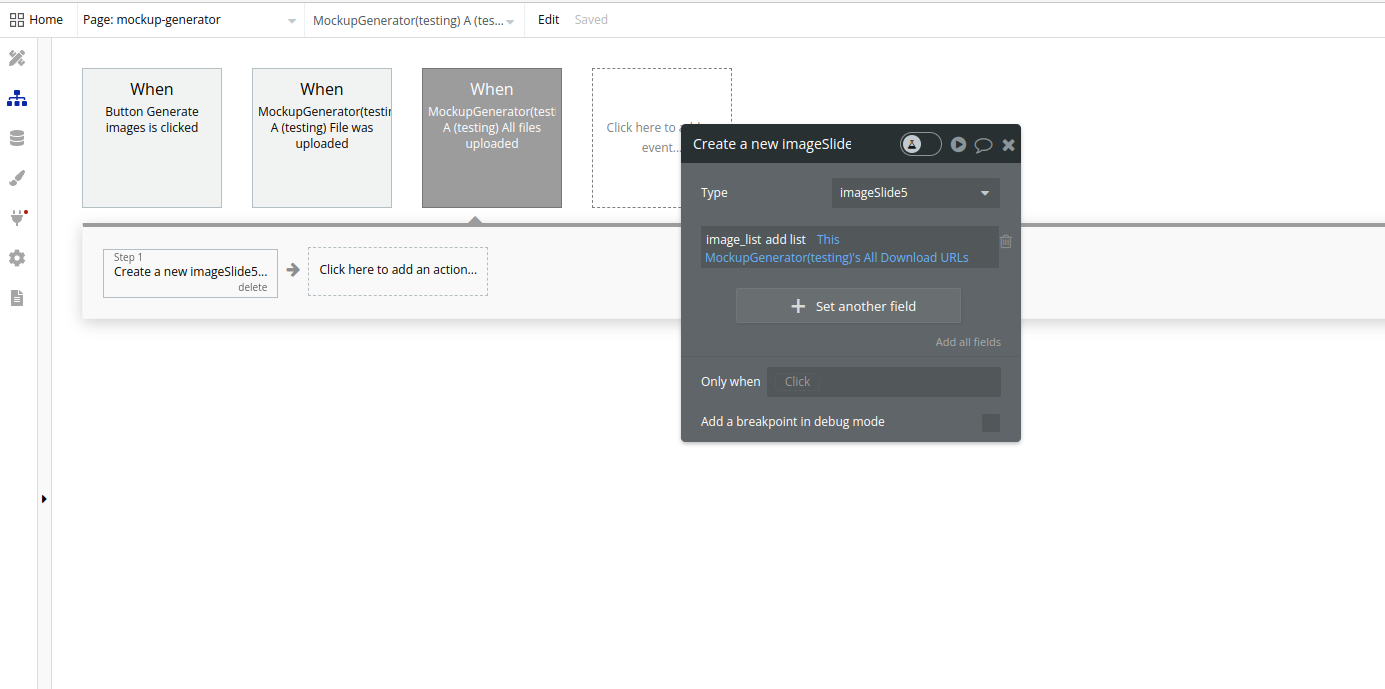
Demo to preview the settings
Introduction
The Mockup Generator plugin is an essential tool for designers and marketers alike, streamlining the process of creating professional mockups from images stored in your database. The plugin features options to select how the images are combined, giving you control over the appearance of the final mockup. With the ability to download the output directly to your PC or save it within the file manager, this plugin offers flexibility in how you handle your created assets. You can specify the desired number of mockups to generate, ensuring you get exactly what you need for your projects. Whether you're creating visuals for presentations, or marketing materials, or just experimenting with design ideas, the Mockup Generator plugin simplifies the process, making it more efficient and user-friendly.

How to setup
- Place the plugin’s element “Mockup Generator” on the page.
- Use the action ‘Generate images’ in your workflow
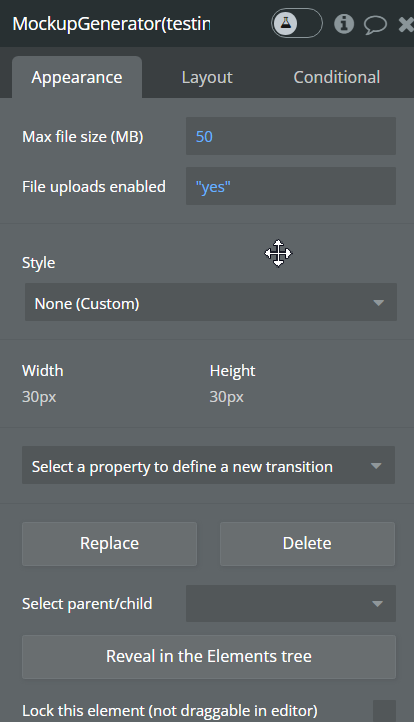
Element Actions
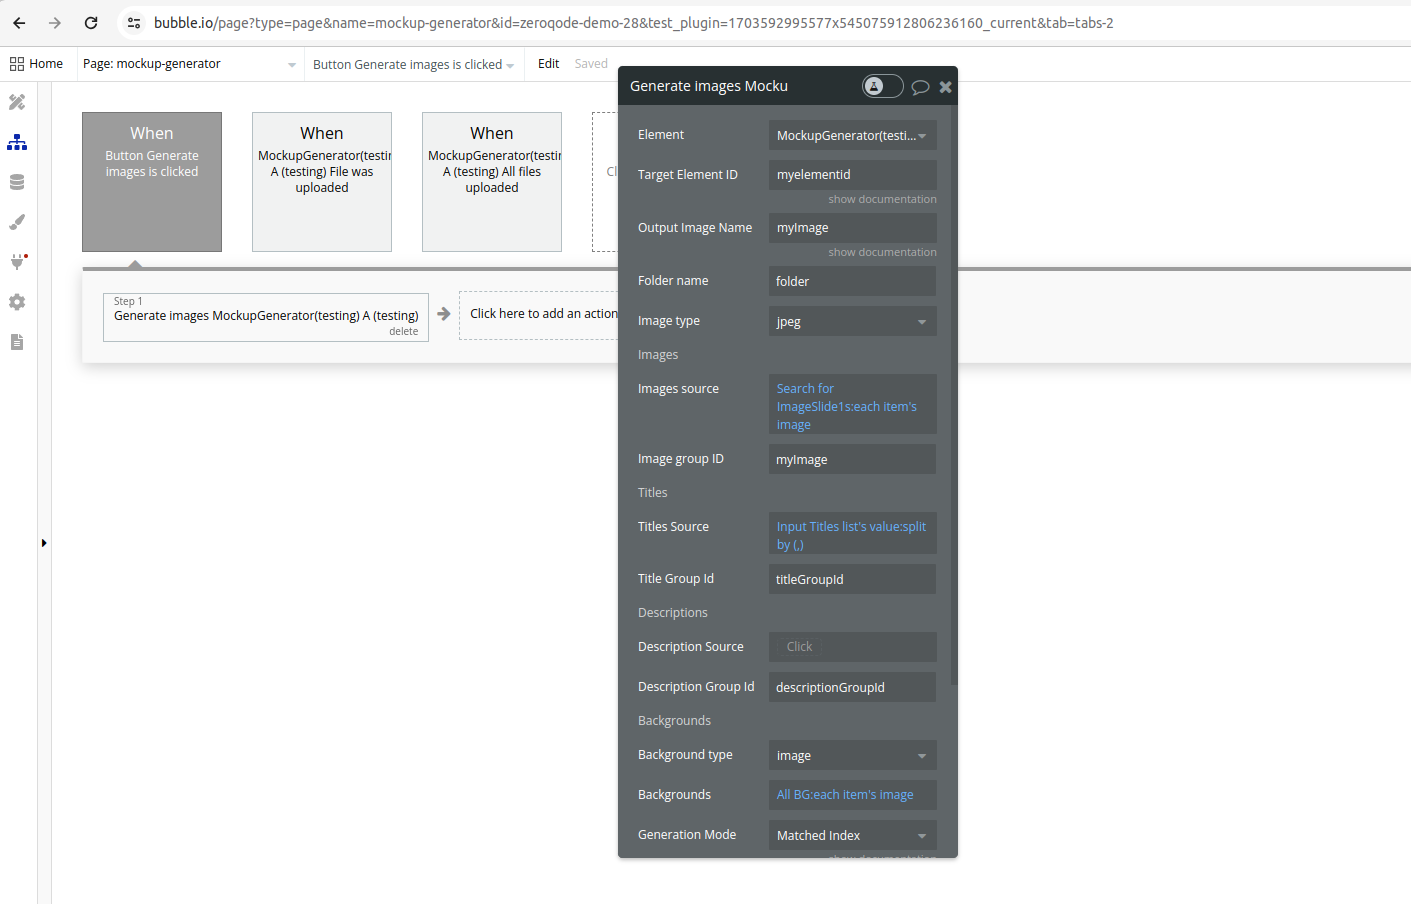
Generate images
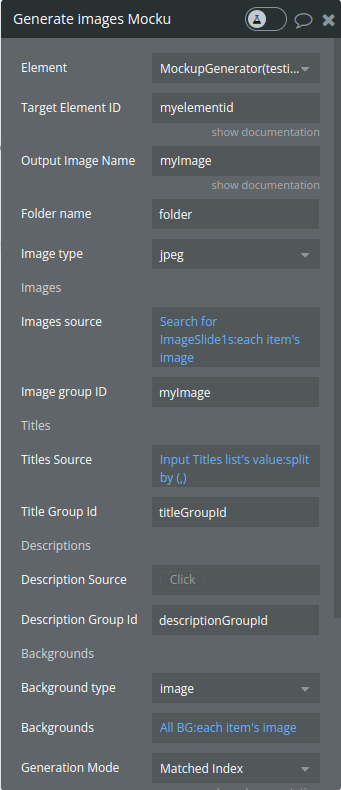
Fields
Title | Description | Type |
Target Element ID | The ID of the element you want to make images of. | Text |
Output Image Name | Name of the new image file. | Text |
Folder name | The name of the folder (used when downloading a ZIP of the images). | Text |
Image type | The file type for the generated images ("png", "jpg"). | Dropdown |
Images source | The source list of image URLs to be used in mockup generation. | List of images |
Image group ID | The ID of the element where images are appended during processing. | Text |
Titles Source | The source list of titles to be applied to the images. | List of texts |
Title Group Id | The ID of the element where the title text is set. | Text |
Description Source | The source list of descriptions to be applied to the images. | List of texts |
Description Group Id | The ID of the element where the description text is set. | Text |
Background type | Specifies the background type ("color" or "image") for the images. | Dropdown |
Backgrounds | The source list of backgrounds to be applied to the images. | List of texts or images |
Generation Mode | Specifies the mode for generating image combinations ("Matched Index" for corresponding index pairing or "All Combinations" for every possible combination). | Dropdown |
Maximum Combinations | Specify the maximum number of combinations to generate. This field limits the total number of mockups created, allowing you to control the output volume for efficiency or to meet specific project requirements. Ensure the number is positive; if left blank or set to zero, all possible combinations will be generated. | Number |
Autosave to PC | Enable or disable automatic saving of the generated images as a ZIP file to the user's PC. | Checkbox |
Save to file manager | Enable or disable uploading of generated images to the Bubble file manager. | Checkbox |
Returned Values
Title | Description | Type |
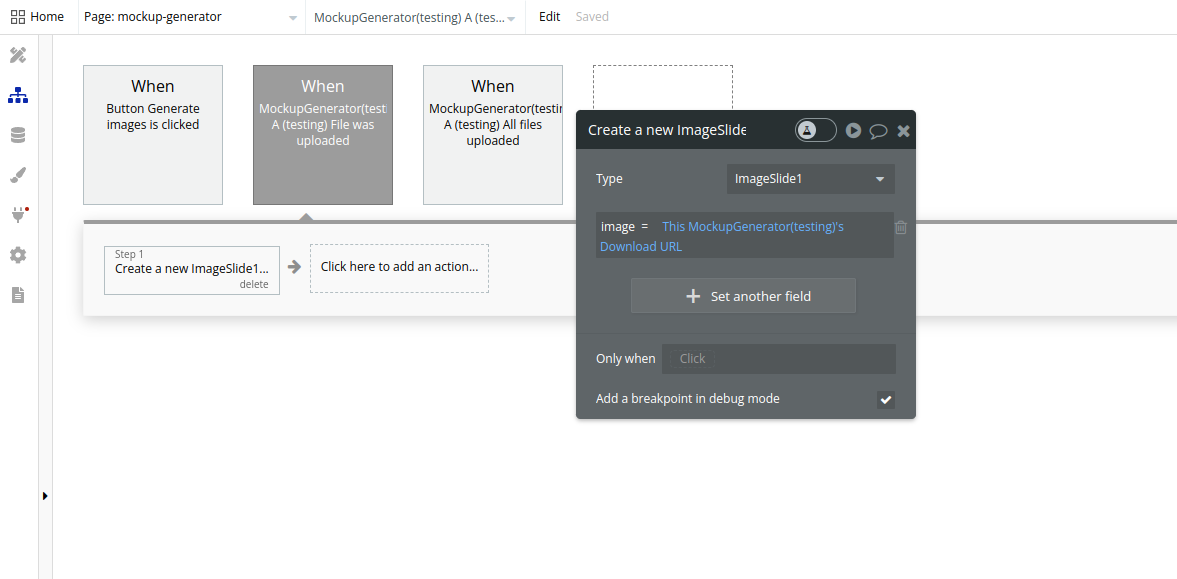
Download URL | Publishes the download URL for each file as it is uploaded. This state is updated multiple times throughout the execution as files are uploaded. | Text |
All Download URLs | An array of all download URLs for files that were uploaded during the execution. This state is published once all uploads are complete. | List of texts |
Events
Title | Description |
File was uploaded | Triggered each time a file is successfully uploaded to the file manager. |
All files uploaded | Triggered once all files have been successfully uploaded to the file manager. |
All images processed | Triggered after all images have been processed, saved/uploaded, and the entire operation is complete. |
When choosing between PNG and JPEG, consider whether your image requires transparency. If transparency is essential, PNG is the appropriate choice despite its potentially larger file size. For images where transparency is not needed, especially if they are photo-heavy and storage or bandwidth is a concern, JPEG might be more suitable due to its highly efficient compression. JPEG does not support transparent backgrounds. It only handles opaque color pixels, which means any area of an image that you might want to be transparent must either be filled with a solid color or simulated by matching the background on which the JPEG will be used.
Workflow example
- Place the Mockup Generator visual element on the page
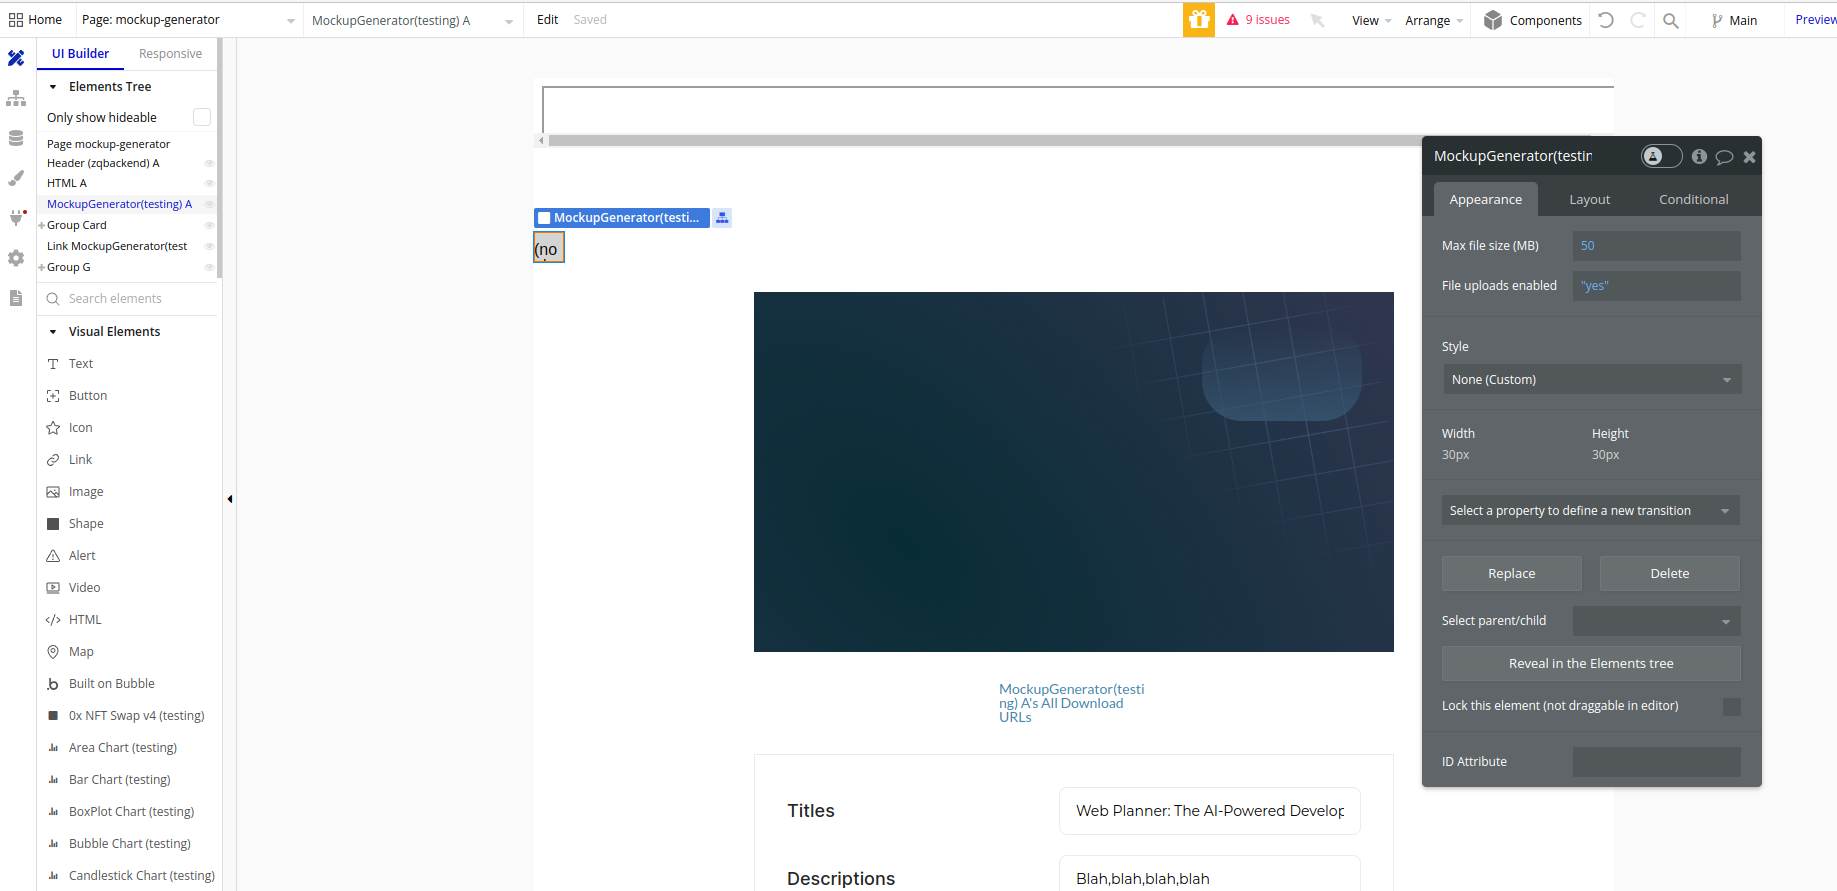
- Set up a workflow, for example, use a button click event to trigger the Generate Images action, set up the fields of the action as you need
- If you want to save the generated mockups to the database separately you can use File was uploaded event to trigger creation of a new object in the database, use the returned state - Download URL for the image to be saved
- If you want to save all the generated mockups in one database object you can use All files uploaded event and All download URLs state
