Link to the plugin page: https://zeroqode.com/plugin/1528983760690x621392331142594600
Demo to preview the plugin:
Introduction
Now you can control your app using only the keyboard. This plugin allows you to set keyboard shortcuts for specific actions in your app, and even override default browser shortcuts.
Set your own keyboard shortcuts, including overriding default browser shortcuts, to open/close menus, popups, submit forms, and more. There are no limits.

How to setup
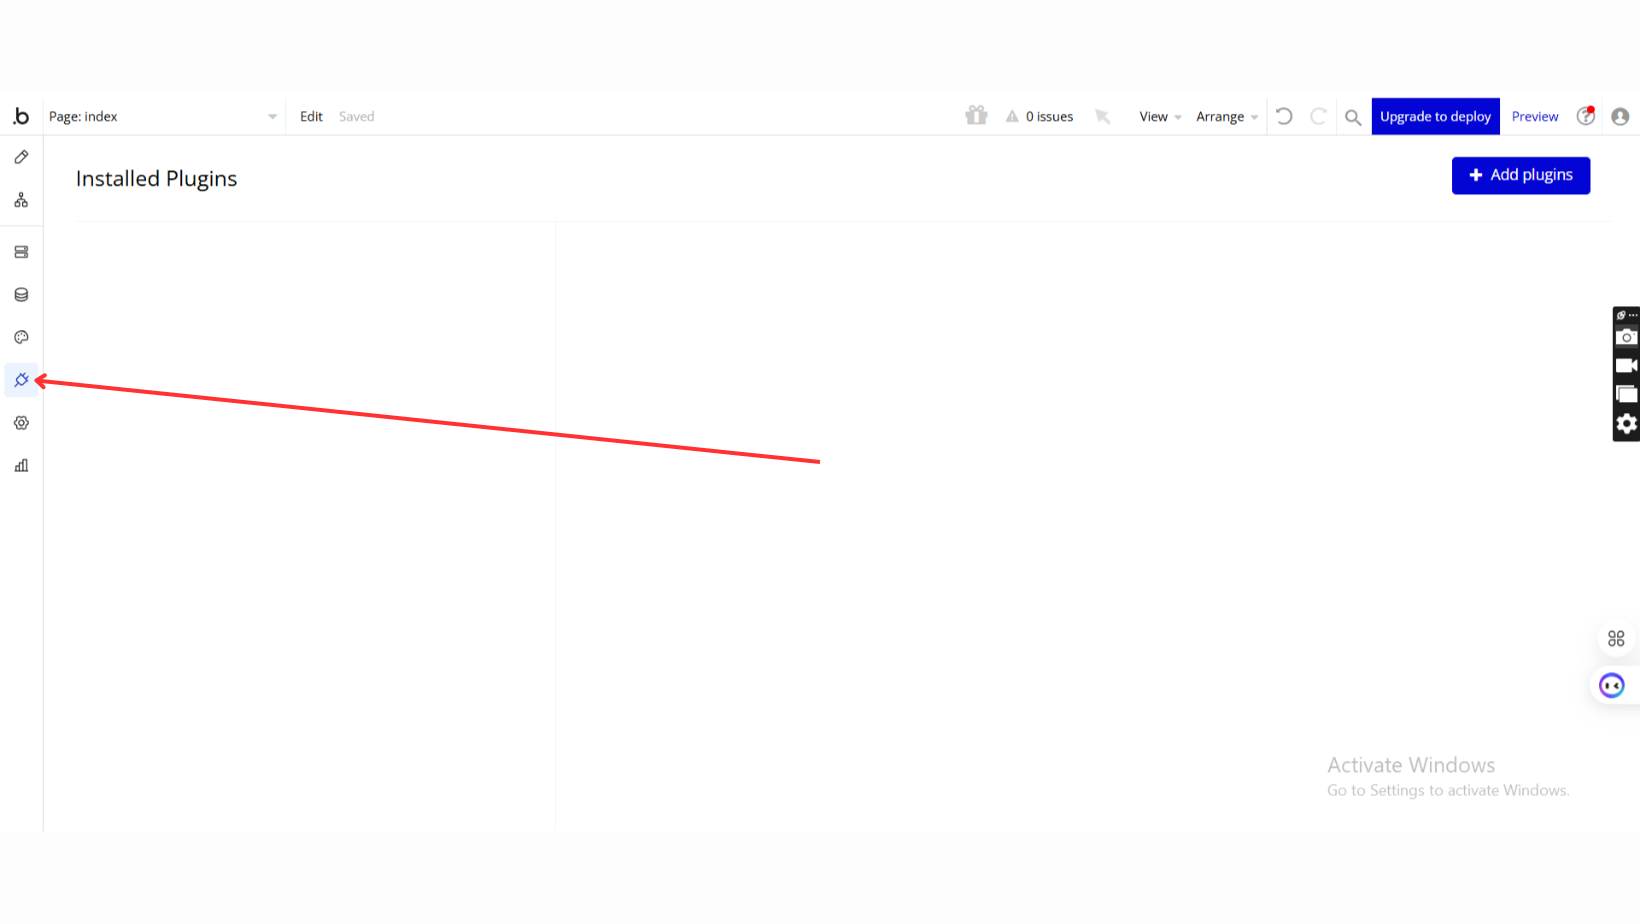
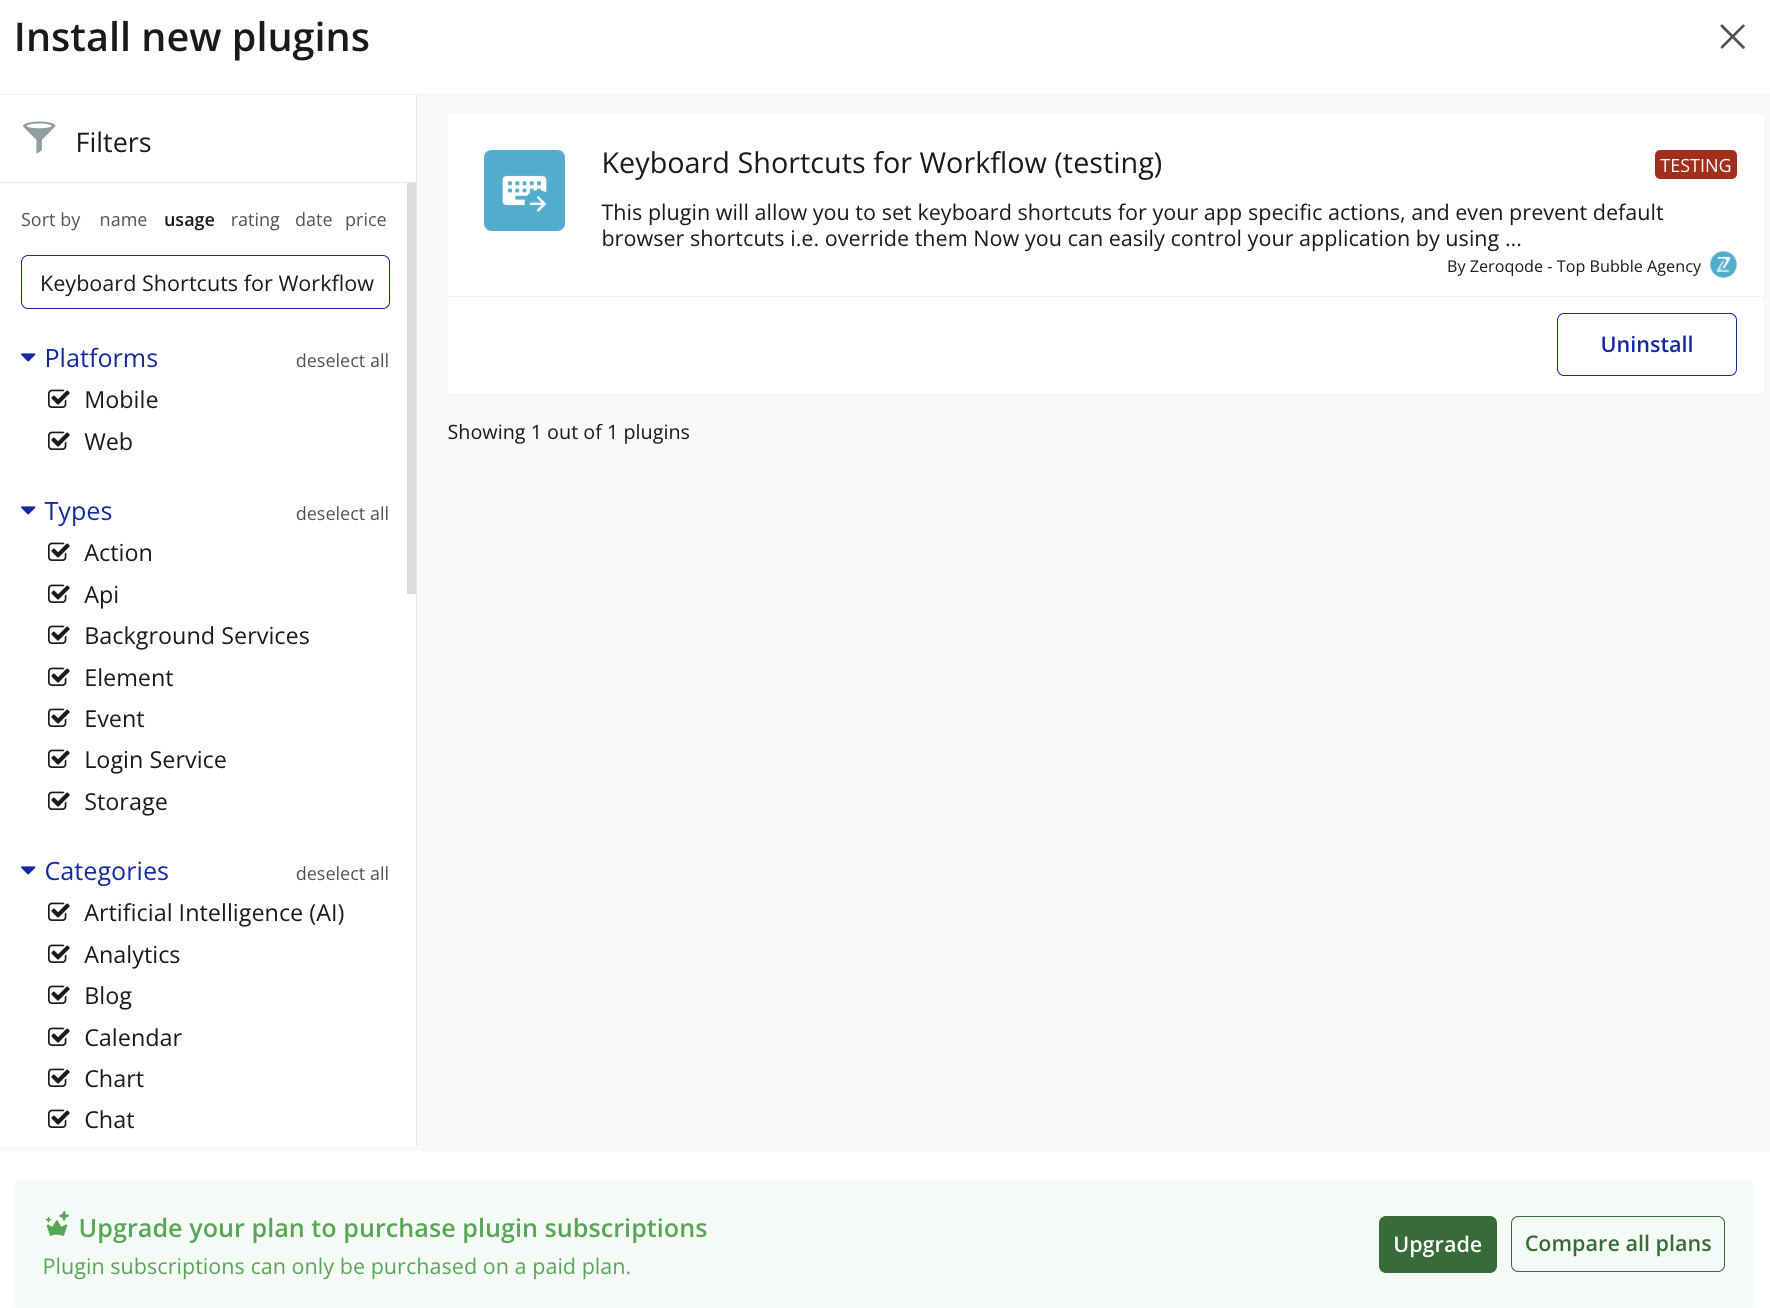
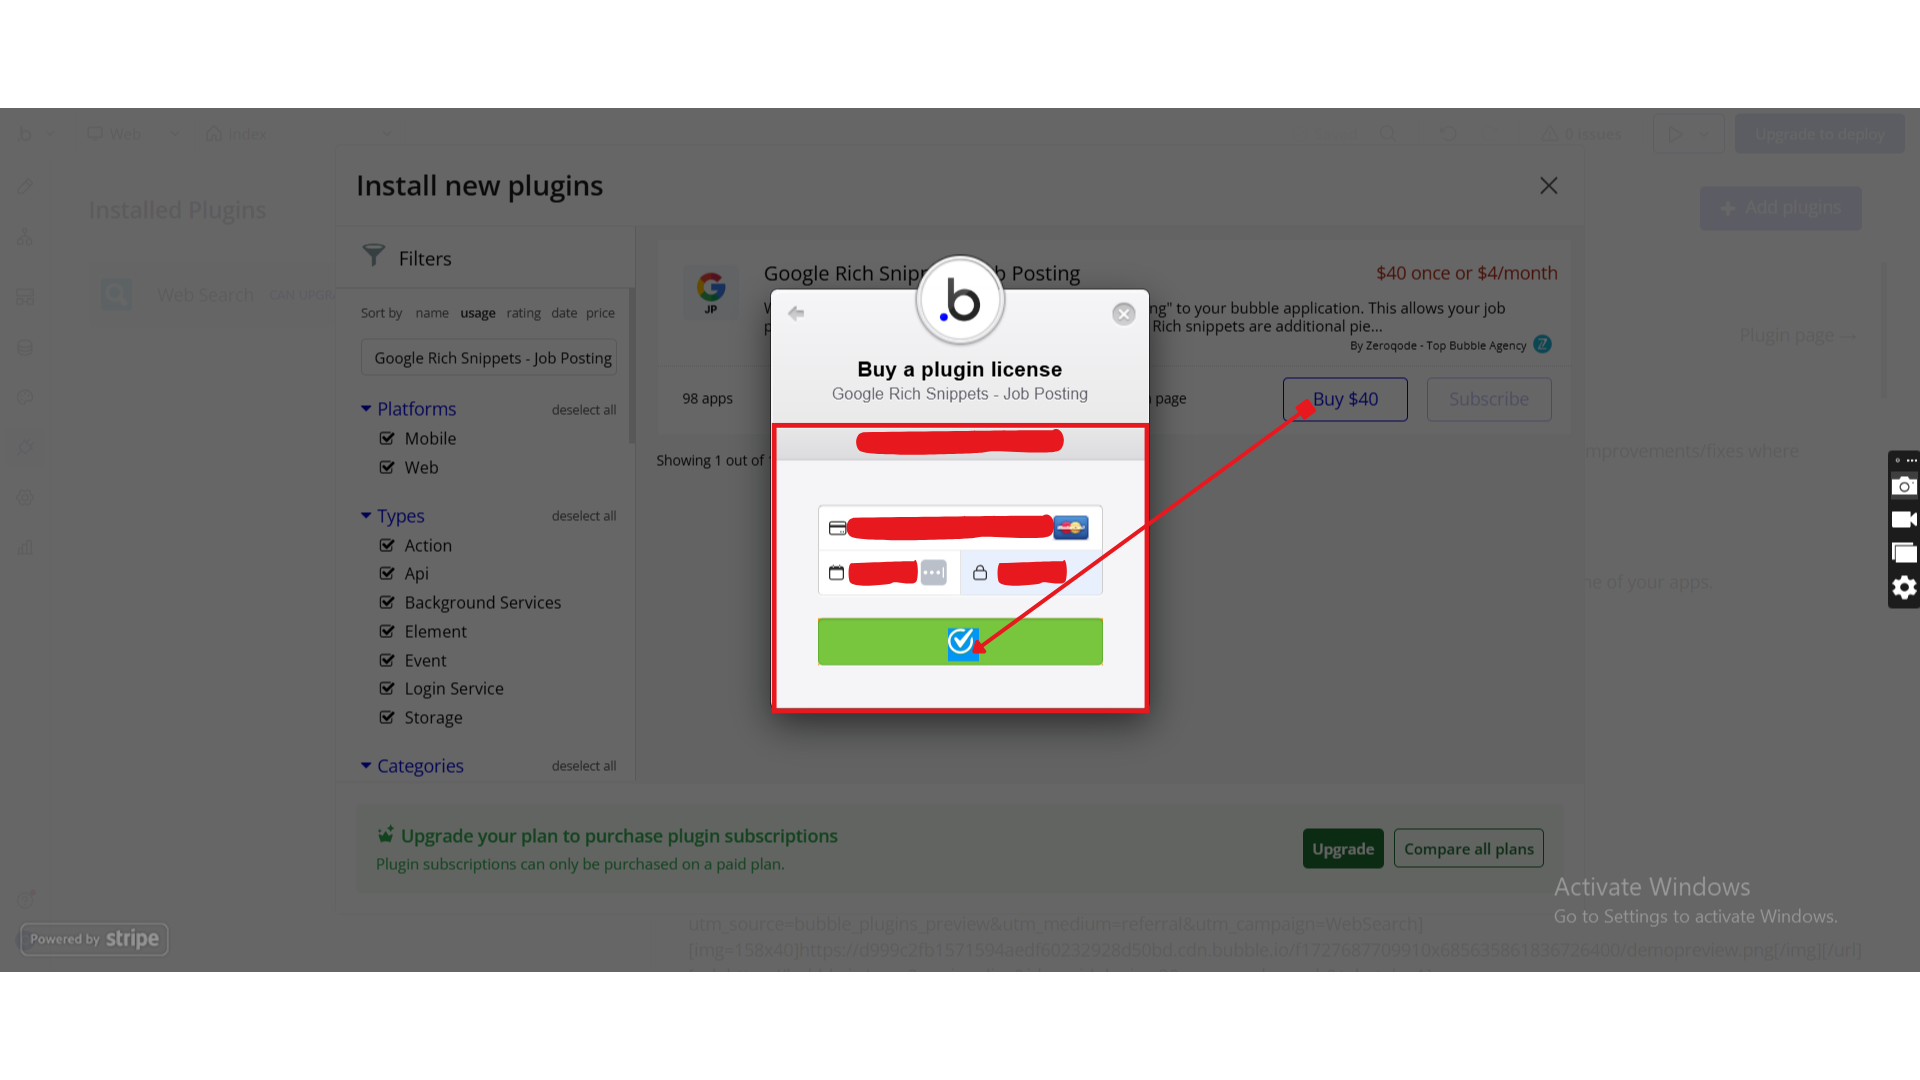
Step 1 – Install the Plugin


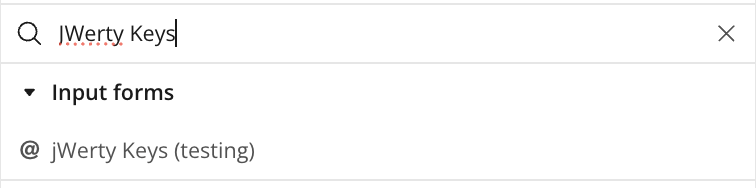
Step 2 – Add the Plugin Element to Your Page
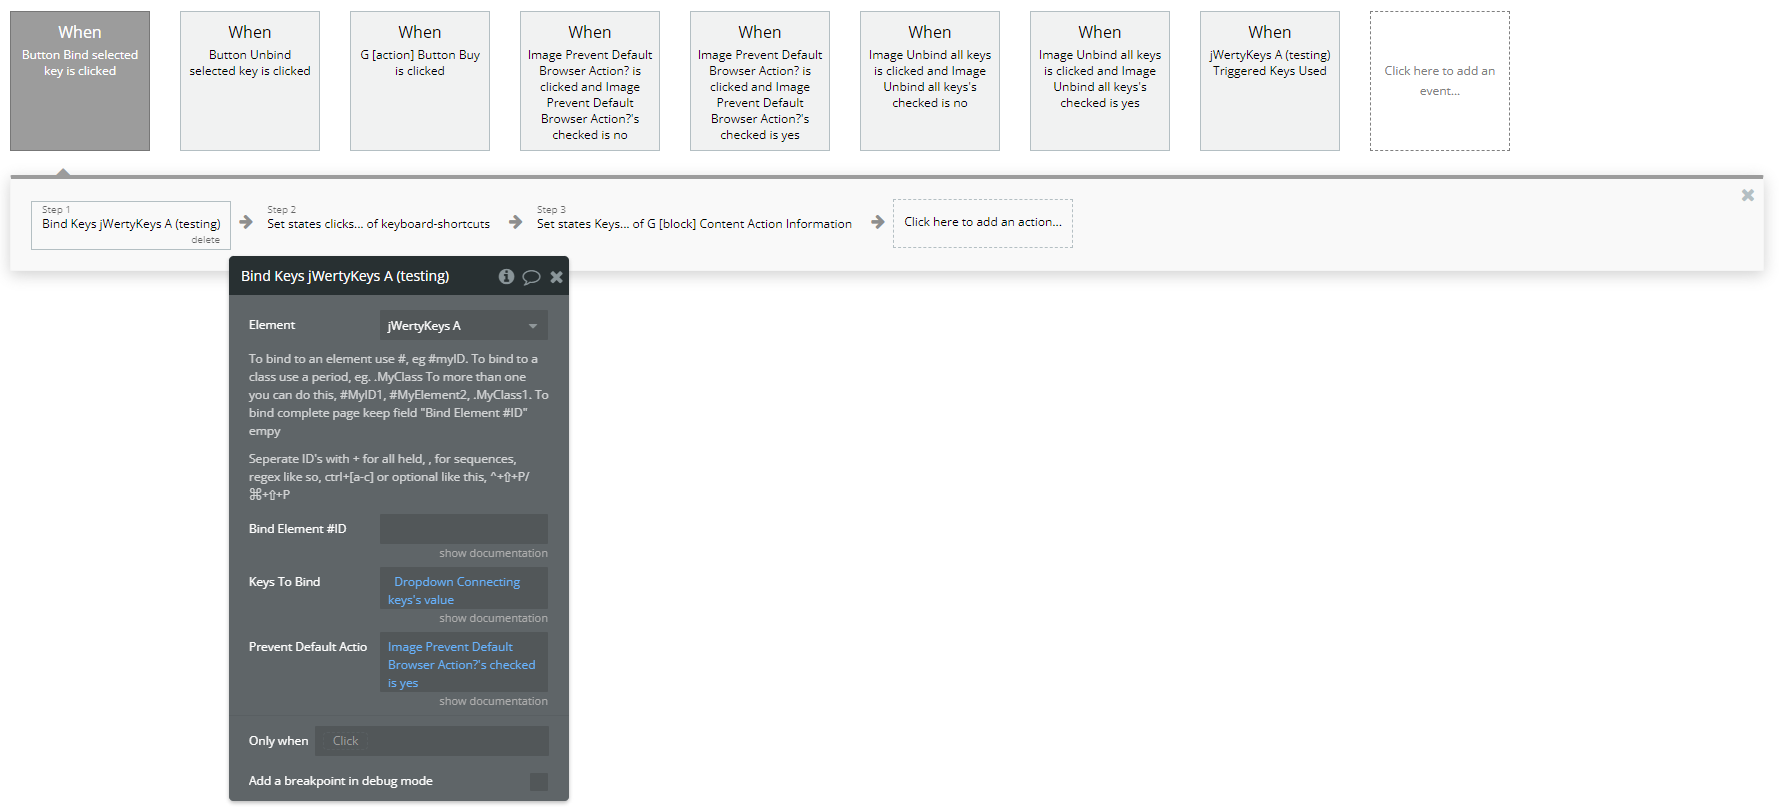
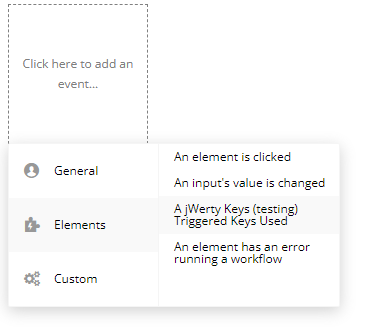
Step 3 - Capture Keystrokes and Execute Actions
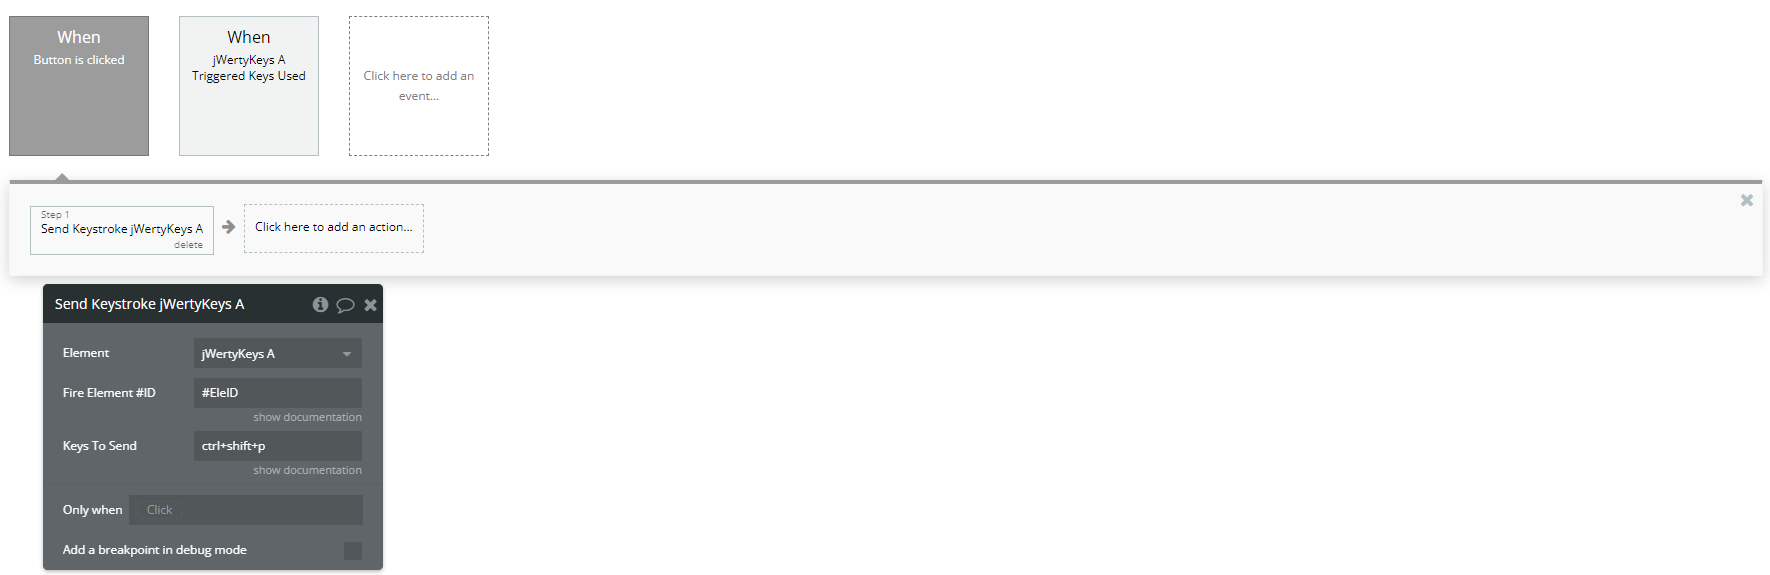
Step 4 - Simulate a Key Press
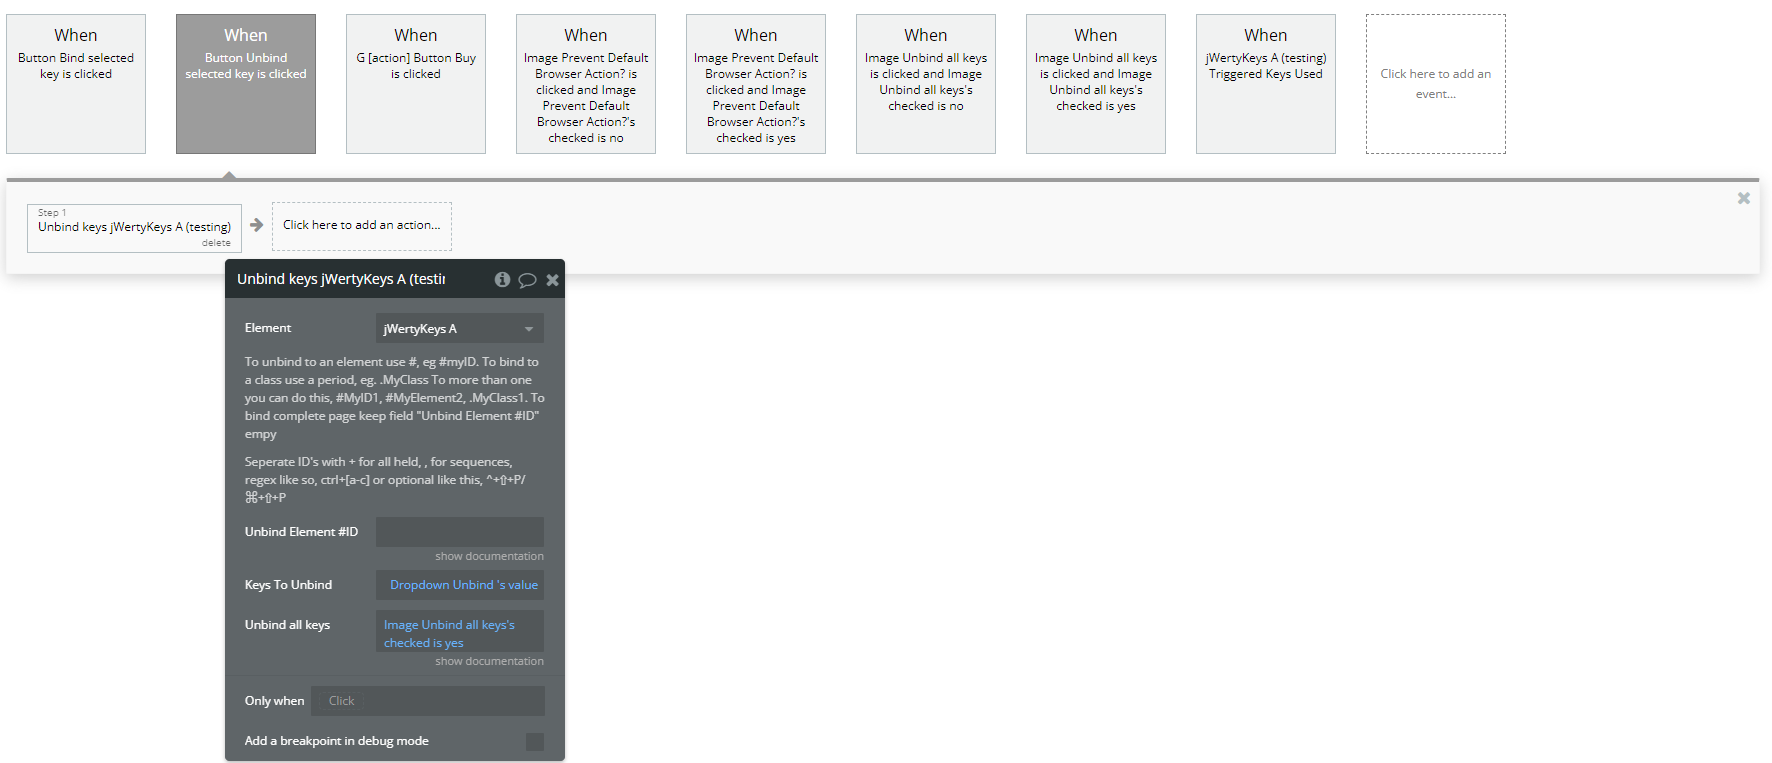
Step 5 - Remove Keyboard Shortcuts
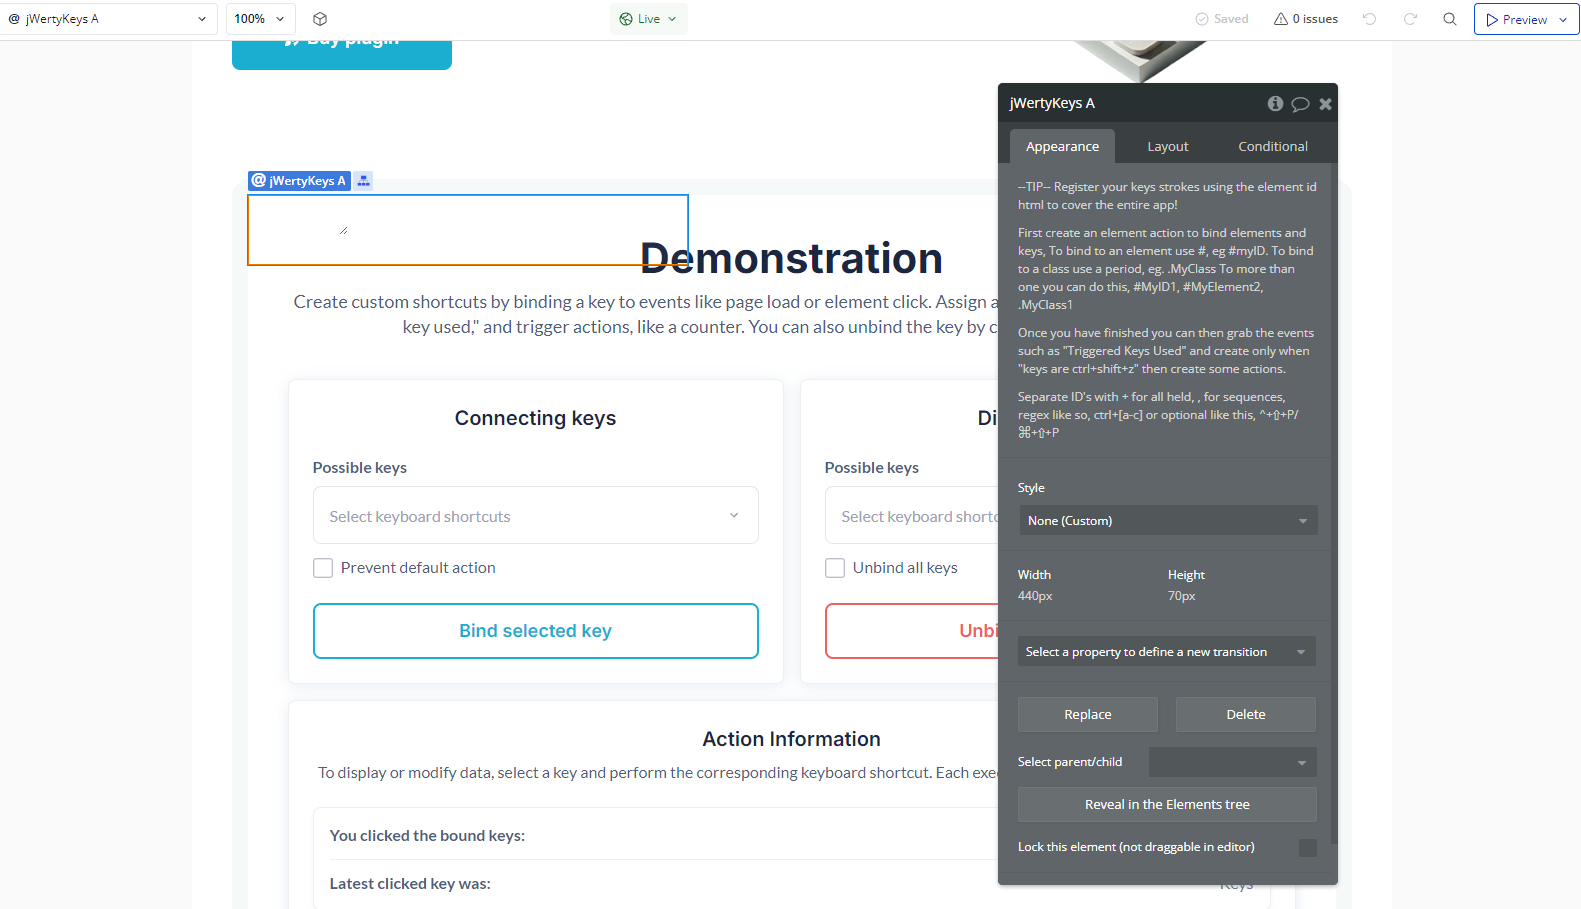
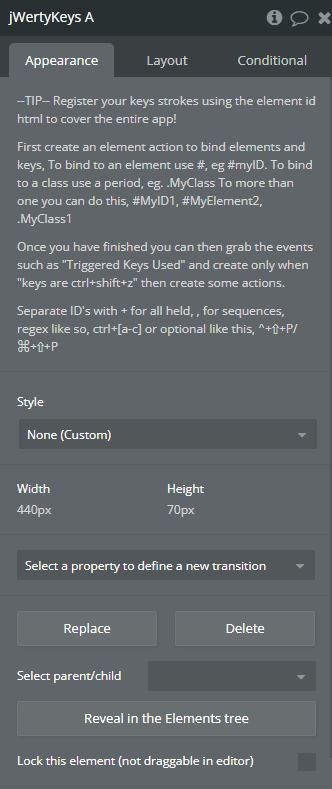
Plugin Element - jWerty Keys
Register your keys strokes using the element id html to cover the entire app!
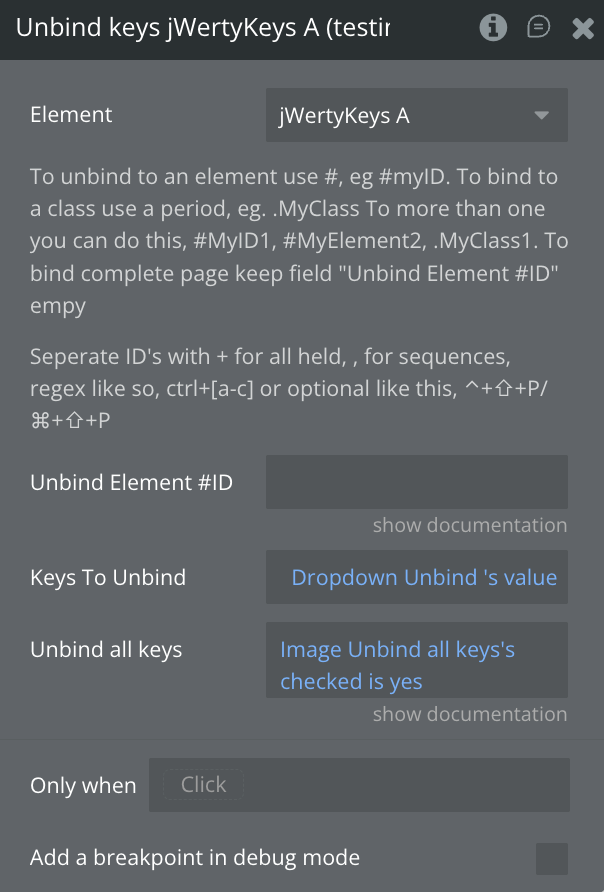
First create an element action to bind elements and keys, To bind to an element use #, eg #myID. To bind to a class use a period, eg. .MyClass To more than one you can do this, #MyID1, #MyElement2, .MyClass1. Once you have finished you can then grab the events such as “Triggered Keys Used” and create only when “keys are ctrl+shift+z” then create some actions. Separate ID’s with + for all held, , for sequences, regex like so, ctrl+[a-c] or optional like this, ⌃+⇧+P/⌘+⇧+P
Element Actions
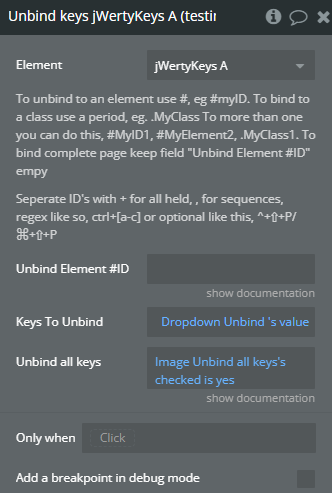
Unbind keys - Unbinds Keys
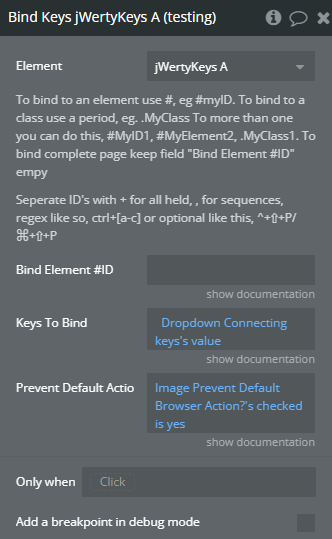
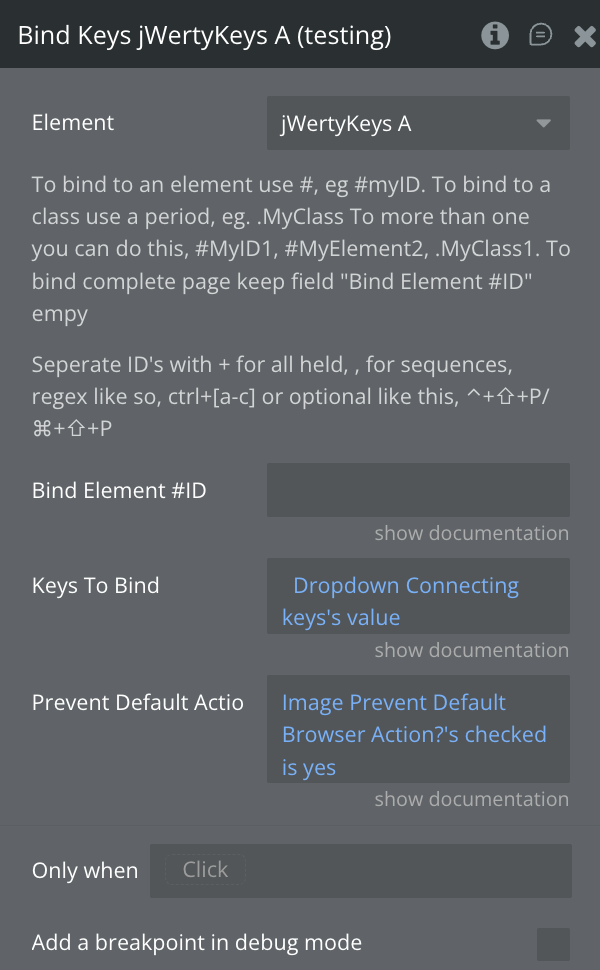
Bind Keys - Bind Keys
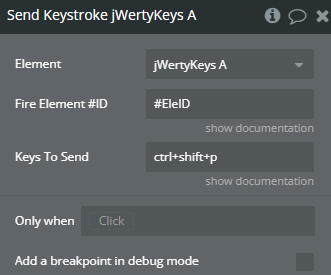
Send Keystroke - Send Keystroke
Exposed states
Title | Description | Type |
Triggered Keys | Displays or specifies the exact keyboard keys detected during the event (e.g., Enter, Shift+Tab, Ctrl+K). Useful for logging, debugging shortcuts, or conditionally handling key presses. | Text |
Triggered Element Value | Shows the current value or content of the element that fired the event at that moment (e.g., the text in an input, the selected option in a dropdown, or the inner text of a contenteditable). Helps validate what the user has entered or selected when the event occurs. | Text |
Element Events
Title | Description |
Triggered Keys Used | Triggered when a Key is used |
Workflow example
Here’s an example of how you might use the Keyboard Shortcuts for Workflow plugin:
- Setup the jWerty Keys element:
- Add the Timer element to your page
- Set up Binding shortcuts
- Add a dropdown with the following options:
- cmd + c/ctrl + c
- ctrl + shift + q/cmd+shift+q
- ctrl+p/cmd + p
- ctrl+shift+e
- ctrl+shift+r
- cmd + v/ctrl + v
- Add a button that will trigger the Bind Keys plugin action
- Set up Unbinding shortcuts
- Add a dropdown with the following options:
- cmd + c/ctrl + c
- ctrl + shift + q/cmd+shift+q
- ctrl+p/cmd + p
- ctrl+shift+e
- ctrl+shift+r
- cmd + v/ctrl + v
- Add a button that will trigger the UnBind Keys plugin action