Link to the plugin page: https://zeroqode.com/plugin/1529940532673x455144378943668200
Demo to preview the plugin:
Live Demo: https://zeroqode-demo-07.bubbleapps.io/tilt
Introduction
Try Tilt Elements on Mouse Movement no-code plugin to add tilt effects to any Bubble element. The tilt function is initiated from the workflow by running the “setup Tilt” action.
Here’s how it works:
1. Add a unique ID to one or more elements.
2. Indicate these elements in the tilt workflow.
3. Watch your UI shine with this unique effect.

How to setup
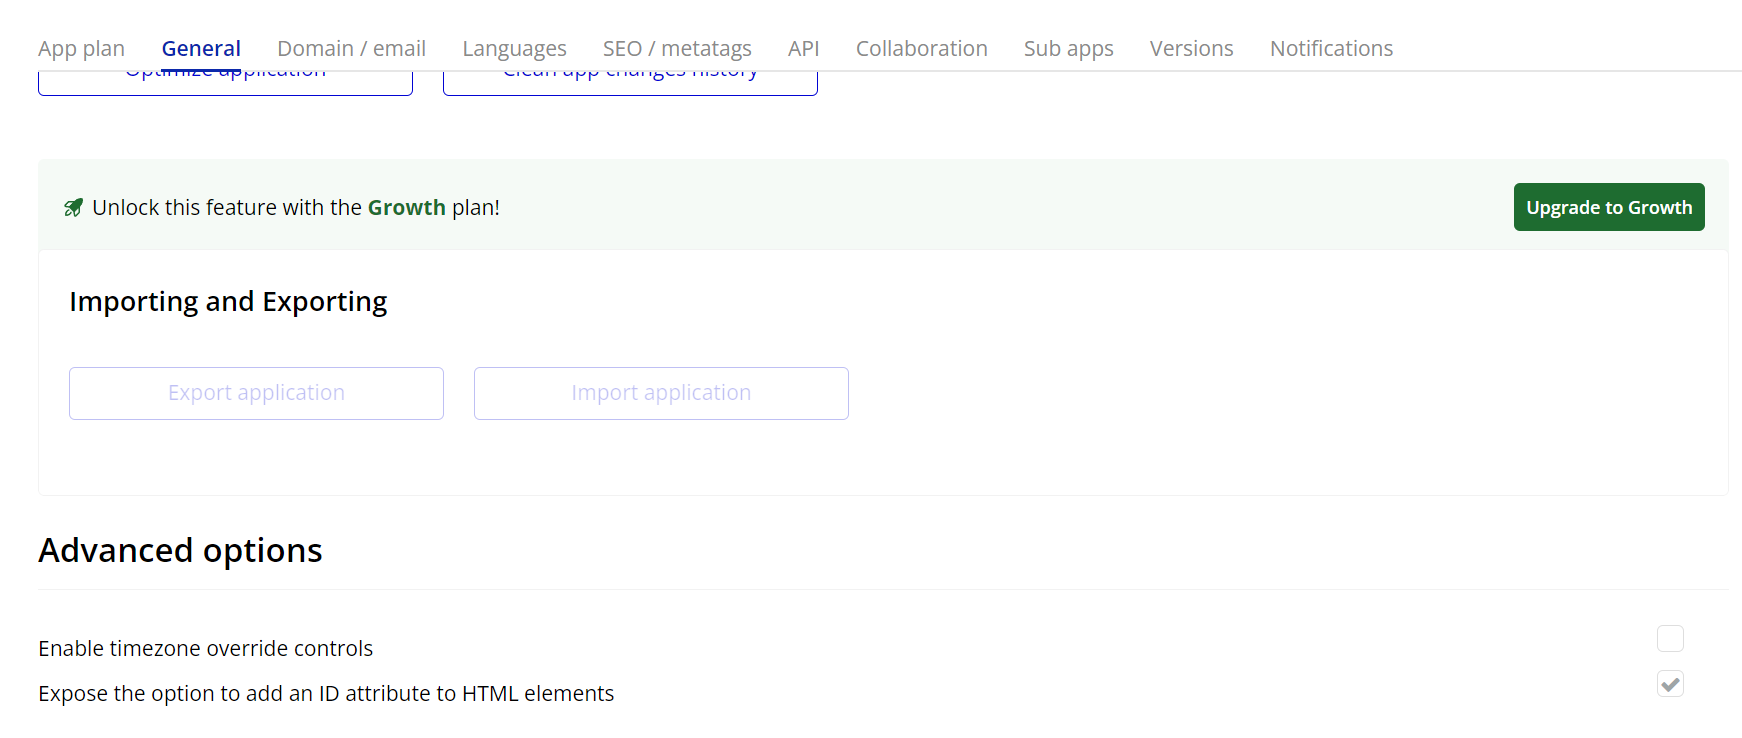
- Enable ID Attributes
Go to the settings page in your editor. Under the General tab click on the checkbox “Expose the option to add an ID attribute to HTML elements”
- Add an Element
- In the Bubble Editor, insert an element where you want to apply the tilt effect, such as:
- Image
- Button
- Group
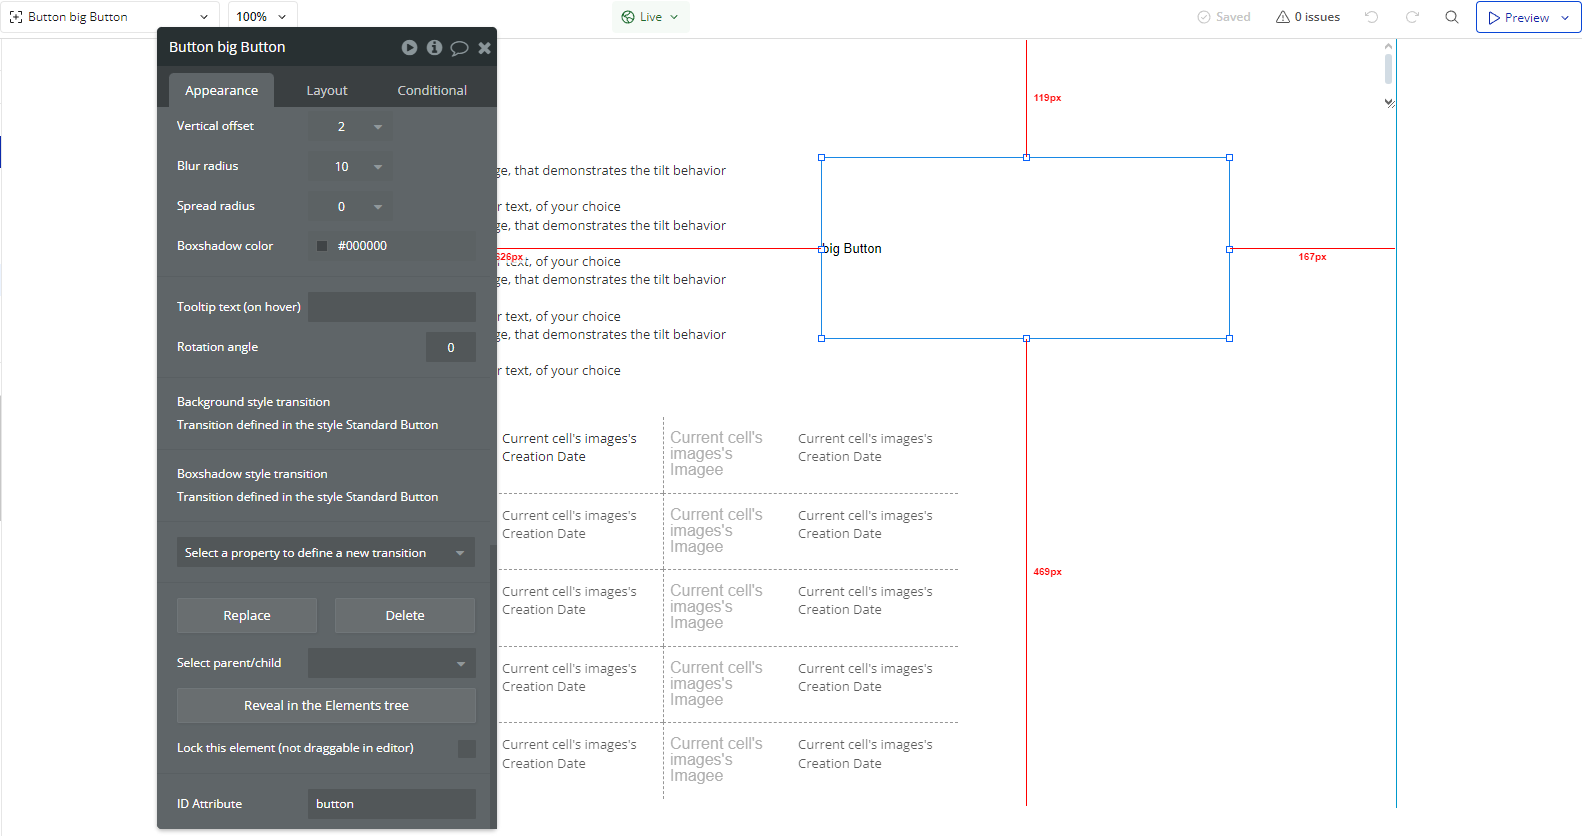
- Assign a unique ID to the element:
- Open the Properties panel.
- Locate the ID Attribute field.
- Enter a unique name.

- Configure the "Setup Tilt" Action
- Go to the Workflow tab.
- Click Add an Event and select a trigger to activate the effect, such as:
- When Page is loaded (if you want the effect to be always active).
- When an element is hovered (if you want the effect only when hovering).
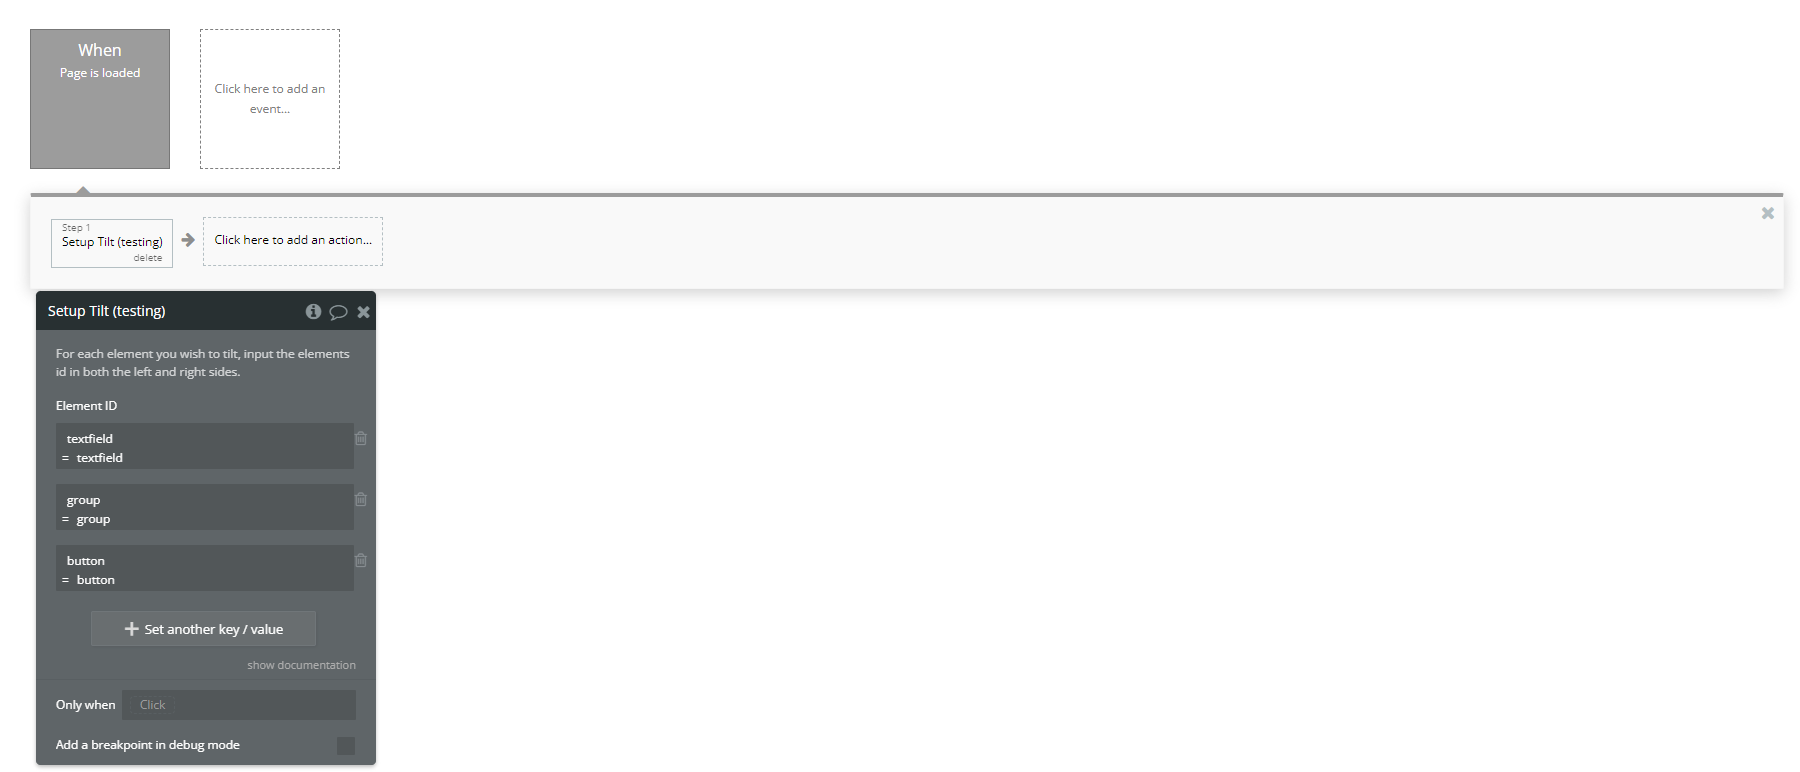
- Click Add an Action and select Setup Tilt.
- Fill in the action parameters:
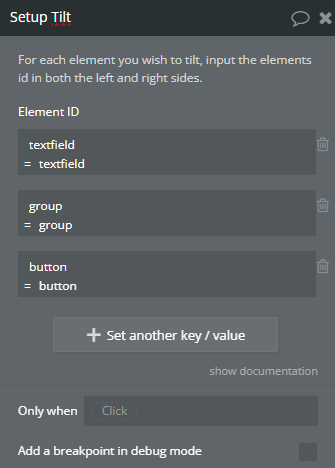
- Element ID: Add each element's ID by creating key-value pairs:
- textfield =
textfield - group =
group - button =
button
Plugin Actions
- Setup Tilt - Essa ação permite adicionar um efeito de inclinação a vários elementos, bastando informar seus IDs únicos. O efeito será ativado conforme o usuário mover o mouse sobre os elementos.
Title | Description | Type |
For each element you wish to tilt, input the elements id in both the left and right sides. | ||
Element ID | Element ID | List of key/value reperesenting text |