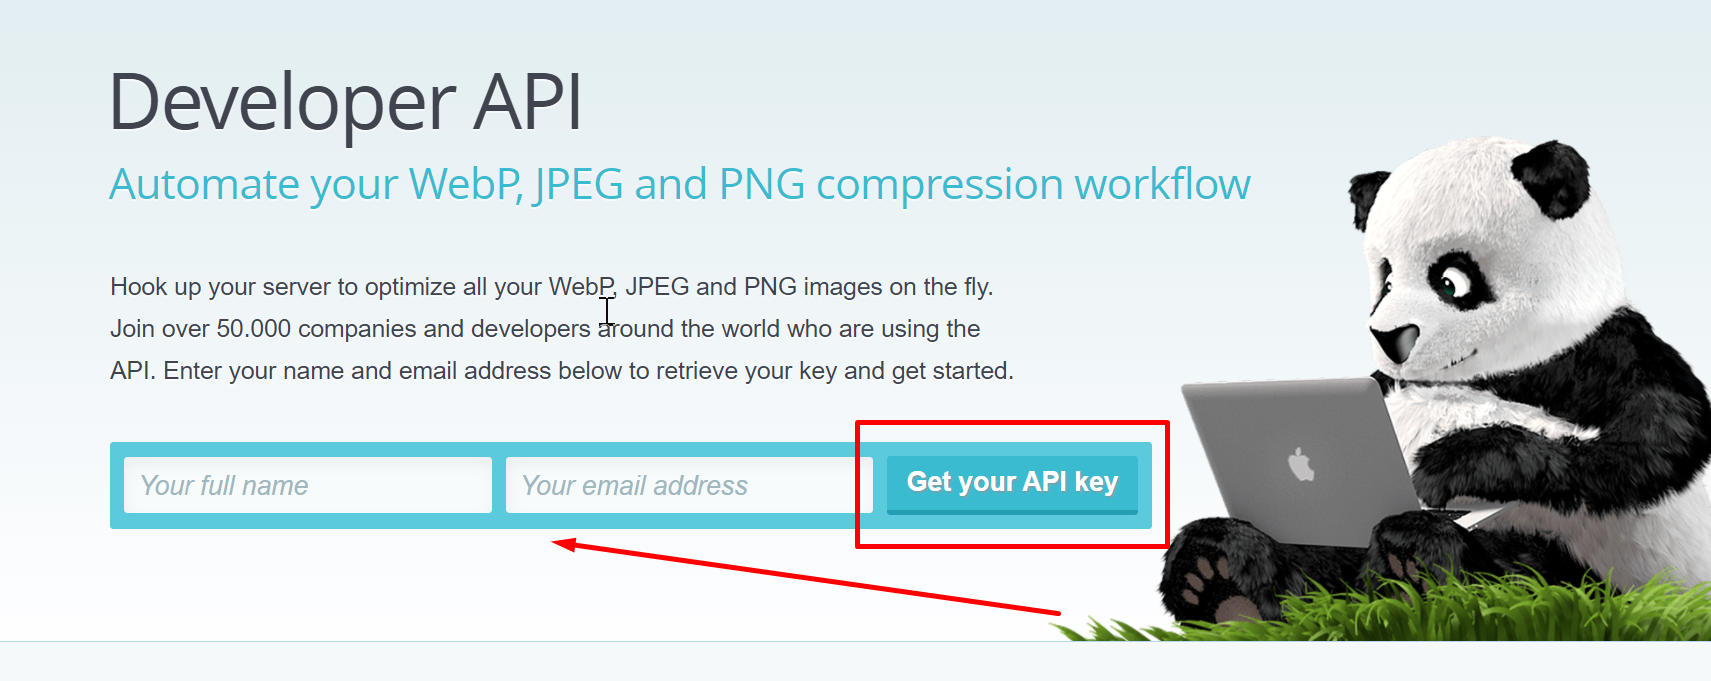
Once on your developer dashboard, create and copy your API key.
Finally:
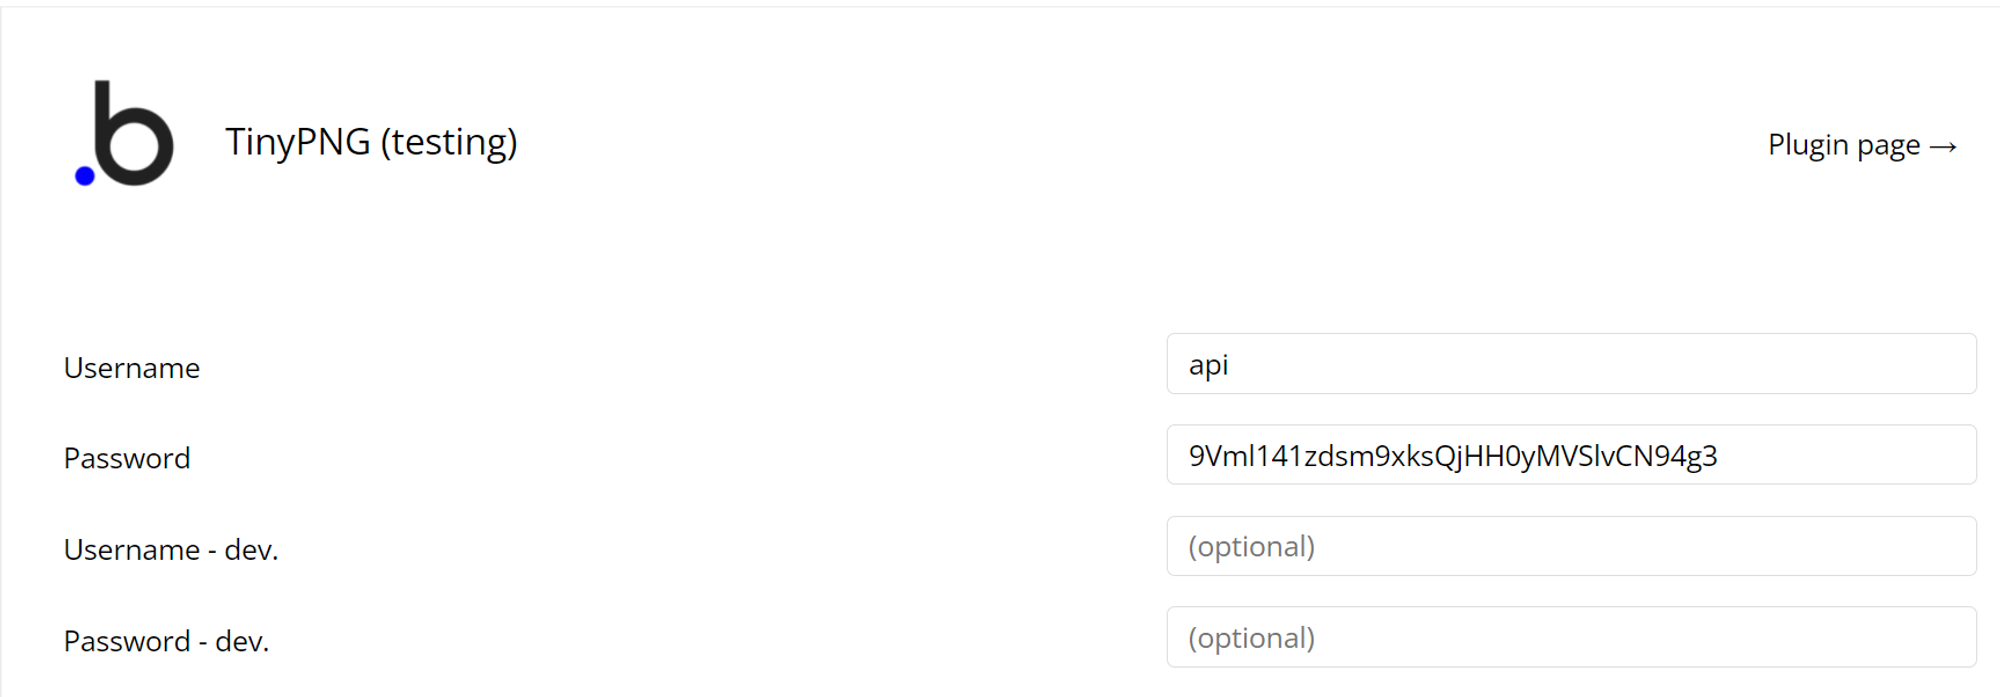
Paste your API key in the plugin settings, under the Password field.
Set the Username field to "api"
Plugin API calls
Plugin Data Calls
Use a previously compressed image
The compressed image can be retrieved by using the URL in the Location header from the Upload and compress an image call
Name
Description
Type
Url
URL in the Location header from the Upload and compress an image call
Text
Return Values: Return type: image
Upload and compress an image
You can upload any WebP, JPEG or PNG image to the Tinify API to compress it. We will automatically detect the type of image and optimise with the TinyPNG or TinyJPG engine accordingly. Compression will start as soon as you upload a file or provide the URL to the image.
Use the API to create resized versions of your uploaded images. By letting the API handle resizing you avoid having to write such code yourself and you will only have to upload your image once. The resized images will be optimally compressed with a nice and crisp appearance.
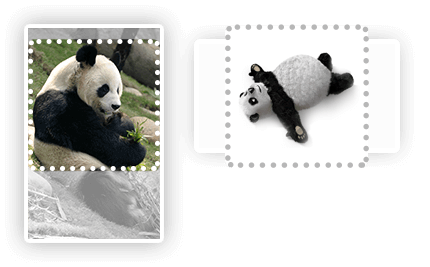
You can also take advantage of intelligent cropping to create thumbnails that focus on the most visually important areas of your image.
Resizing counts as one additional compression. For example, if you upload a single image and retrieve the optimized version plus 2 resized versions this will count as 3 compressions in total.
Name
Description
Type
Url
URL in the Location header from the Upload and compress an image call
Text
Method
See description below
Text
Width
Width(pixels)
Number
Height
Height(pixels)
Number
The method describes the way your image will be resized. The following methods are available:
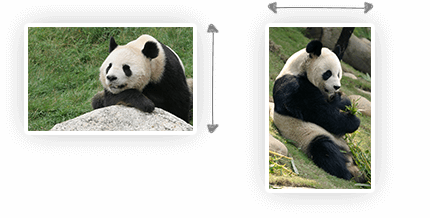
scaleScales the image down proportionally. You must provide either a target width or a target height, but not both. The scaled image will have exactly the provided width or height.
fitScales the image down proportionally so that it fits within the given dimensions. You must provide both a width and a height. The scaled image will not exceed either of these dimensions.
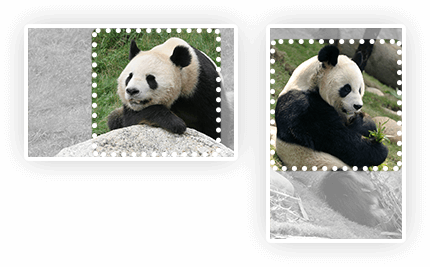
coverScales the image proportionally and crops it if necessary so that the result has exactly the given dimensions. You must provide both a width and a height. Which parts of the image are cropped away is determined automatically. An intelligent algorithm determines the most important areas of your image.
thumbA more advanced implementation of cover that also detects cut out images with plain backgrounds. The image is scaled down to the width and height you provide. If an image is detected with a free standing object it will add more background space where necessary or crop the unimportant parts. This feature is new and we’d love to hear your feedback!
If the target dimensions are larger than the original dimensions, the image will not be scaled up. Scaling up is prevented in order to protect the quality of your images.
Return Values: Return type: image
Convert and transform an uploaded image
You can use the API to convert your images to your desired image type. Tinify currently supports converting between WebP, JPEG, and PNG. When you provide more than one image type in your convert request, the smallest version will be returned to you.
Image converting will count as one additional compression.
If you wish to convert an image with a transparent background to one with a solid background, specify a background property in the transform object. If this property is provided, the background of a transparent image will be filled.
Name
Description
Type
Url
URL in the Location header from the Upload and compress an image call
Text
Type
Your desired image types. The following options are available as a type:
One image type, specified as a string "image/webp".
Multiple image types, specified as an array ["image/webp","image/png"]. The smallest of the provided image types will be returned.
The wildcard "*/*" returns the smallest of Tinify's supported image types, currently WebP, JPEG and PNG.
Text
Background
Include a background property to fill a transparent image's background. The following options are available to specify a background color:
A hex value. Custom background color using the color's hex value: "#000000".
"white" or "black". Only the colors white and black are supported as strings.
You must specify a background color if you wish to convert an image with a transparent background to an image type which does not support transparency (like JPEG).
Text(color)
Return Values: Return type: image
Send a resized image to S3
You can tell the Tinify API to save compressed images directly to Amazon S3. If you use S3 to host your images this saves you the hassle of downloading images to your server and uploading them to S3 yourself.
Name
Description
Type
Url
URL in the Location header from the Upload and compress an image call
Text
Access key
Your AWS access key ID and secret access key. These are the
credentials to an Amazon AWS user account. Find out how to obtain them
in Amazon’s documentation. The user must have the correct permissions,
see plugin doc for details.
Text
Secret access key
Your AWS access key ID and secret access key. These are the
credentials to an Amazon AWS user account. Find out how to obtain them
in Amazon’s documentation. The user must have the correct permissions,
see plugin doc for details.
Text
Path
The path at which you want to store the image including the bucket
name. The path must be supplied in the following format:
<bucket>/<path>/<filename>
Text
S3 Region
The AWS region in which your S3 bucket is located.
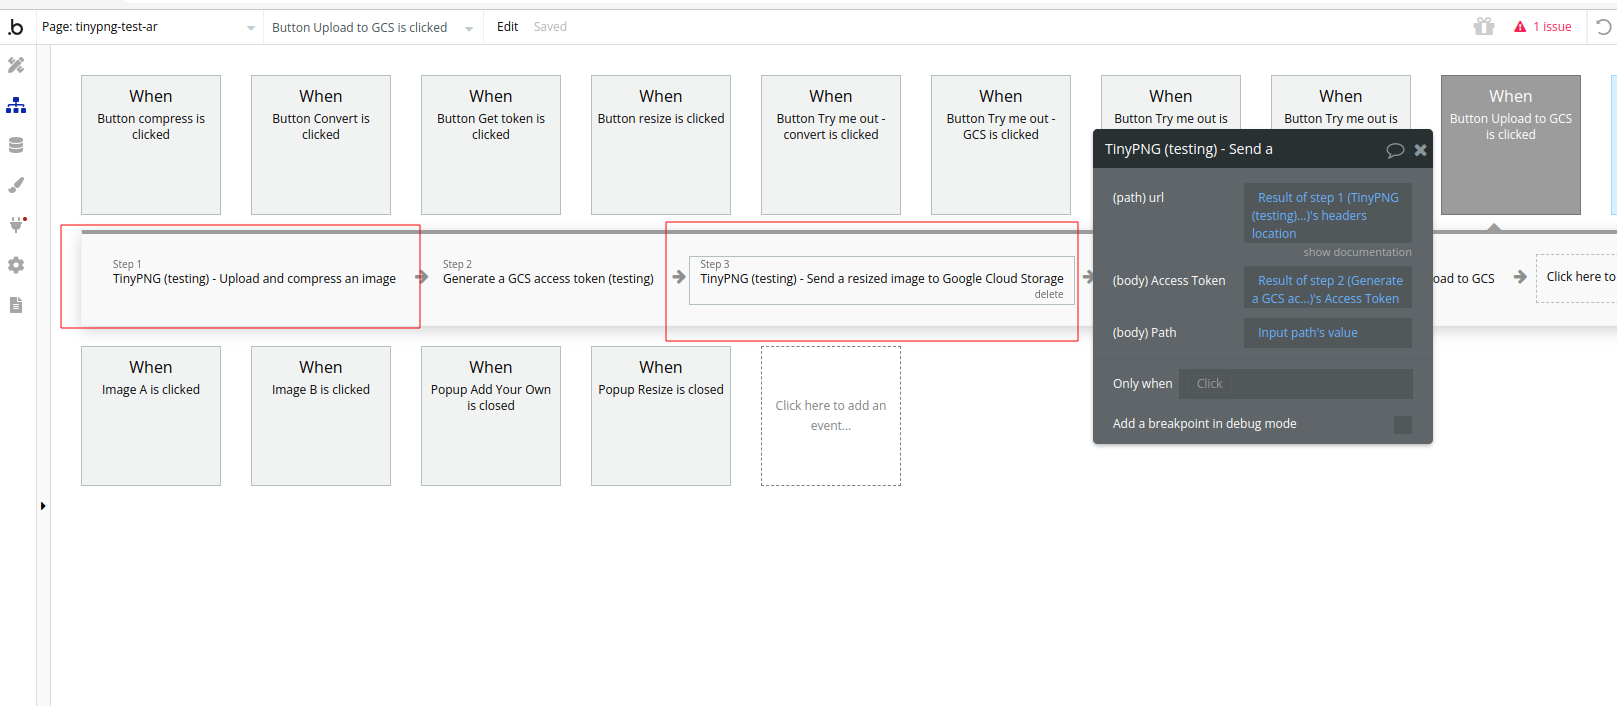
You can tell the Tinify API to save compressed images directly to Google Cloud Storage. If you use GCS to host your images this saves you the hassle of downloading images to your server and uploading them to GCS yourself.
Before you can store an image in GCS you will need to generate an access token with a service account.
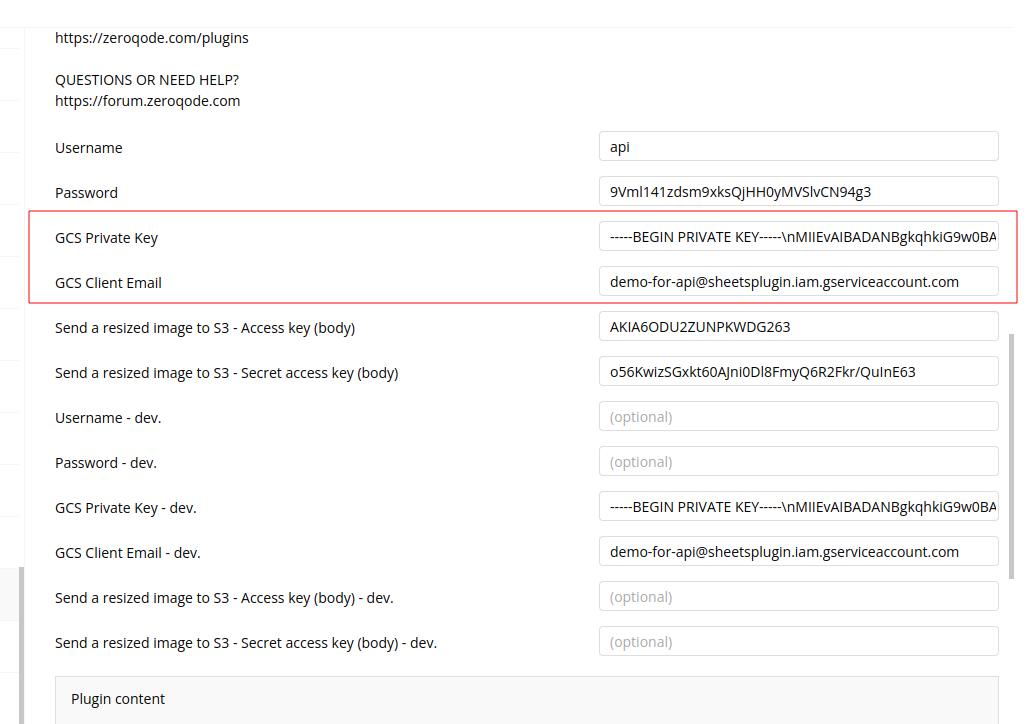
Make sure you added the necessary keys in the plugin settings
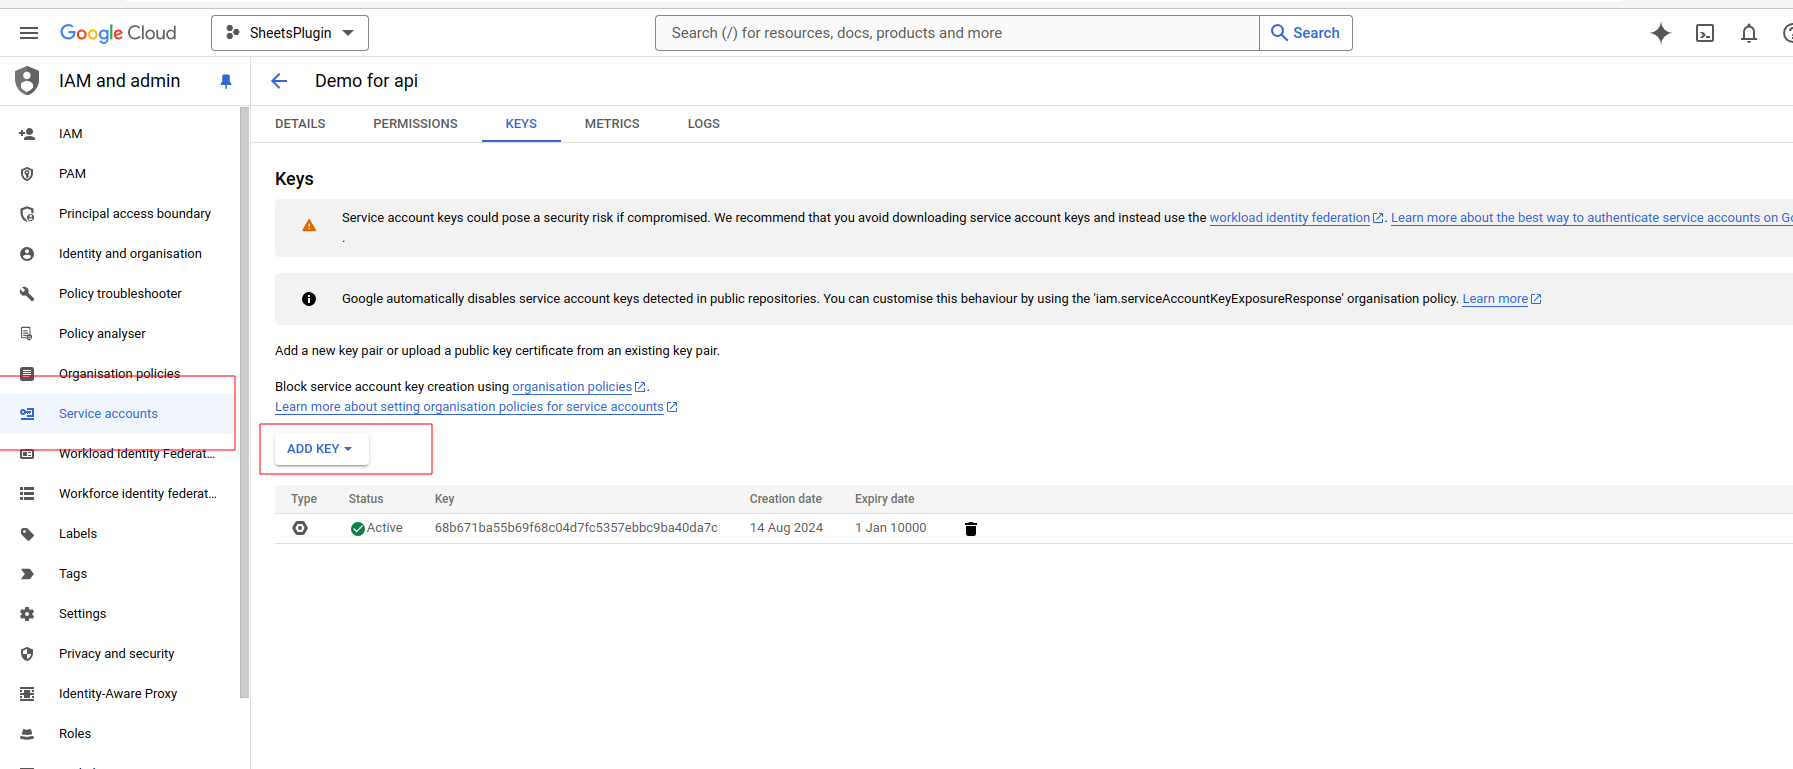
For this you need to generate a service account key
This will create a JSON file with the necessary Private Key and Client Email.
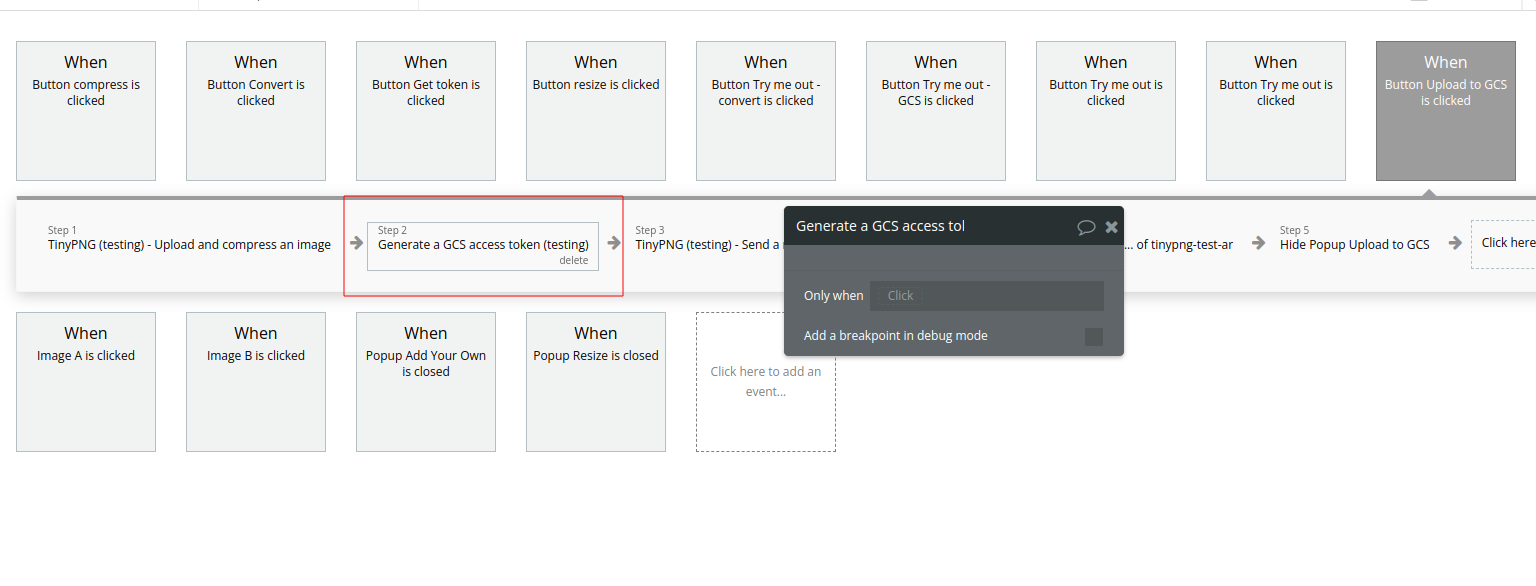
After filling this in plugin settings you need to generate an Access token with the server side action.
Then you can resize an image and use the returned url to upload the resized file to GCS
Name
Description
Type
Url
URL in the Location header from the Upload and compress an image call
Text
Access Token
The access token for authenticating to Google's Cloud Platform. Find out how to generate these tokens with the example above.
Text
Path
The path at which you want to store the image including the bucket name. The path must be supplied in the following format: <bucket>/<path>/<filename>.
Text
Resize an uploaded image (Only scale)
Similar to Resize an uploaded image call but used just for scaling images
Workflow example
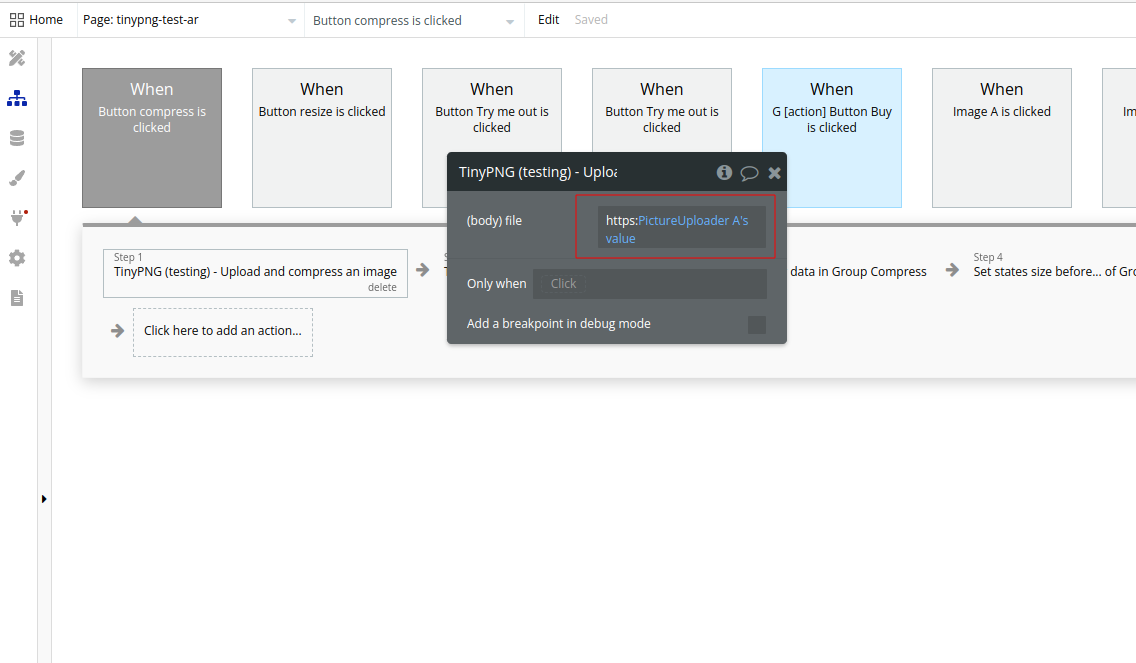
Set an event, for example a button click, to trigger Upload and compress an image action, fill the File field, make sure you use a valid image url, for example if you use Bubble Picture uploader you have to append ‘https:’ to the value
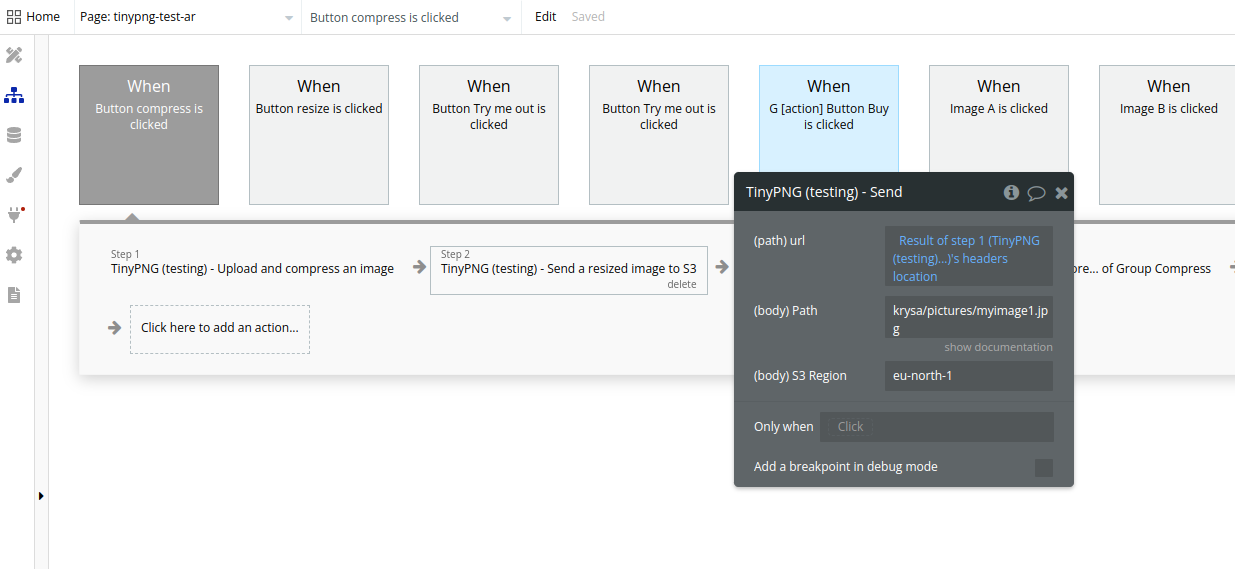
If you want to upload the resulted compressed image to Amazon S3, you can use Send a resized image to S3 call. For the file value use the result of the Upload and compress an image call location header
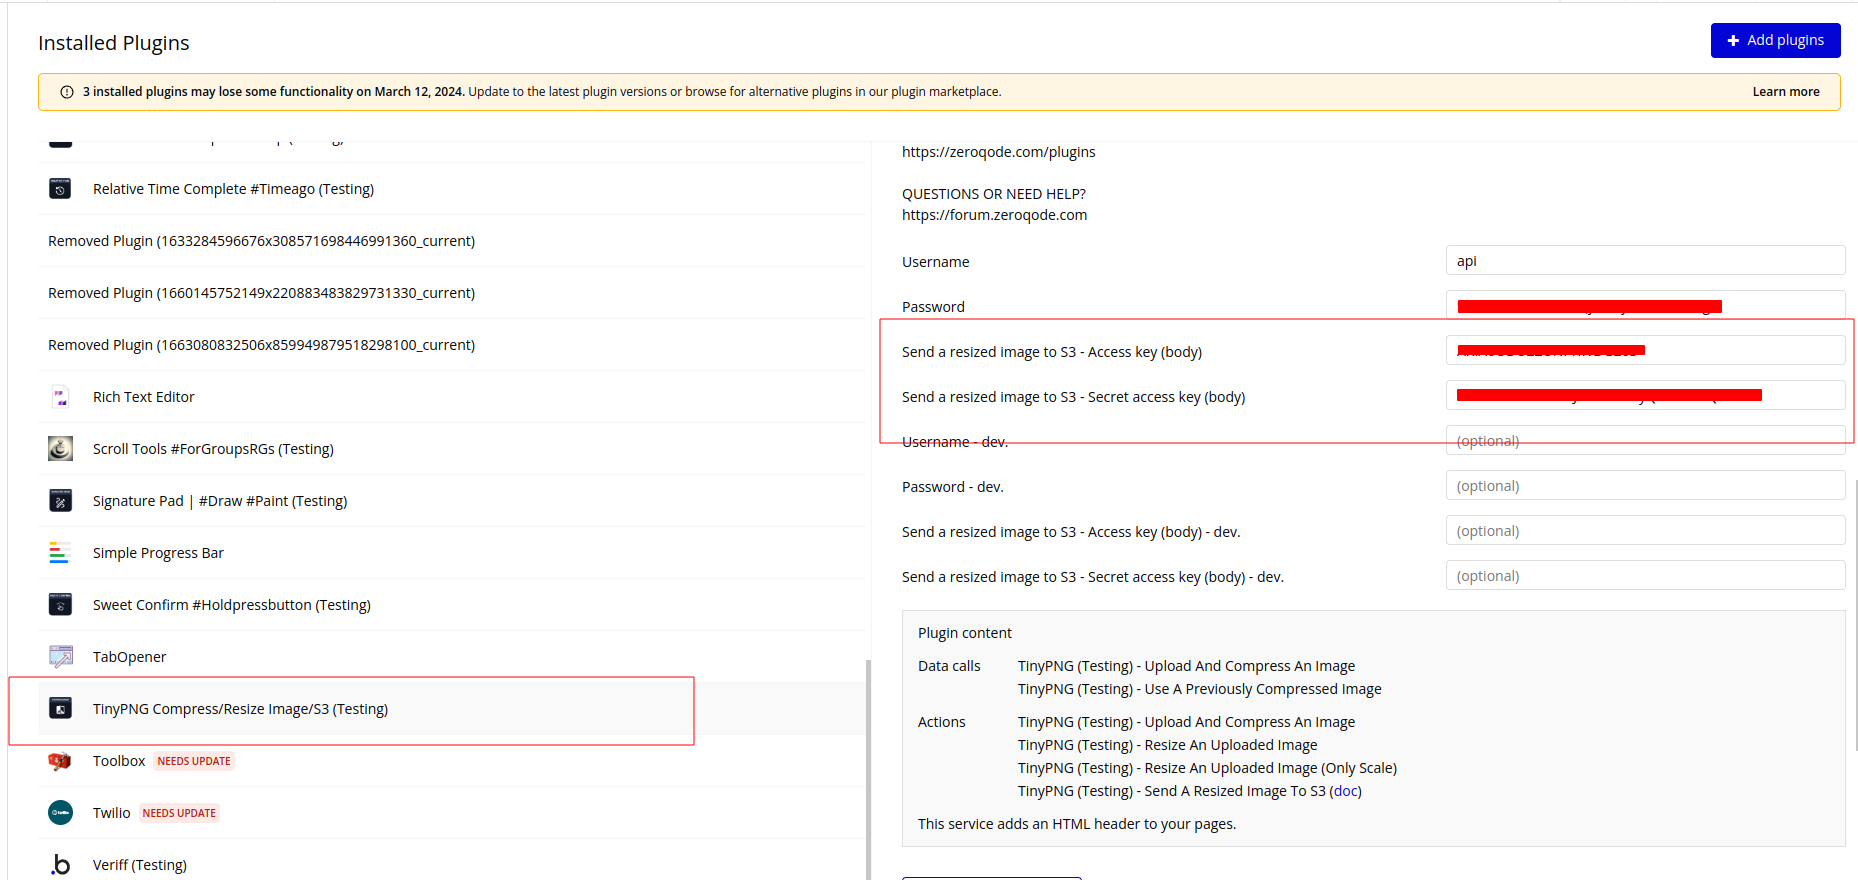
Make sure you filled your Amazon S3 credentials in the plugin settings:
If you want to use the compressed image in your workflow, you can access it using Use a previously compressed image call, like so:
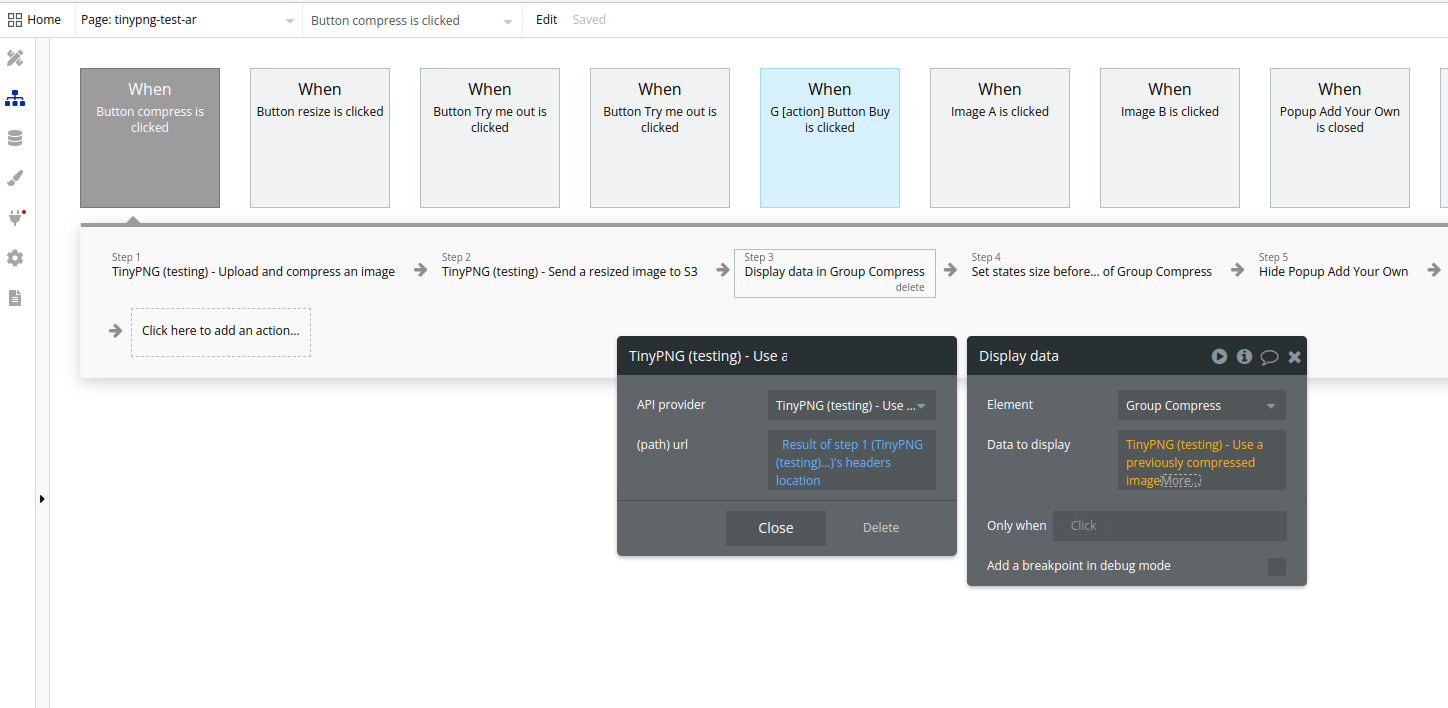
Once again, the Url value should be the header’s location returned from the Upload and compress an image call
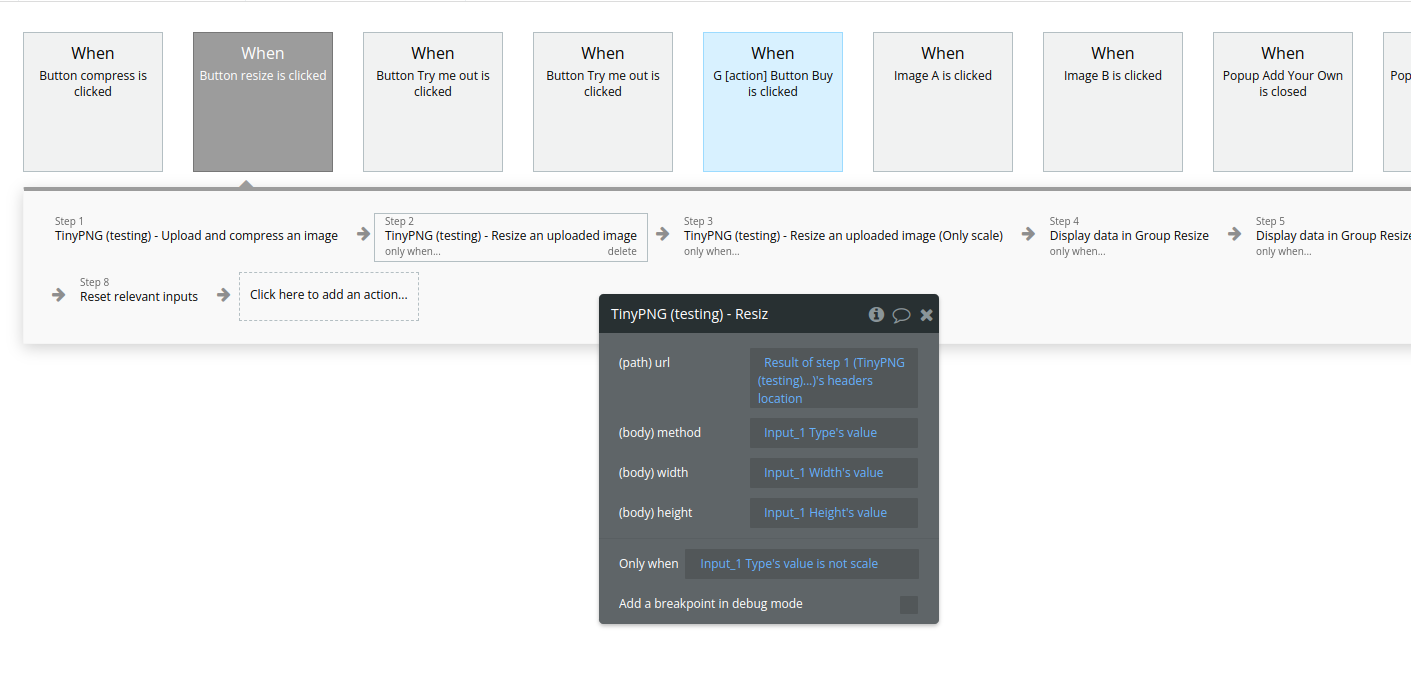
For resizing images you can use Resize an uploaded image call as in the picture below:
Changelogs
Update 19.08.24 - Version 1.8.0
New API calls - convert an image and upload to Google Cloud Storage