Link to plugin page: https://zeroqode.com/plugin/1689634475490x651252494590470700
Demo to preview the settings
Live Demo: https://ezcodedemo4.bubbleapps.io/python
Introduction
Plugin enables running Python code directly in the web browser. It integrates with standard web technologies (HTML, CSS, and JavaScript) and leverages WebAssembly (Wasm) to run Python. This allows developers to build and deploy Python-based web applications with ease, utilizing the capabilities of the browser.
PyScript can interact with JavaScript, allowing you to use both languages in a complementary way within the same web application.
PyScript supports importing Python packages from PyPI (Python Package Index), allowing you to use a wide range of libraries directly in the browser.

How to setup
- Place the plugin’s element “Python Script” on the page.
- Fill in the element fields and you are ready to use the plugin.
Code visualization will take place in the plugin element.
Plugin element “Python Script”
Fields
Title | Description | Type |
Python Code and HTML tags | Code that will be rendered on the page. Html tags, style tags and Pyscript. | Text |
Element ID | Set ID of THIS element and use this attribute in your code for visualization. This ID is assigned to the container of your code element. | Text |
Detailed Instructions
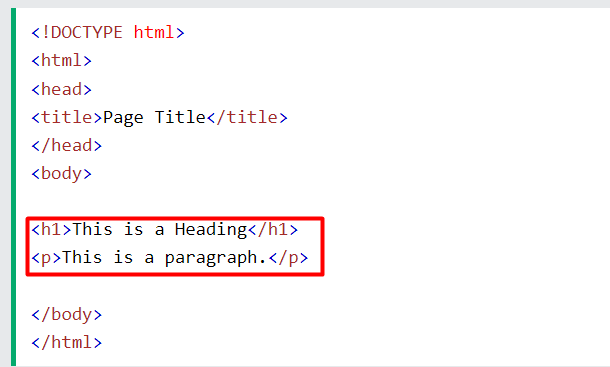
- Organize HTML Elements: Place your HTML elements (such as headings, paragraphs, and divs - you do not need the whole html page tags, only the one you want to be displayed on the page). They will appear in the element which ID you mentioned in the fields.
- Add Styling: Use the
<style>tag to define CSS styles for your elements.
- Include PyScript Libraries: Ensure the necessary PyScript libraries are included to enable PyScript functionality.
- Write Python Code in
<py-script>: Use the<py-script>tag to write your Python logic. To display results on the page, use thedisplayfunction provided by PyScript. Respect code writing rules, lines.
Be very careful when writing Python code, if it is simply not arranged right in the Bubble editor the code will get errors.
Examples of Codes:
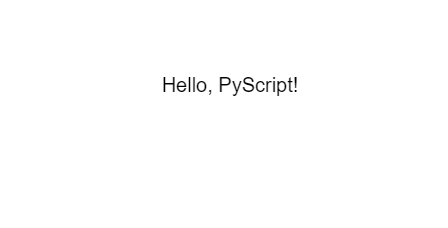
Display a Text
python<py-script>
from pyscript import display
display("Hello, PyScript!")
</py-script>
Interactive Python Console
python<style> #repl-container { width: 80%; /* Adjust to your preference */ min-width: 300px; max-width: 800px; padding: 20px; box-shadow: 0 4px 8px rgba(0,0,0,0.1); border-radius: 8px; background-color: #fff; } py-repl { width: 100%; height: 500px; /* Adjust height as needed */ } </style> <div id="repl-container"> <h2>Interactive Python Console</h2> <py-title>My Interactive Python Console</py-title> <py-repl></py-repl> </div>
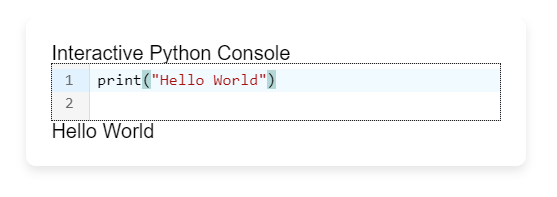
Write a Python code and press “Shift”+”Enter”
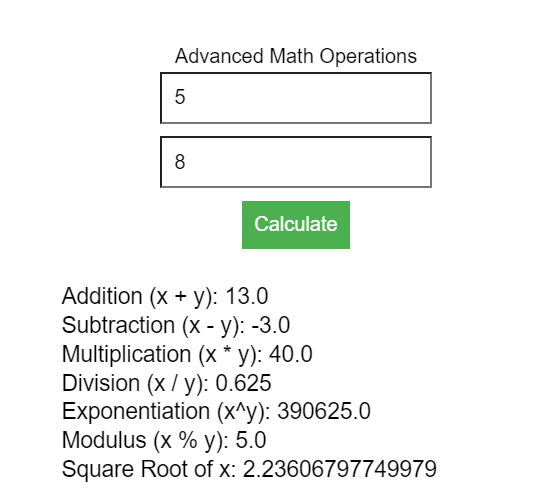
Advanced Math Operations
python<style>
    .container {
        display: flex;
        flex-direction: column;
        align-items: center;
        justify-content: center;
        margin-top: 50px;
        font-family: 'Arial', sans-serif;
    }
    input, button {
        margin: 5px;
        padding: 10px;
        font-size: 16px;
    }
    button {
        background-color: #4CAF50;
        color: white;
        border: none;
        cursor: pointer;
    }
    #results {
        margin-top: 20px;
    }
    .result {
        margin: 5px;
        font-size: 18px;
    }
</style>

<div class="container">
    <h2>Advanced Math Operations</h2>
    <input id="inputX" type="number" placeholder="Enter value for x" />
    <input id="inputY" type="number" placeholder="Enter value for y" />
    <button onclick="performMath()">Calculate</button>
    <div id="results"></div>
</div>

<py-script>
    from js import document
    from math import sqrt, sin, cos, tan, pi

    def perform_math():
        x = float(document.getElementById('inputX').value)
        y = float(document.getElementById('inputY').value)
        results_div = document.getElementById('results')
        results_div.innerHTML = ''  # Clear previous results

        # Calculate and display results
        operations = {
            "Addition (x + y)": x + y,
            "Subtraction (x - y)": x - y,
            "Multiplication (x * y)": x * y,
            "Division (x / y)": x / y if y != 0 else 'Error: Division by zero',
            "Exponentiation (x^y)": x ** y,
            "Modulus (x % y)": x % y if y != 0 else 'Error: Modulus by zero',
            "Square Root of x": sqrt(x) if x >= 0 else 'Error: Negative number',
            "Sine of x (degrees)": sin(x * pi / 180),
            "Cosine of x (degrees)": cos(x * pi / 180),
            "Tangent of x (degrees)": tan(x * pi / 180)
        }

        for description, result in operations.items():
            result_p = document.createElement('p')
            result_p.textContent = f"{description}: {result}"
            result_p.className = 'result'
            results_div.appendChild(result_p)

    document.performMath = perform_math
</py-script>
TAGS:
The best practice is to use <py-script> tag. In combination with HTML tags you can do everything that the rest tags are capable.
If you are a beginner in Python and programming use <py-script> tag and be sure that it in combination with HTML tags will allow you to do the same that the rest tags can do.
<py-script>:- What it does: Defines Python code that can run directly on a web page.
- How it looks: You won't see it on the page; it's there to provide functionality behind the scenes.
<py-repl>:- What it does: Creates a code editor on the web page where users can type and execute Python code.
- How it looks: It appears as a box on the page where you can write and run Python commands interactively.
<py-env>:- What it does: Specifies which Python libraries should be available for use in the web page.
- How it looks: It's used behind the scenes to load necessary Python libraries like NumPy or Matplotlib for calculations and plotting.
<py-config>:- What it does: Allows you to specify the version and source of Pyodide (Python interpreter for the browser) to use.
- How it looks: It's a configuration element that helps in setting up the Python environment for the web page.
<py-title>:- What it does: Adds a header text to the web page, styled in uppercase and centered horizontally.
- How it looks: It's a simple way to display a title or heading at the top of the page.
<py-box>:- What it does: Acts as a container that arranges its content using the Flexbox layout (horizontal arrangement).
- How it looks: It helps organize content in rows or columns on the page, using CSS classes like
w-1,w-1/2, etc.
<py-button>:- What it does: Creates an interactive button on the web page that triggers a Python function when clicked.
- How it looks: It looks like a typical button that users can click to perform specific actions.
<py-inputbox>:- What it does: Wraps an HTML input element, allowing Python code to respond to keypress events.
- How it looks: It's like a text input field on the page where users can type and interact with Python functions.