Link to the plugin page: https://zeroqode.com/plugin/1533644016473x291888020462501900
Demo to preview the plugin:
Introduction
Are you wondering how to add ripple effects to your Bubble app? Enhance your page’s user experience with the Zeroqode plugin that allows you to add ripple effects to any element.

How to setup
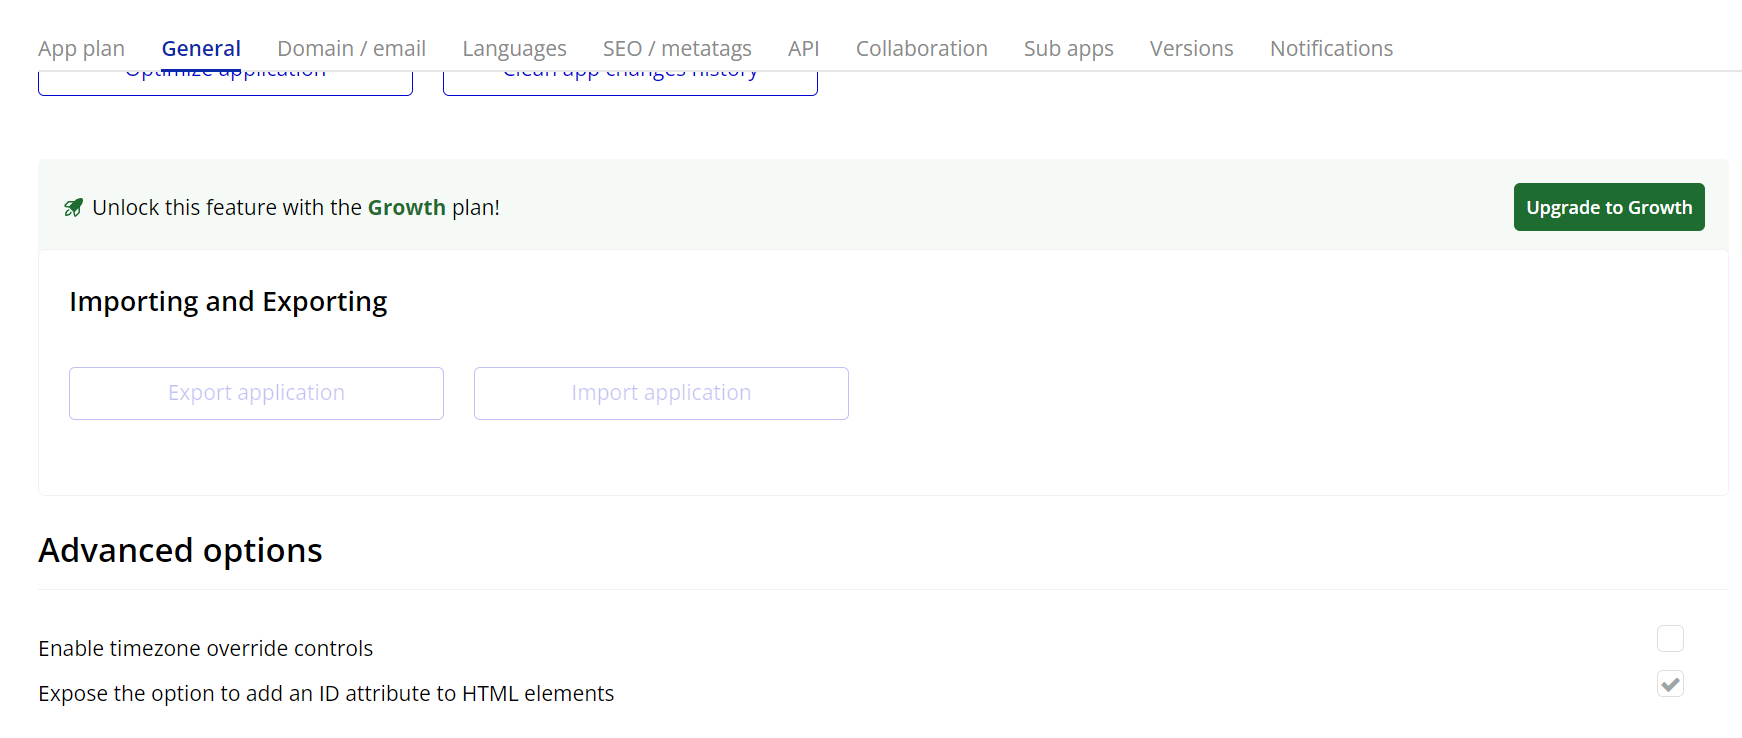
- Enable ID Attributes
Go to the settings page in your editor. Under the General tab click on the checkbox “Expose the option to add an ID attribute to HTML elements”
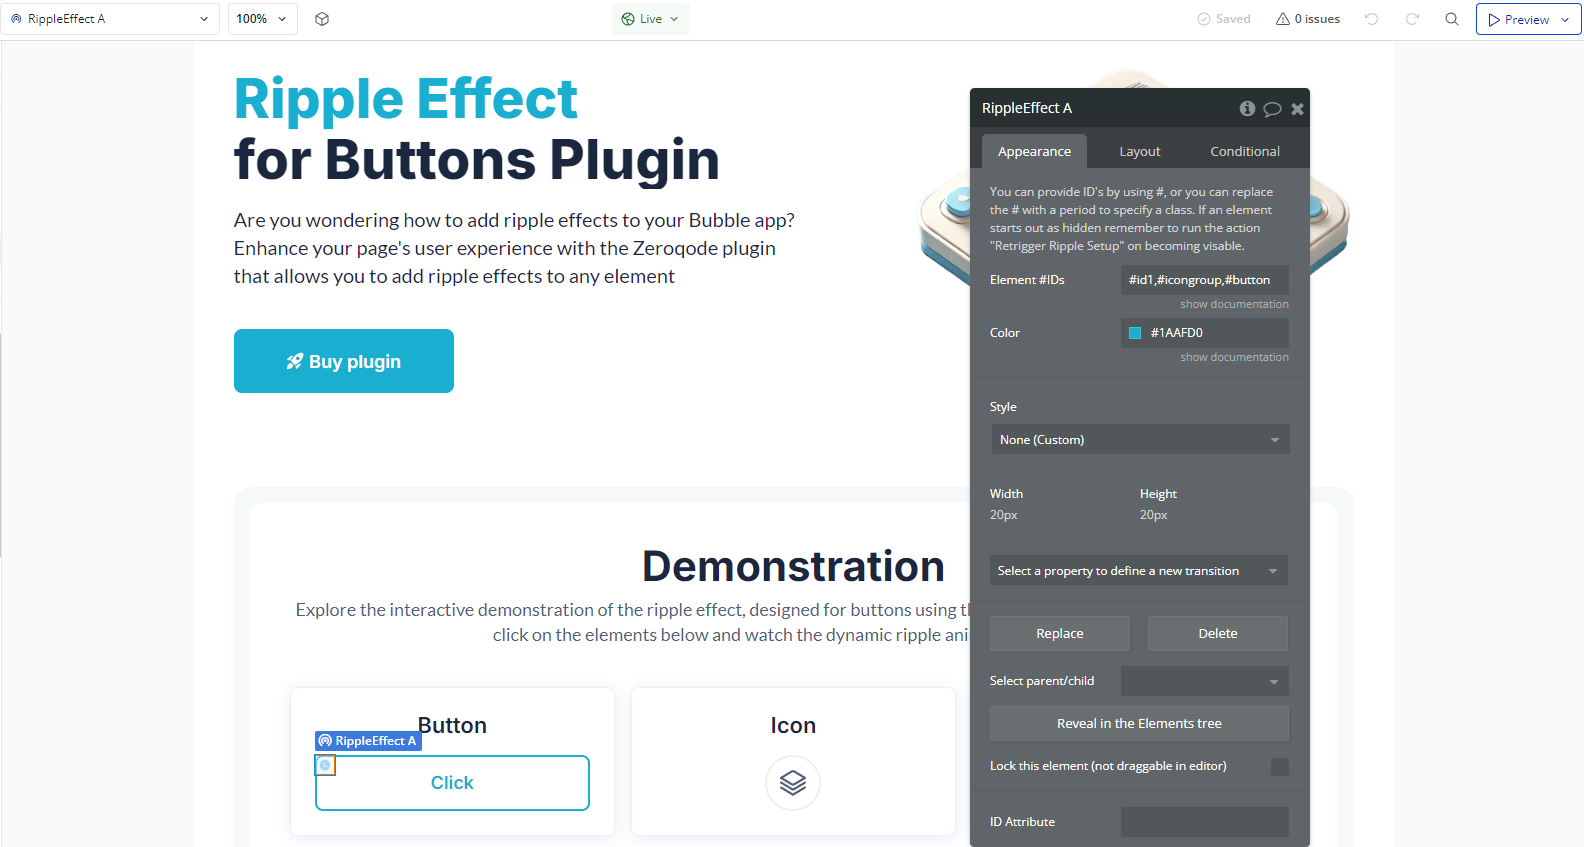
- Add the Ripple Effect Element
- In the Design tab, drag and drop the Ripple Effect element onto the page.
- The element itself won’t be visible but will be responsible for triggering the effect.
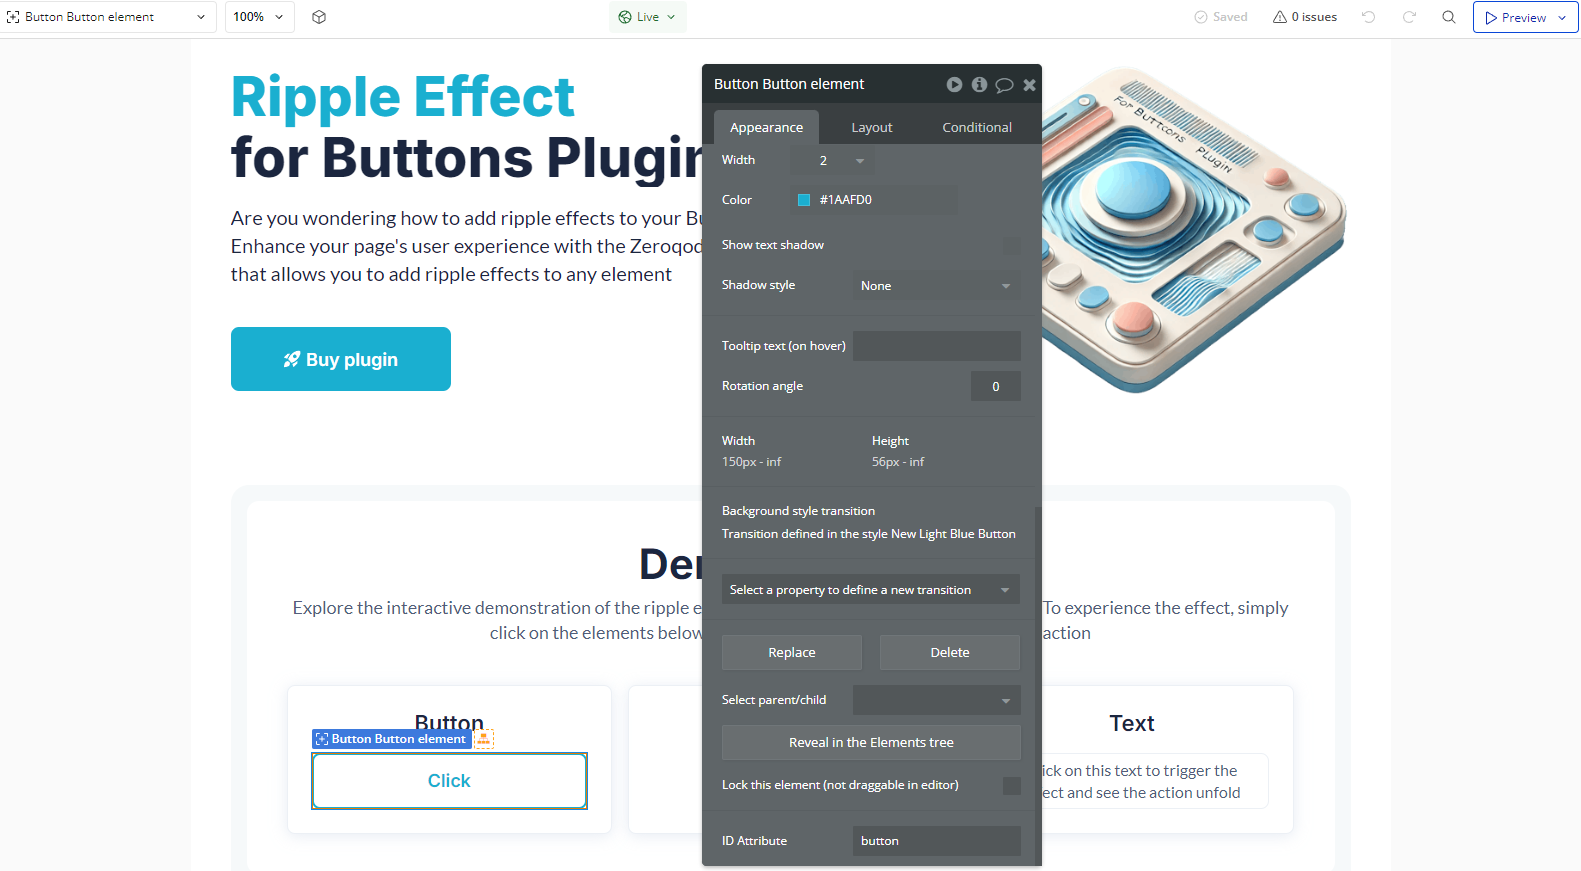
- Assign an ID Attribute to the Target Element
- Select the target element (e.g., a button or a group).
- In the Property Editor, scroll down to ID Attribute.
- Enter a unique ID (e.g.,
button).
Since the plugin works by applying the effect to specific elements, you need to assign an ID Attribute to the element where you want the ripple effect to appear.
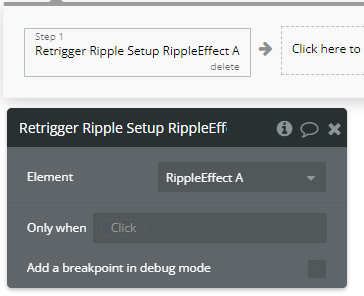
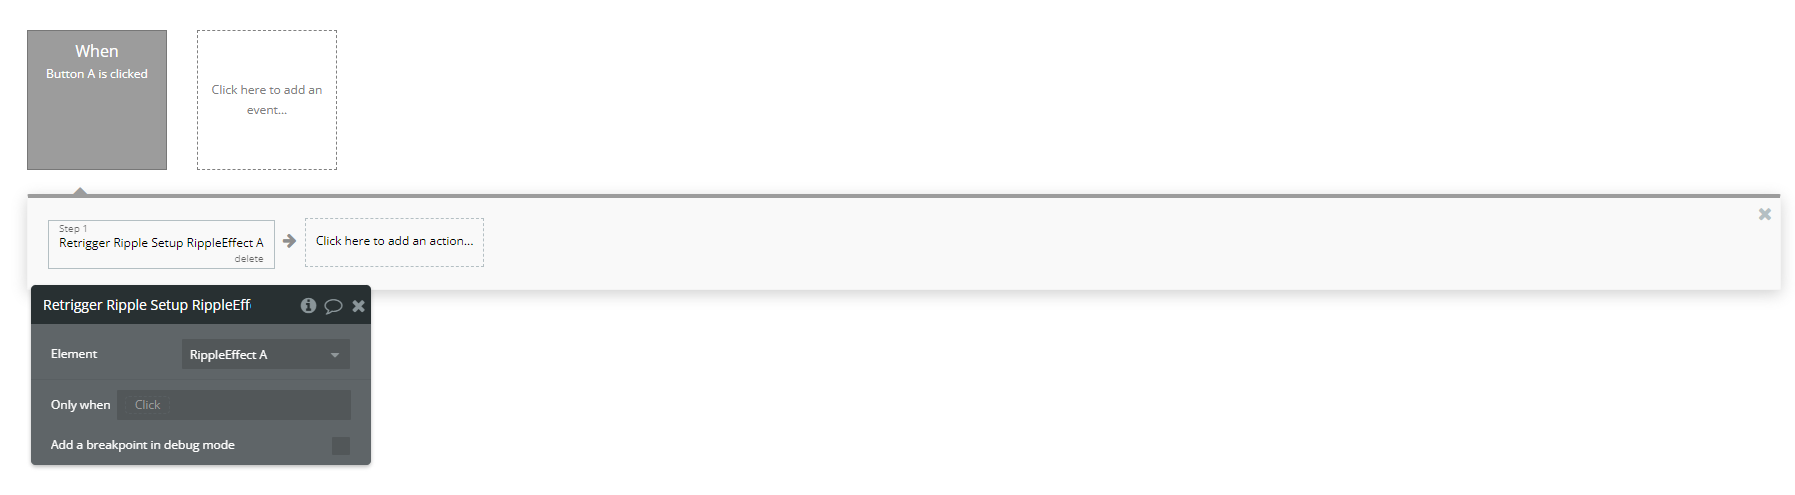
- Trigger the Ripple Effect in a Workflow
- Go to the Workflow tab.
- Add the action Retrigger Ripple Setup A Ripple Effect.
To activate the ripple effect on the element:
Plugin Element Properties
Ripple Effect
Fields:
Title | Description | Type |
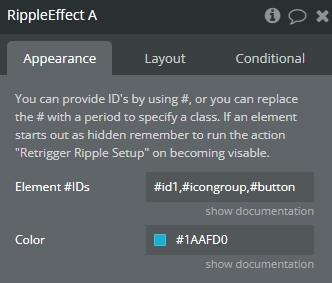
You can provide ID’s by using #, or you can replace the # with a period to specify a class. If an element starts out as hidden remember to run the action “Retrigger Ripple Setup” on becoming visable. | ||
Element #IDs | Element #IDs | Text |
Color | Colors | Text |
Element Actions
- Retrigger Ripple Setup - Retrigger Ripple Setup