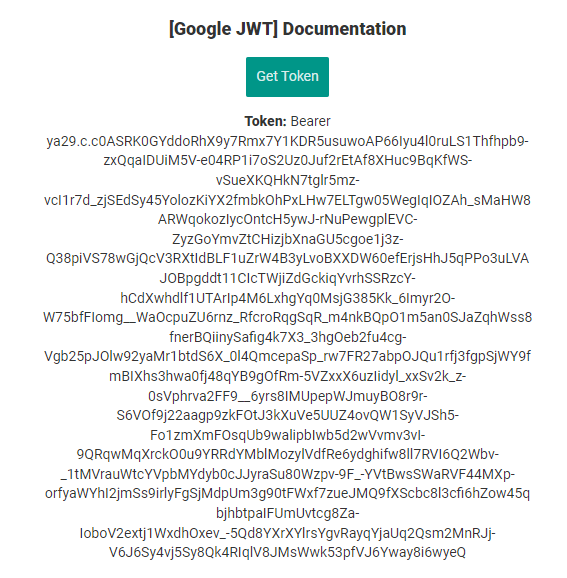
Demo to preview the settings
Introduction
Use your Google Service Account JSON key to Retrieve a Bearer Token server-side using dynamic scopes for use in your own API Calls.
Prerequisites
To properly use of plugin, a Google Developer account is necessary.
How to set up
To obtain the JSON file will all necessary credentials it is necessary to create a Service Account for a project in the Google Cloud Console. Follow the steps below to set up the plugin.
Additionally, you may check Google documentation for Service Account creation.
- Sign in to your Google Cloud Console.
- Select the project for which you want to create a Service Account.

- Select Navigation Menu → IAM and admin → Service Accounts page.
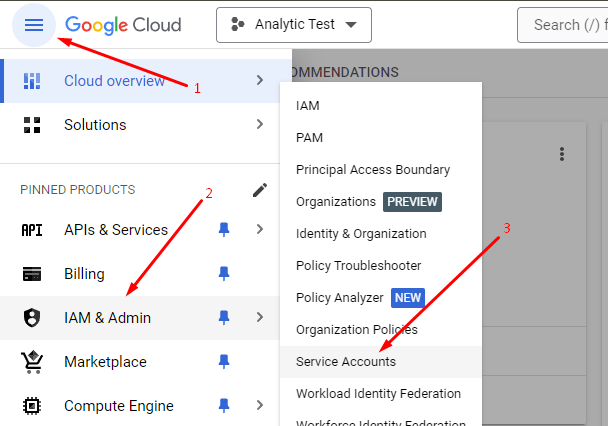
- On the opened page, click on the CREATE SERVICE ACCOUNT button.

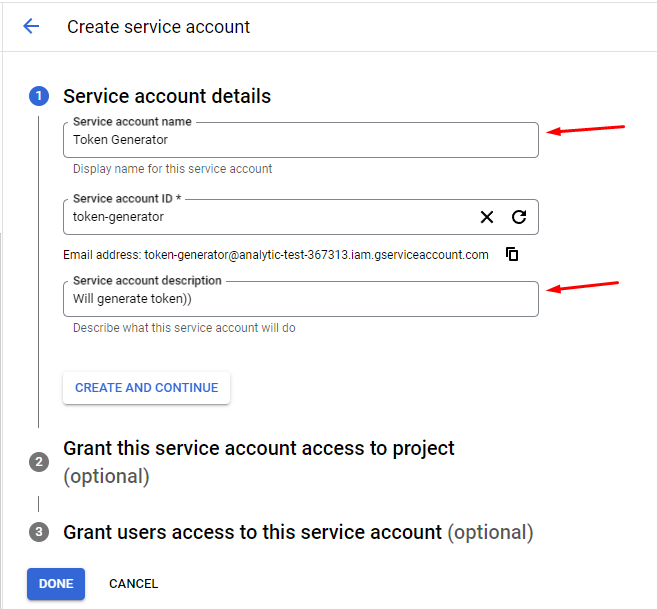
- On the first step of opened form, define a “name” for created Service Account and a description. Then, click on the CREATE AND CONTINUE button.
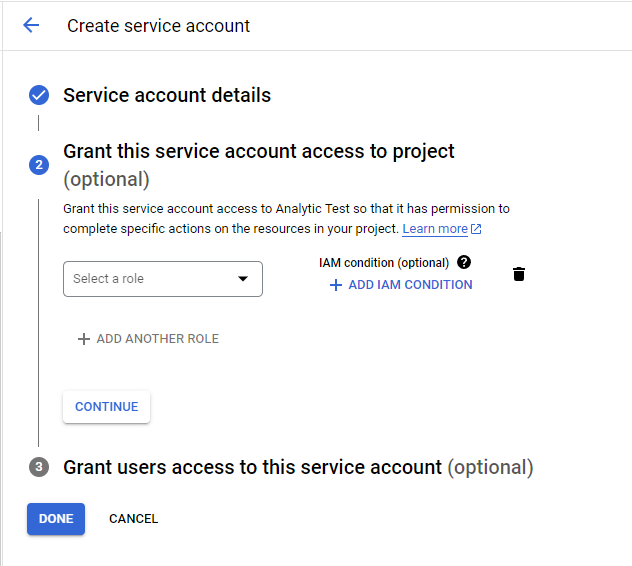
- On the second step, optionally, you may grant role access to the service account. Then, click on the CONTINUE button.
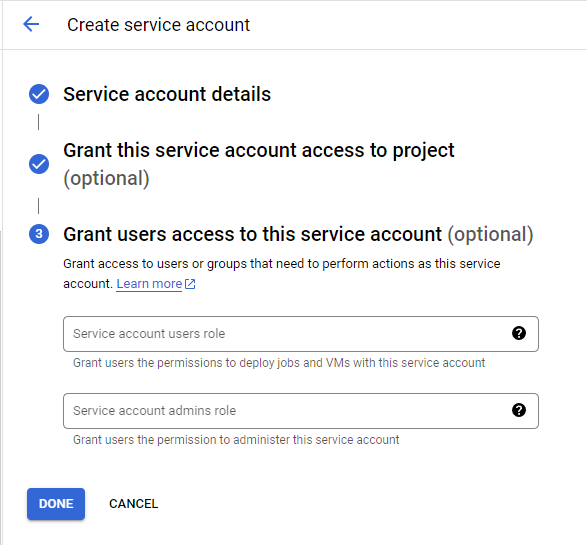
- On the third step, optionally, you may grant user or group access to the service account. Then, click on the DONE button.
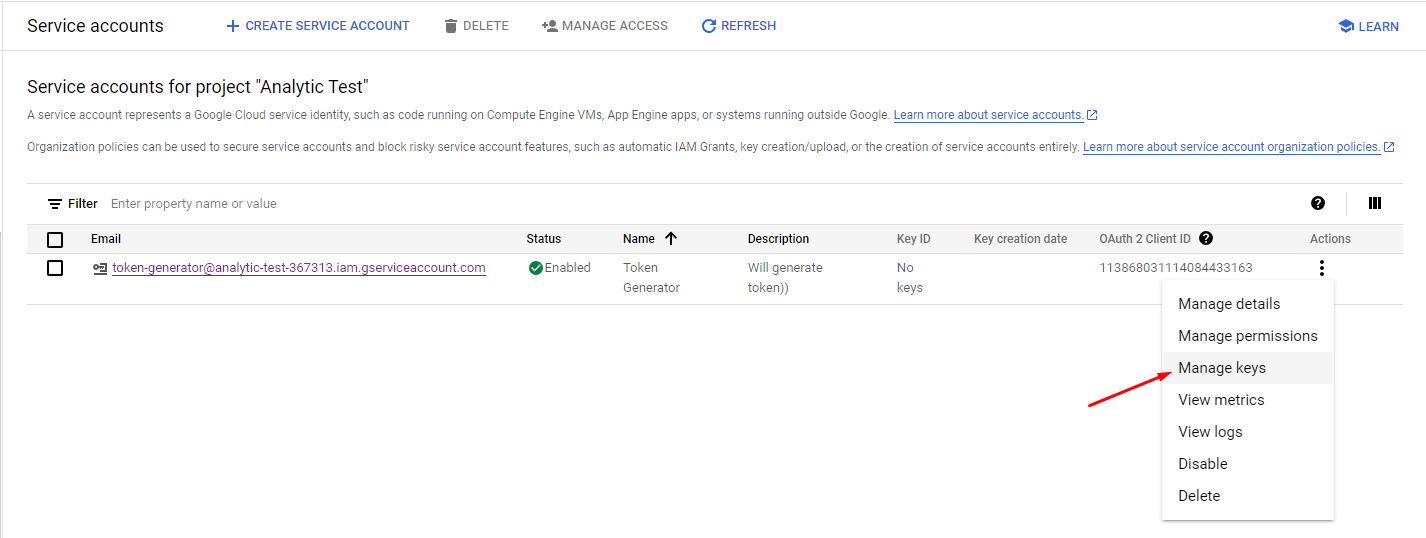
- On the Service Accounts page, from the list of available accounts, select new created account and click on the Actions button.

- From the Actions list, select Manage keys action.
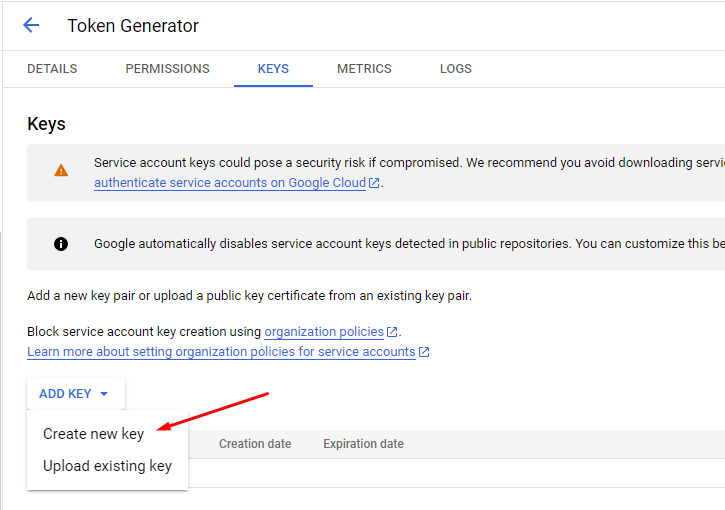
- On the opened page, click on the ADD KEY dropdown button and select Create new key option.
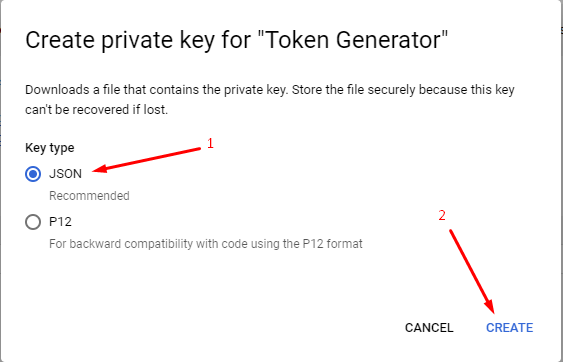
- On the opened pop-up, select JSON option and click on the CRATE button.
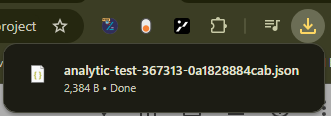
- Waiting for the file downloading. A JSON file will be downloaded locally.
- Open the downloaded file and copy all content.
- Open your app in Bubble.
- Select Plugins tab. Then, select Easy Google JWT plugin from the list.
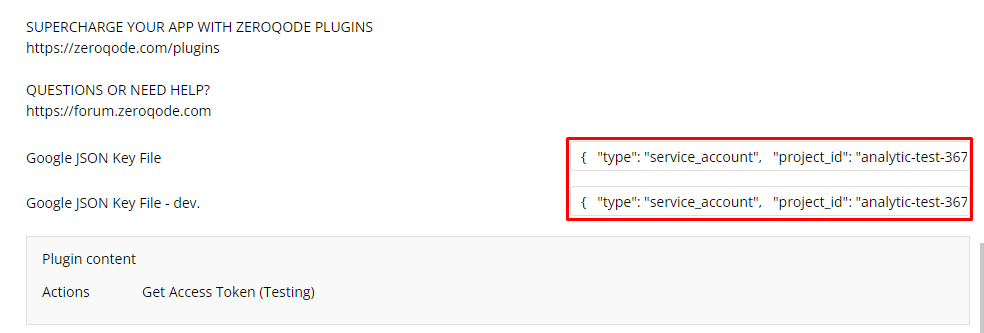
- Paste copied content from the downloaded file into Google JSON Key File fields.
Plugin actions
Get Access Token - The action should be used to obtain an access token from Google in order to perform endpoint requests.
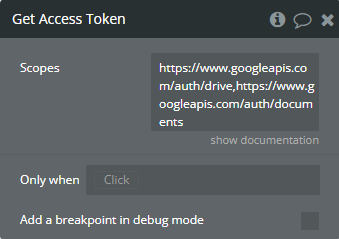
Fields:
Title | Description | Type |
Scopes | Separate with a comma to add multiple scopes. | text |
Returned Values:
Title | Description | Type |
Access Token | The access token from the Google. | text |
Token Type | The type of obtained access token. | text |
Expires In | The amount of time in seconds that the access token remains valid. | number |
Authorization Header | Ready-to-use 'Authorization' header value for endpoint requests. It is the concatenated ‘Token Type’ and ‘Access Token’, separated by space. | text |
Workflow examples
How to get access token
Obtaining an access token through the Get Access Token action is easy. Follow the examle below to integrate the plugin into your app.
- There are a Button and a Text elements on the page.
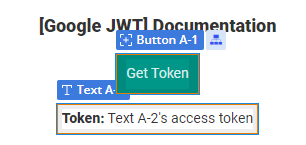
- The Text element has a custom state that will contain the obtained header value.
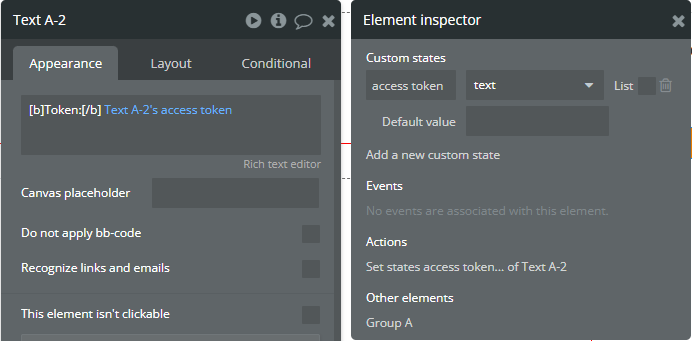
- When the Button element is clicked then the Get Access Token action is called with the following settings.
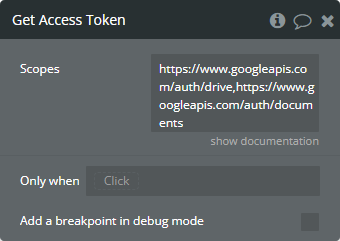
More than 1 scope should be separated by comma!
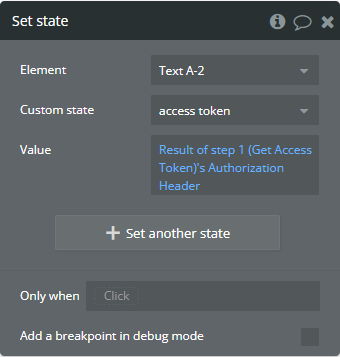
- After execution of Get Access Token action, the result from the “Authorization Header” state is saved into the “access token” custom state of Text element.
- On the preview, it will look as following.

