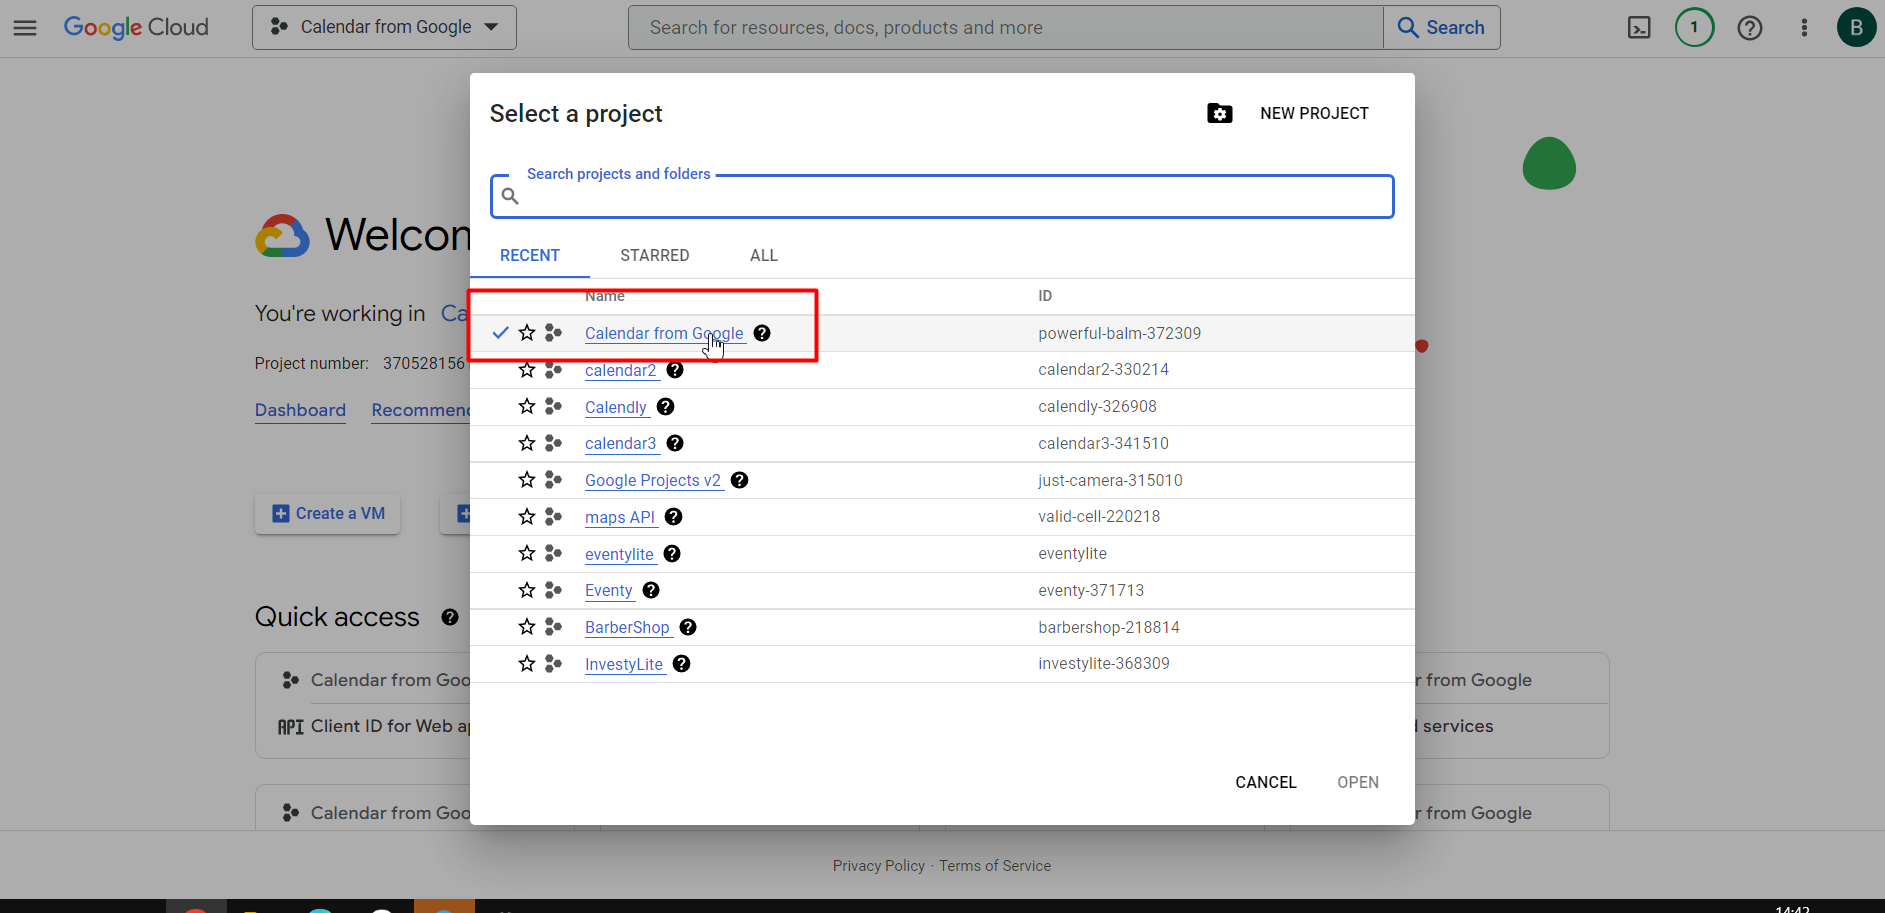
- Go to console.cloud.google.com and find the old project for this Demo in order to see its settings (URLs, scopes). Currently, the app is called Calendar from google.
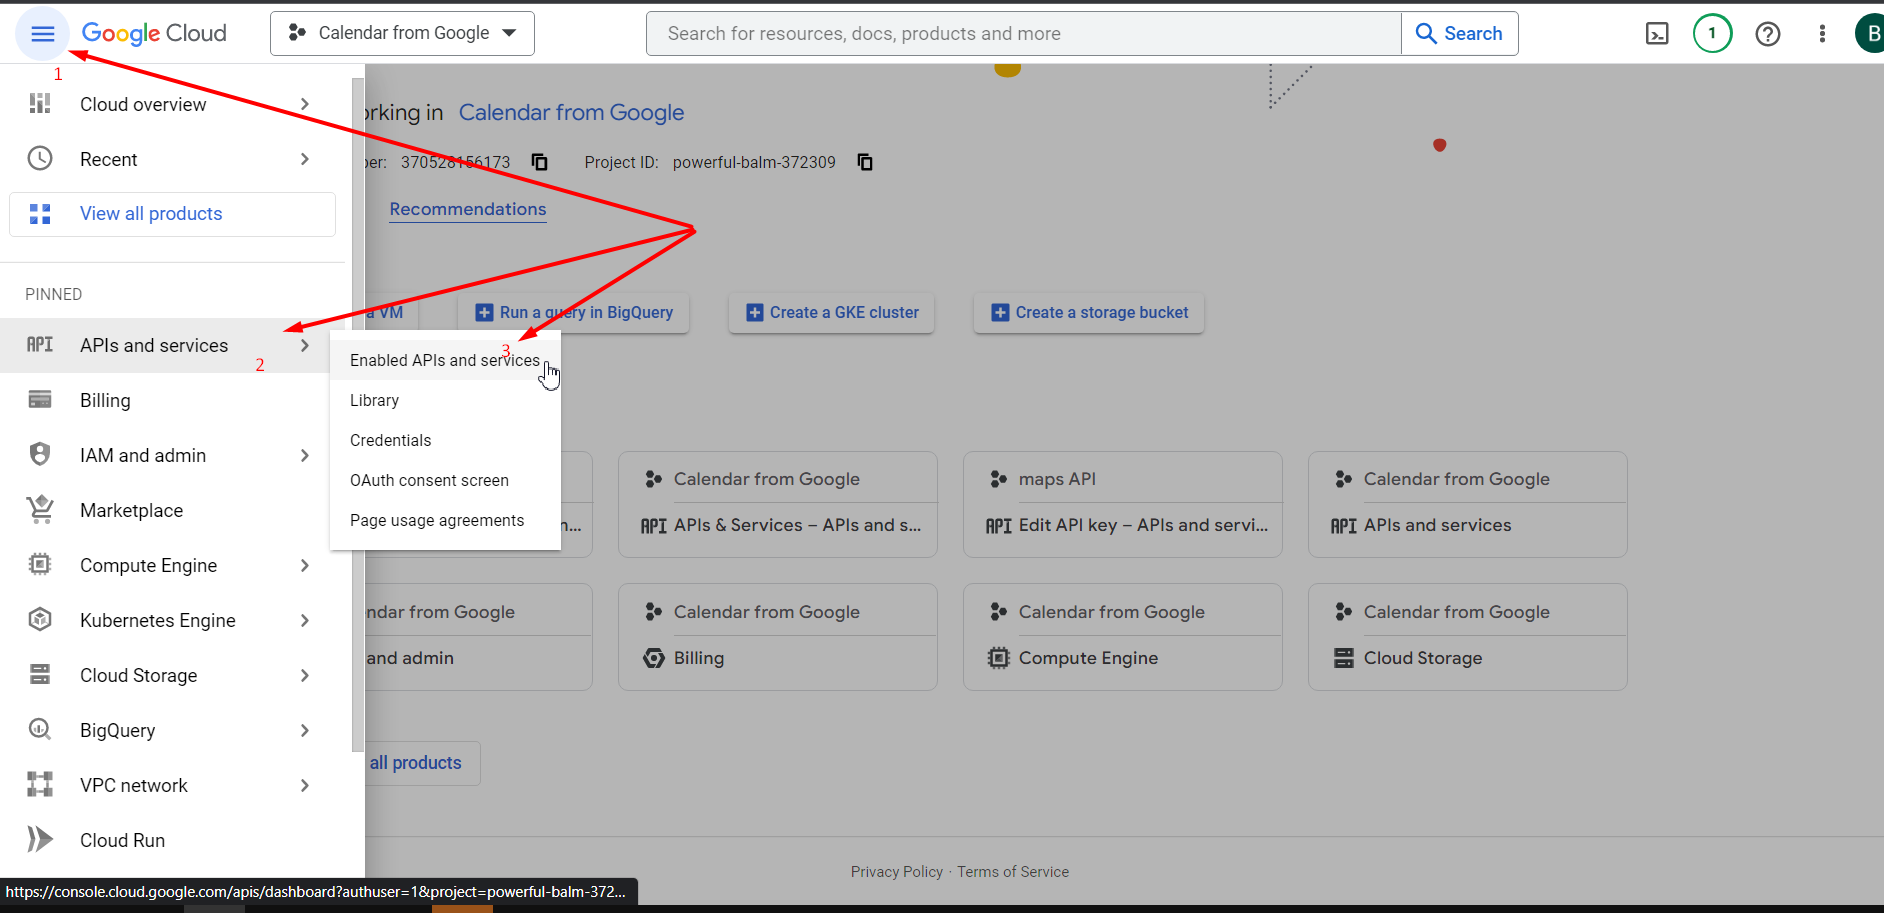
- Navigate to the burger icon and from the sidebar select APIs and services → Enabled APIs and services
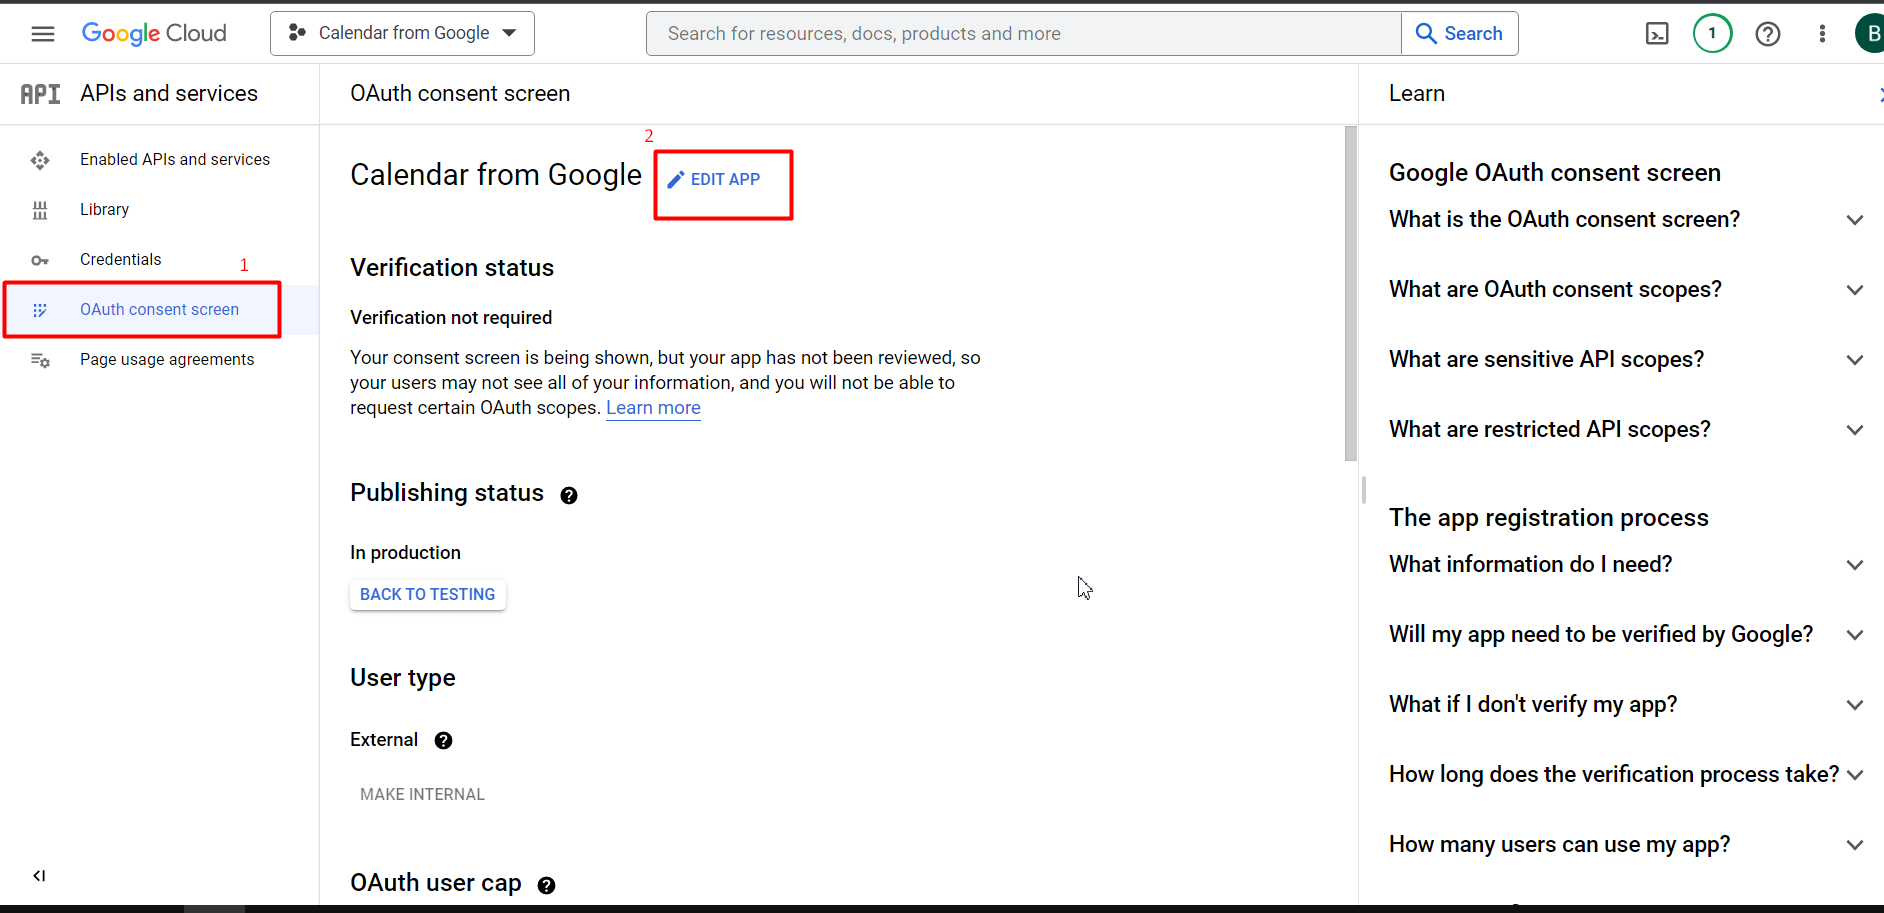
- On the sidebar click on OAuth consent screen → Edit App
- Check out the scopes and URLs

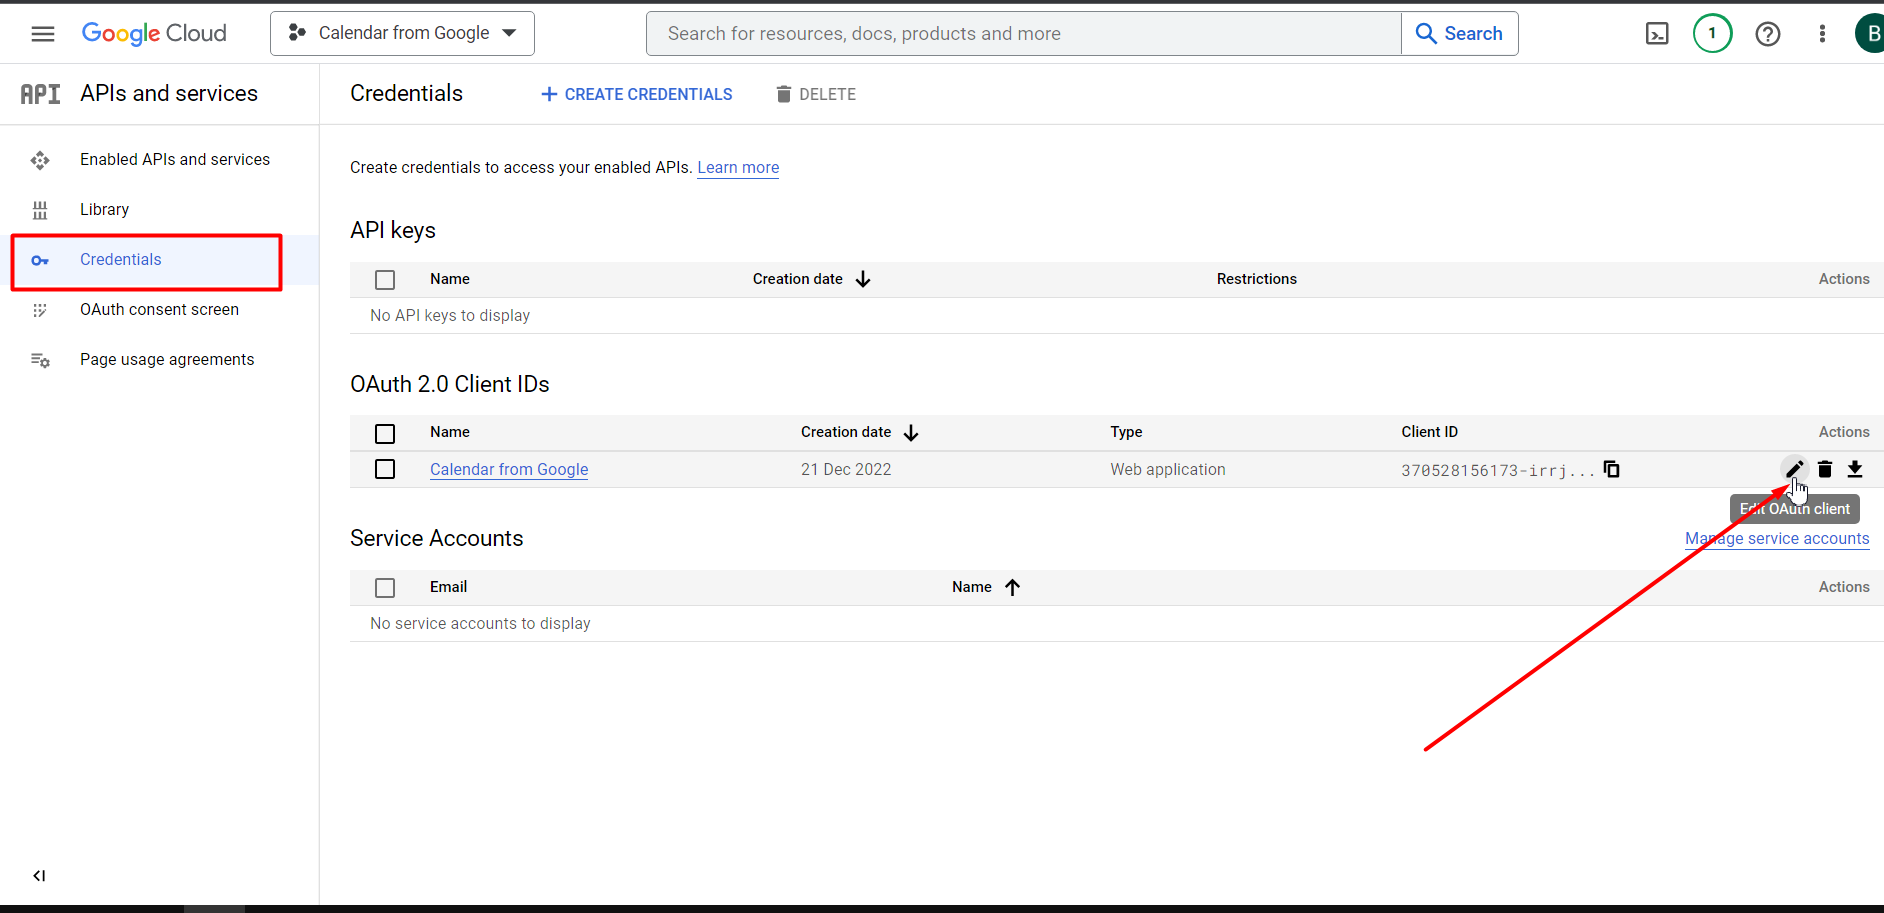
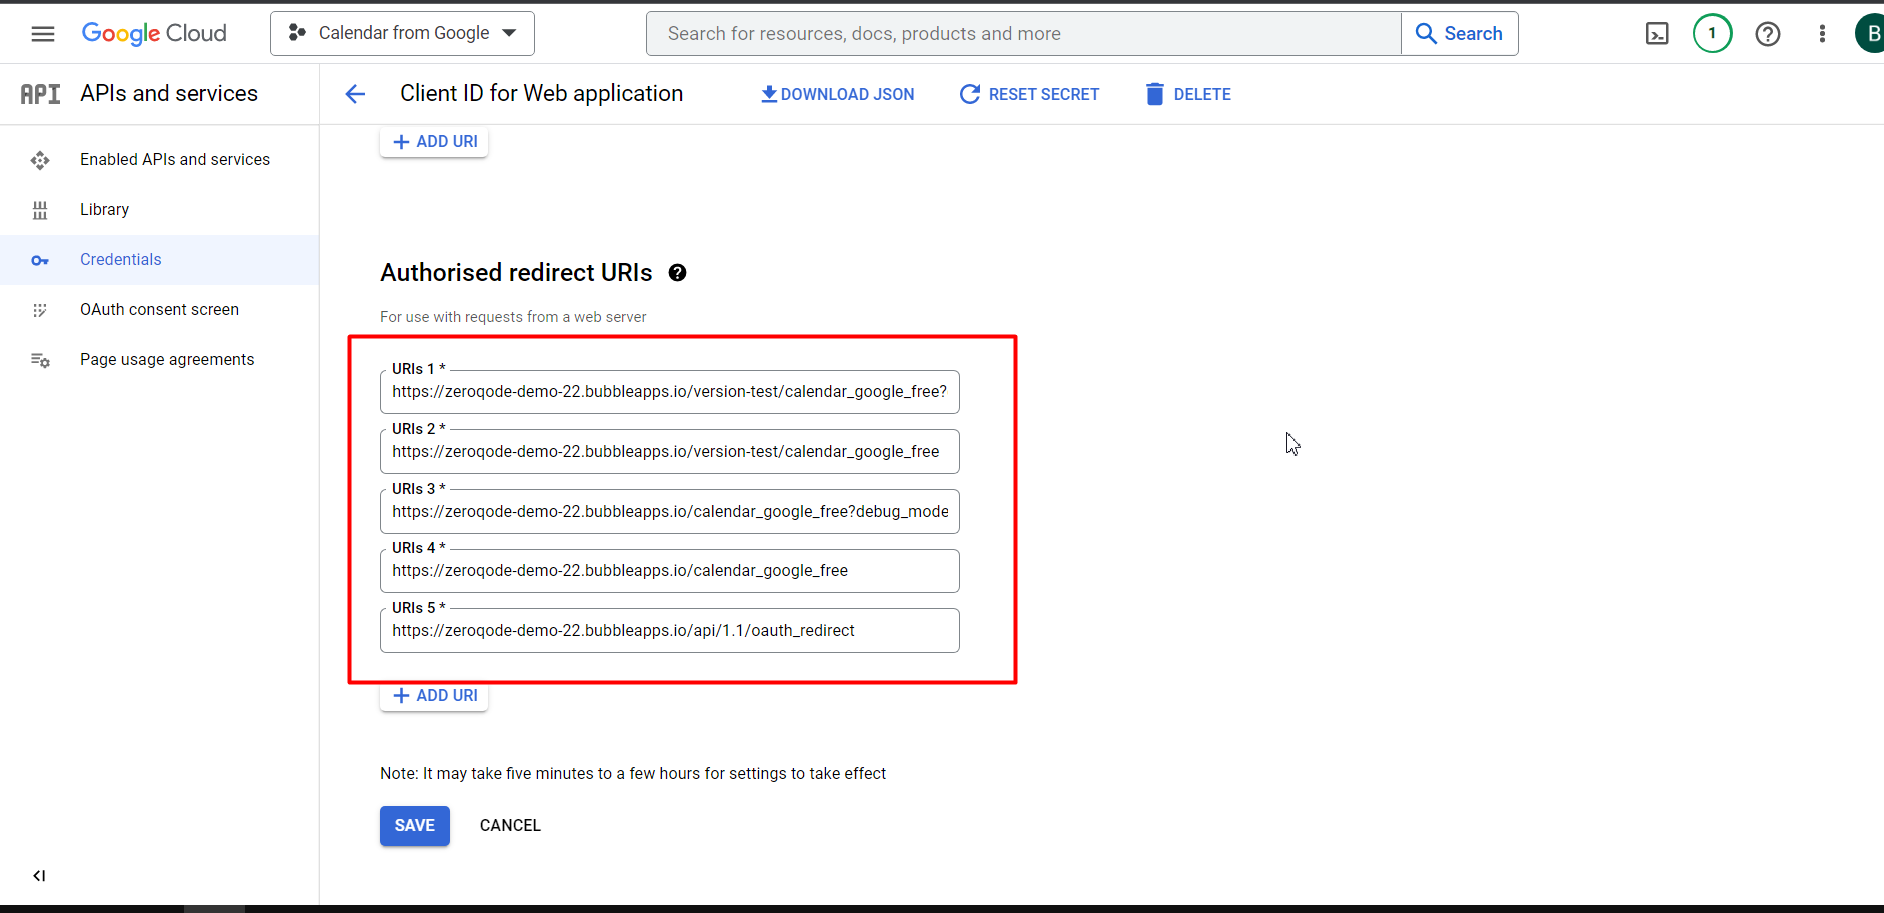
- Go to Credentials and click on the Edit icon to see the URLs
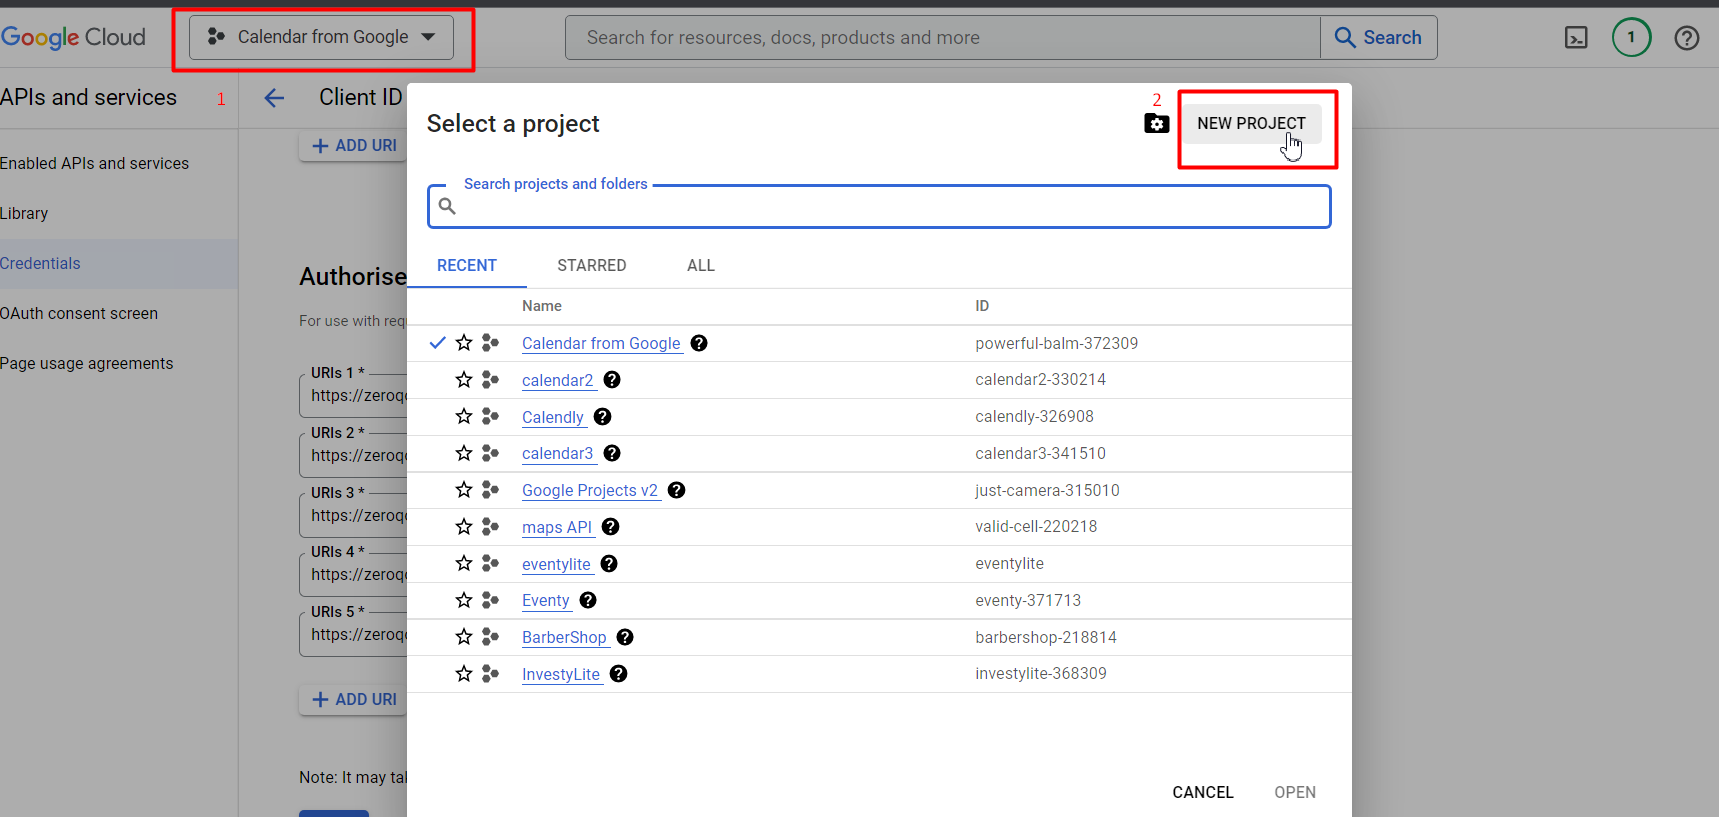
- Now when we checked the old settings let’s create a new project. Click on “New project”
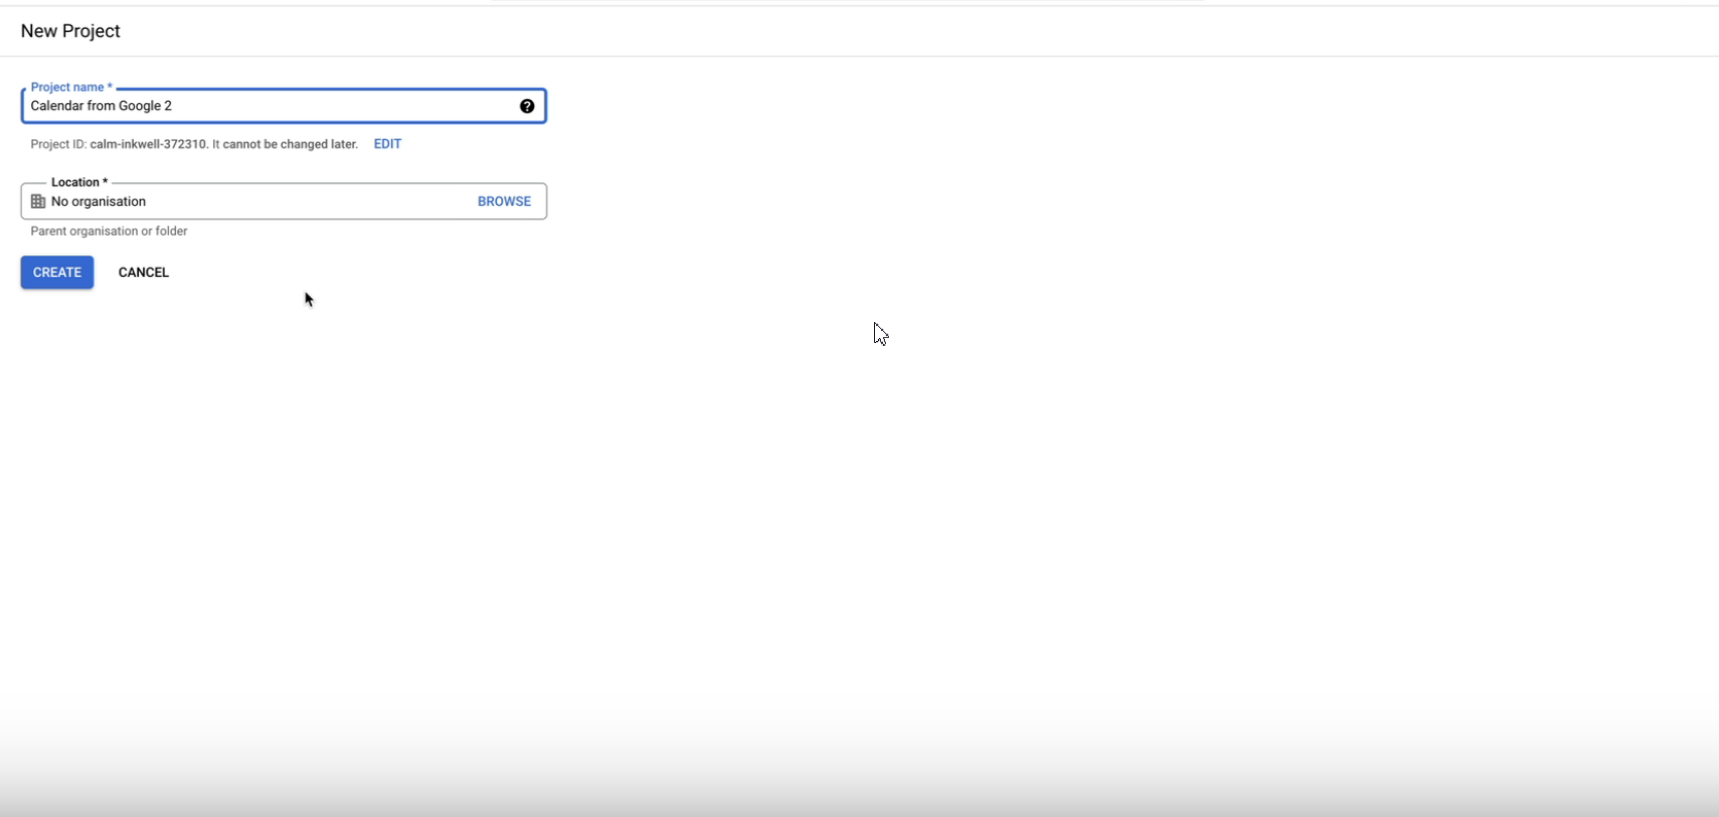
- Wait until it is created
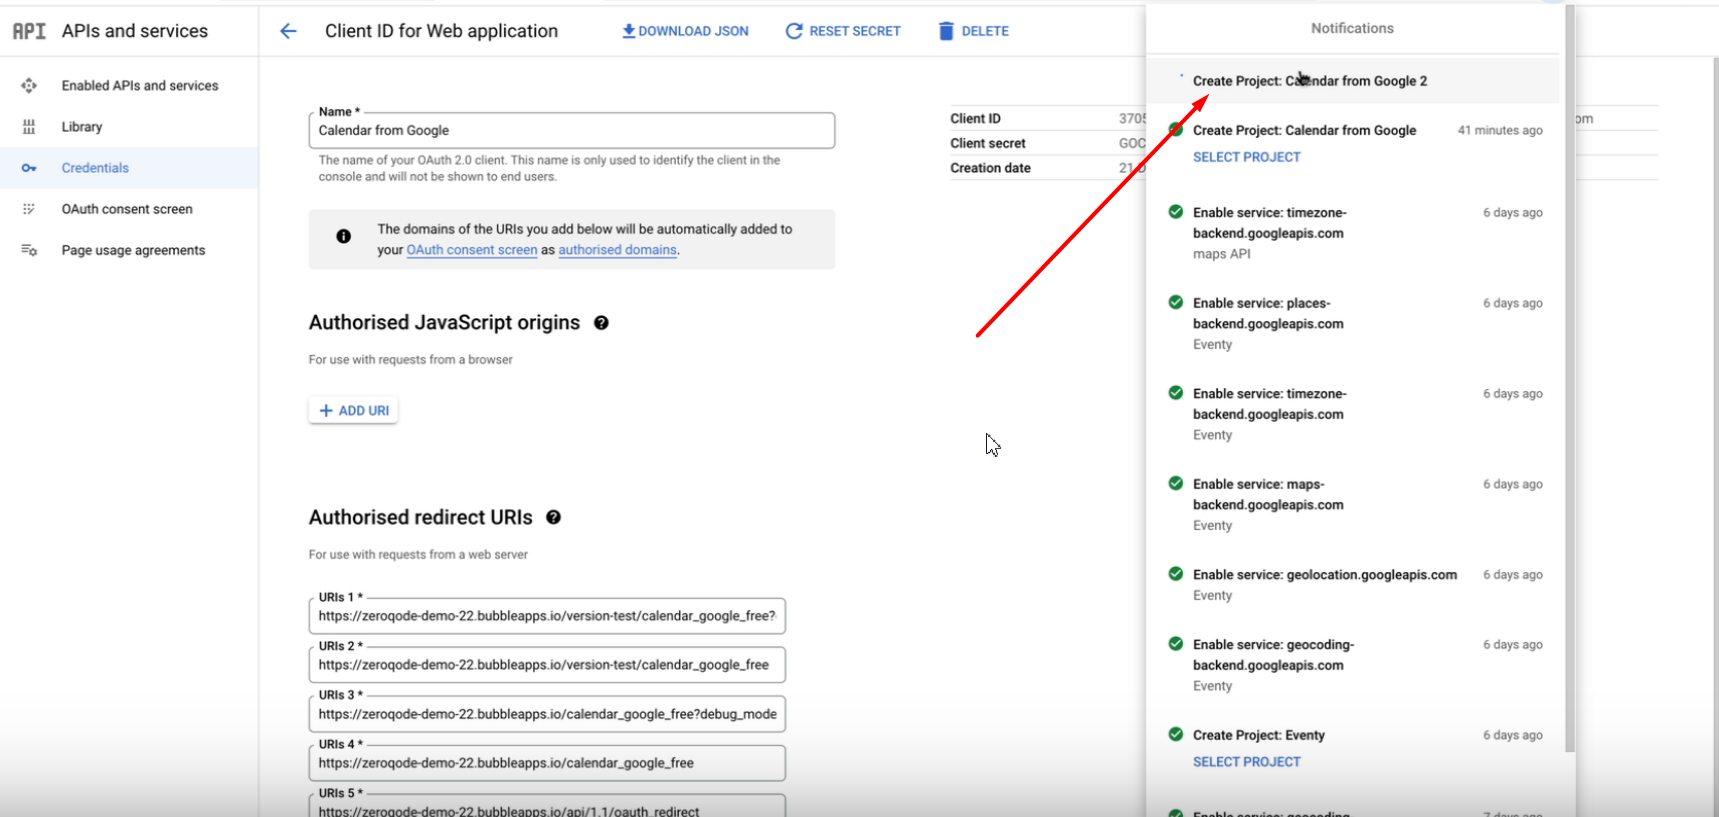
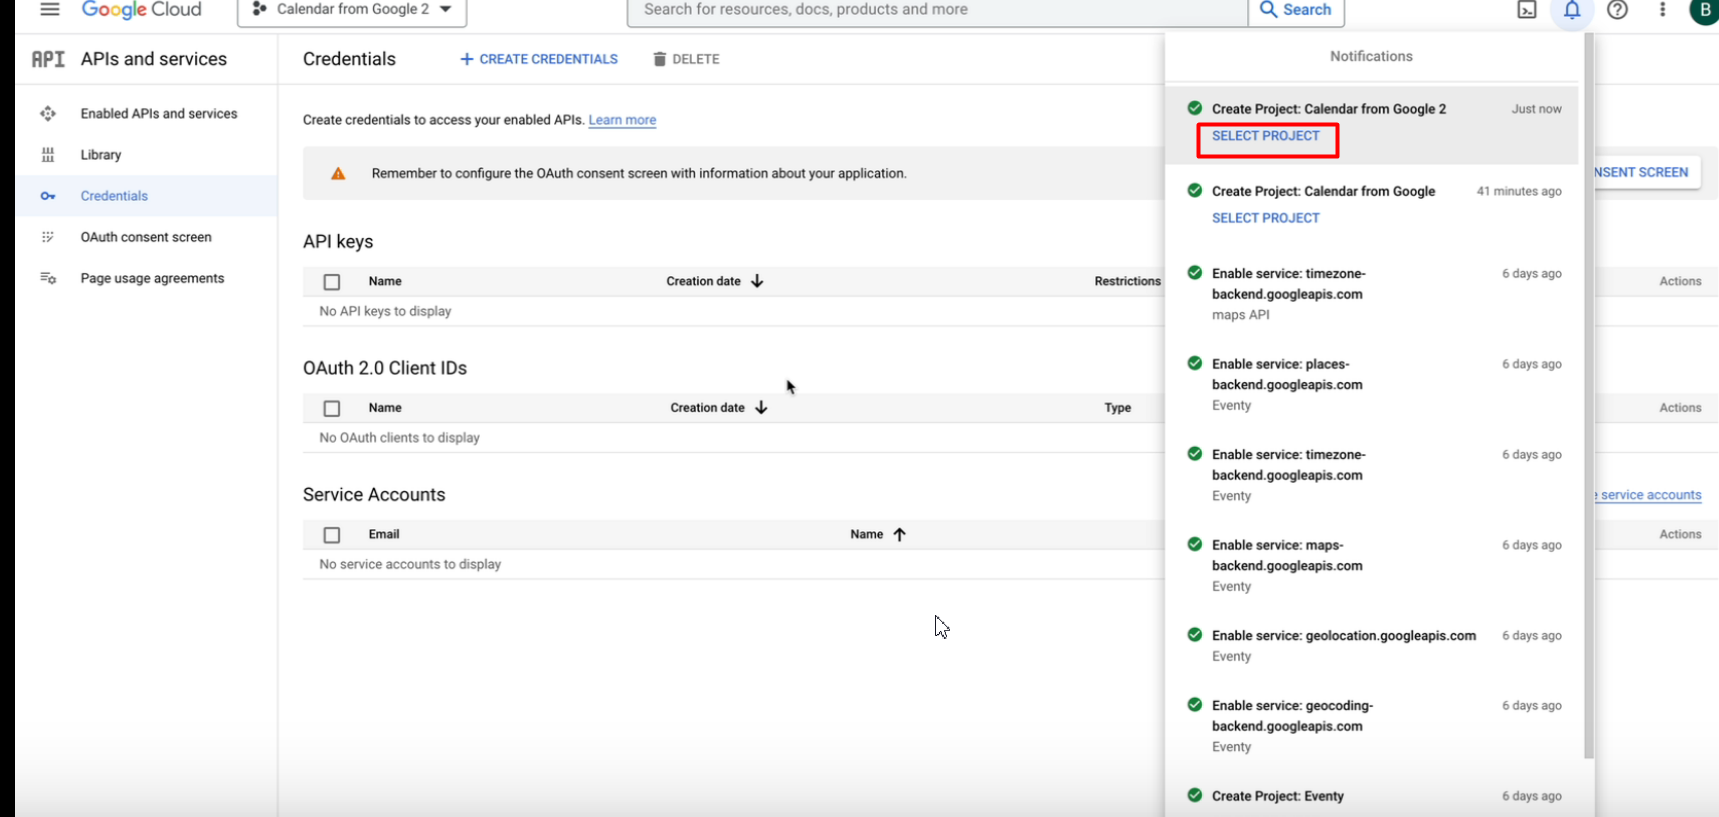
- Press “SELECT PROJECT”
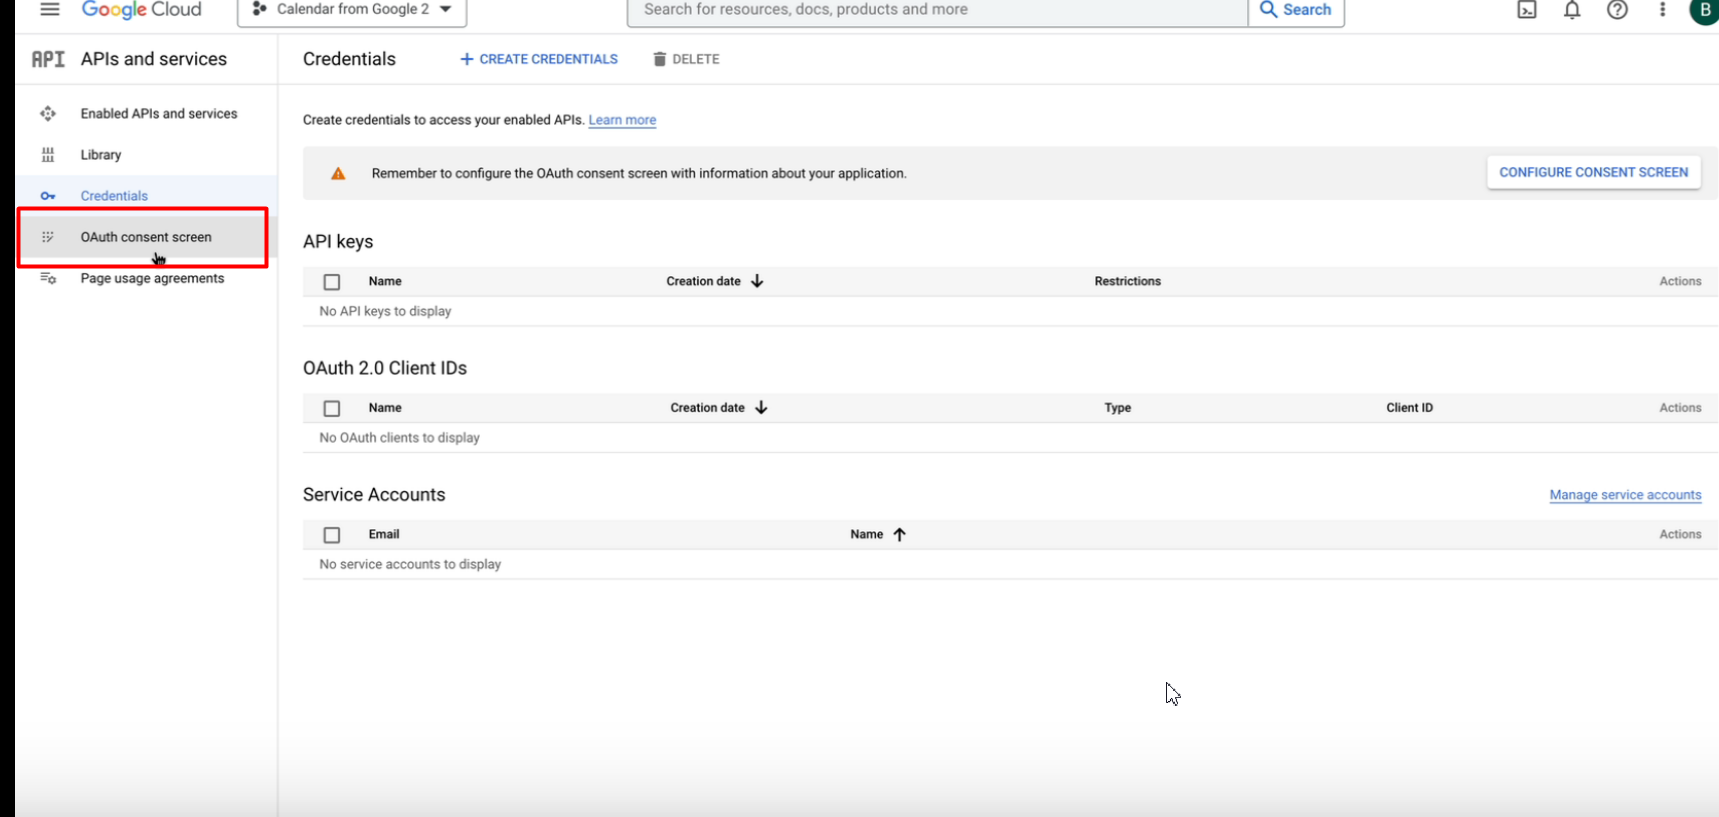
- On sidebar click on OAuth consent screen
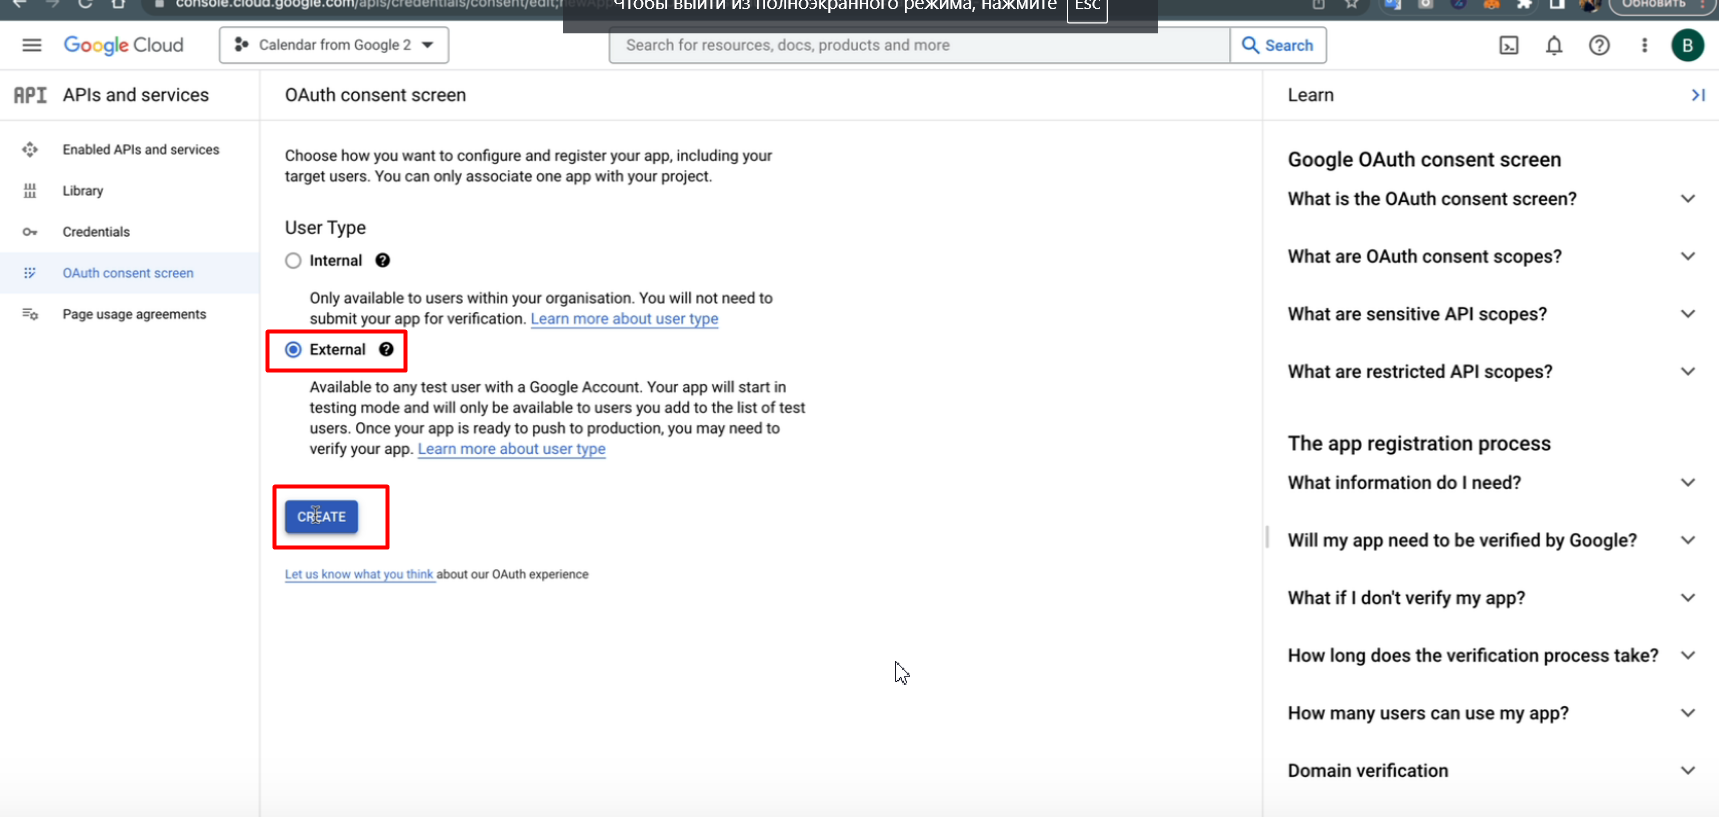
- Set up a new project , select External and click on “CREATE”
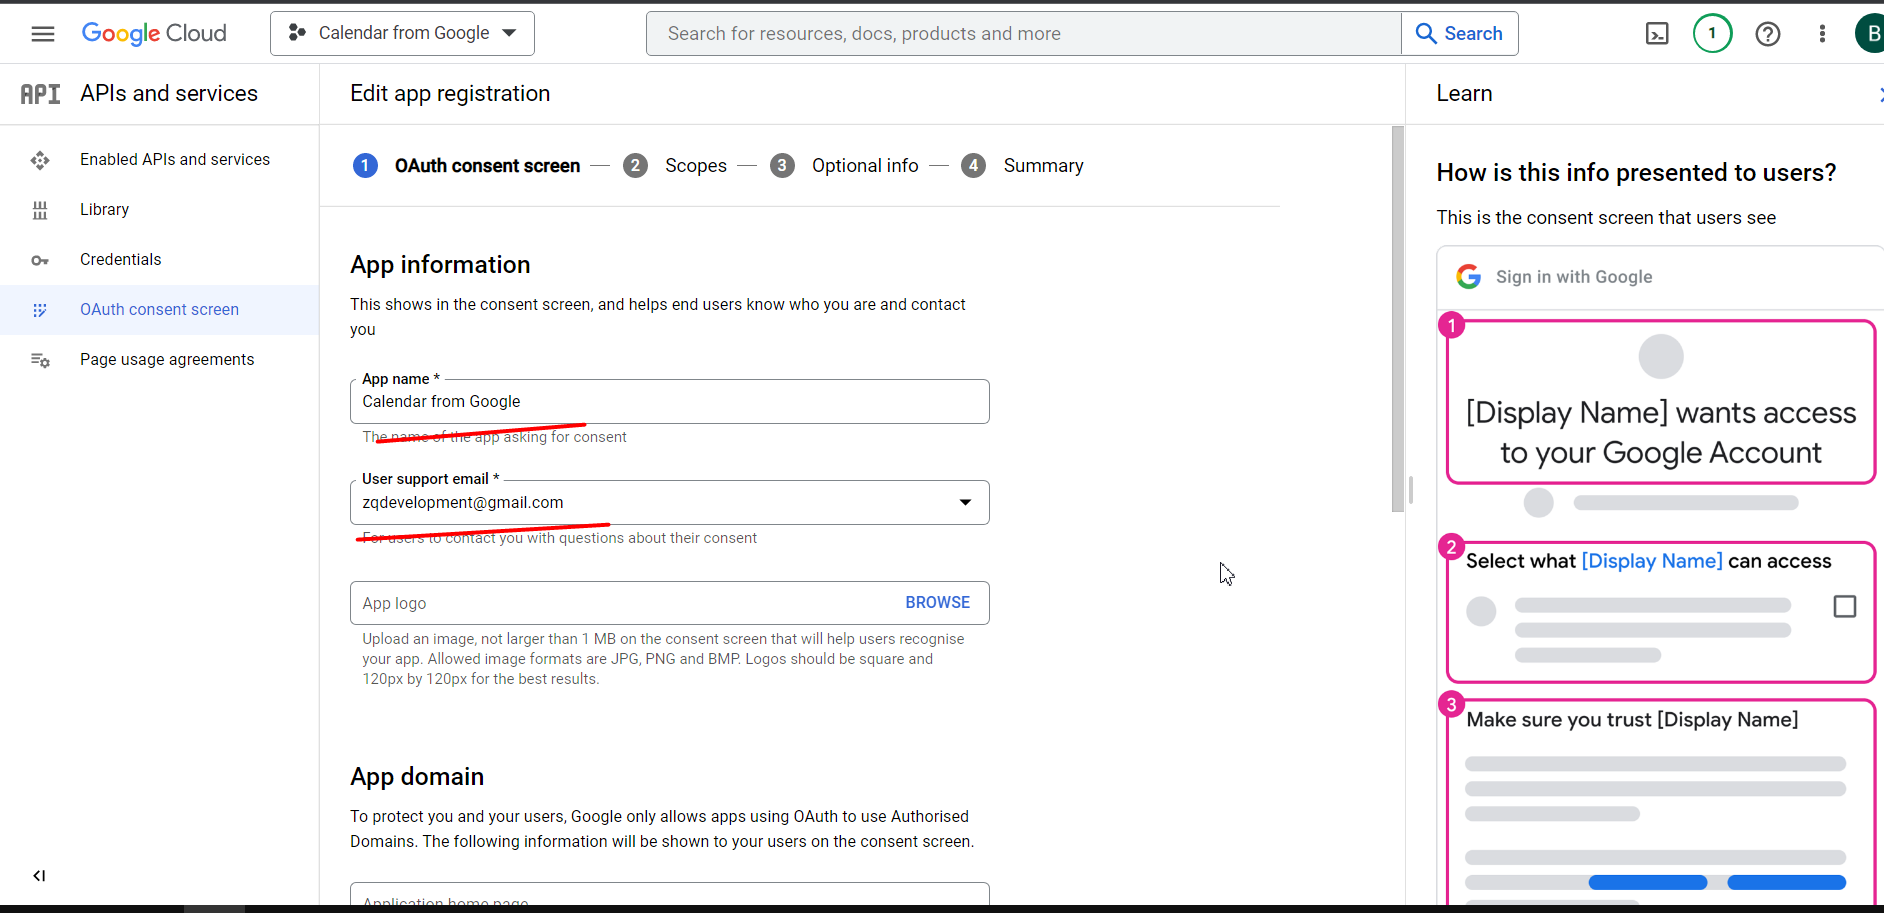
11. Give a name to the app and insert a support e-mail
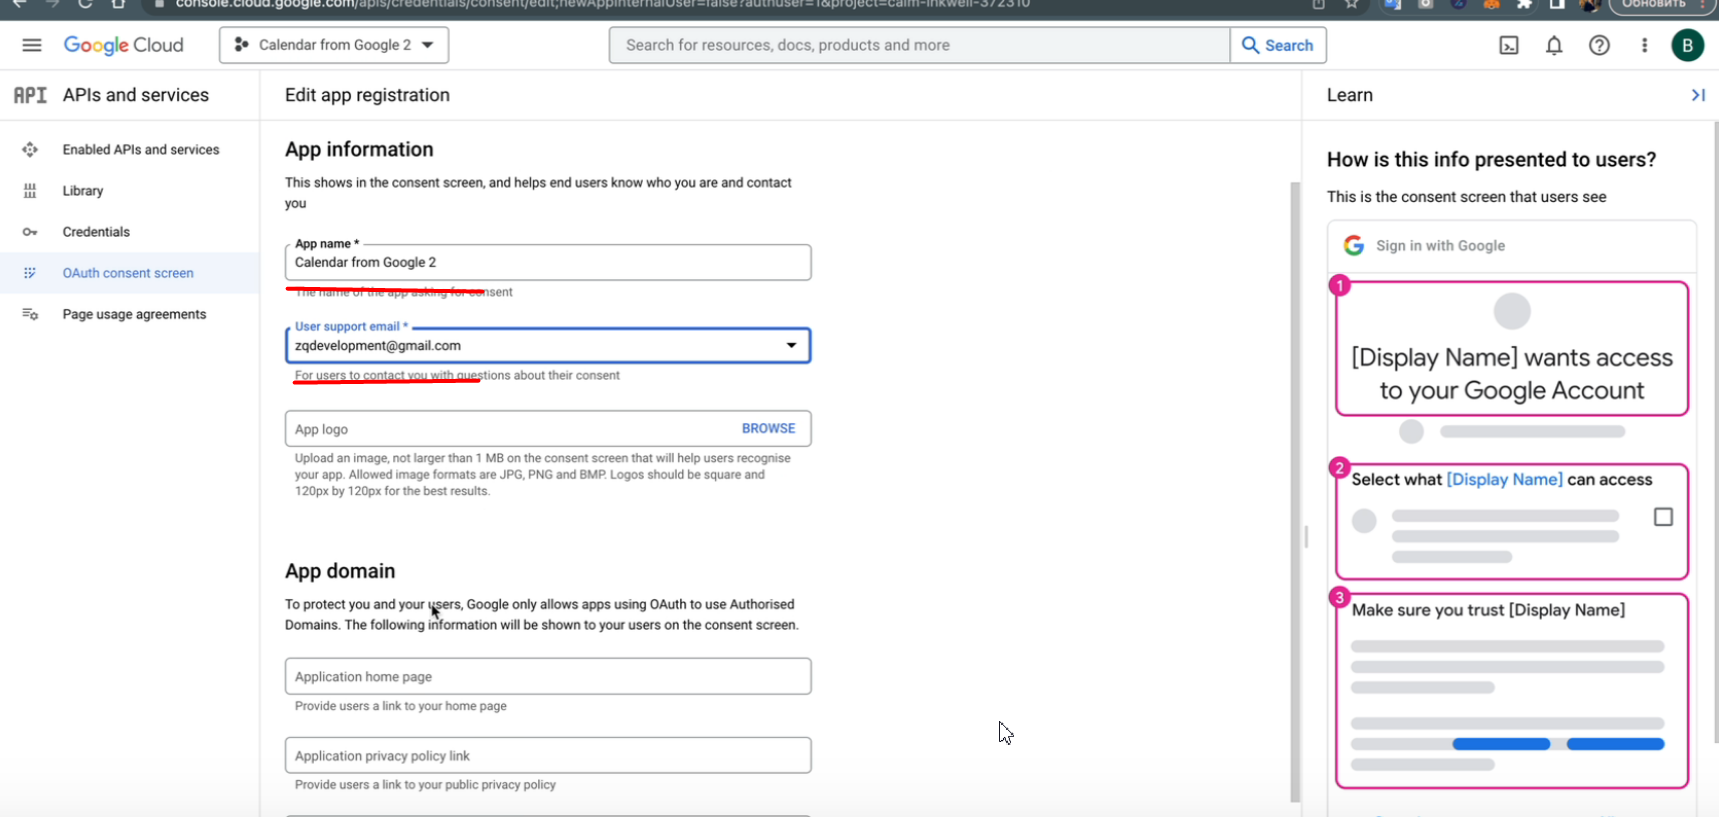
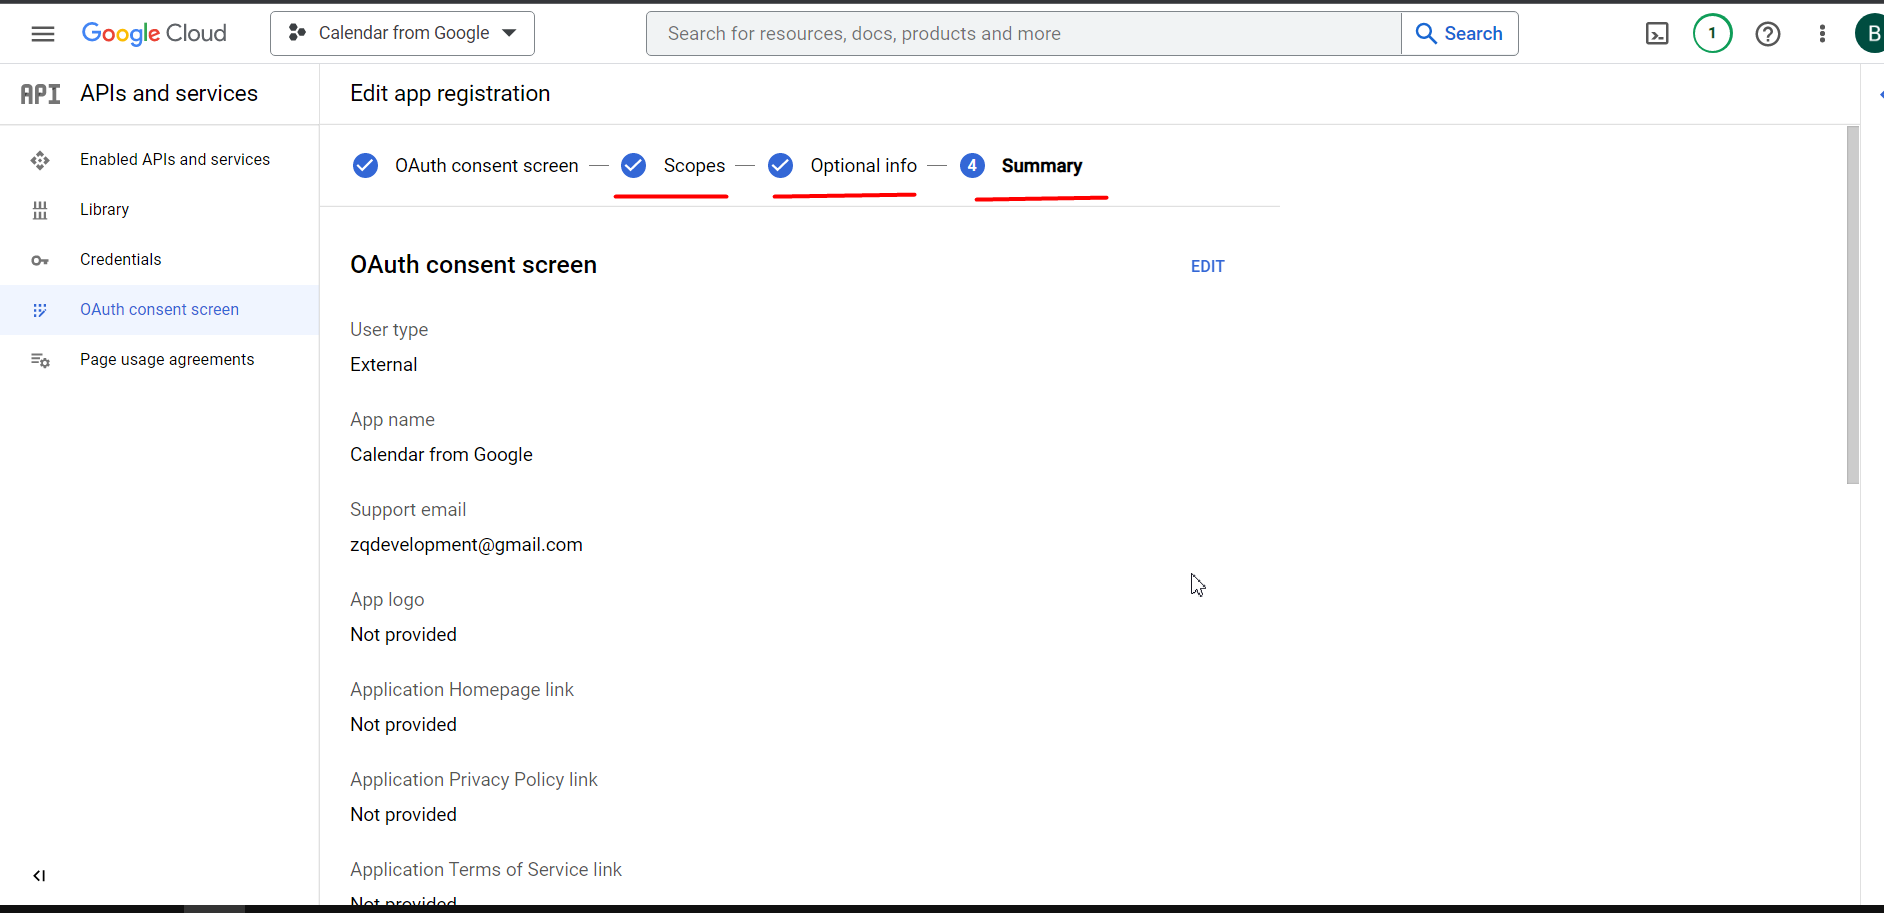
12. Insert the Authorises domains and e-mail, and click on SAVE AND CONTINUE till the end
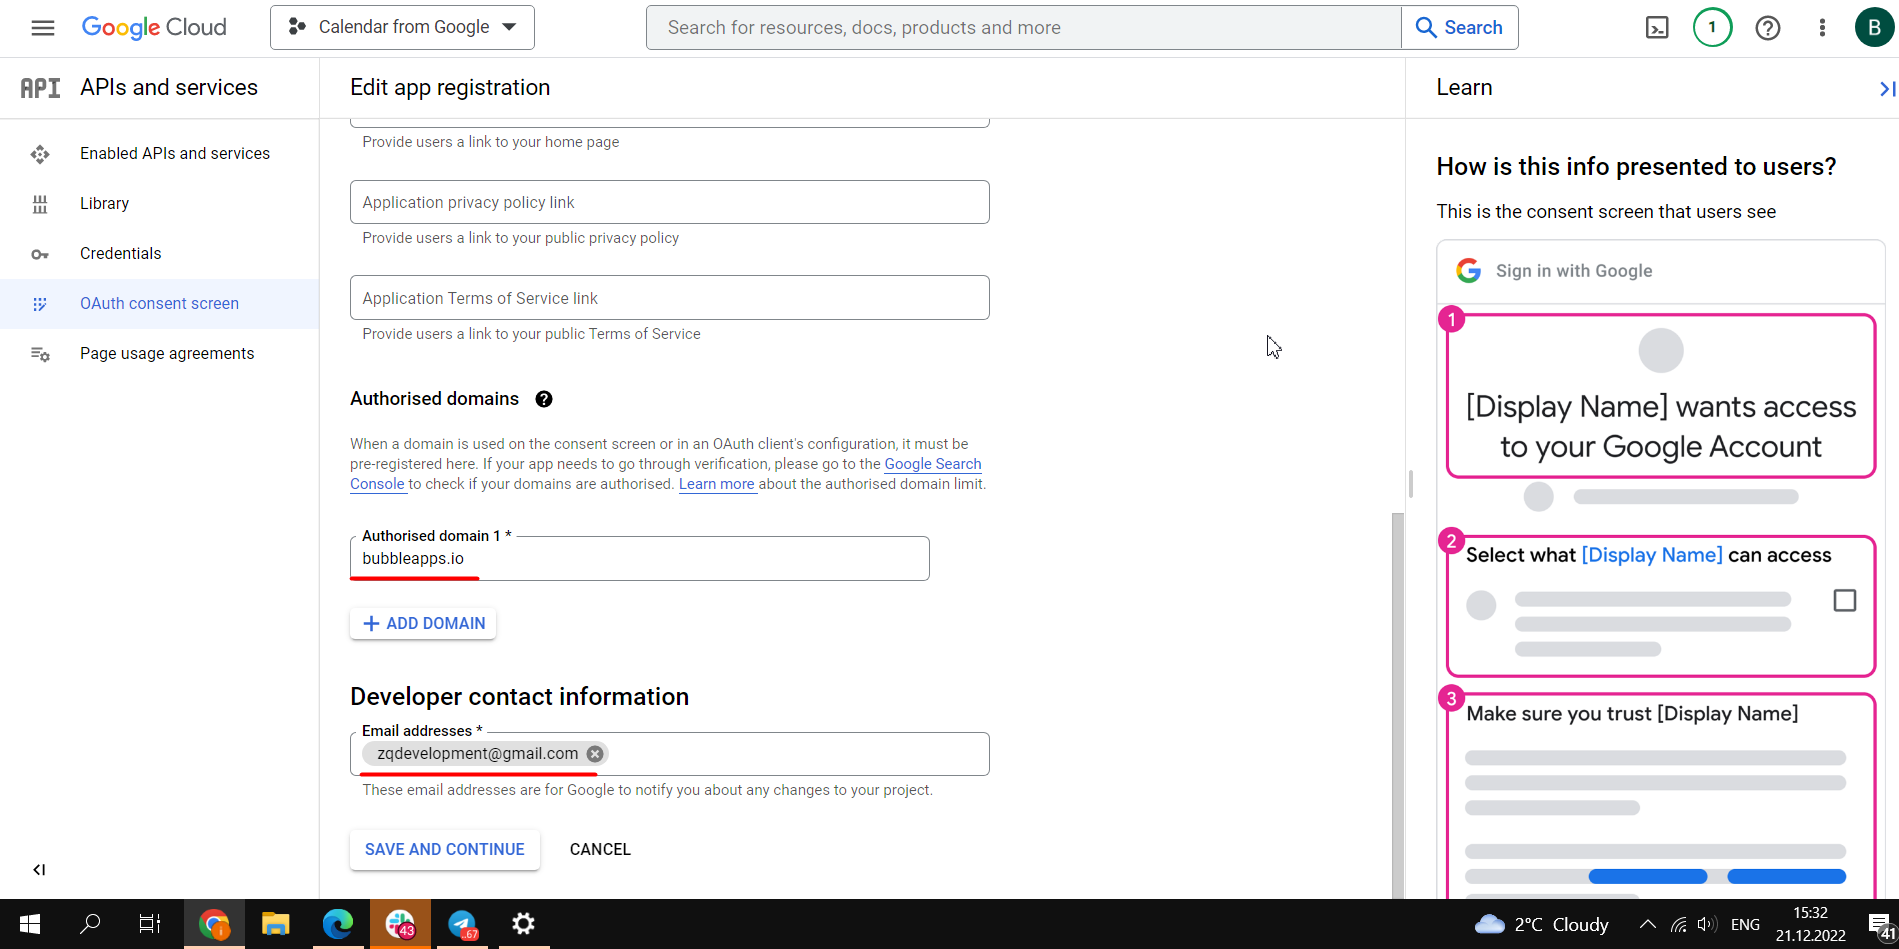
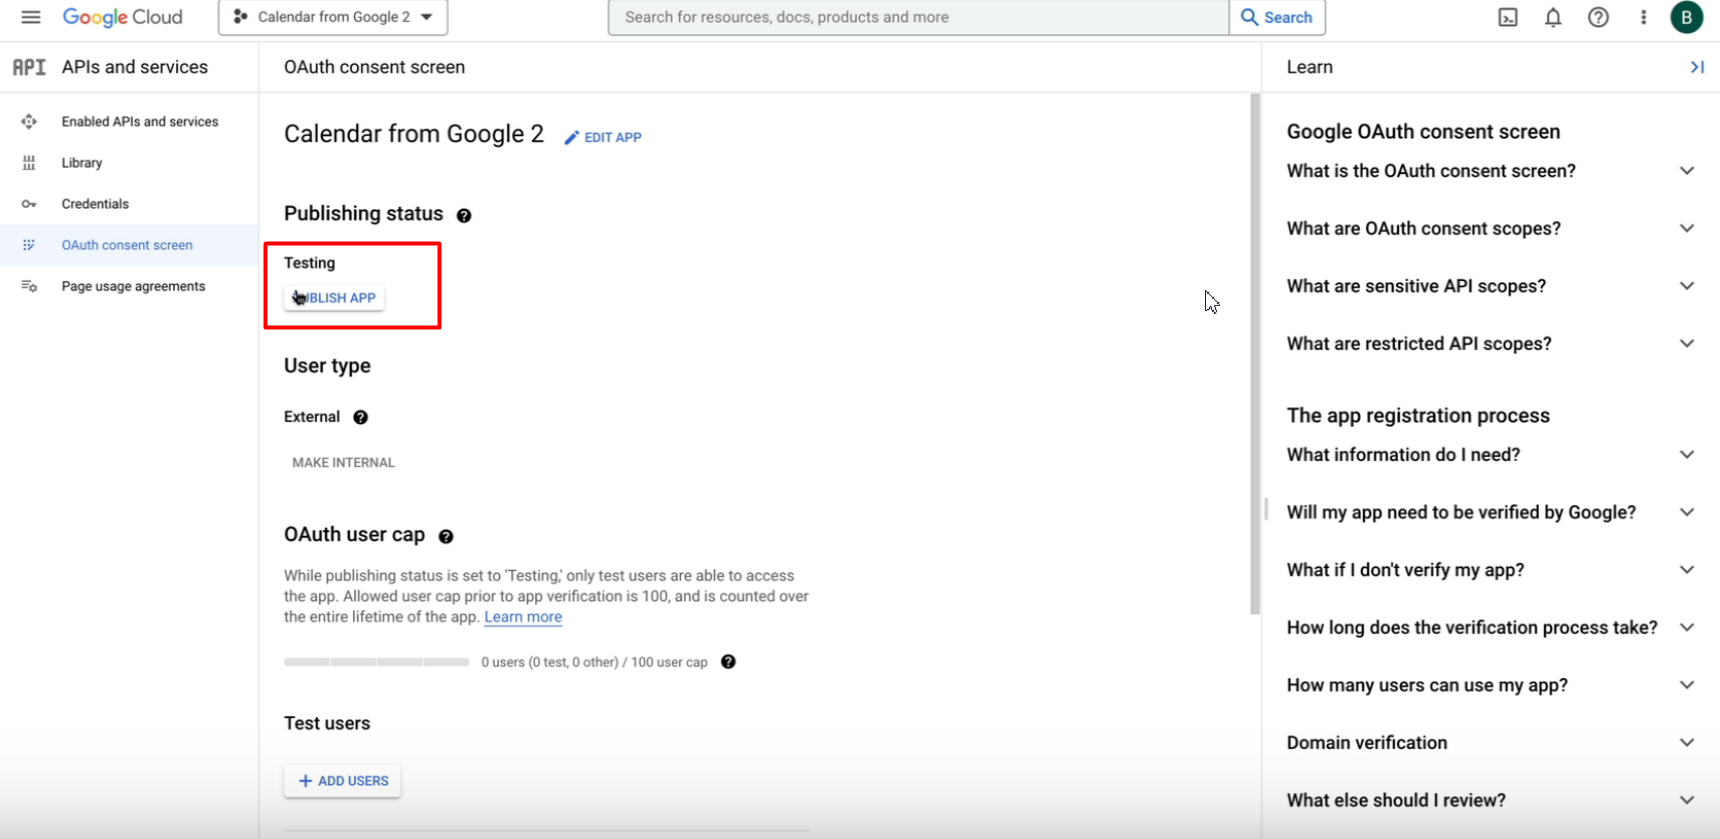
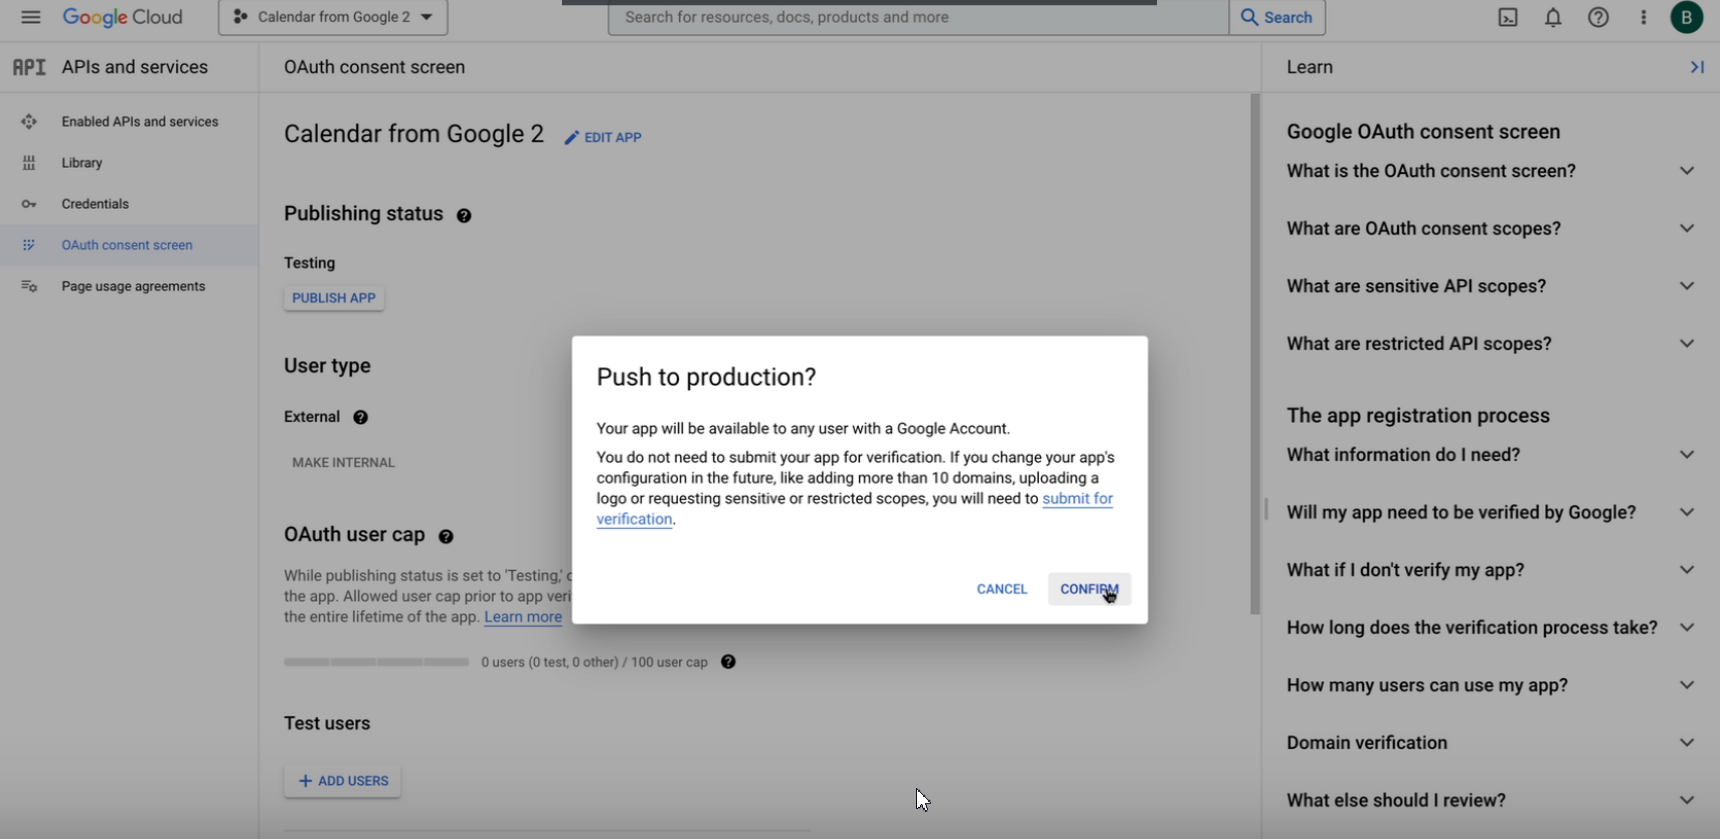
- After all steps are done you have to Publish the app. Click on PUBLISH APP and in the popup press “Confirm”
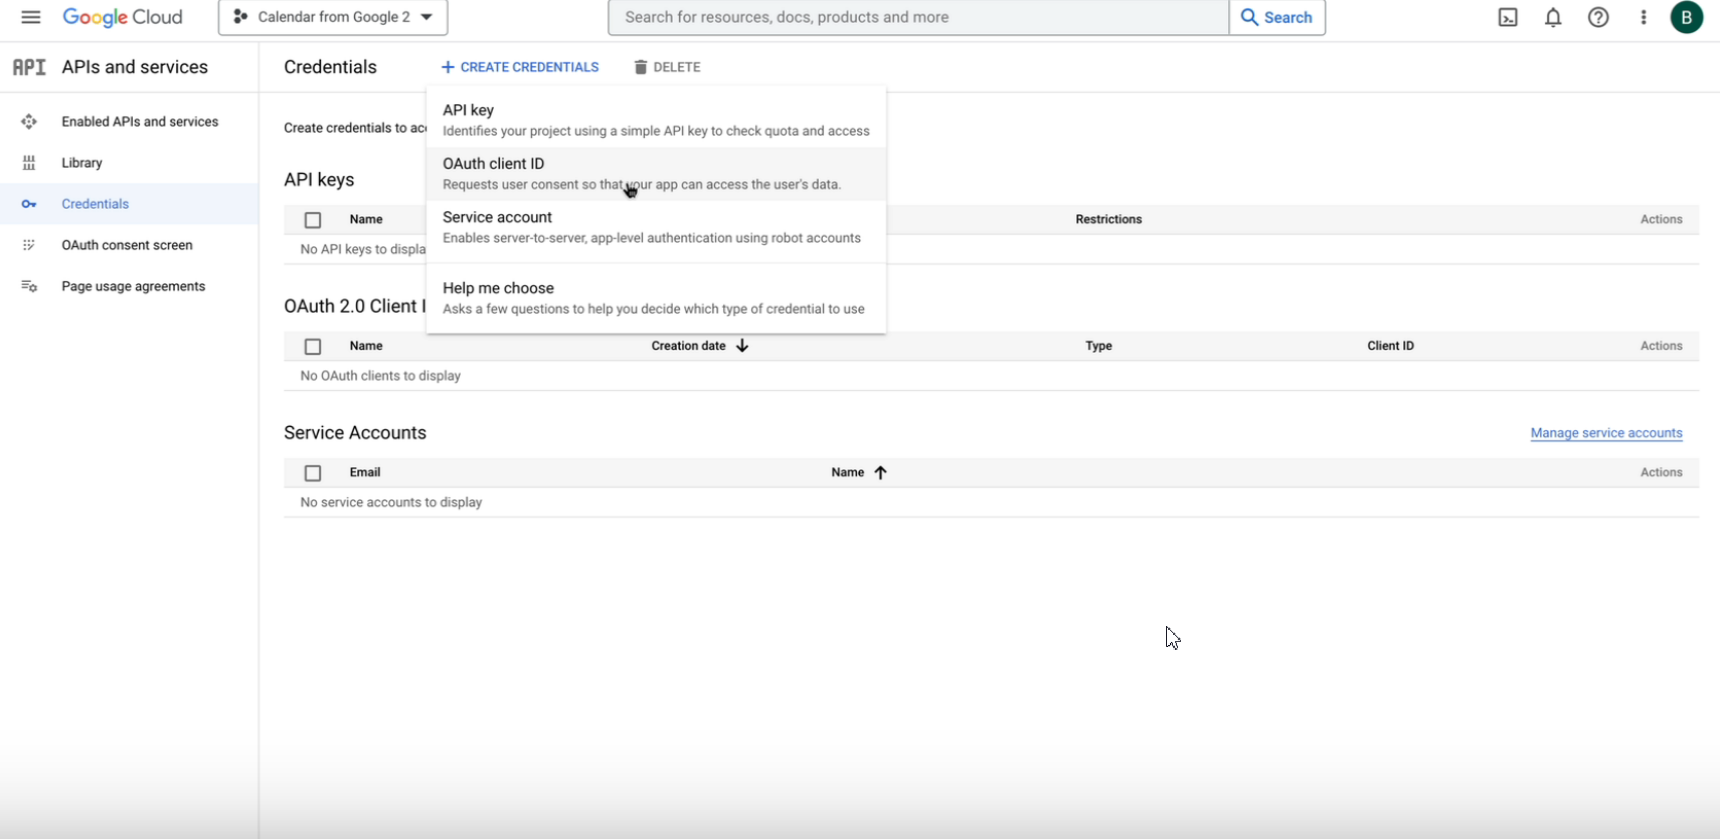
- Now we need to create the Keys. For that, we go to the Credentials in the sidebar, click on + CREATE CREDENTIALS → OAuth Client ID
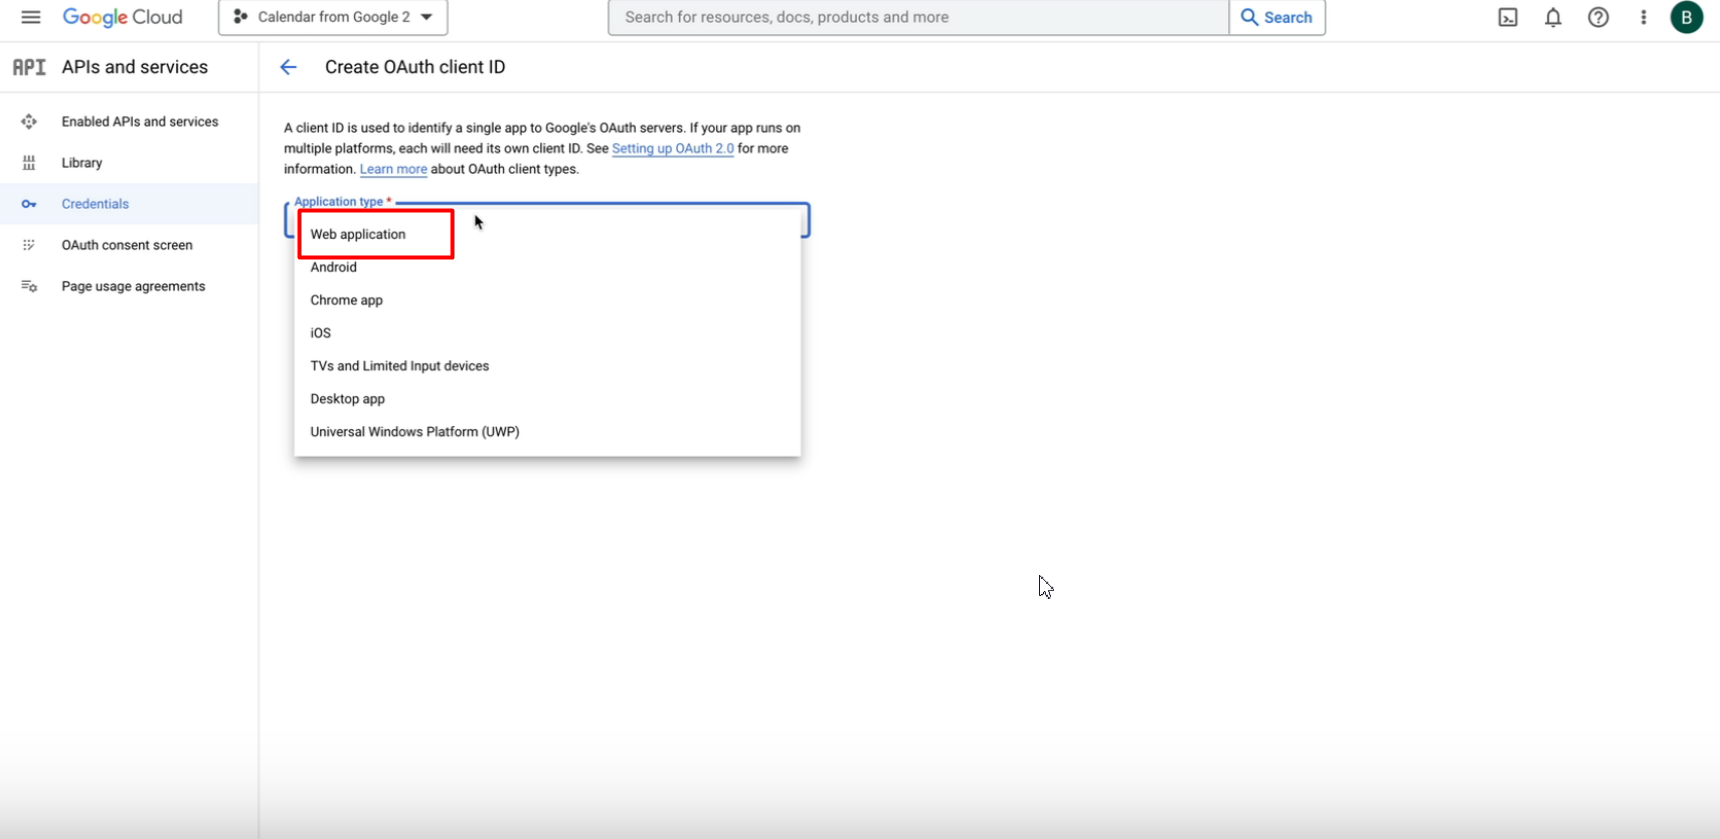
15. Select App type → Web Application, and give it a name

16. The fill in the URIs fields and click on SAVE button
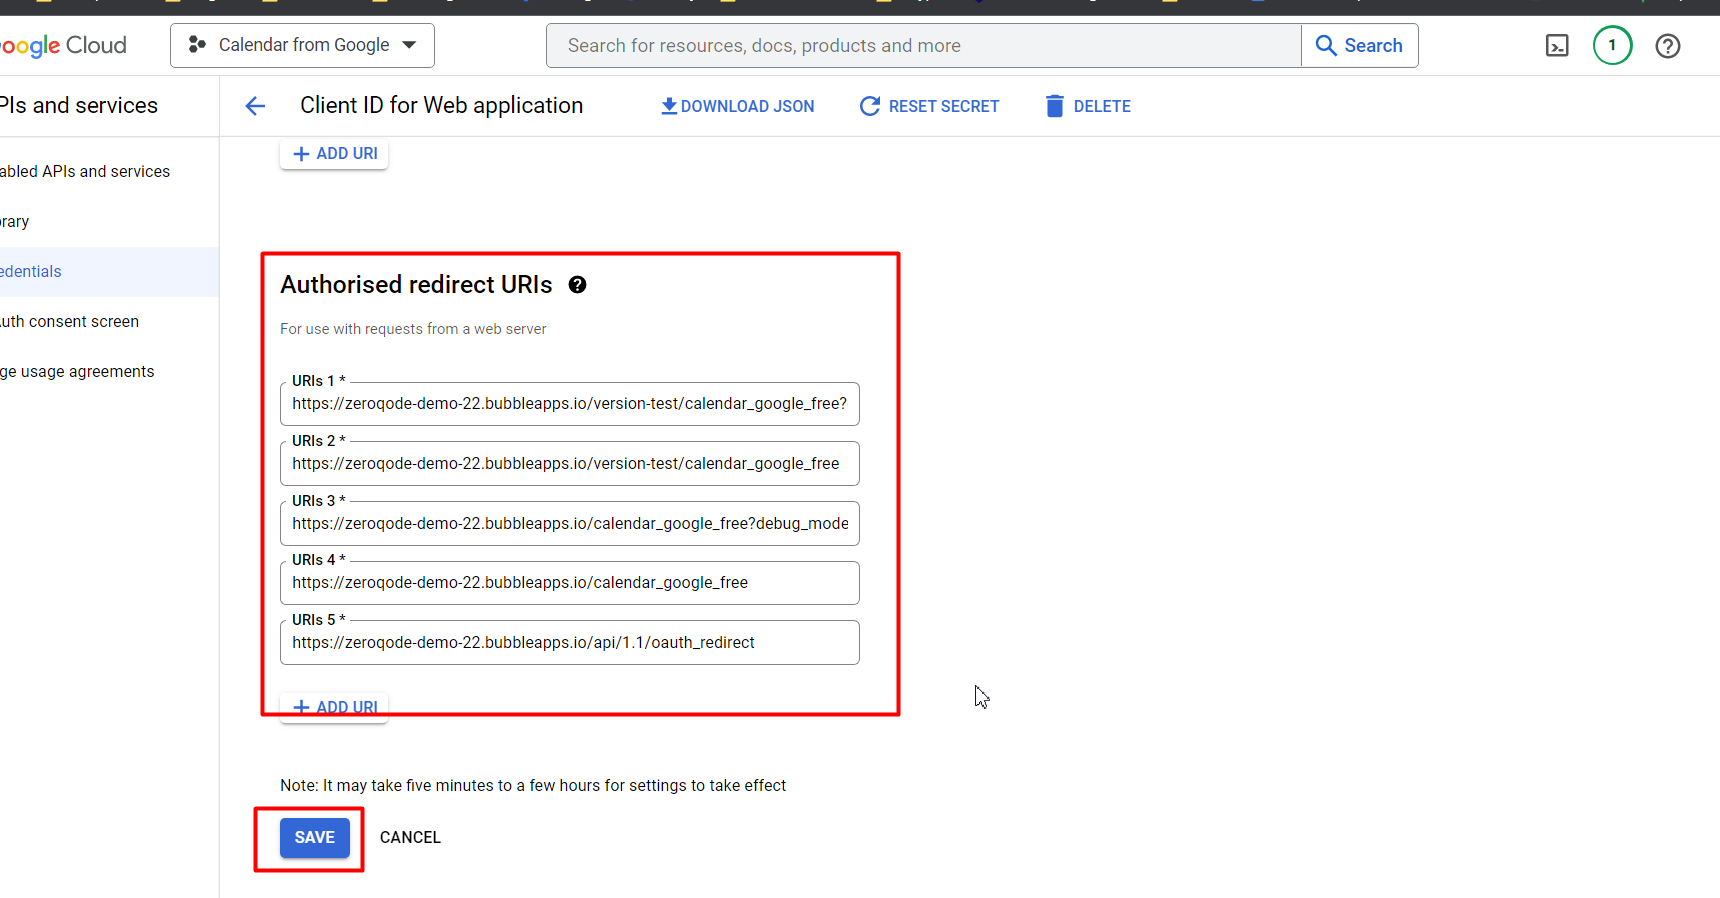
DO NOT forget to add a redirect URL from the Plugin settings as well
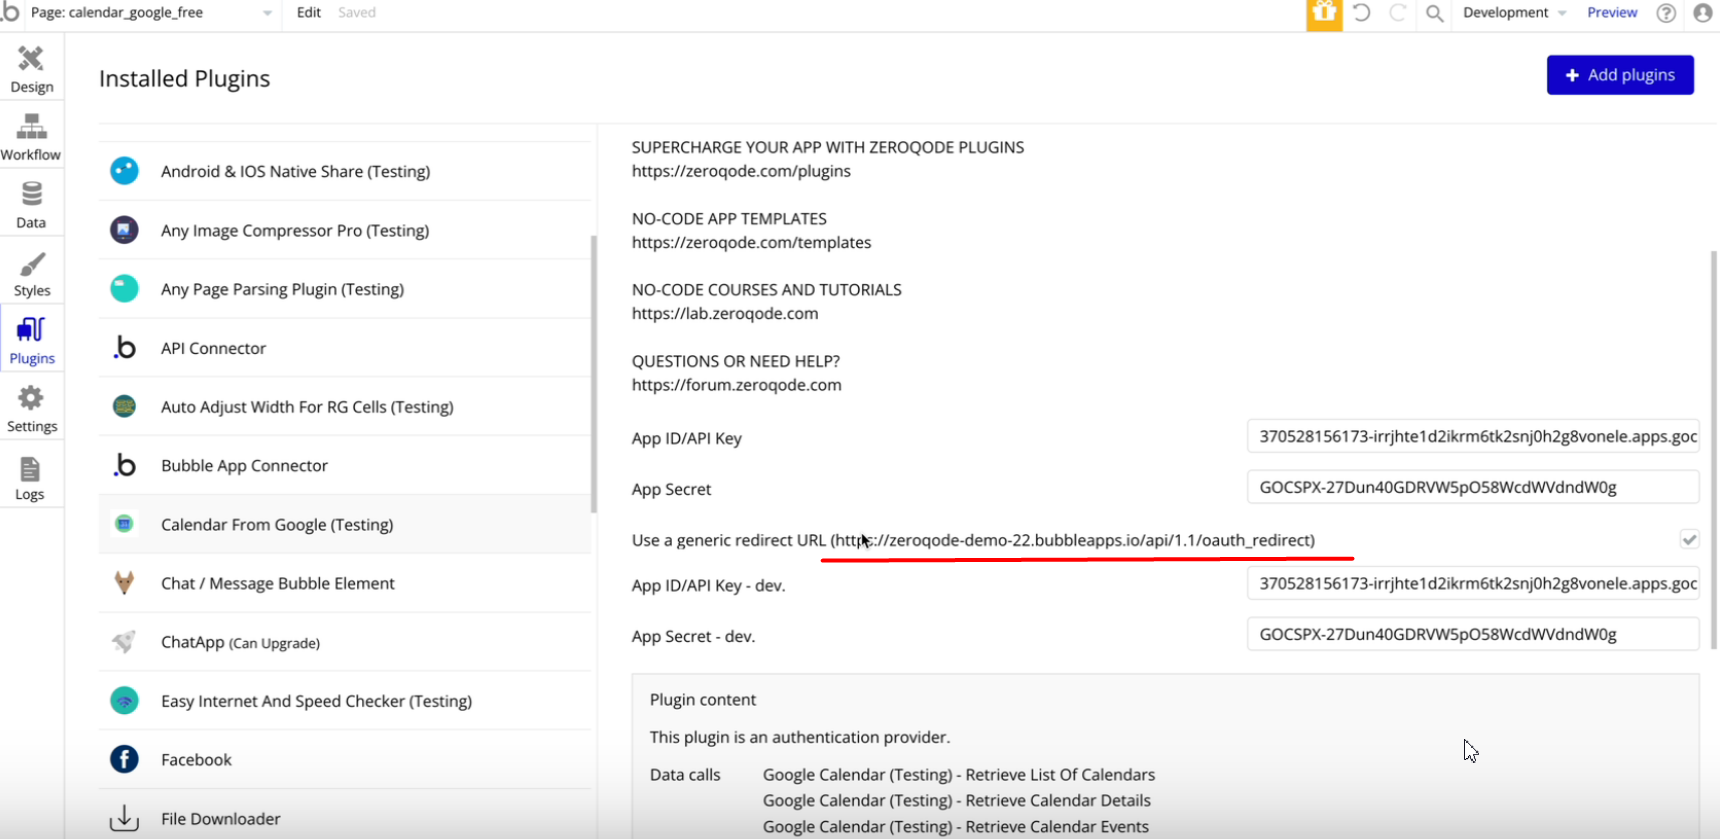
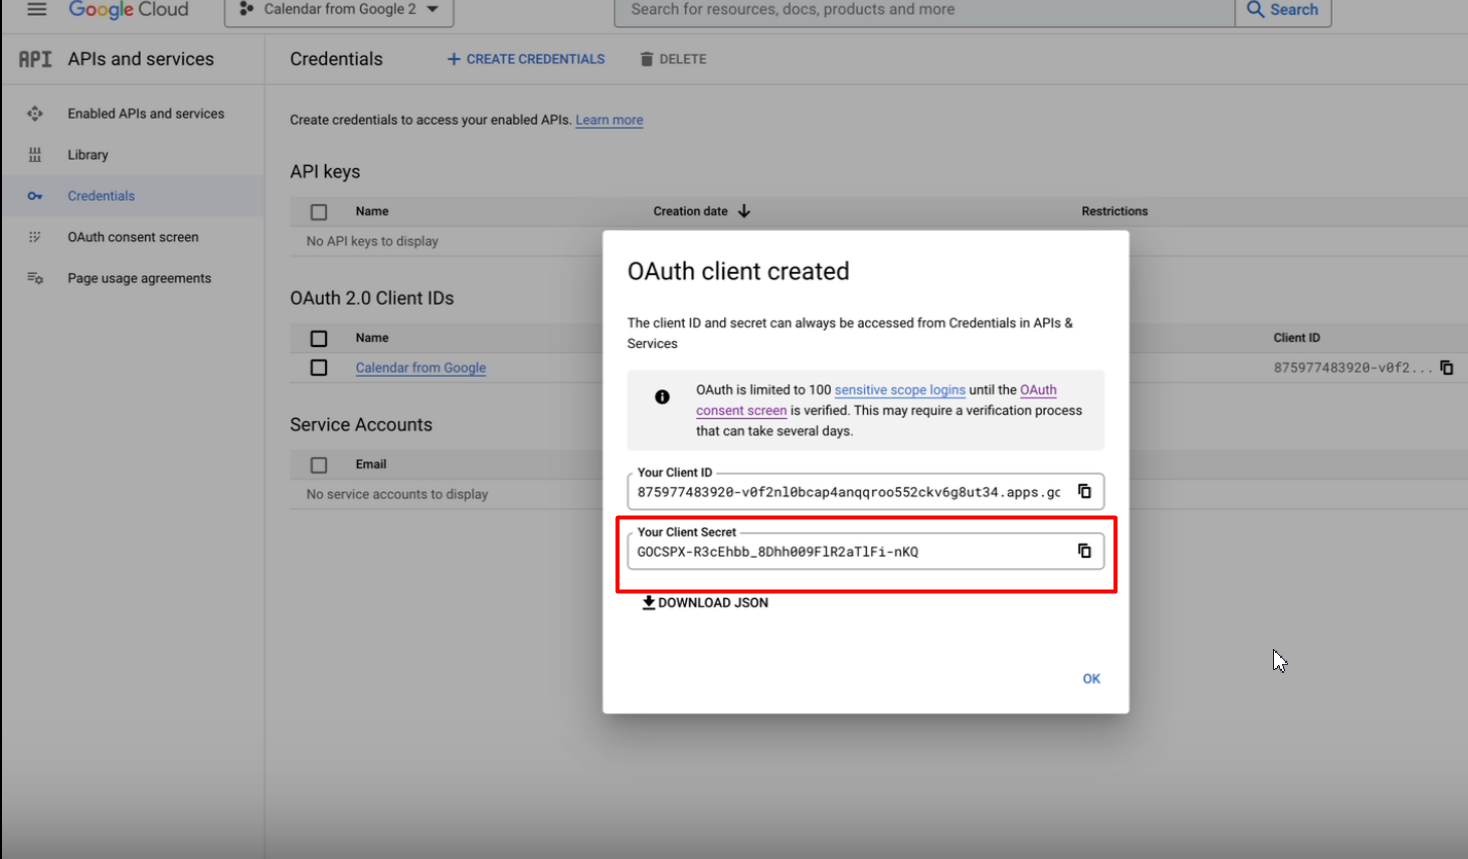
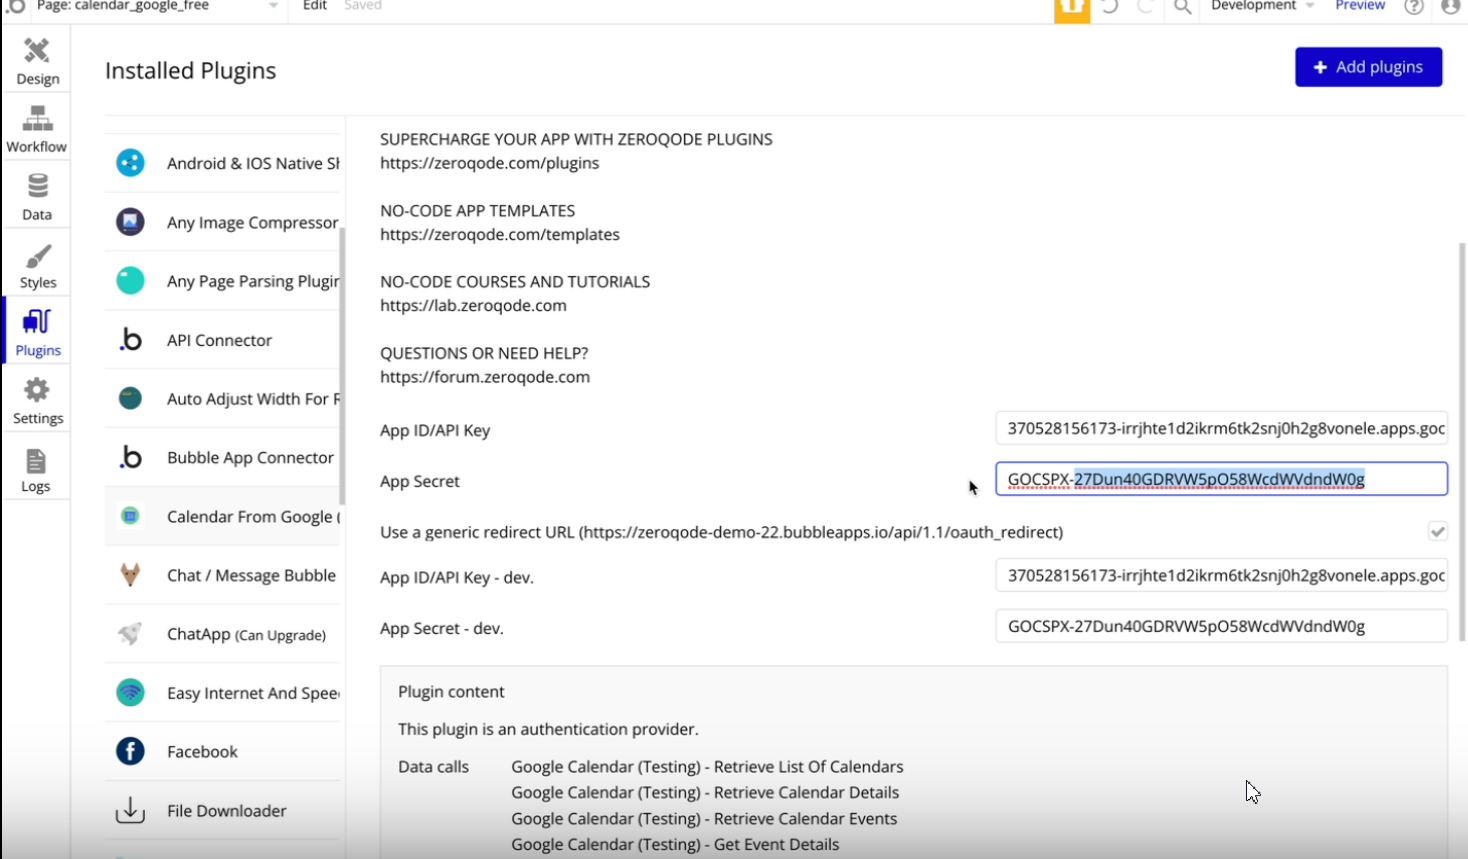
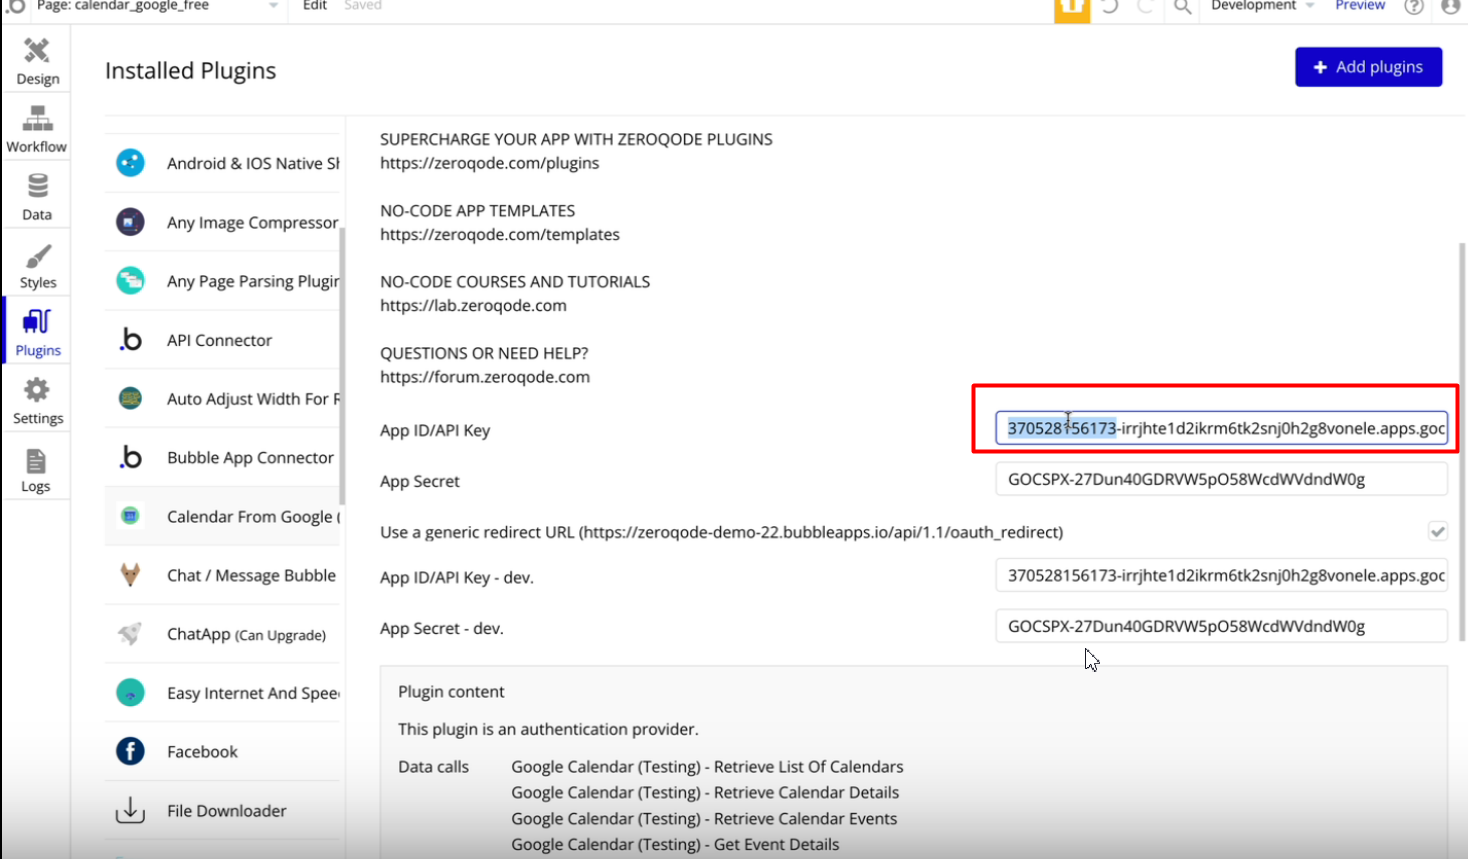
- After that, the popup will appear in which you can find the Keys that need to be copied and pasted in the Plugins Tab → field App ID/API Key

18. Plugin tab
19. Copy Client Secret and paste in App Secret field