Demo to preview the settings
Introduction
This plugin allows you to show the auto-completion data of a specific input.

Getting started
Basic setup
Add the “Auto-completion Input” element on your page, preferably next to your input.
We suggest you to setup the same visibility conditions for the plugin element and your input to avoid any bugs.
An easy way to do so is to put the plugin element in a group with your input and set your visibility conditions on the group.
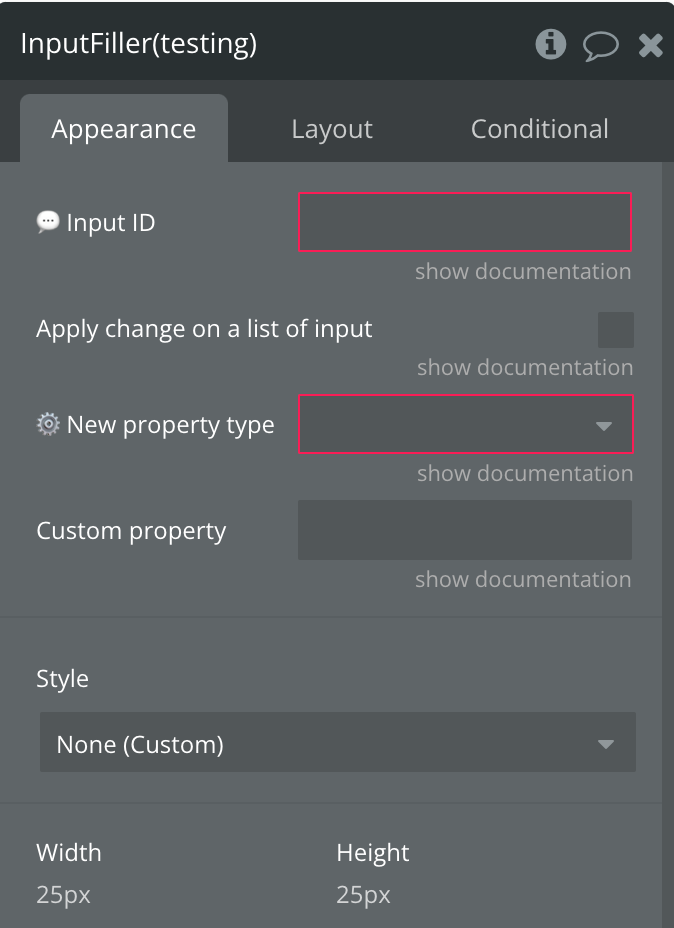
Give your input an element ID (here is how) and and enter it in the corresponding field.
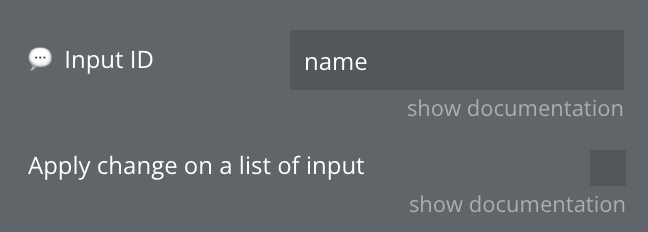
If you want to change multiple inputs, enter a comma separated list of IDs and check the “Apply change on a list of input” checkbox.
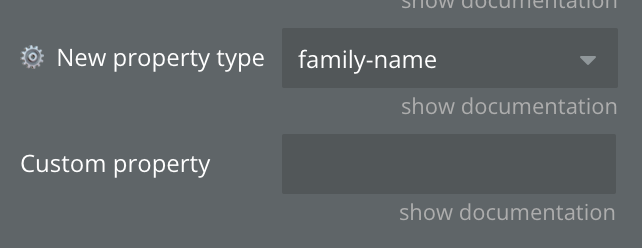
Finally, choose the new property for the input(s). This is the type of the data that your input is designed to store. In other words, the type of the data that should be autocompleted.
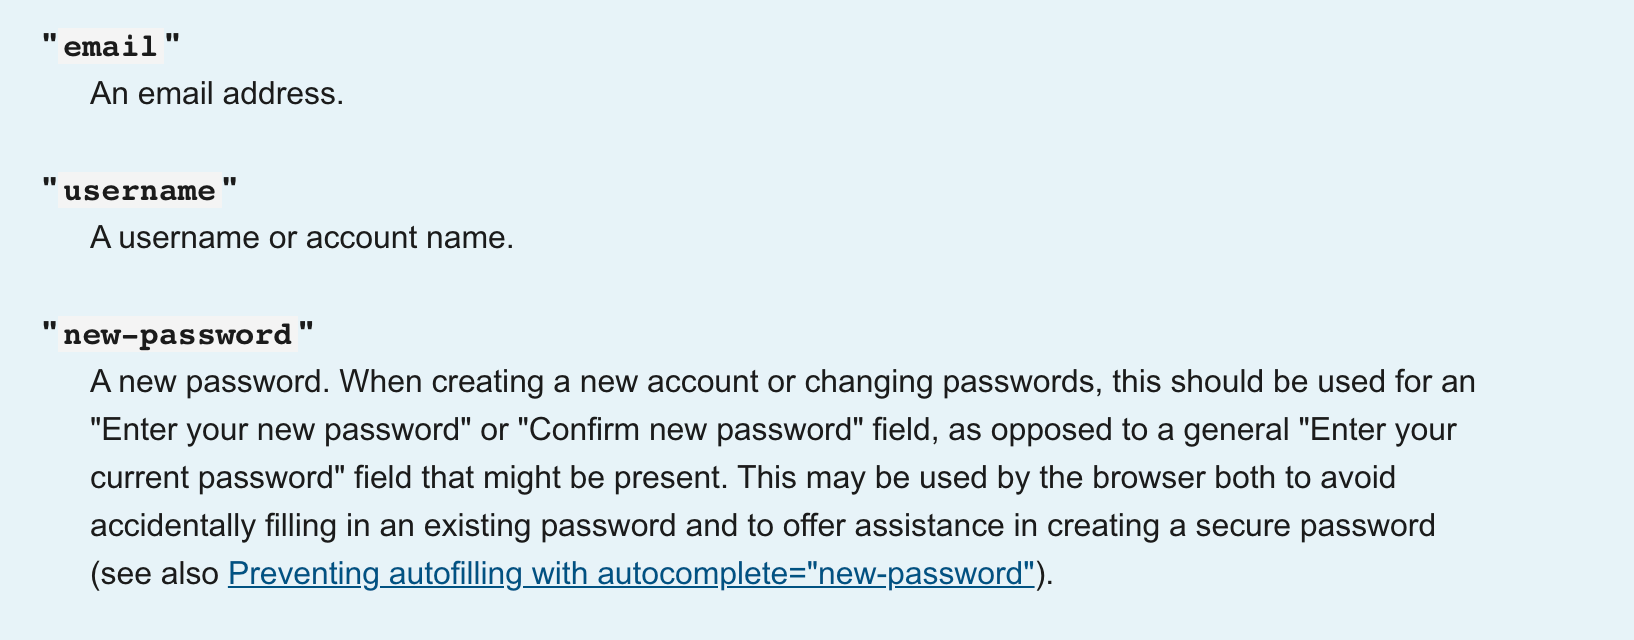
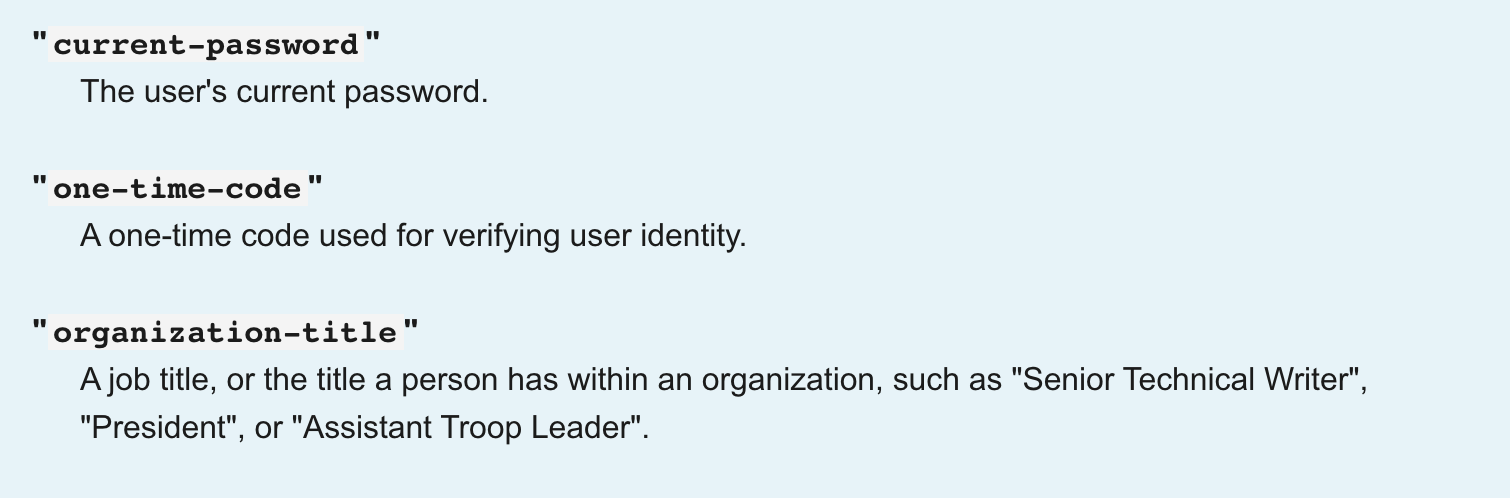
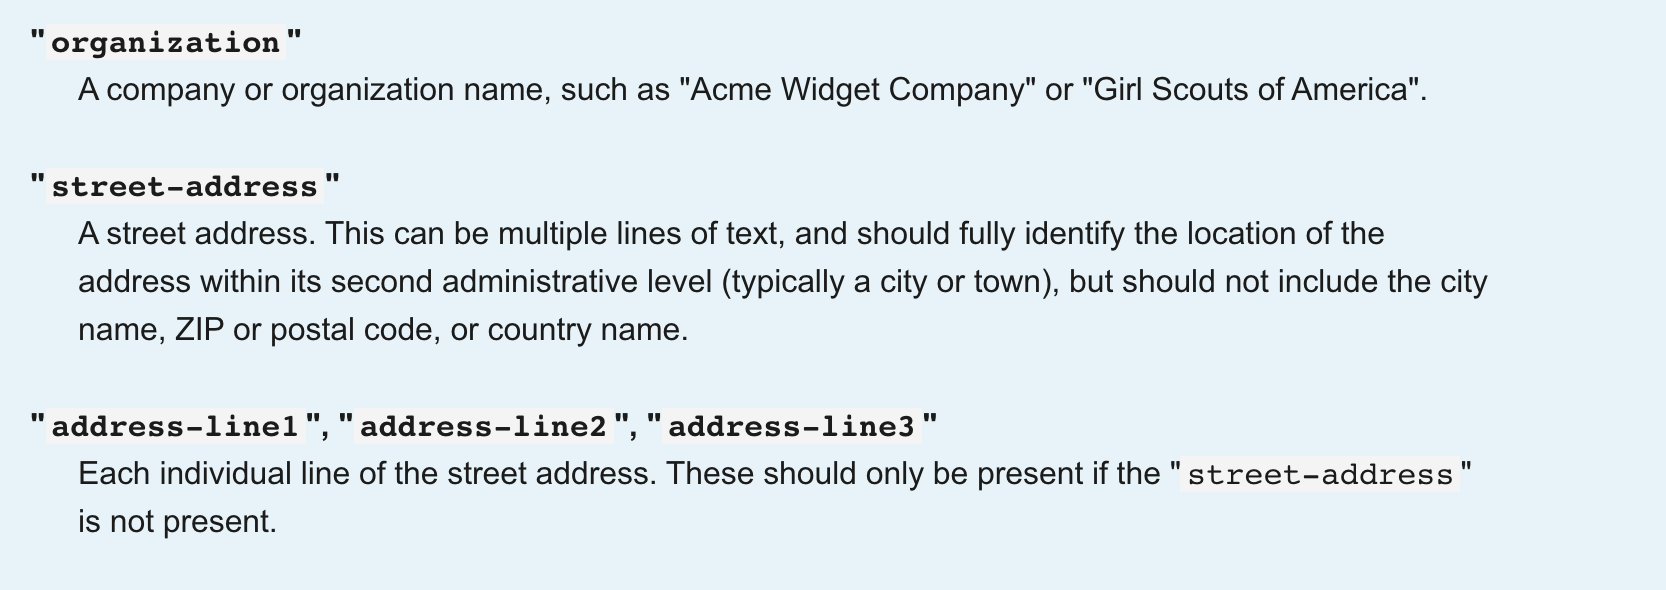
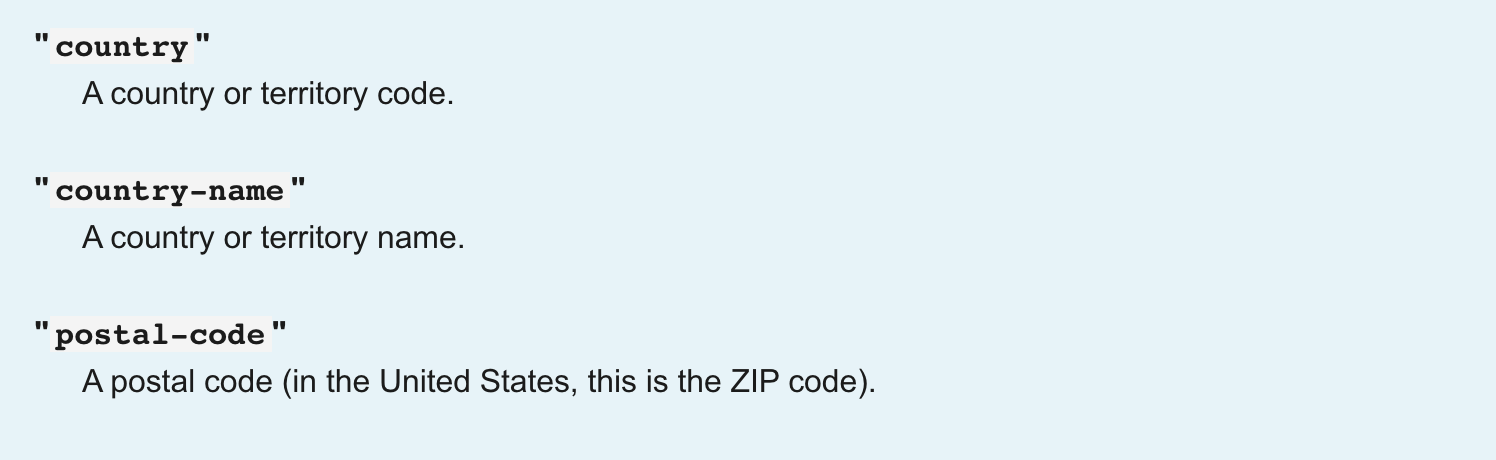
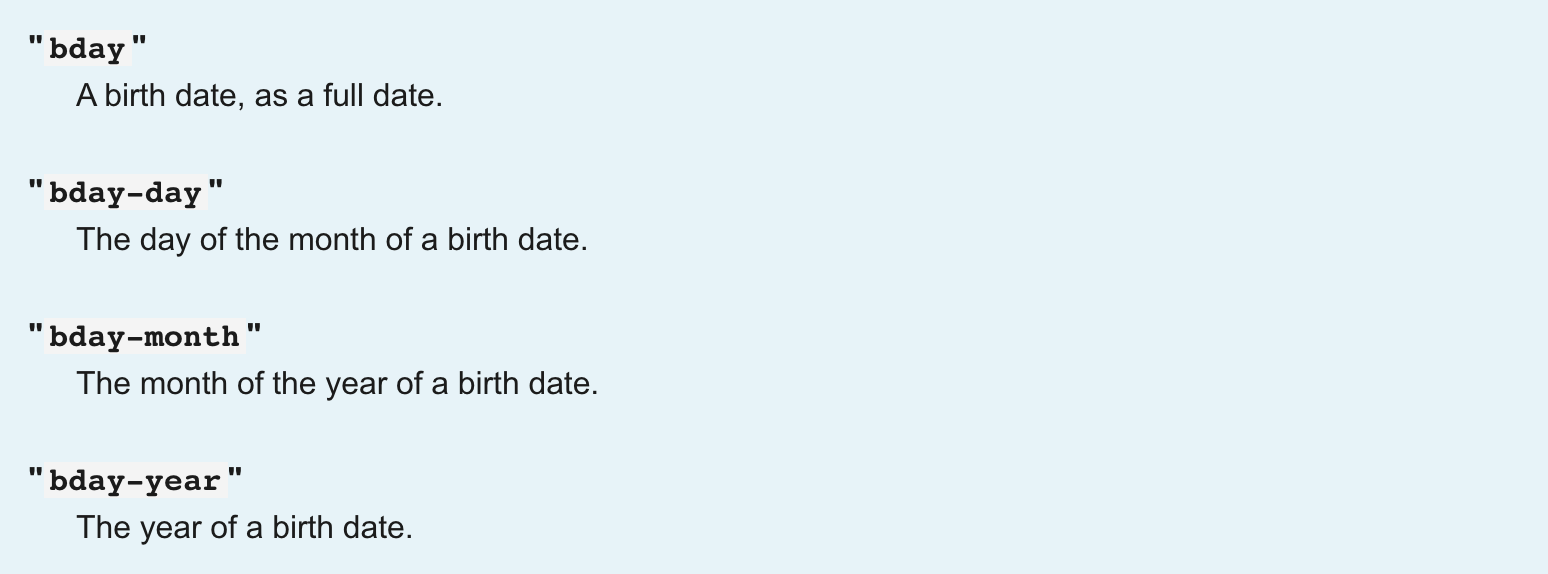
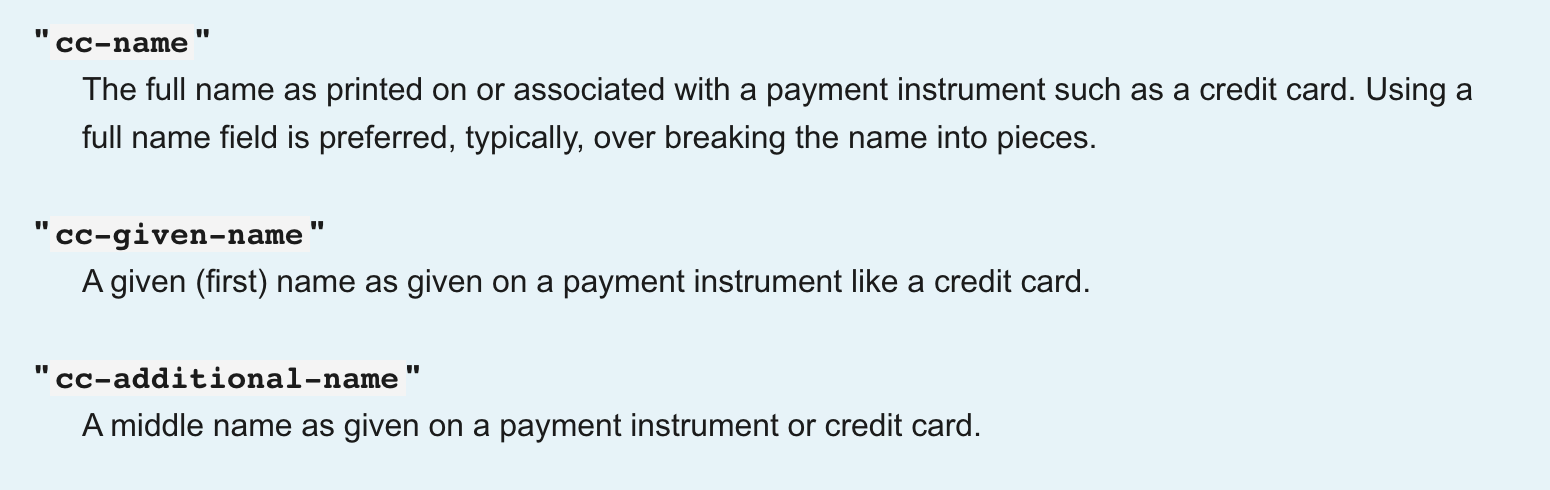
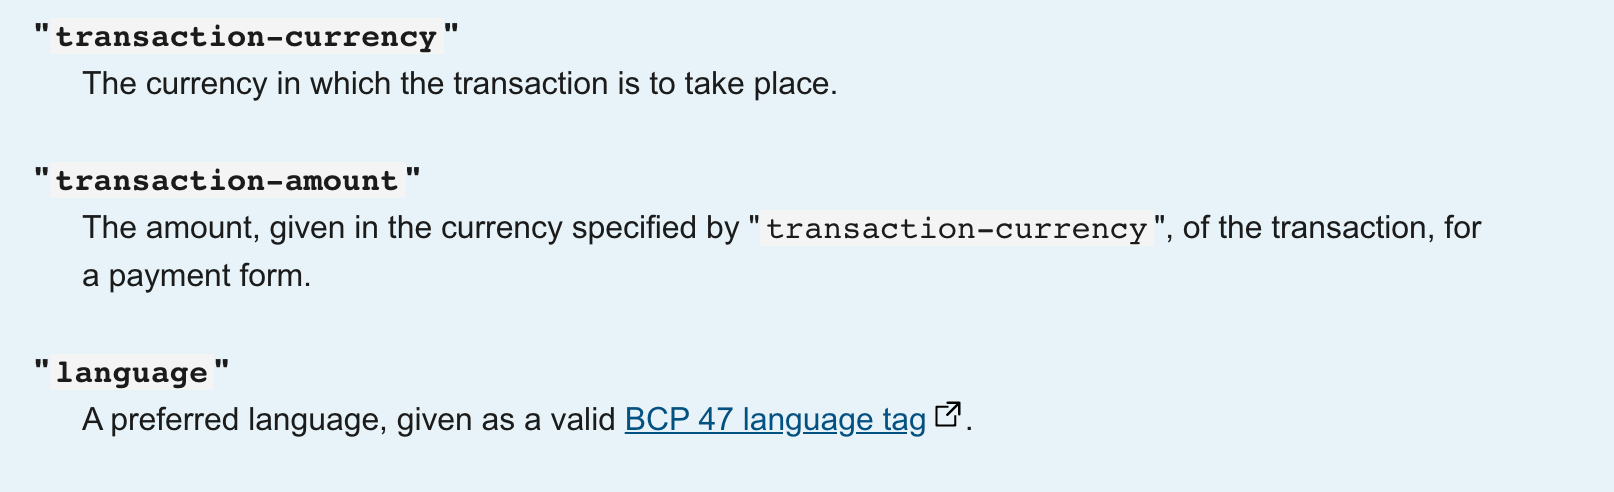
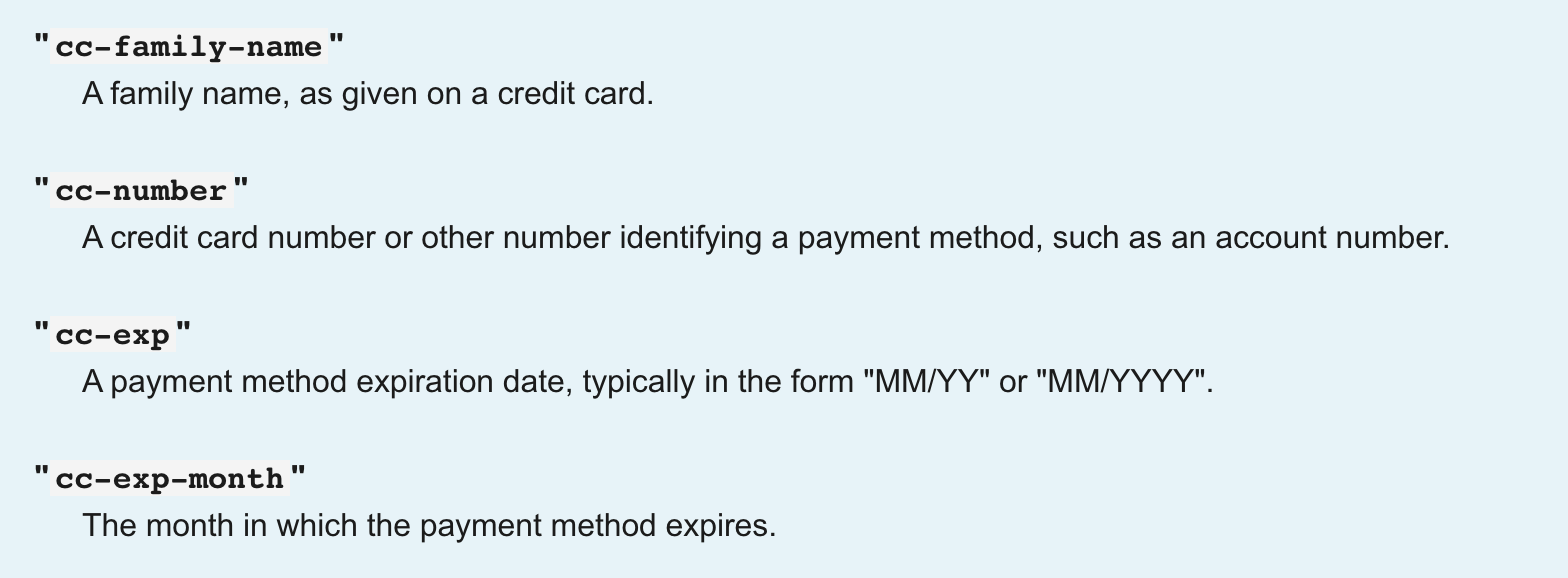
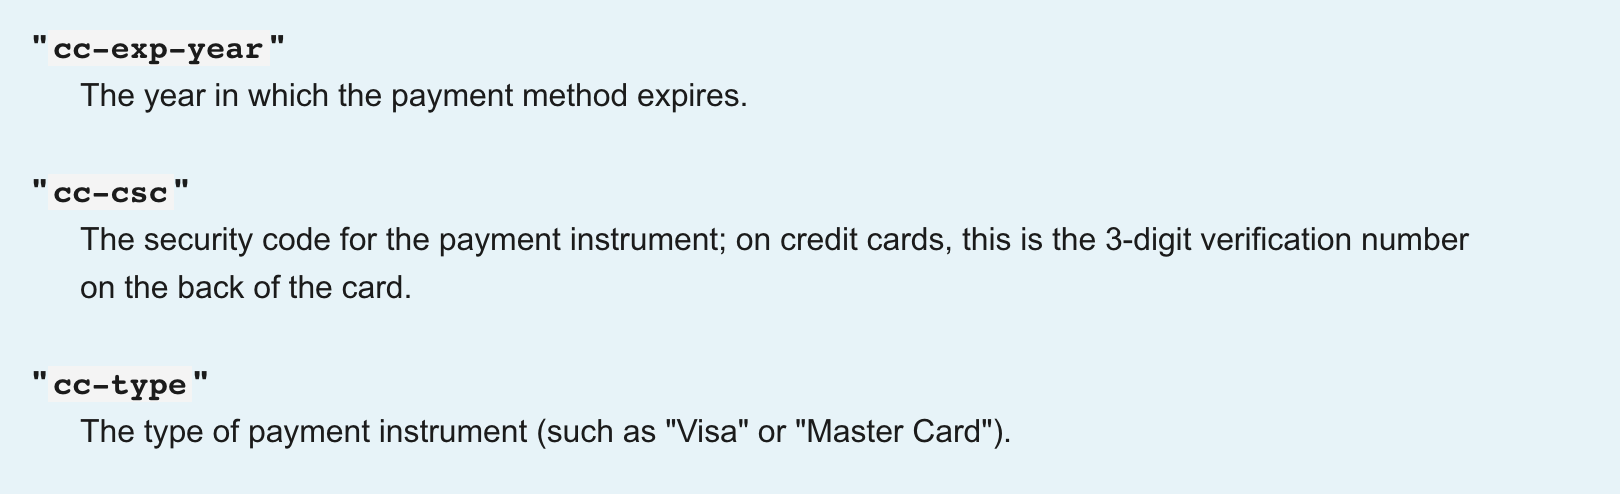
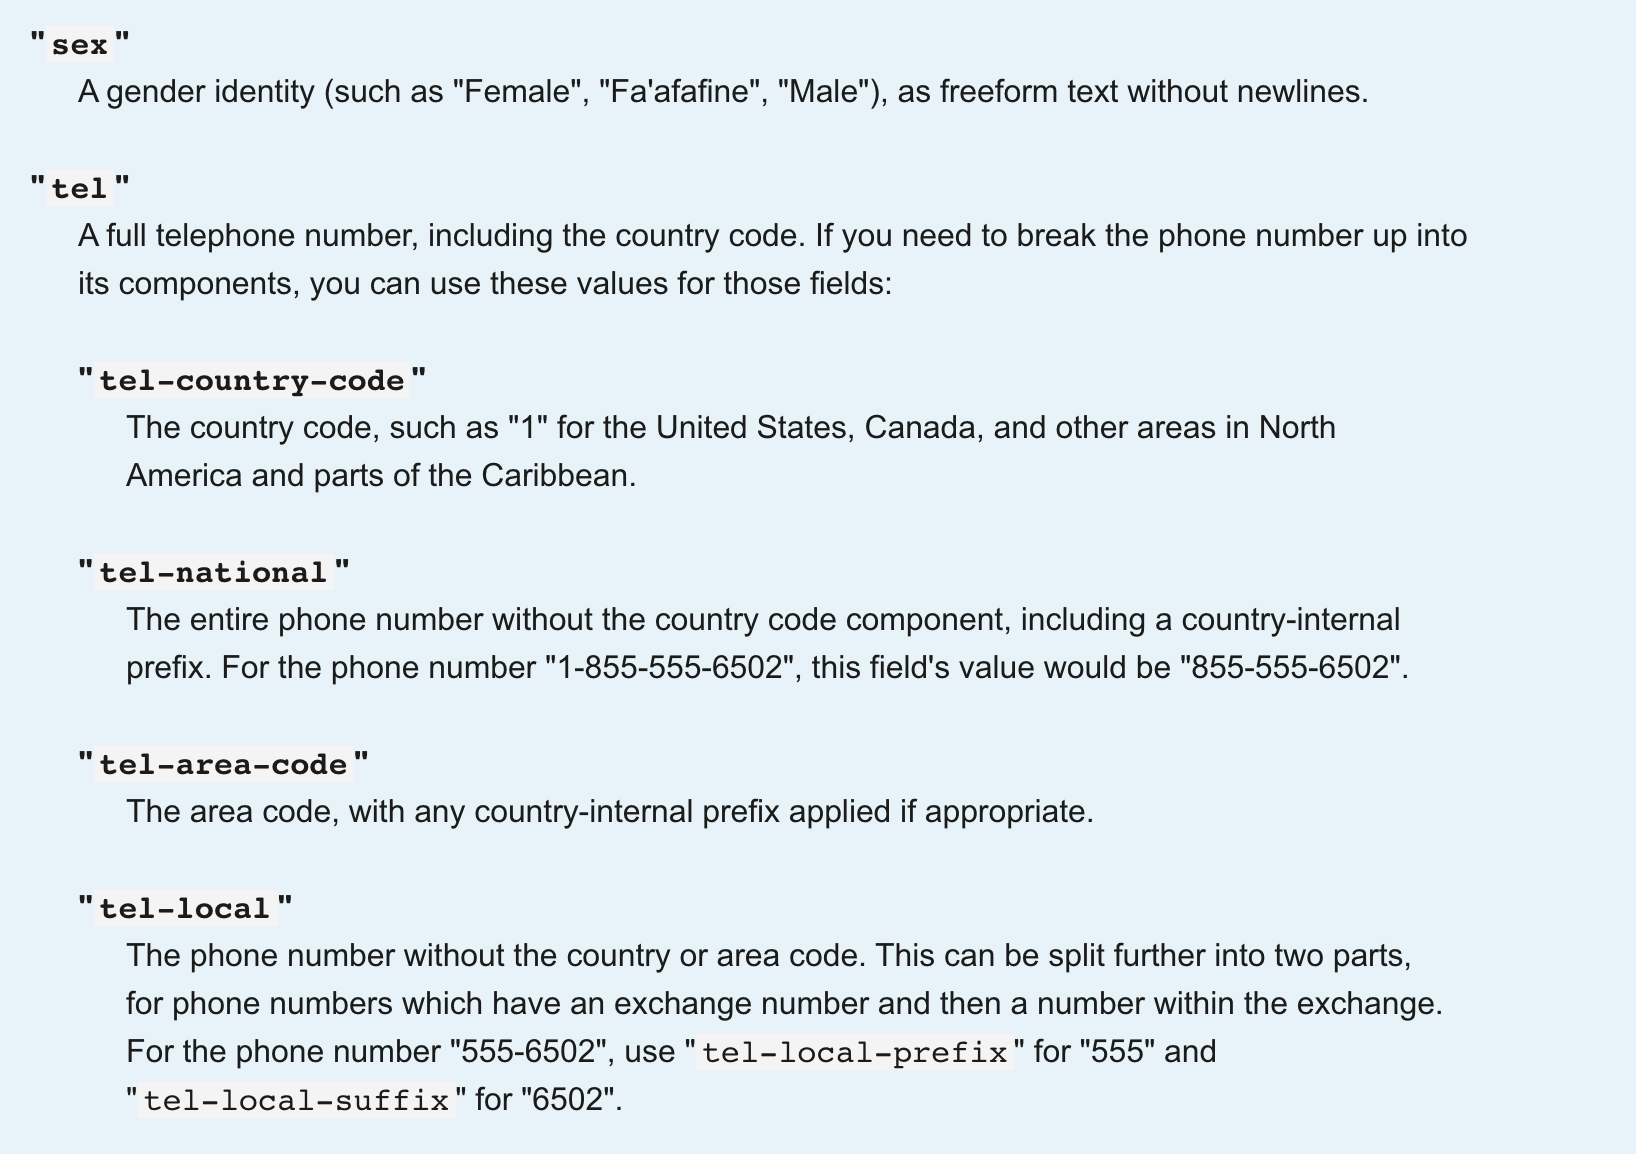
Pre-configured properties
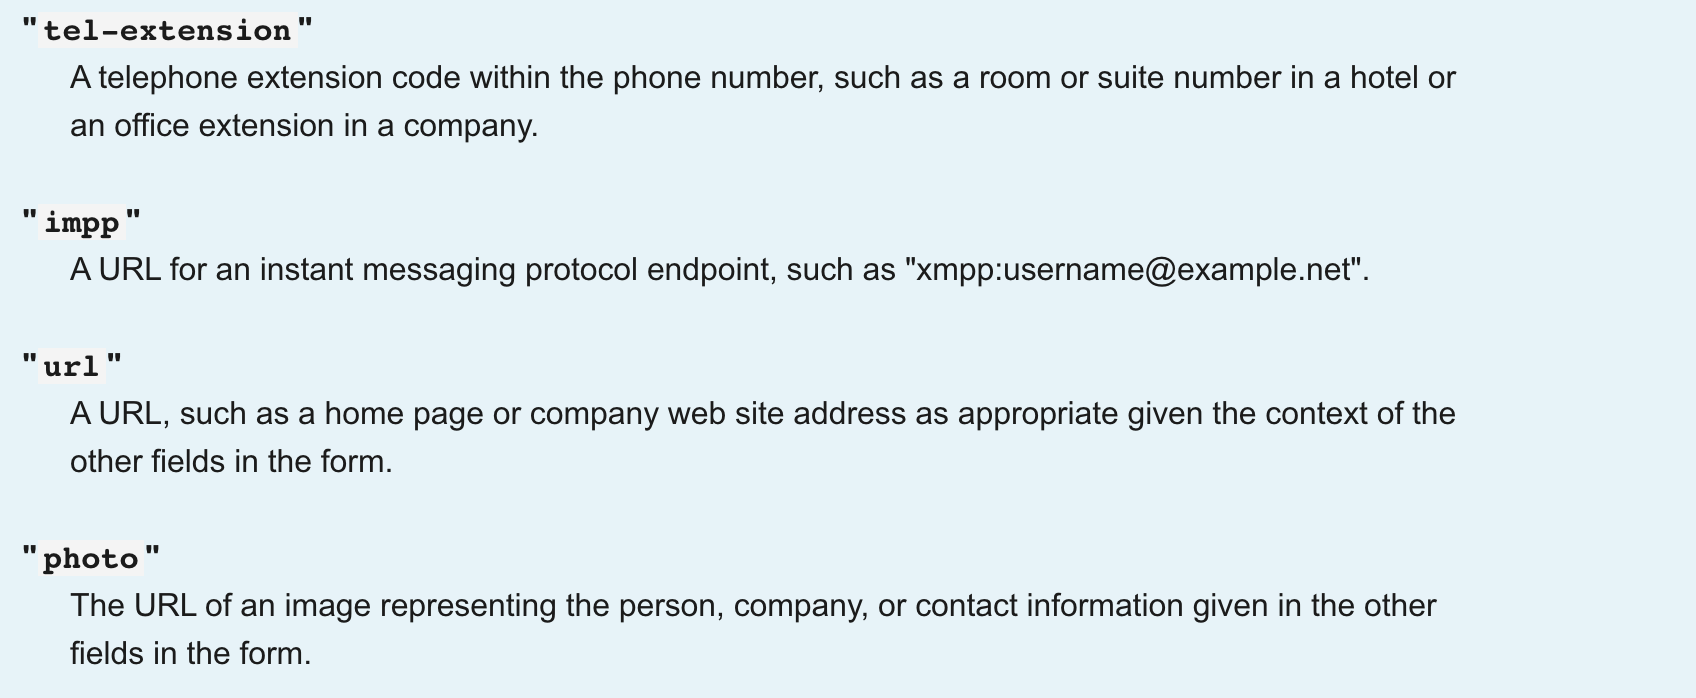
Below is the list of all the pre-configured properties.
Deactivate
Some values might not get autocompleted because the browser does not permit that usually due to the security concerns.
Note: In most modern browsers, setting
New property type to Deactivate will not prevent a password manager from asking the user if they would like to save username and password information, or from automatically filling in those values in a site's login form. See the autocomplete attribute and login fields.All pre-configured properties


Element properties
=Fields:
Name | Description | Type |
Input id | The id of the input field the autocomplete should be attached to | text |
Apply on a list | Turn the input field above into a list. This allows you to enter multiple ids separated by commas. This is useful if you have multiple fields of the same type to which you want to attach an autocomplete. | Checkbox |
New property type | The type of the property that should be autocompleted. This should be the type of the input field you have. E.g. name, address, phone, etc… | Dropdown |
Custom property | If you entered the “New property type” as “Custom”, here you should enter the custom property type that should be autocompleted. | Text |