Link to the plugin page: https://zeroqode.com/plugin/audio-recorder-pro-bubble-mobile-plugin-1757053089376x528585016309501630
Demo to preview the plugin:
Introduction
The Audio Recorder Pro Bubble Mobile plugin provides native audio recording capabilities specifically designed for mobile applications built with Bubble. This plugin allows users to record high-quality audio directly from their mobile device, with automatic file management and upload functionality to Bubble’s file system or device storage.
The plugin handles microphone permissions automatically and supports various audio quality settings and output formats. It’s perfect for voice note applications, audio messaging, interview recording, or any mobile app that requires audio input functionality.
Prerequisites
No external developer accounts are required for basic functionality. However, if you plan to upload recorded files to Bubble’s file system, ensure you have:
- A properly configured Bubble application with file upload capabilities
- Access to Bubble’s
/fileuploadendpoint or your custom upload endpoint
- This plugin is designed specifically for the mobile version of the Bubble editor. To test the plugin on your mobile device, use the TestFlight app available at: https://testflight.apple.com/join/4fXUggud
Please note that the testing app is currently available for iOS only.

How to setup
- Add the Plugin: Install the Audio Recorder Pro Bubble Mobile plugin from the Bubble plugin marketplace to your application.
- Add the Element: Drag the “Audio Recorder Native” element onto your page where you want the recording functionality.
- Configure Upload Endpoint (if using upload to Bubble):
- Set the “Endpoint” field to your Bubble app’s file upload URL.
- Format:
https://yourapp.bubbleapps.io/version-test/fileupload
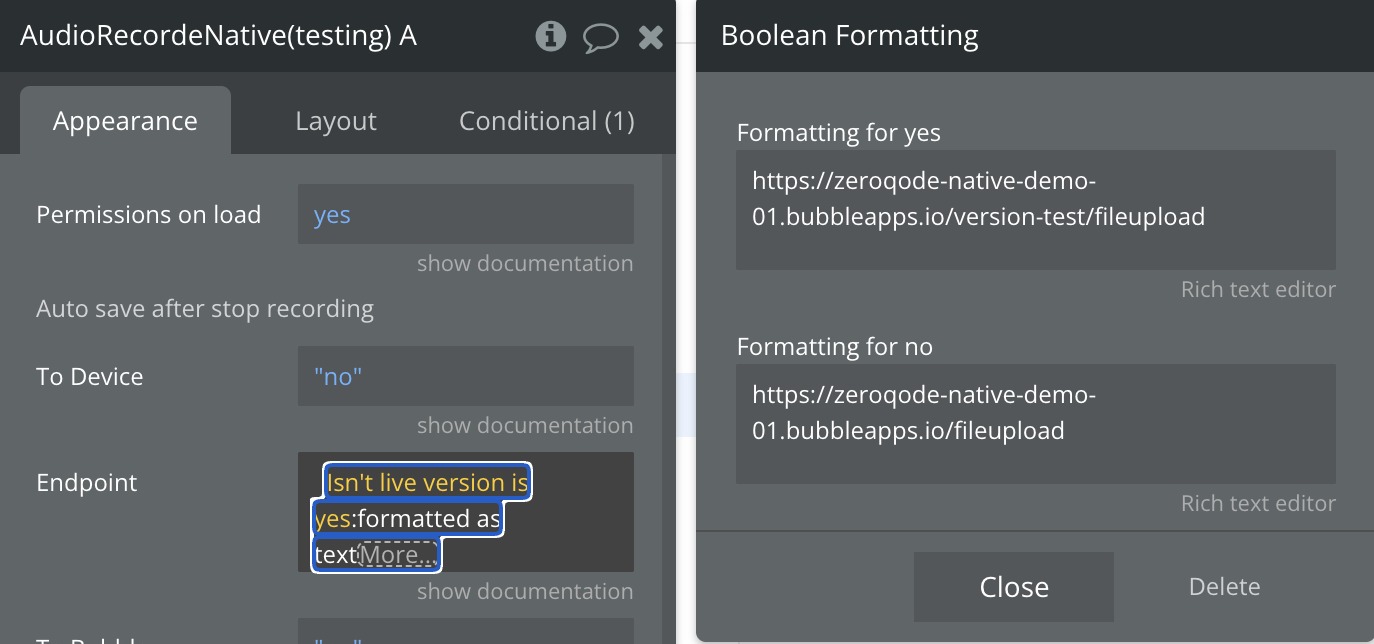
- Set Permissions:
- Enable “Permissions on load” to automatically request microphone permissions when the element loads.
- This is especially important for Android devices.
- Configure Auto-save Options:
- Toggle “To Device” to automatically save recordings to the device’s media library.
- Toggle “To Bubble” to automatically upload recordings to your Bubble application.
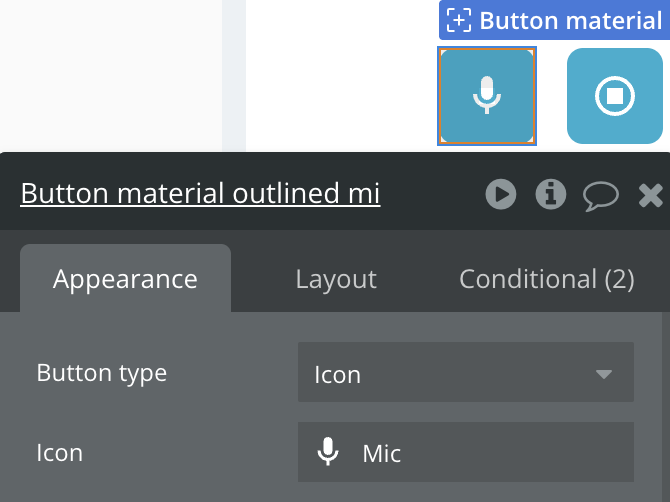
- Add actions to start and stop recording:
- Add 2 icon-buttons to start and stop recording.
- Configure WorkFlows: add actions “start recording” and “stop recording”.
- Ready. Right after recording is finished, the file will be uploaded to device and to Bubble’s storage.
- You may want to use Audio Player to play saved recorders from Bubble’s storage.
Plugin Element Properties
The plugin contains an Audio Recorder Native element that should be placed on your page to enable audio recording functionality.
Audio Recorde Native
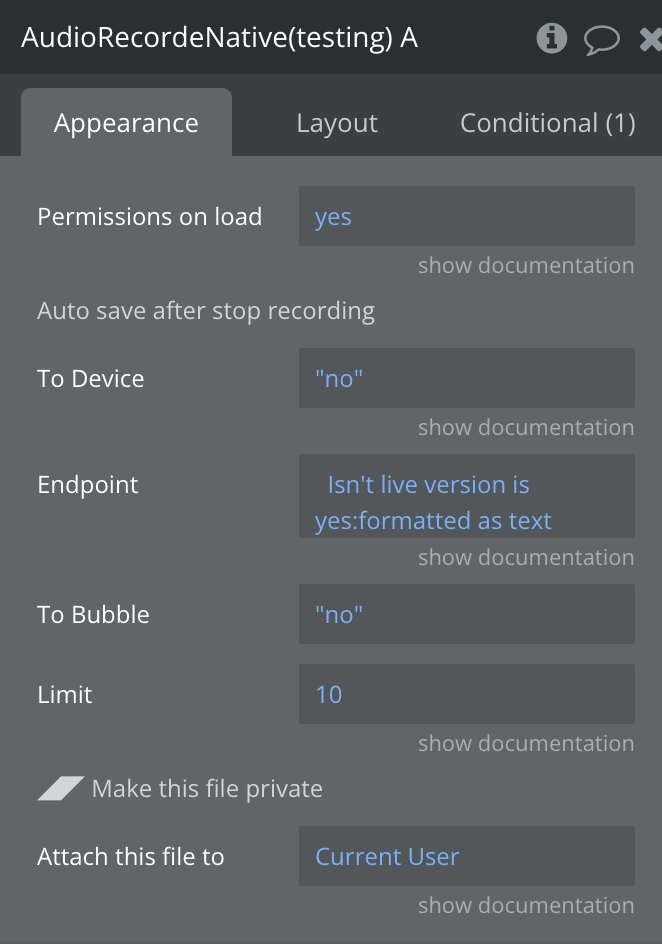
Fields:
Title | Description | Type |
Limit | Recording duration limit in seconds (0 for unlimited) | Number |
Permissions on load | When enabled, automatically requests microphone permissions when component loads (Android) | Boolean |
To Device | Automatically save recording to device media library when recording stops | Boolean |
Endpoint | Upload endpoint URL for Bubble file uploads (e.g., /fileupload)
Example | Text |
To Bubble | Automatically upload recording to Bubble when recording stops | Boolean |
Attach this file to | Example value: Current User's unique id. Private files uploaded with this element are permanently attached to a thing, which is used to determine who has access to view the file. | Any Thing |
Restrict Recording Size | Restrict recording size to the maximum allowed size | Yes/No |
Element Actions
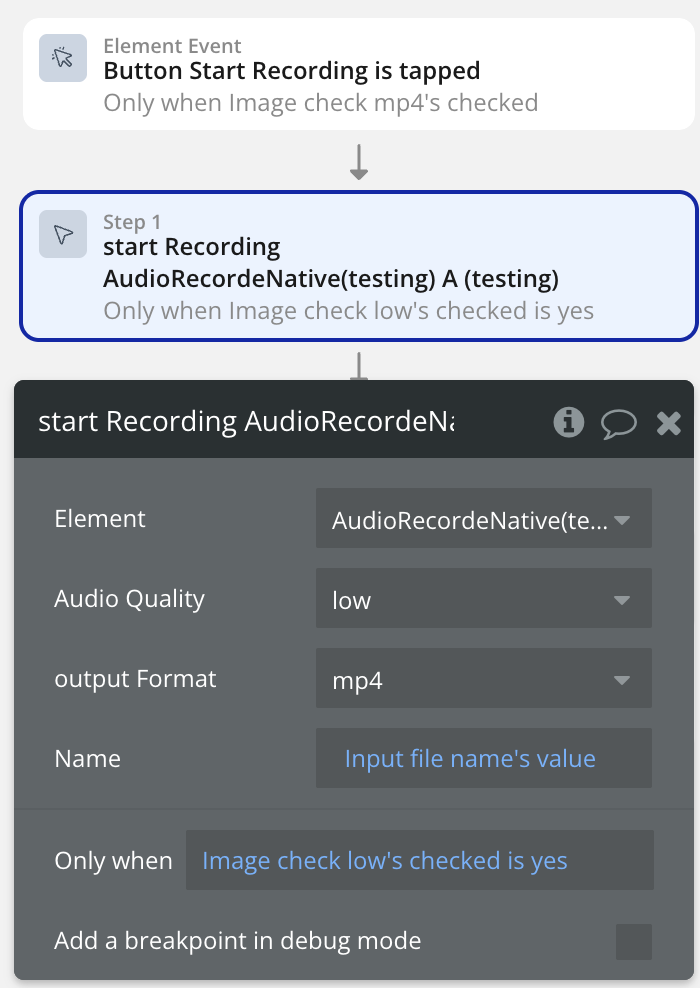
1. Start Recording
Begins audio recording with specified quality and format settings.
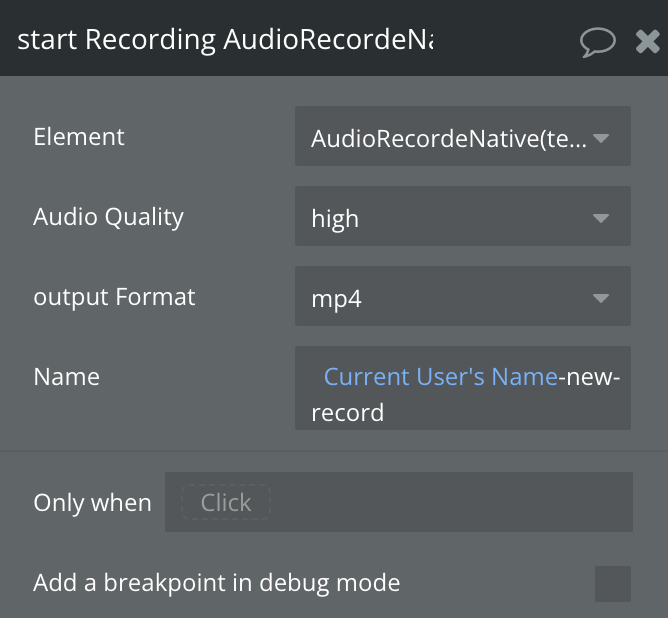
Title | Description | Type |
Audio Quality | Recording quality setting: low (22kHz, mono), medium (44kHz, mono), high (44kHz, stereo) | Dropdown (low/medium/high) |
Output Format | File format for the recording
m4a only for IOS | Dropdown (mp4/aac/m4a) |
Name | Custom filename for the recording (optional, auto-generated if empty) | Text |
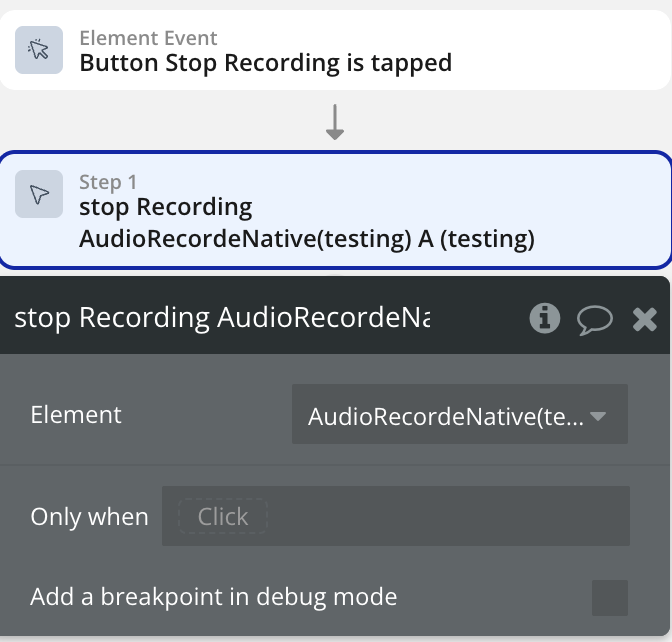
2. Stop Recording
Stops the current audio recording and triggers auto-save actions if configured.

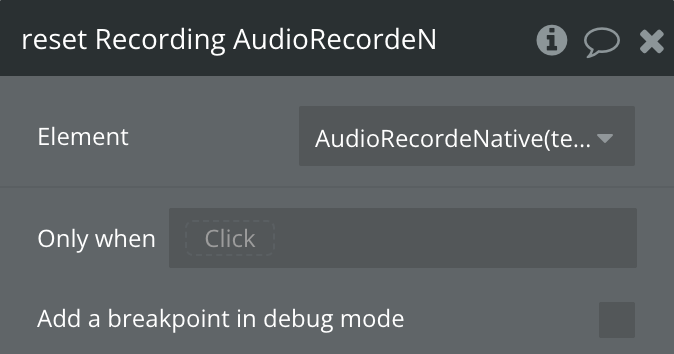
3. Reset Recording
Resets the recording state, clears all data, and destroys the current recorder instance.
4. Save To Media Library (only for Android devices)
Manually saves the recorded audio file to the device’s media library.

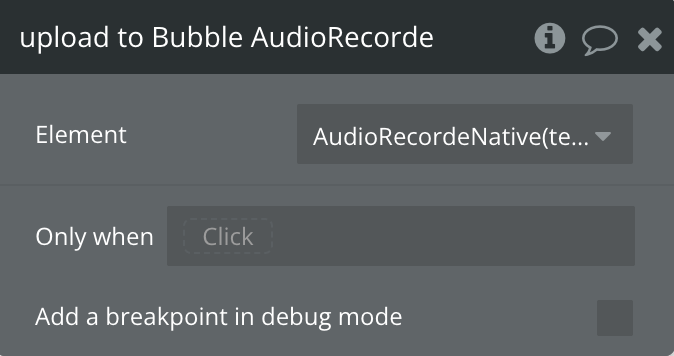
5. Upload to Bubble
Manually uploads the recorded audio file to your Bubble application.
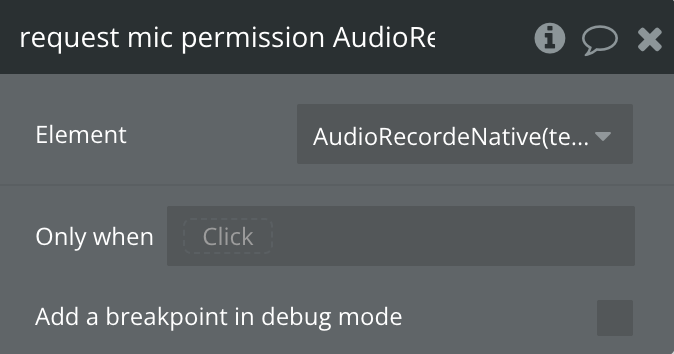
6. Request Mic Permission
(Android) Manually requests microphone permission from the user.
Exposed States
Name | Description | Type |
is Recording | Whether audio recording is currently in progress | Boolean |
duration | Current recording duration in seconds | Number |
recording Path | File system path to the recorded audio file | Text |
error | Error message if any recording error occurs | Text |
microphone Permission | Whether microphone permission has been granted | Boolean |
save Status | Current status of save/upload operations (e.g., “Saving…”, “Upload complete”) | Text |
file Size | Size of the recorded file in bytes | Number |
file Size Estimated | Whether the file size is estimated or actual | Boolean |
uploaded file url | URL of the uploaded file after successful Bubble upload | Text |
upload Progress | Upload progress percentage (0-100) | Number |
is Stopped | Whether recording has been stopped | Boolean |
Element Events
Name | Description |
on Upload Complete | Triggered when file upload to Bubble is successfully completed |
on Error | Triggered when any recording, saving, or upload error occurs |
on Microphone permission denied | Triggered when user denies microphone permission request |
Workflow example
Basic Recording Workflow
- Setup: Place the Audio Recorder Native element on your page and configure the endpoint for file uploads.
- Request Permissions: Use the “Request mic permission” action or enable “Permissions on load” to ensure microphone access.
- Start Recording: Create a workflow that triggers “Start Recording” action when user taps a record button. Configure audio quality and format as needed.
- Monitor Recording: Use the “is Recording” and “duration” states to update your UI and show recording progress to the user.
- Stop and Save: Trigger “Stop Recording” action when user wants to finish. If auto-save options are enabled, files will be automatically saved/uploaded.
Advanced Upload Workflow
- Configure Upload: Set the “Endpoint” field to your Bubble file upload URL and optionally set “Attach this file to” for private files.
- Monitor Upload: Use “upload Progress” state to show upload progress to users and “save Status” for status messages.
- Handle Completion: Use “on Upload Complete” event to update your database with the uploaded file URL from “uploaded file url” state.
- Error Handling: Use “on Error” event to handle recording failures, permission denials, or upload errors gracefully.