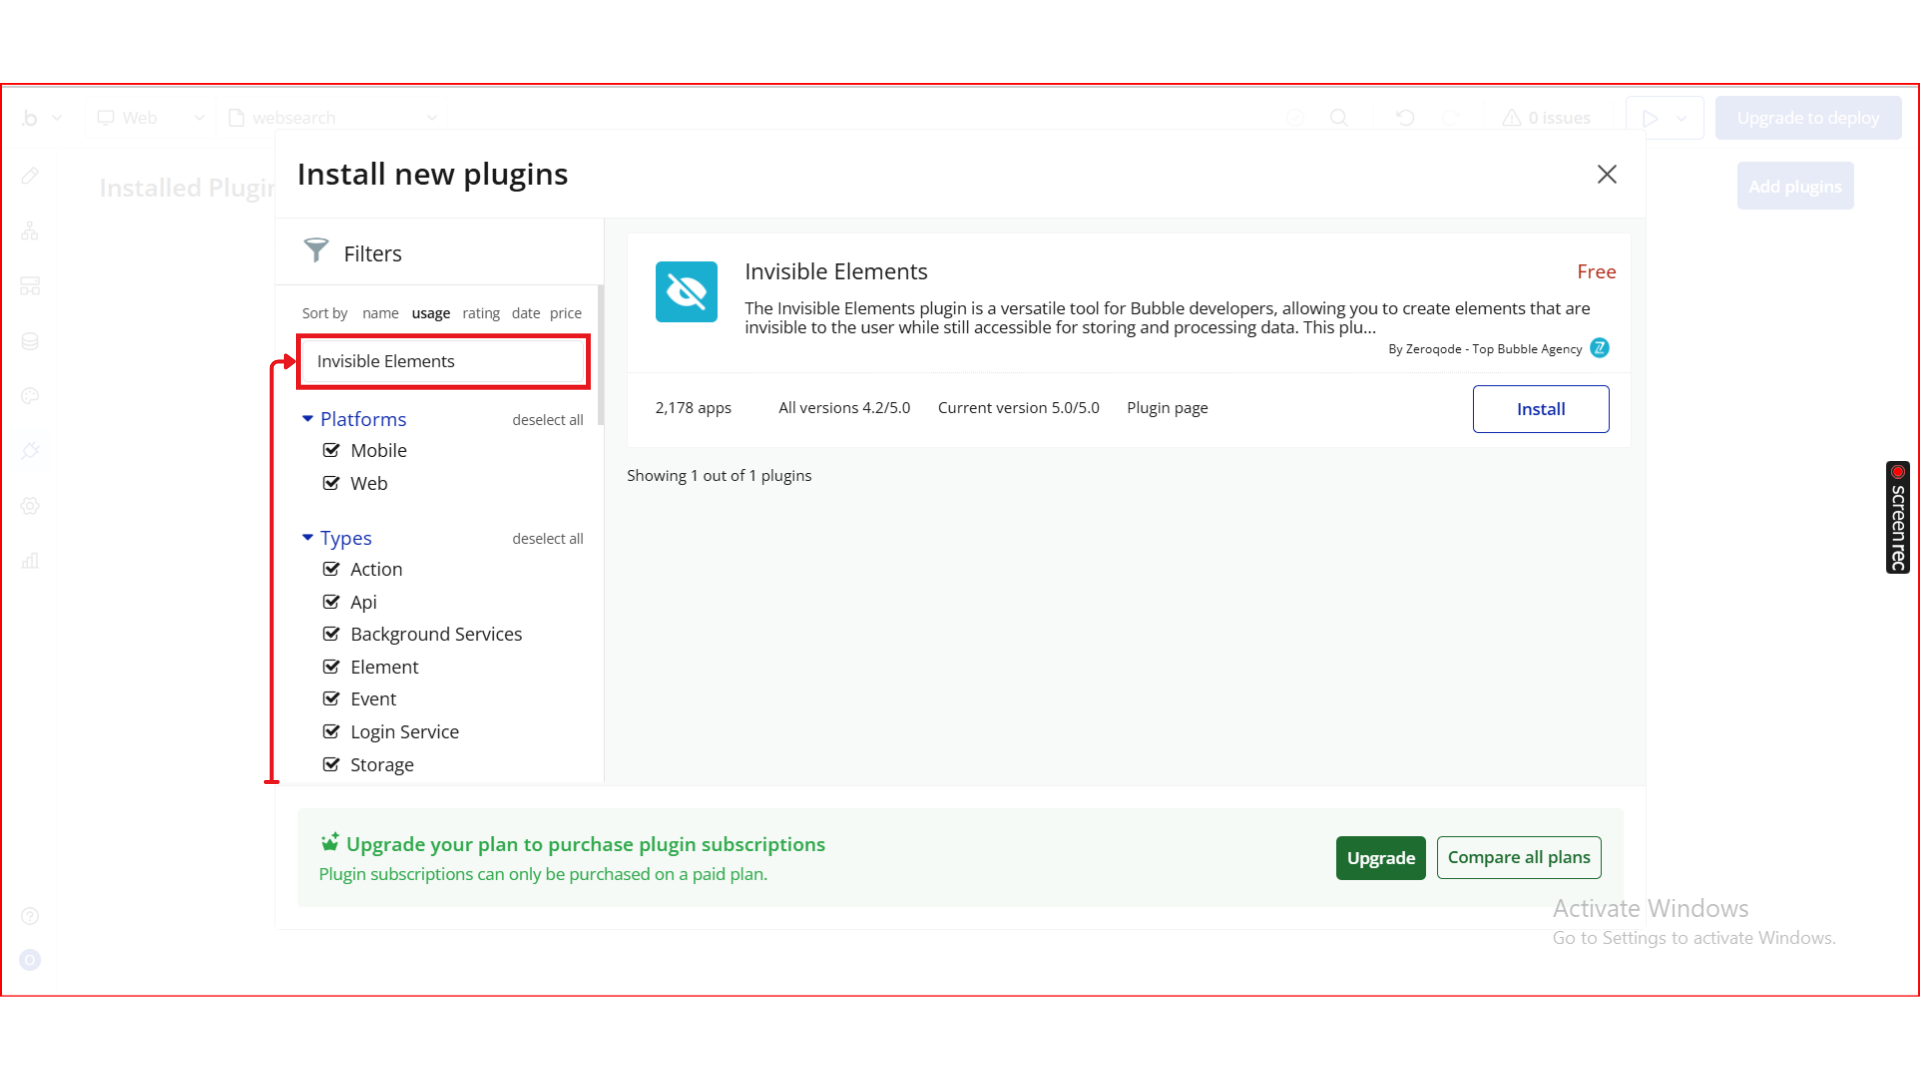
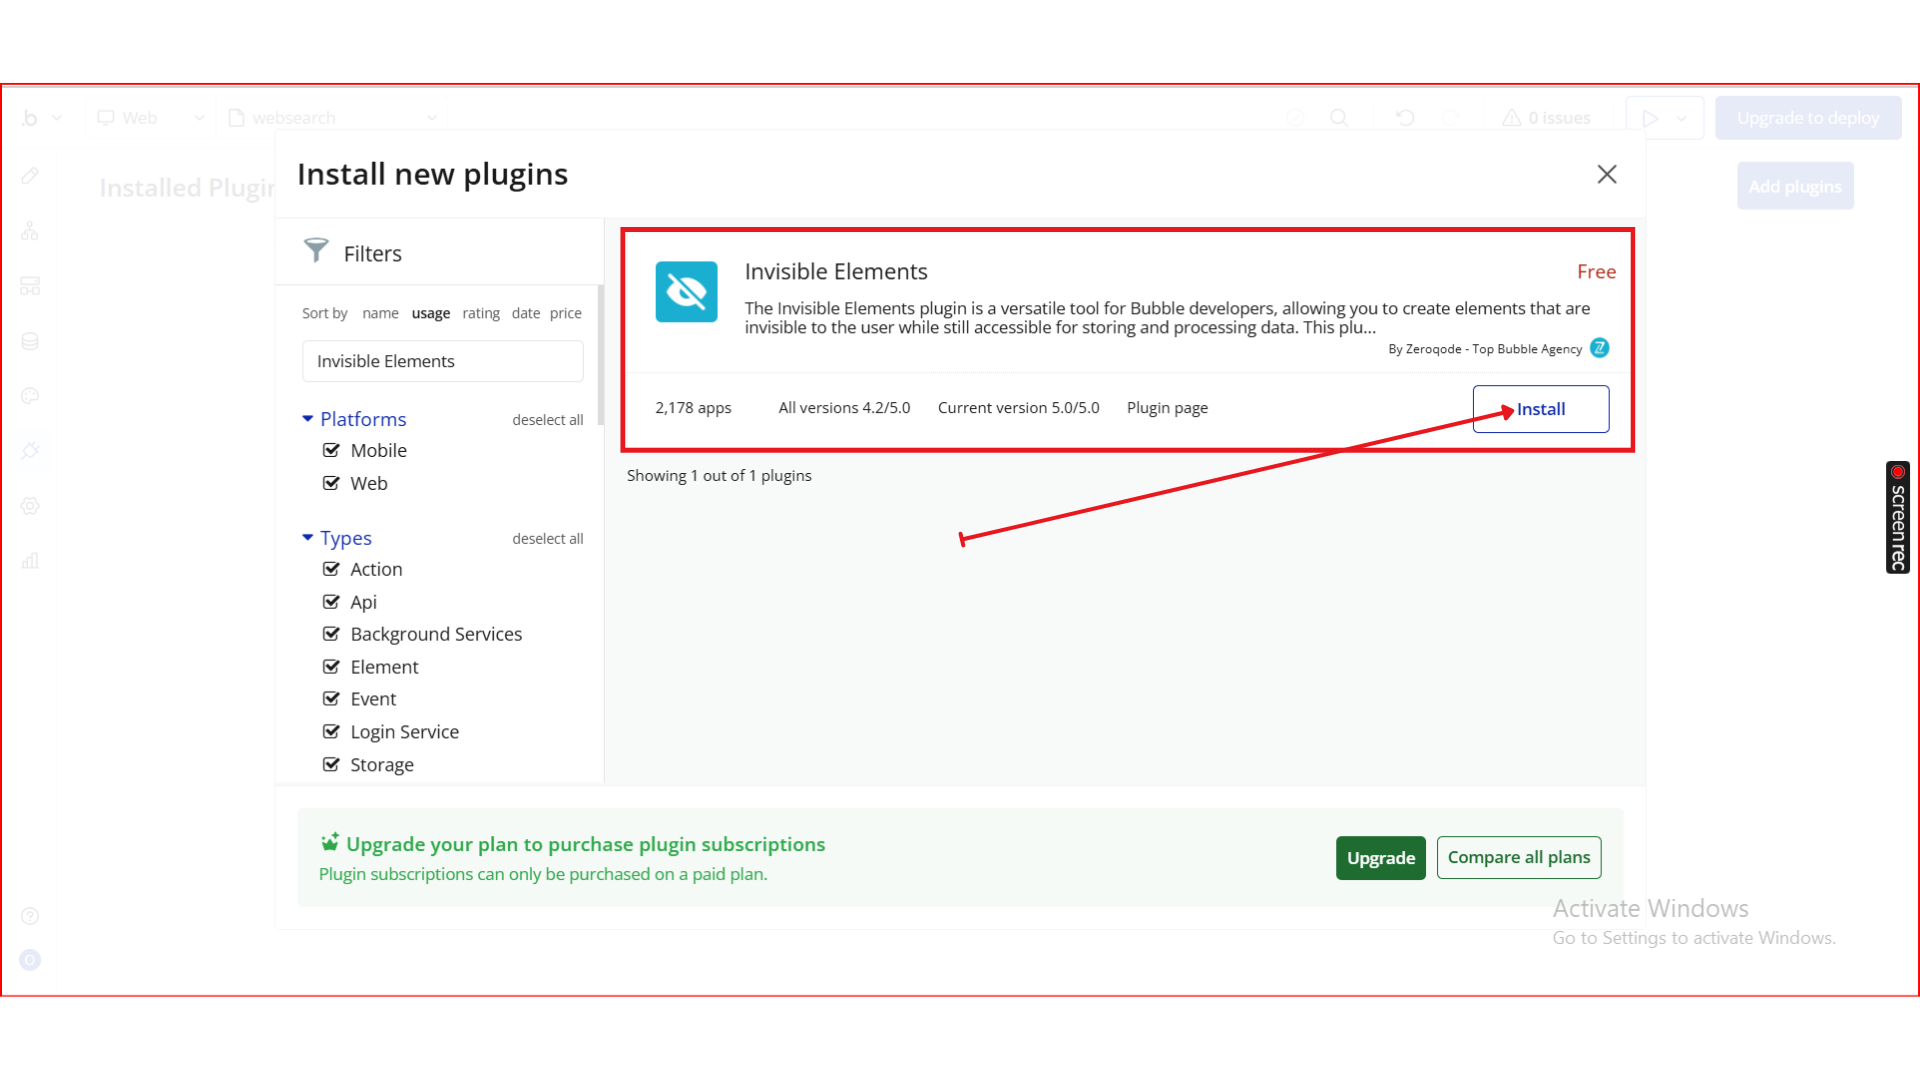
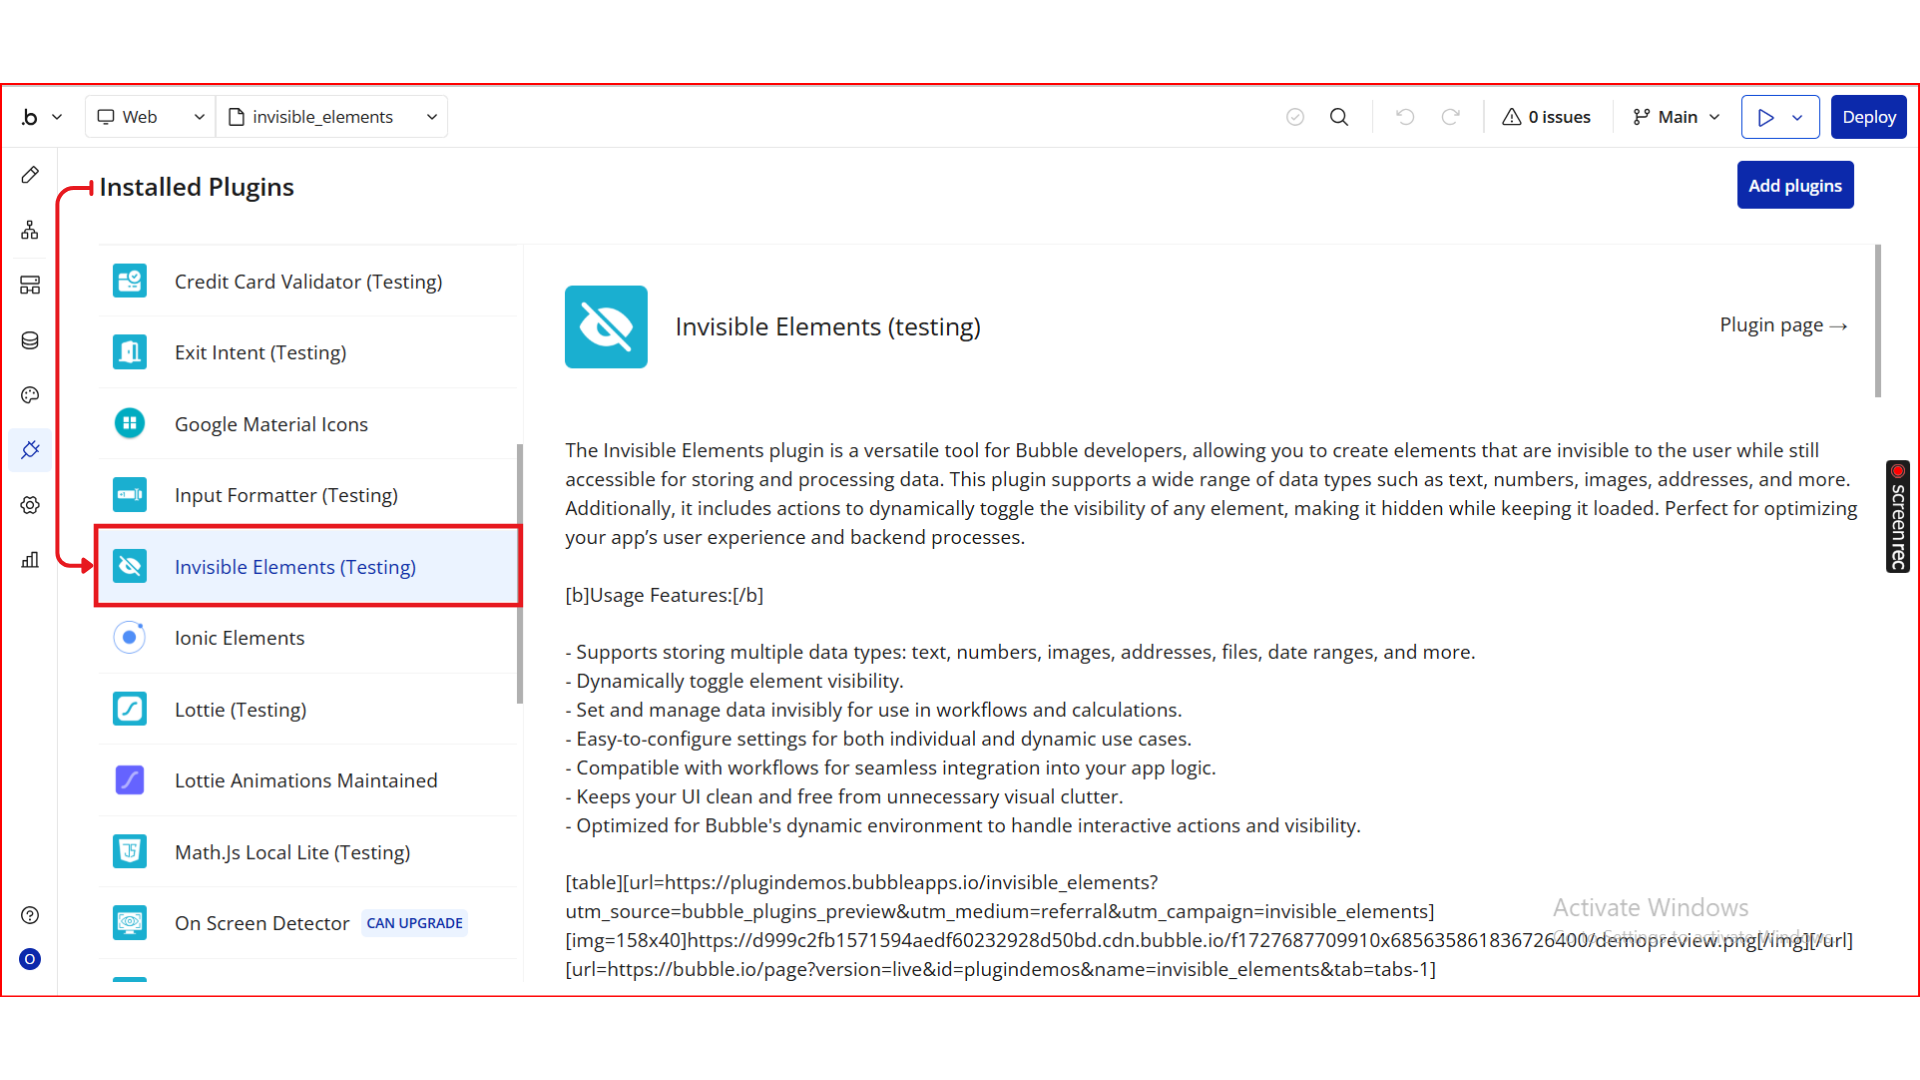
The Invisible Elements Plugin is a versatile tool for Bubble developers, enabling you to create elements that are invisible to the user while still accessible for storing, processing, and manipulating data.
With support for multiple data types, dynamic visibility toggling, and seamless workflow integration, this plugin is perfect for optimizing your app’s UI, managing hidden states, and enhancing backend operations—all without cluttering the user interface.
Key Features
Supports Multiple Data Types: Text, numbers, images, addresses, files, yes/no, date ranges, number ranges, dynamic links, and more.
Dynamic Visibility Control: Hide or show any element on the page using workflow actions.
Data Storage: Set and manage data invisibly for workflows, calculations, and logic processing.
Clean UI: Keep your interface free from unnecessary elements, improving user experience.
Workflow Compatibility: Fully integrates with Bubble workflows for advanced logic.
Flexible Use Cases: Works for both static and dynamic data, including repeating groups.
👛 Please support our efforts to keep this plugin free - your donations help us invest the time and resources needed to continue maintaining and improving it for everyone’s benefit: https://zeroqo.de/support.
Prerequisites
Before using the Invisible Elements Plugin, make sure you have the following in place:
Bubble Account & Editor Access – You need an active Bubble account and editor access to the app where the plugin will be installed.
ID Attributes – To control visibility via workflows, elements must have unique ID attributes. Ensure your elements are properly tagged.
Workflow Planning – Determine which elements you want to hide or show and prepare workflows accordingly.
Data Management Awareness – Understand which types of data you want to store invisibly (text, numbers, images, files, etc.) and how they will be used in workflows or conditions.
Testing on Devices/Browsers – Test your hidden elements across different devices and browsers to confirm workflows and visibility behave as expected.
How to Set Up
Step 1. Install the Plugin
Open your Bubble Editor.
From the left panel, go to the Plugins tab.
Click the Add Plugins button.
In the search bar, type Invisible Elements.
Locate the Invisible Elements plugin by Zeroqode andclick Install (or Buy if it’s a paid plan).
After installation, it will appear under Installed plugins.
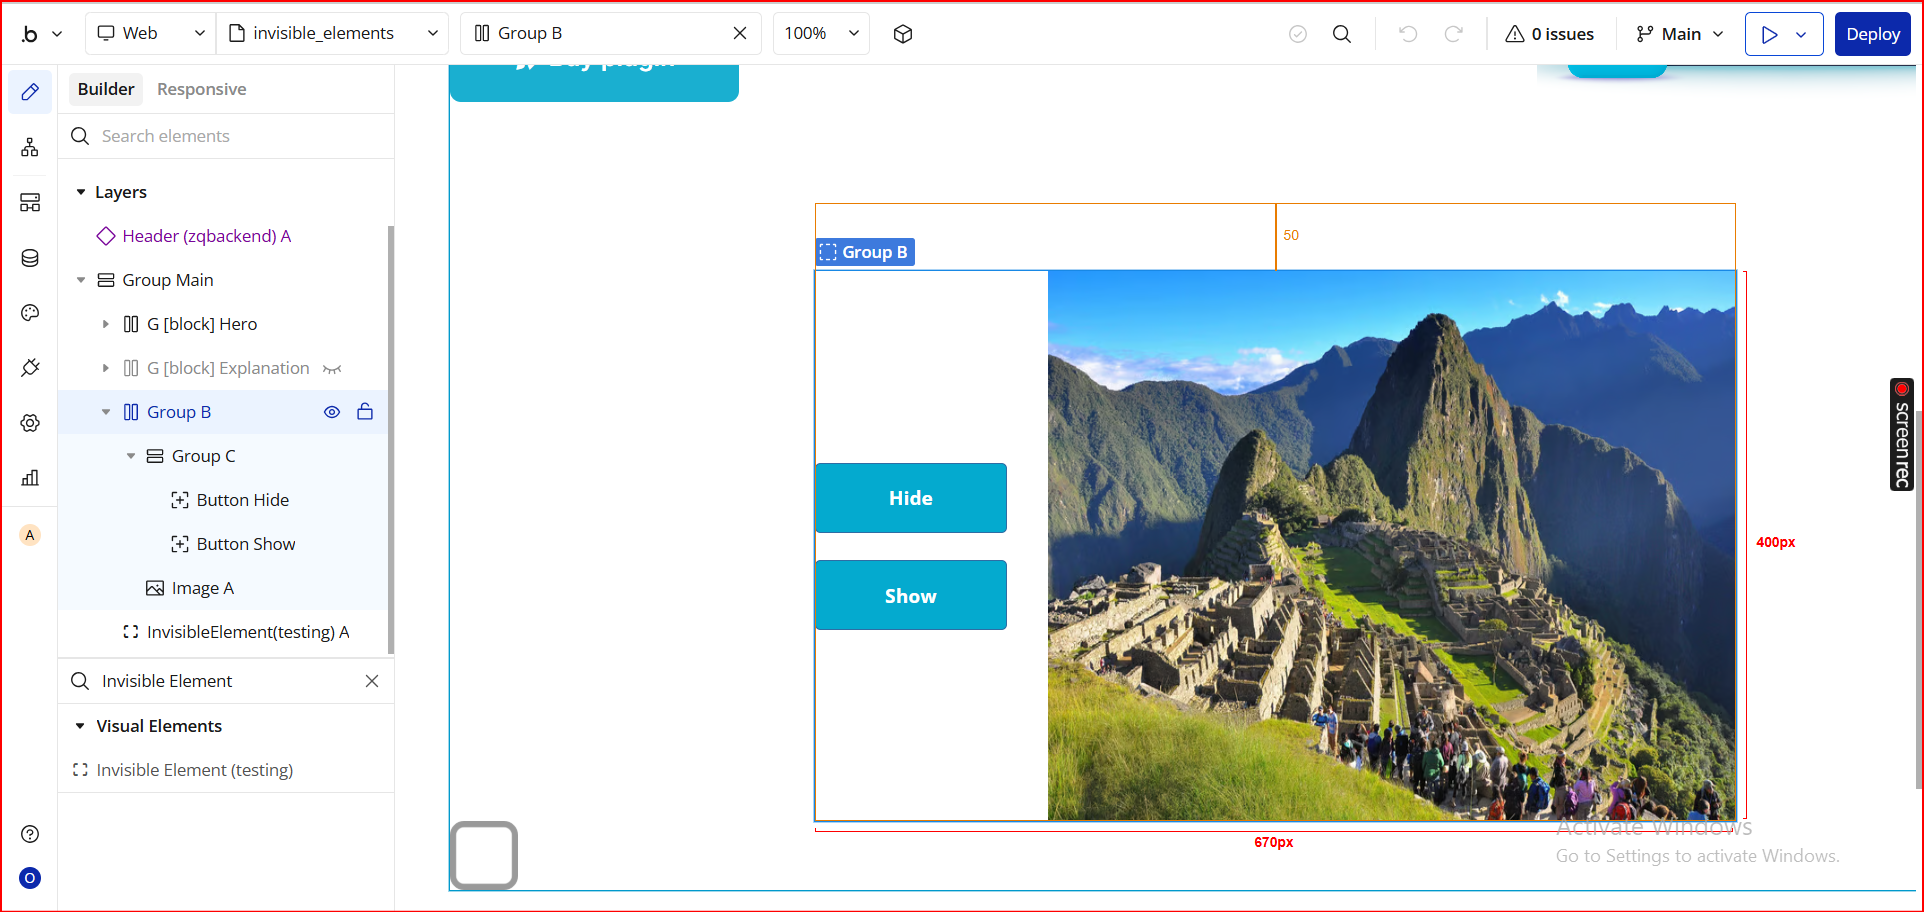
Step 2. Add the Element to Your Page
Go to the Design tab in your Bubble Editor.
In the left sidebar, scroll to the Visual Elements section for plugins.
Locate Invisible Elements from the plugin elements list.
Drag the element onto your page.
Once added, the element becomes a hidden data container that exposes the following fields for workflows and dynamic expressions:
Single Value Fields
Text – stores a text value
Number – stores numeric values
Picture – stores an image
Address – stores a geographic address
Yes / No – stores a boolean value
Date – stores a single date
File – stores uploaded files
Number range – stores a range between two numbers
Date range – stores a range between two dates
List Fields
Text List – list of text values
Number List – list of numbers
Picture List – list of images
Address List – list of geographic addresses
Yes / No List – list of boolean values
Date List – list of dates
File List – list of files
Number Range List – list of number ranges
Date Range List – list of date ranges
These fields allow you to store temporary or dynamic data invisibly—perfect for complex workflows, conditional logic, or holding values that should not appear on your UI.
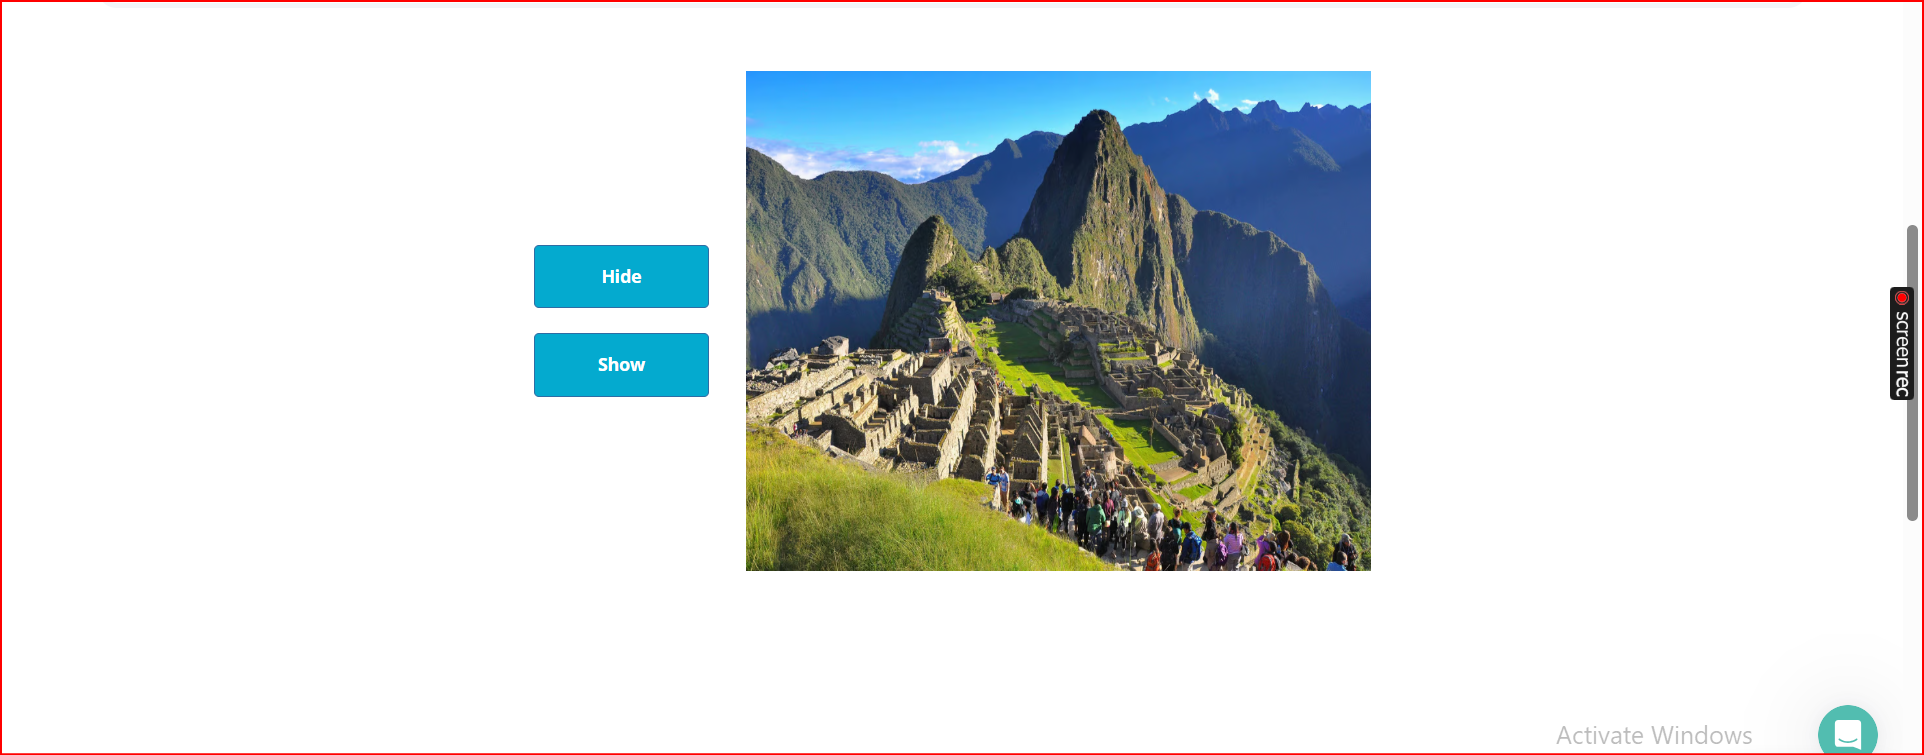
Step 3. Demonstration
In this example, we’ll create two buttons—Hide and Show—and use them to control the visibility of the image on the page using the plugin’s workflow actions.
1. Add Your Elements
Add a Button and label it “Hide”
Add another Button and label it “Show”
Add an Image element (or any visual element you want to toggle)
2. Add an ID Attribute
To control the element via the plugin, it must have an ID attribute.
Select Image A (or your chosen element)
Go to the Attributes section (in the property editor)
Enter an ID, e.g. test
This ID will be used in the workflow actions.
3. Create the Workflows
Workflow 1: Hide Button
Go to Workflows
Add a new workflow: When Button Hide is clicked
Choose the action Make Element Invisible (from the Invisible Elements plugin)
Set:
Field
Value
Element ID
test
This will hide the image element with ID test when the Hide button is clicked.
Workflow 2: Show Button
Add another workflow: When Button Show is clicked
Choose the action Make Element Visible
Set:
Field
Value
Element ID
test
This makes the hidden element reappear on the page.
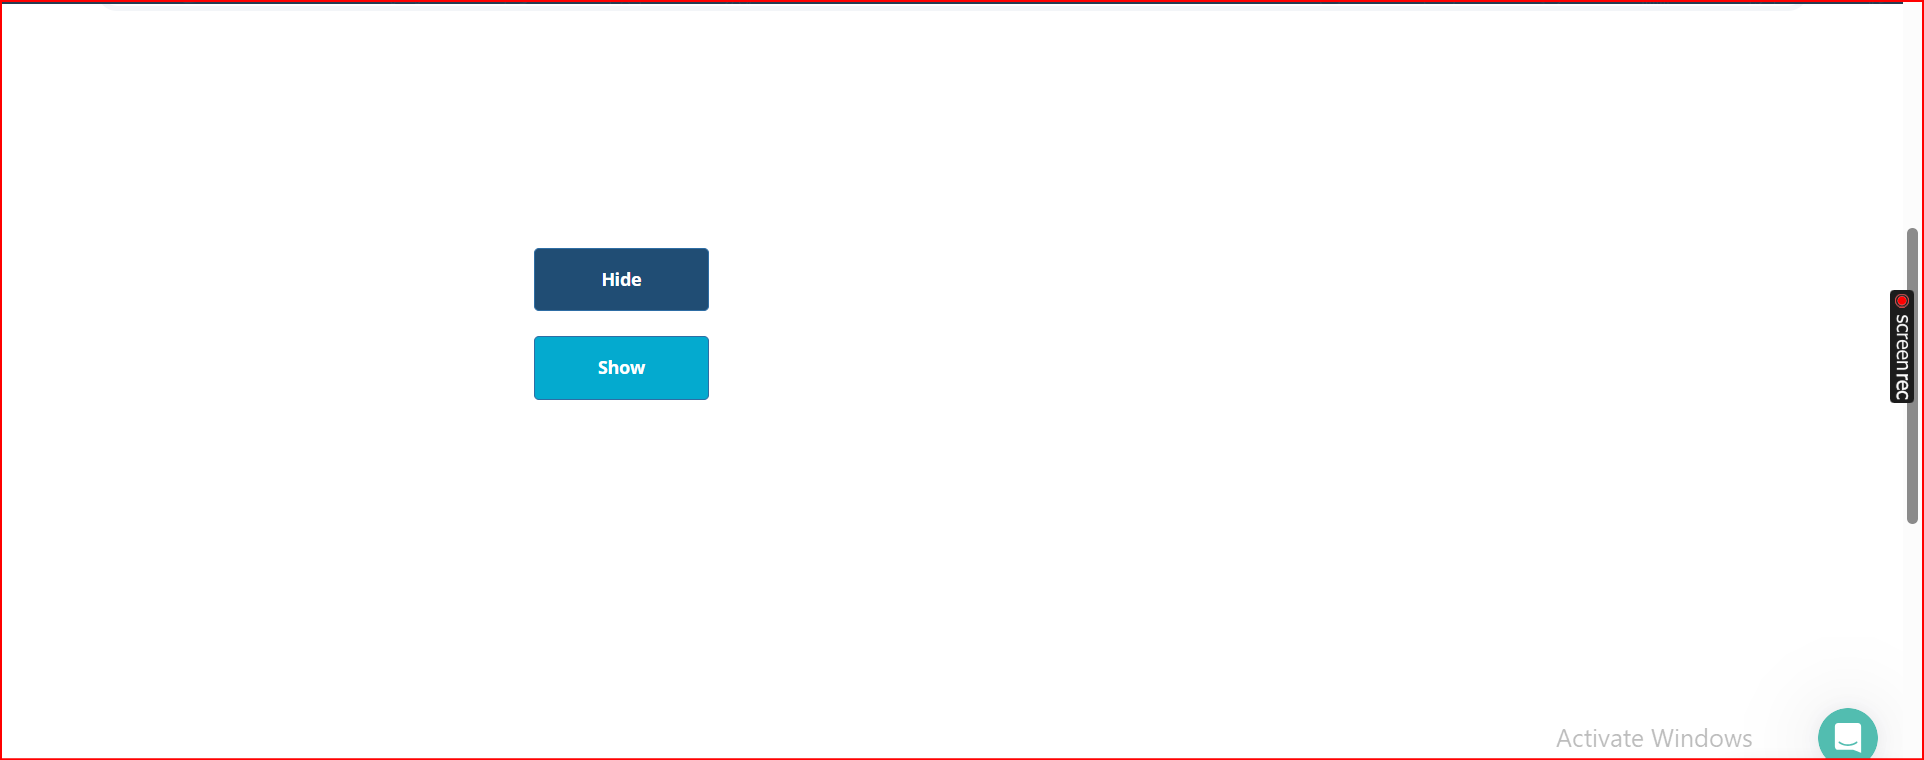
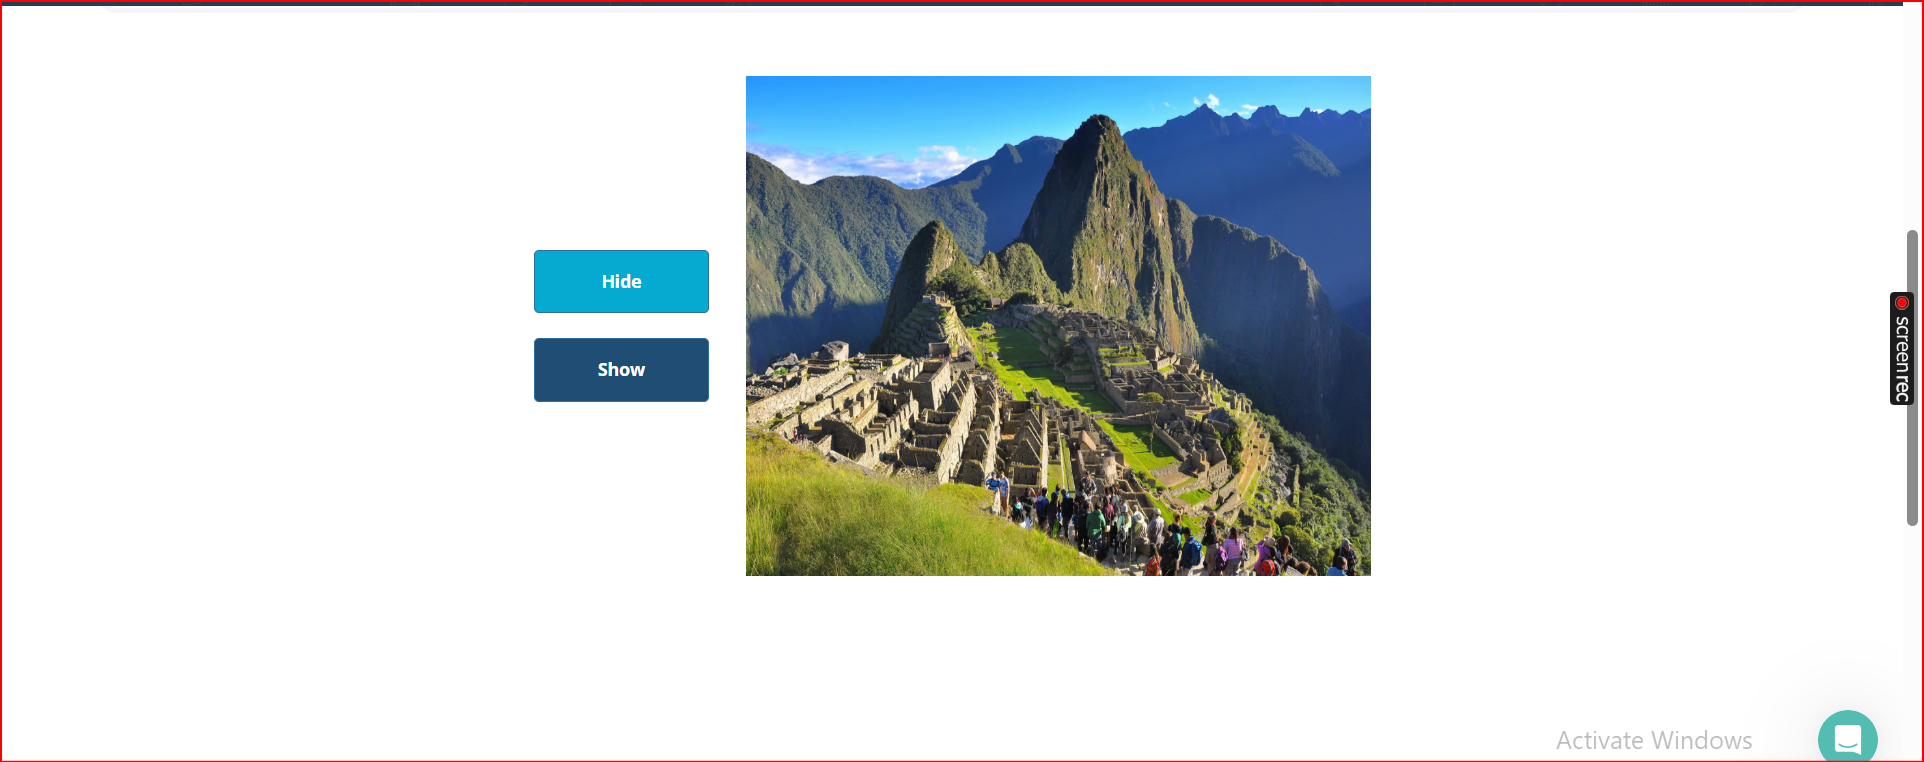
Step 4. Preview & Test
Now it’s time to see the plugin in action.
Click Preview in your Bubble Editor.
Load your page in the browser.
Click Hide — the element should instantly disappear.
Click Show — the element should become visible again.
This simple test confirms that:
Your element ID is correctly set
The plugin is installed and working
The workflow actions are responding as expected
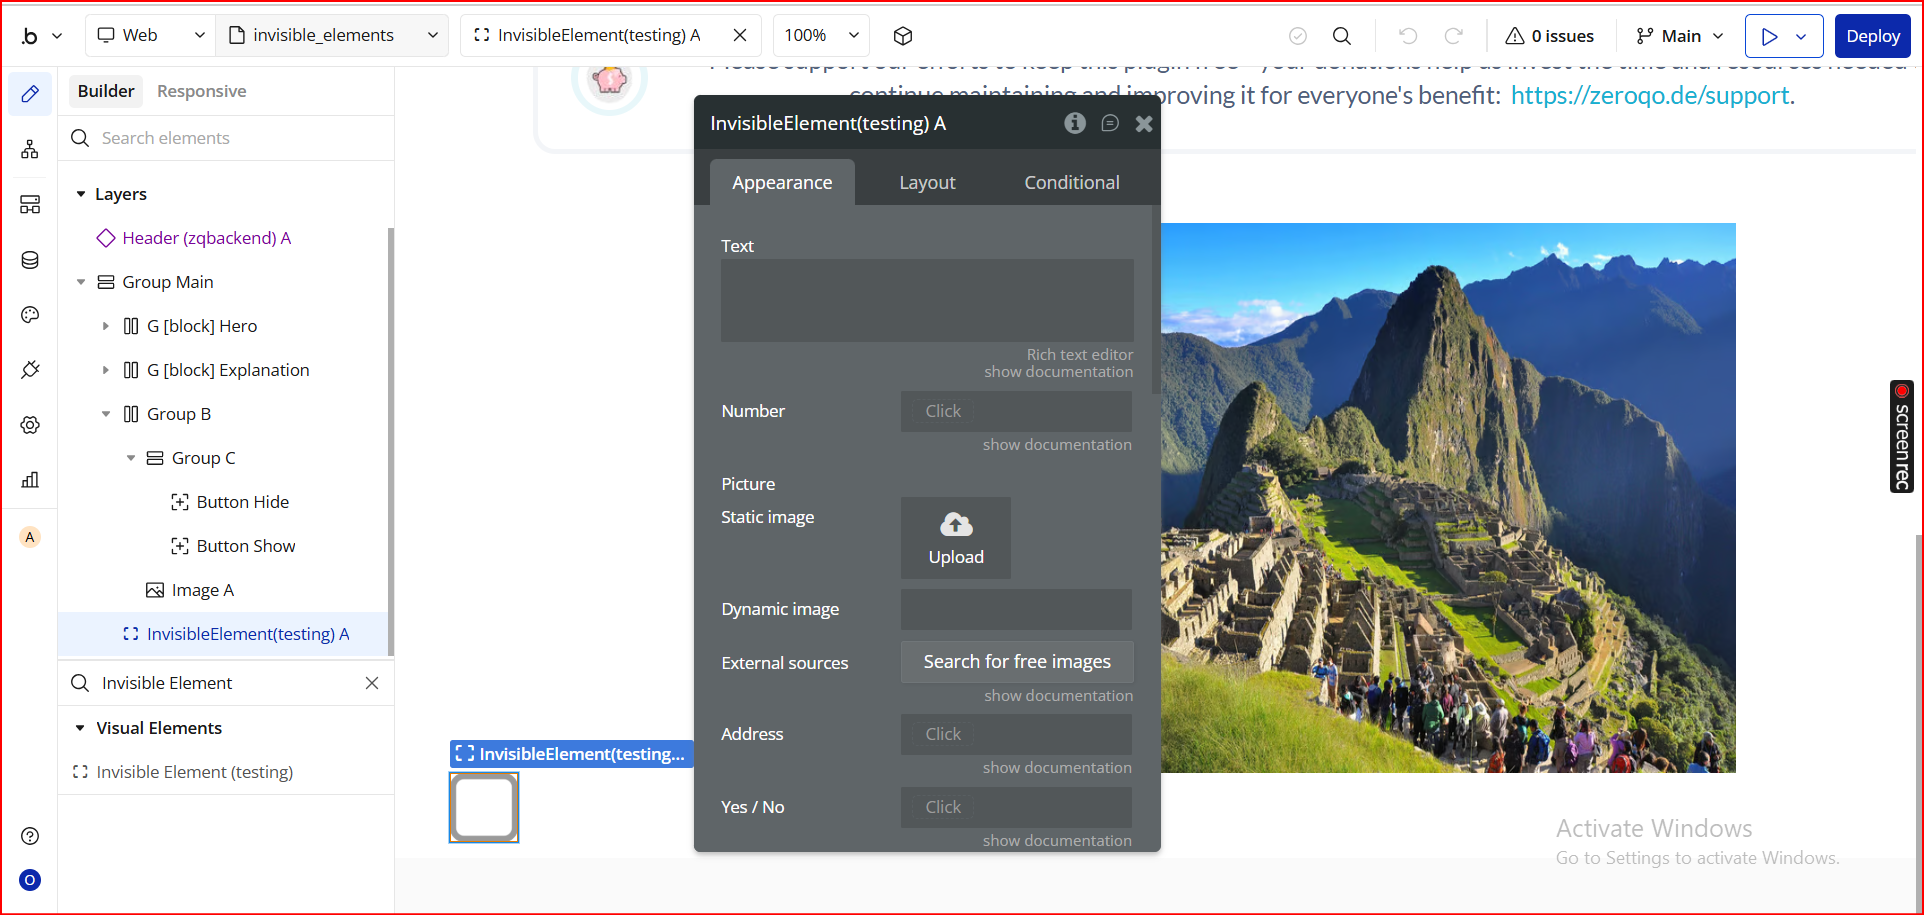
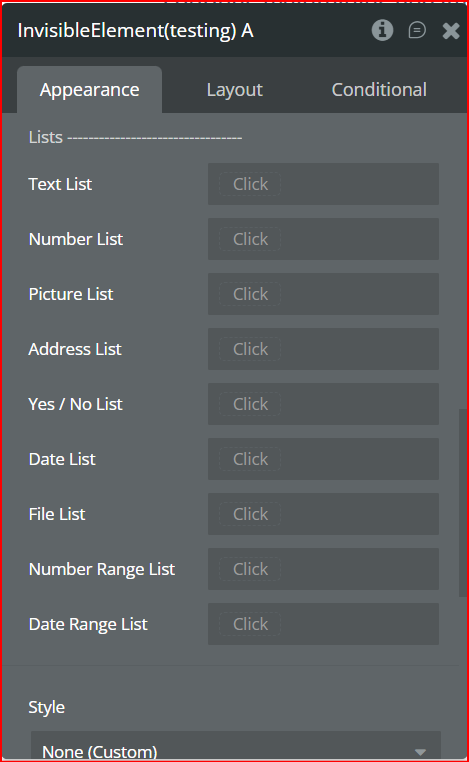
Plugin Element - Invisible Element
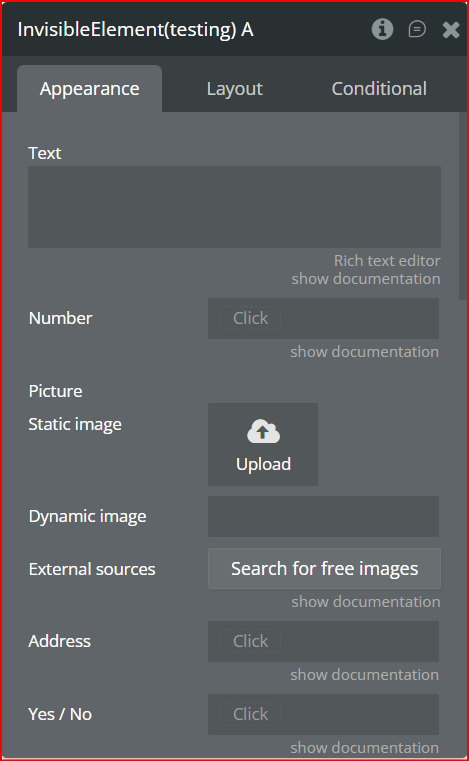
Fields
Title
Description
Type
Text
Stores a single text value that can be used in workflows or conditions.
Text (optional)
Number
Stores a number for calculations or temporary workflow data.
Number (optional)
Picture
Stores an image file (e.g., uploaded image, dynamic image link).
Image (optional)
Address
Stores a geographic address value.
Geographic Address (optional)
Yes / No
Stores a boolean state (true/false).
Yes/No (optional)
Date
Stores a single date value.
Date (optional)
File
Stores a file object (PDF, doc, etc.).
File (optional)
Number range
Stores a numeric range (min, max).
Number Range (optional)
Date range
Stores a date range (start, end).
Date Range (optional)
—————— Lists ——————
Text List
Stores a list of text items, useful for repeating group data or multi-select values.
List of Text (optional)
Number List
Stores a list of numbers.
List of Number (optional)
Picture List
Stores a list of images.
List of Image (optional)
Address List
Stores a list of geographic addresses.
List of Geographic Address (optional)
Yes / No List
Stores a list of boolean values.
List of Yes/No (optional)
Date List
Stores a list of dates.
List of Date (optional)
File List
Stores a list of file uploads.
List of File (optional)
Number Range List
Stores multiple number ranges.
List of Number Range (optional)
Date Range List
Stores multiple date ranges.
List of Date Range (optional)
Exposed states
The Invisible Element exposes all stored values so they can be referenced externally (workflows, conditionals, data sources).
Title
Description
Type
Text
Returns the stored text value.
Text
Number
Returns the stored number.
Number
Picture
Returns the stored image.
Image
Address
Returns the stored geographic address.
Geographic Address
Yes / No
Returns the stored boolean.
Yes/No
Date
Returns the stored date.
Date
File
Returns the stored file.
File
Number range
Returns the numeric range.
Number Range
Date range
Returns the date interval.
Date Range
Text List
Returns the text list.
List of Text
Number List
Returns the number list.
List of Number
Picture List
Returns the image list.
List of Image
Plugin Actions
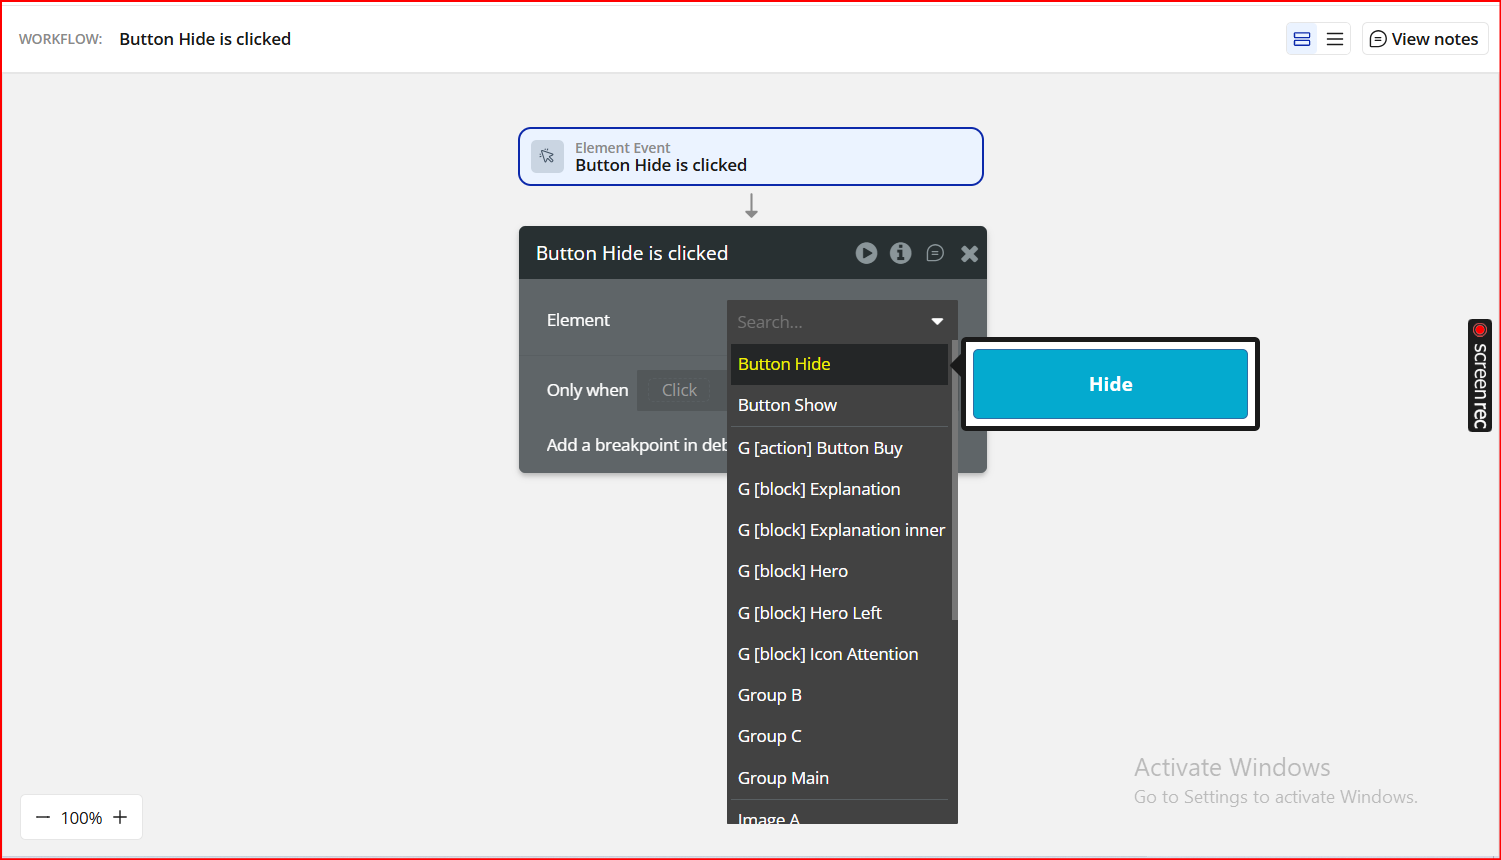
1. Make Element Invisible
This action hides any element on the page by its ID attribute, while keeping the element loaded in the DOM.
Useful for conditional UI states, modal logic, multi-step forms, or dynamic layouts.
Title
Description
Type
Element ID
The ID of the element that should be hidden.
Text
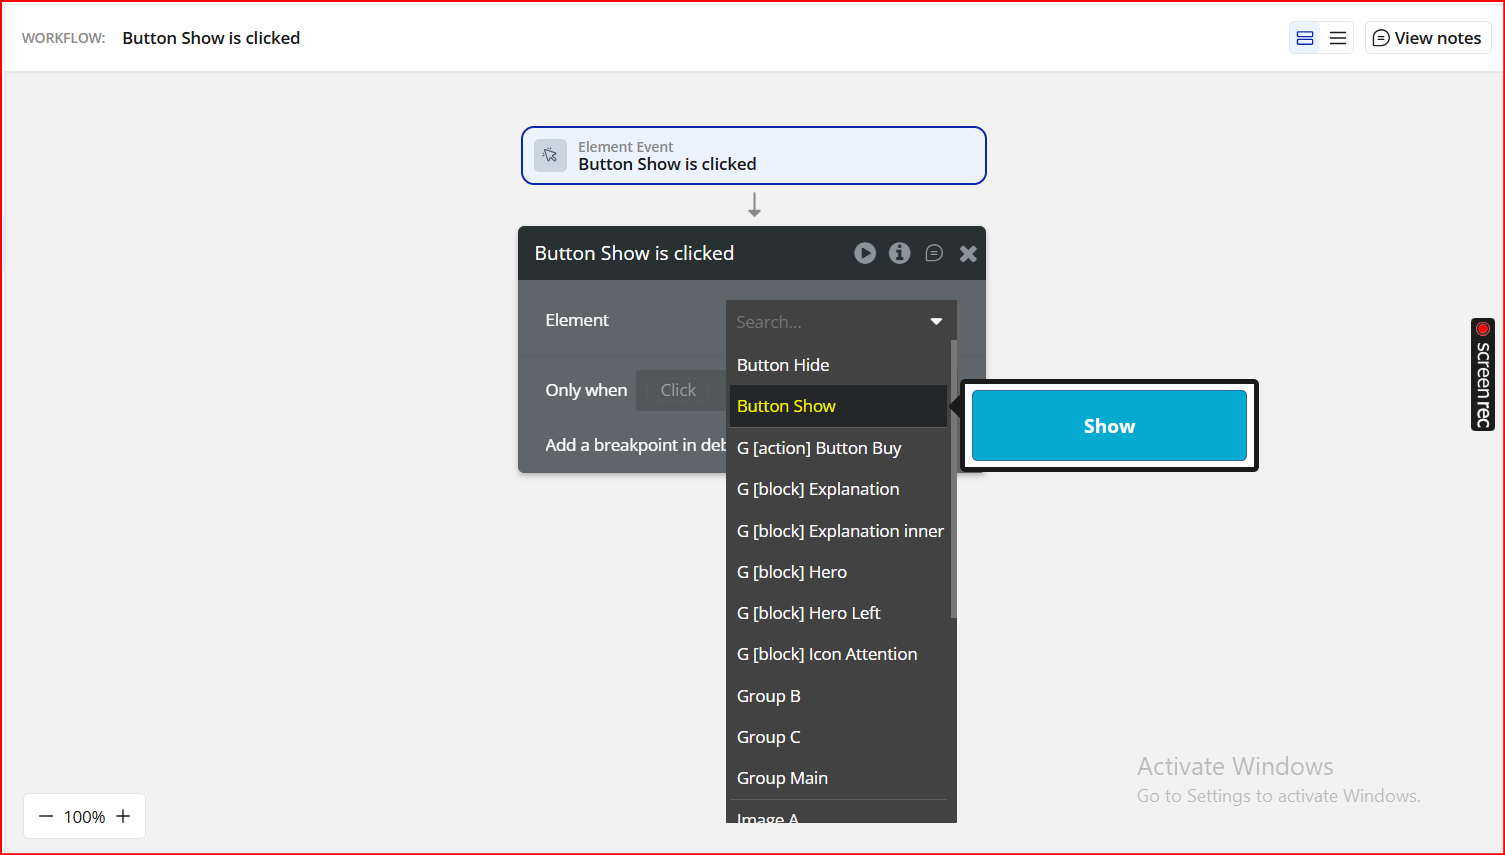
2. Make Element Visible
This action reveals any previously hidden element using its ID attribute.
Ideal for toggling UI elements without using Bubble’s built-in “This element is visible on page load” conditions.