
This section will go over how to create marketplace subscriptions and taking a fee using the plugin.
Getting started
In this section we will create subscriptions for connected accounts while taking a fee using Checkout. To start, make sure to:
- Add the plugin to your app
- Have a simple page with a button users can use to trigger the subscription flow (we will go over this further on in this section)
- Make sure the user has completed the Onboarding steps
➡️ You can take a look at the plugin demo created in this section here: https://bubble.io/page?name=index&id=stripeconnectdemo&tab=tabs-1
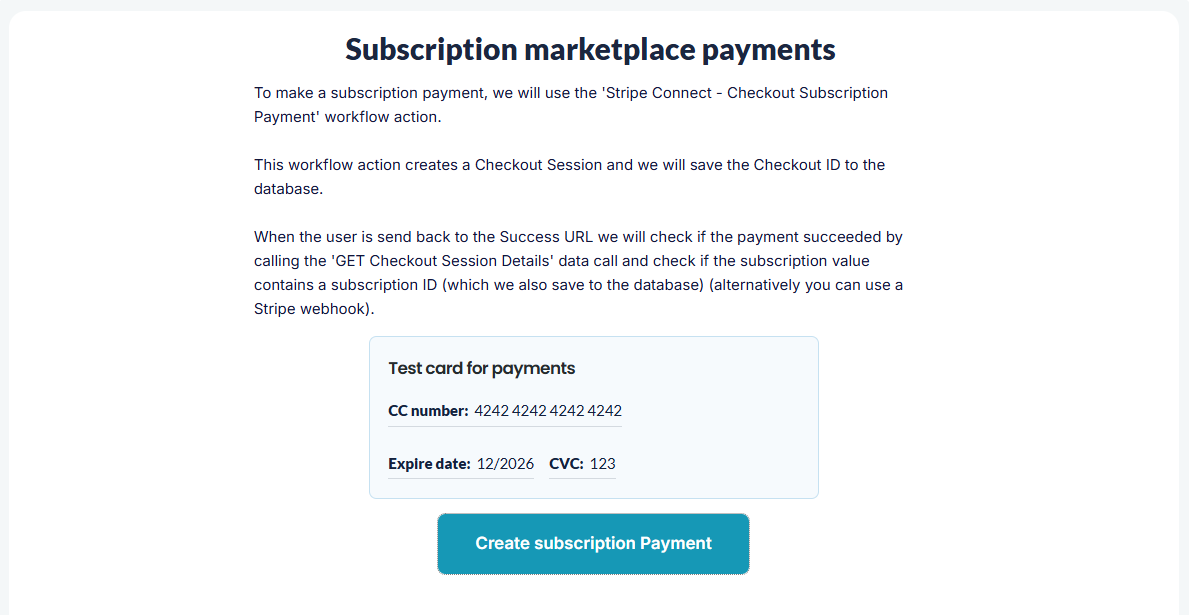
Step 1 - Page contents
We are going to setup a page with a button that triggers the Stripe Checkout flow. Keep in mind we need to save the Checkout ID to the database to check if the subscription is successful, so setup your database structure accordingly. The demo page has a really simple example database structure, but you can always use your own. The following demo page section demos the subscription payment integration:
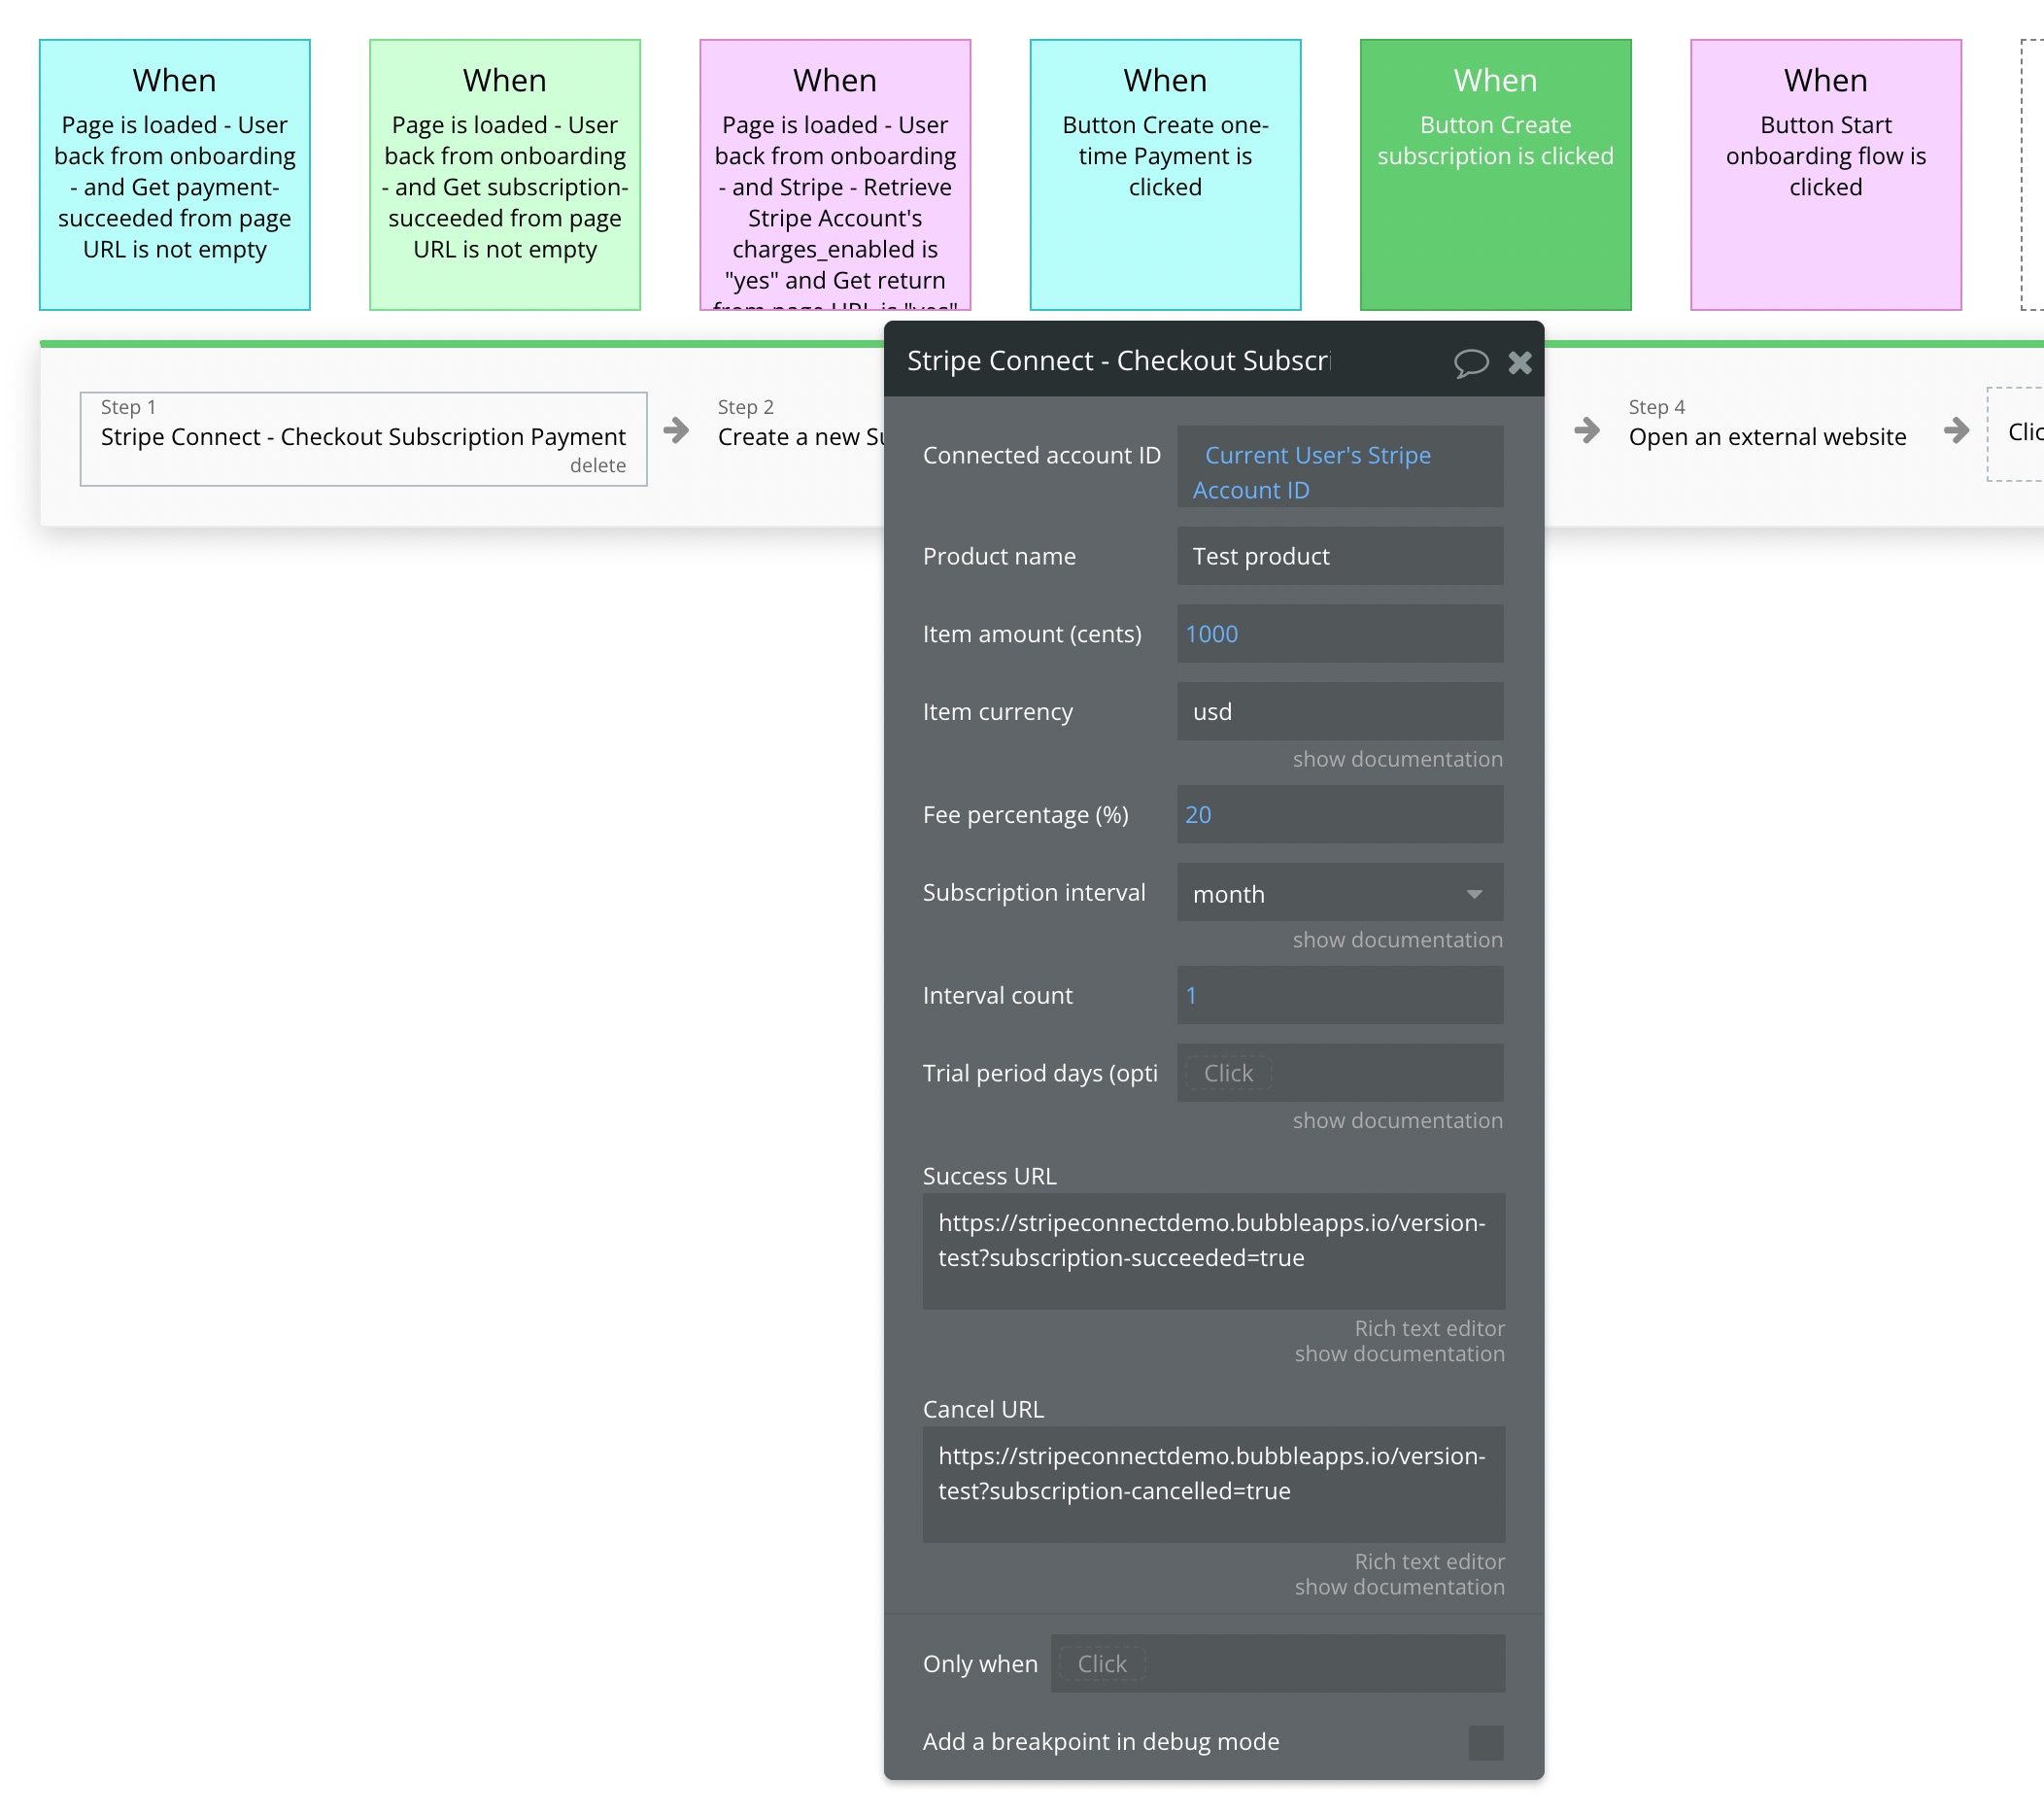
Step 2 - Create a Checkout Session
To create a Checkout Session we will run the 'Stripe Connect - Checkout Subscription Payment' workflow action. We will input all the necessary information, like the Connected Account ID from the user we just onboarded. The Success URL is used to redirect the user when the transaction flow is finished and the a Cancel URL is used to redirect the user when the transaction flow is cancelled. NOTE: We still need to check if the subscription is successfully created when the user lands on the Success URL (you can read more about this further on).
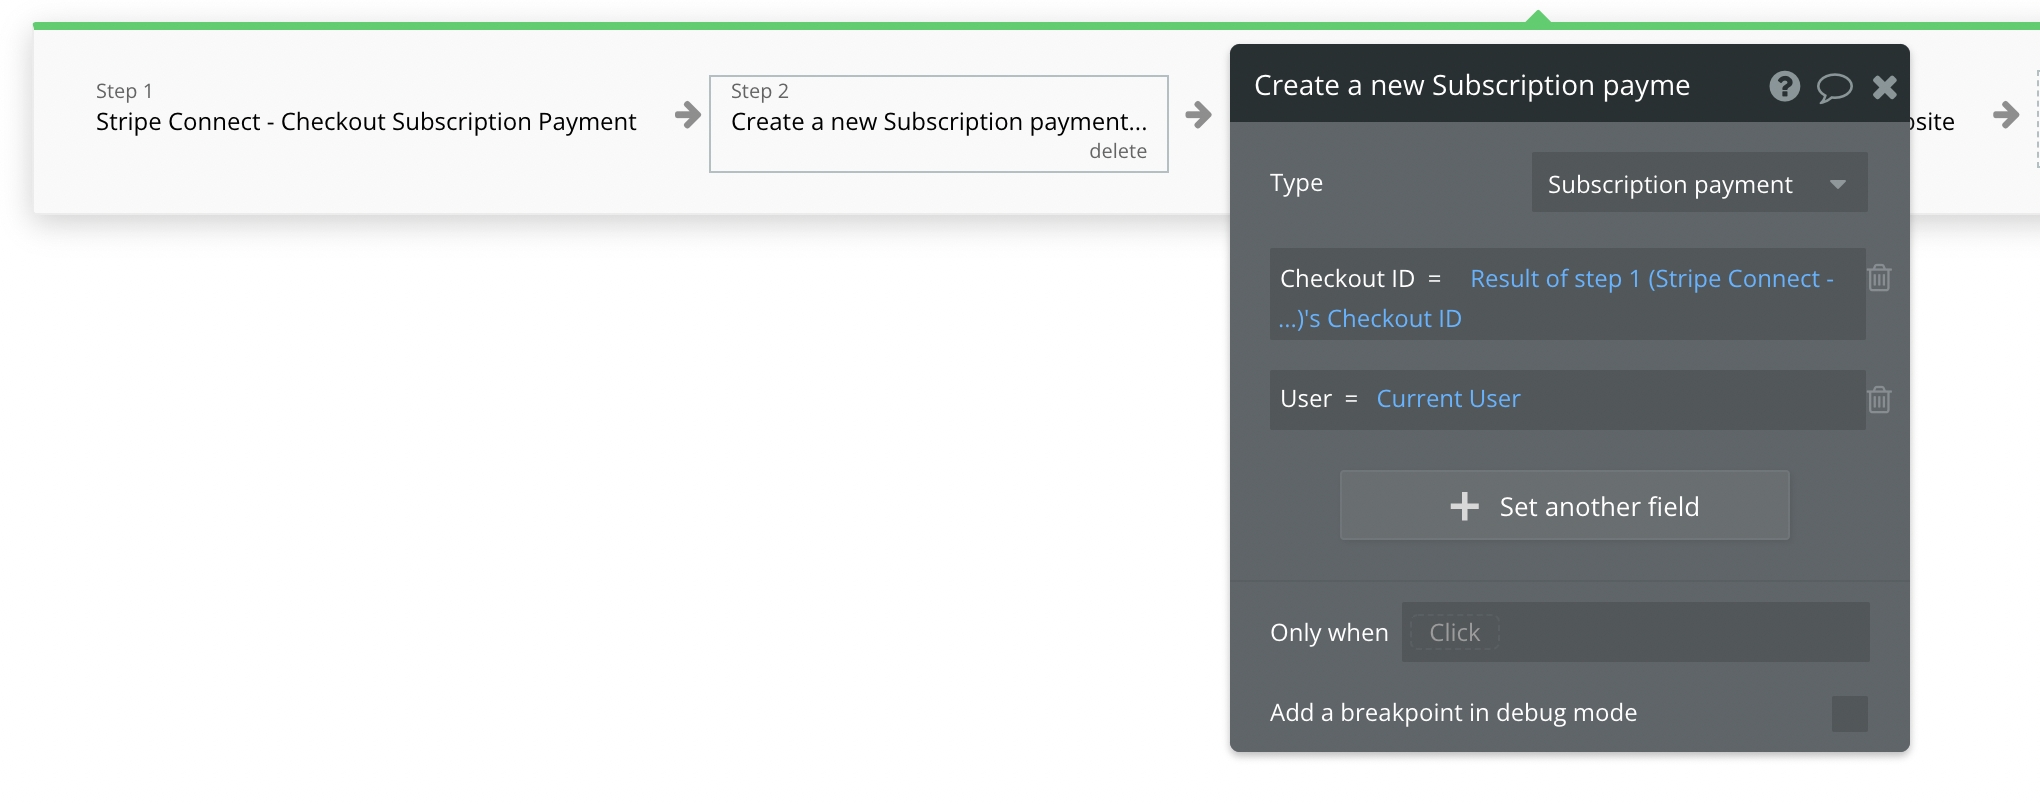
Step 3 - Save Checkout Session details
On the demo page we create a database item called Subscription payment' to save the necessary Checkout to later check if the transaction succeeded and to get the transaction details. Important here is to save the Checkout ID.
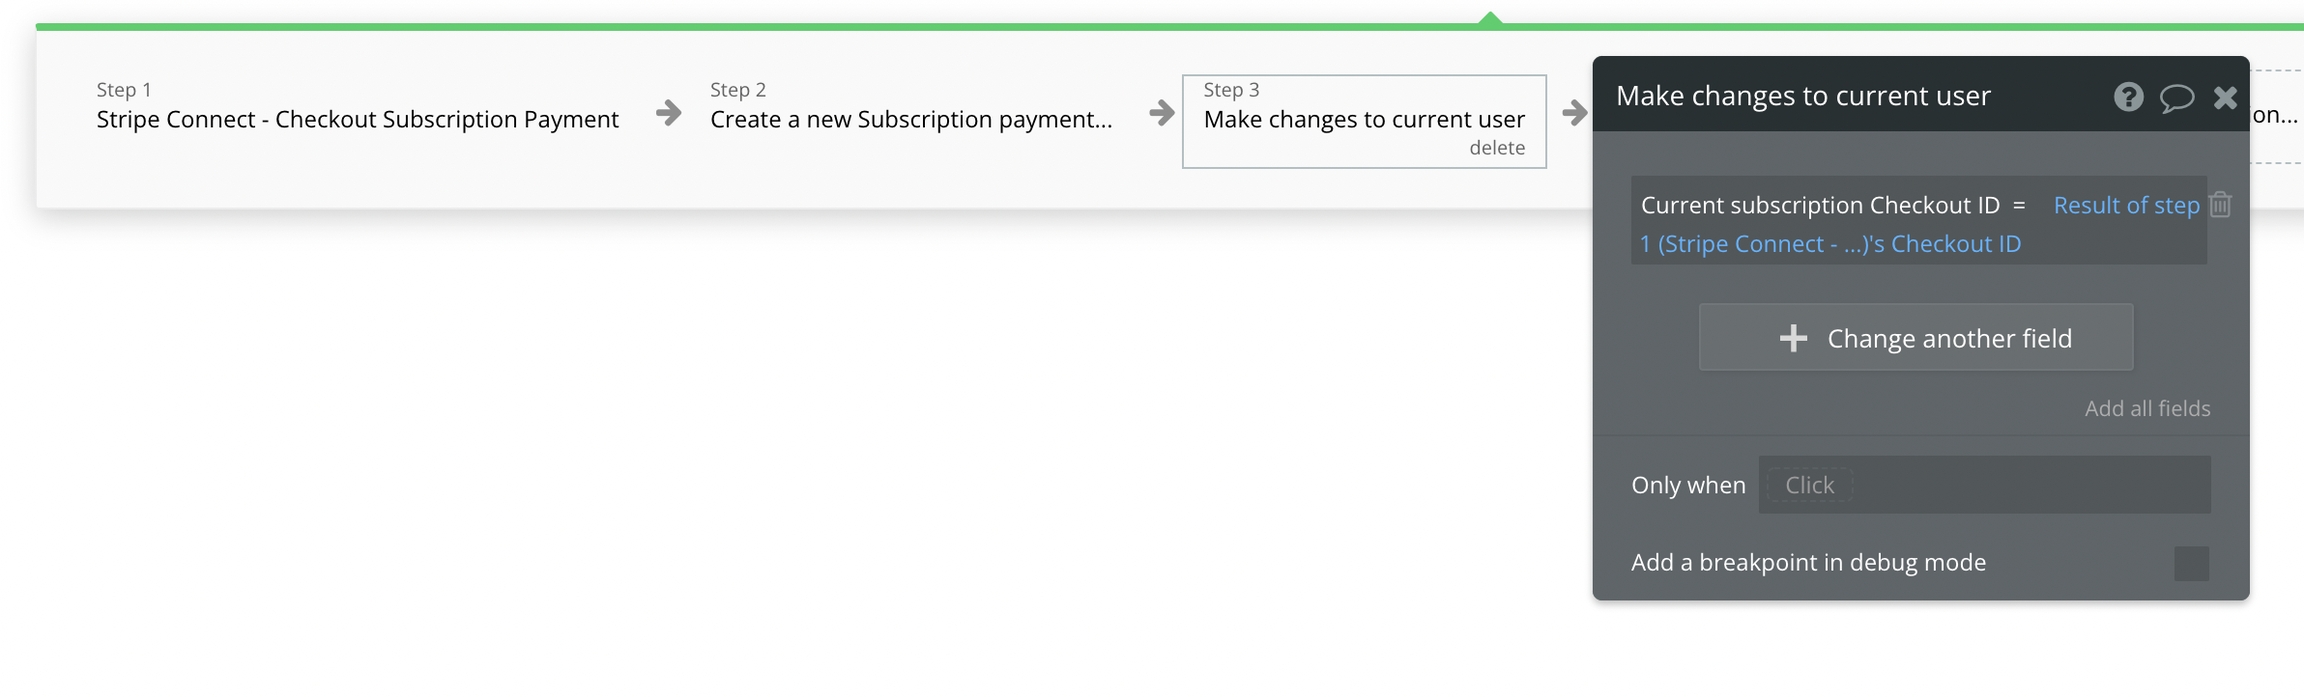
In the demo this data entry is saved to the user type:
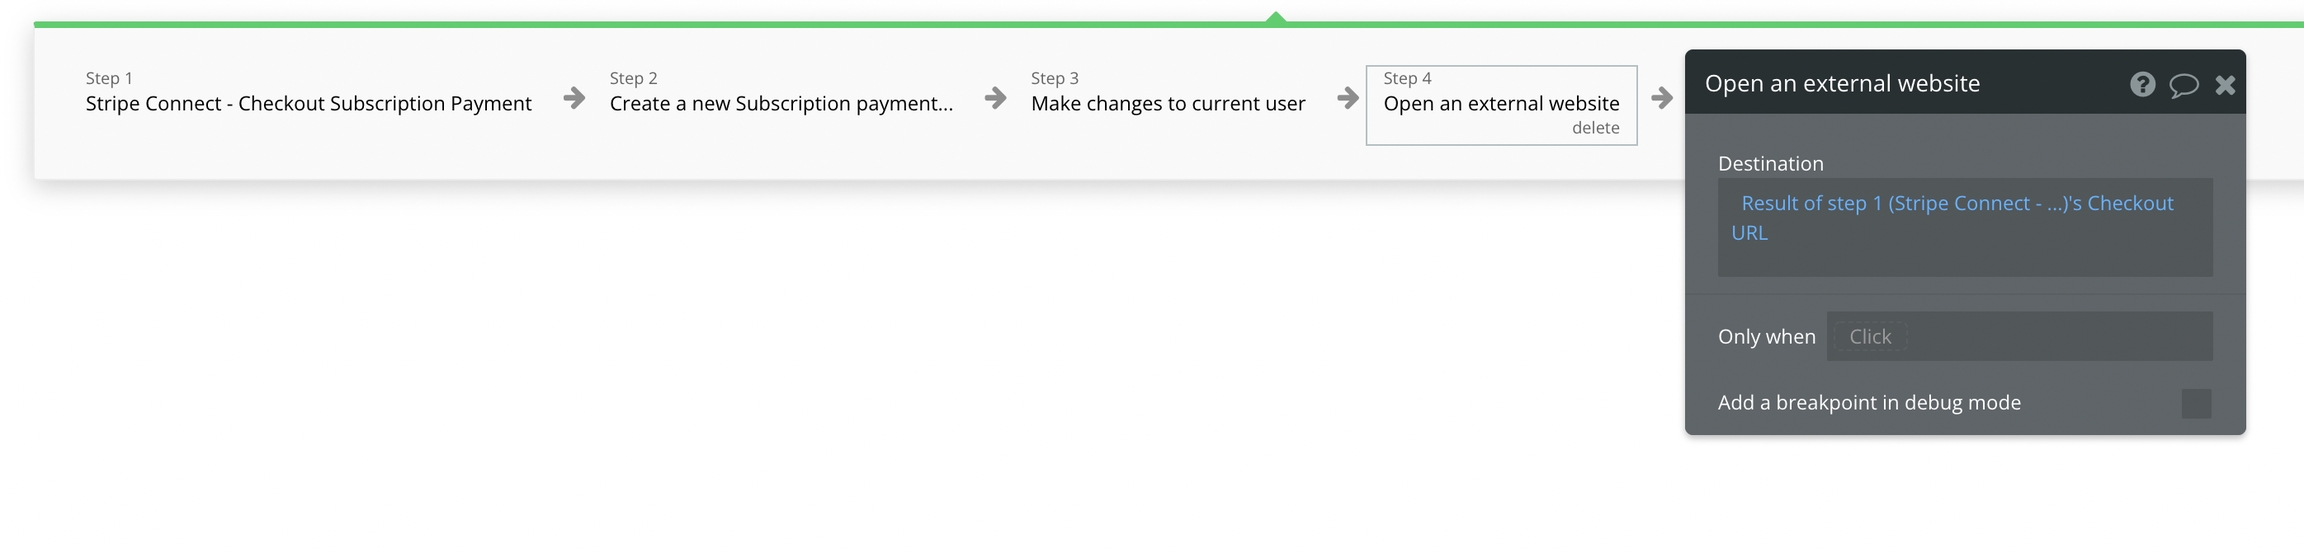
Step 4 - Redirect user to Checkout URL
The 'Stripe Connect - Checkout Subscription Payment' workflow action also returns the Checkout URL to complete the payment. You will need to redirect the user to this URL like this:
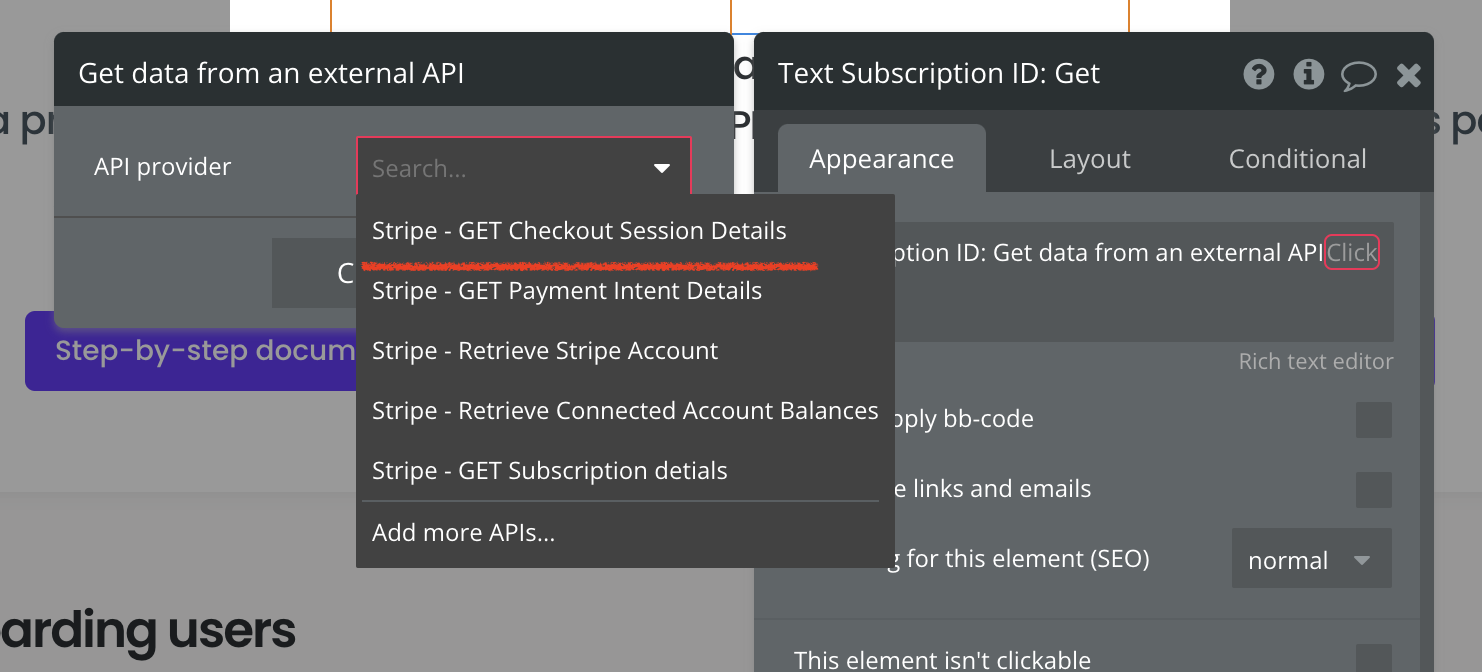
Step 5 - Check if the subscription succeeded
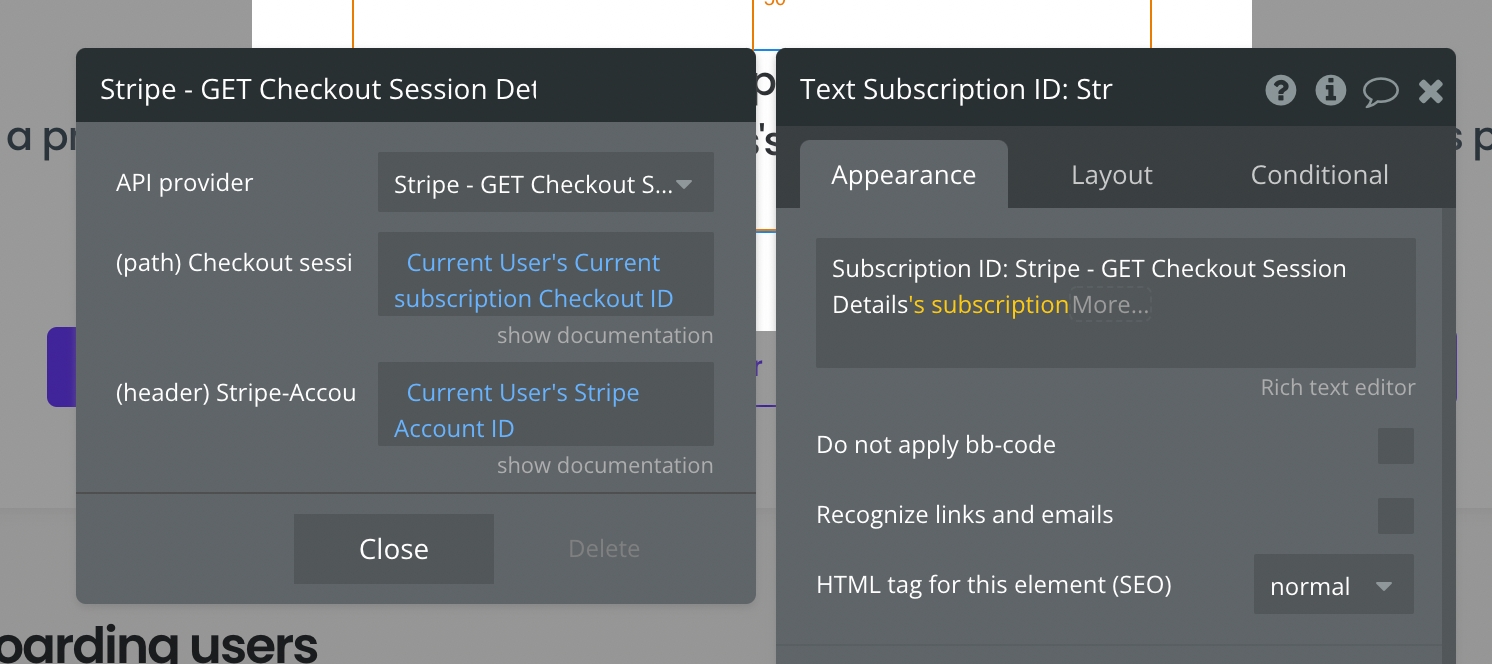
When the user is send back to your Success URL we need to check if the subscription is created successfully. We do this by checking if the Checkout Session contains a Subscription ID. For this we will use the 'GET Checkout Session Details' data call.
For this call we need to enter the Checkout ID we saved to the database and the Account ID pointing to the onboarded user. Next we can look at the subscription parameter and check if it contains a value (Subscription ID). Once it is not empty you know that the subscription has succeeded. Make sure to save the Subscription ID to your database. You can display / use this information how you like in your app!
Alternative step 5
Instead of checking if the Subscription succeeded client side, you can also setup up a Stripe webhook inside Stripe to be notified if a user creates a Subscription. Keep in mind that you need to be on a paid Bubble plan for this as you need to use a Backend workflow.