This plugin connects your Quickbooks account with your bubble application, so you will be allowed to create new accounts, grant access privileges, and manage your Quickbooks data, so you and your team can easily log in and work with it directly from your app.
Note: The documentation provides info for both Development and Production setup. Use both plugin versions for both setups in order to make sure that it works correctly, by starting with Sandbox.
Difference between the plugin’s Production and Sandbox versions
On our plugin portal plugins are separated into Sandbox and Production versions because they have different authentication methods in the sandbox and prod.
Sandbox:
Production:
☝
Note: Therefore, please use only the sandbox version for tests and the prod version for real projects and configure separate workflows for them.
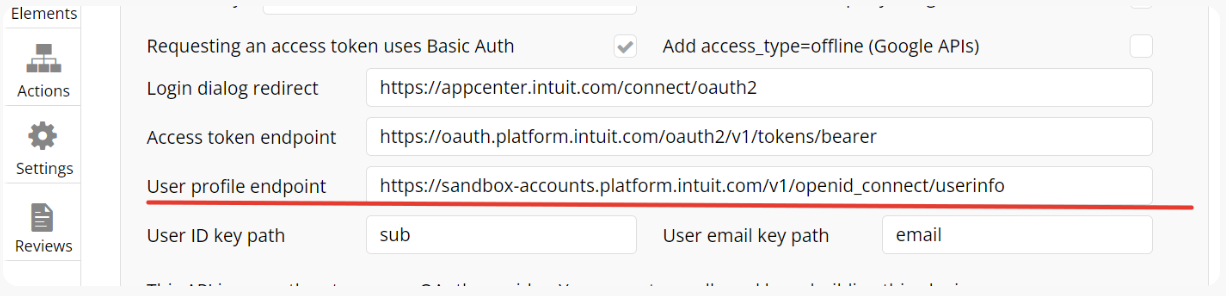
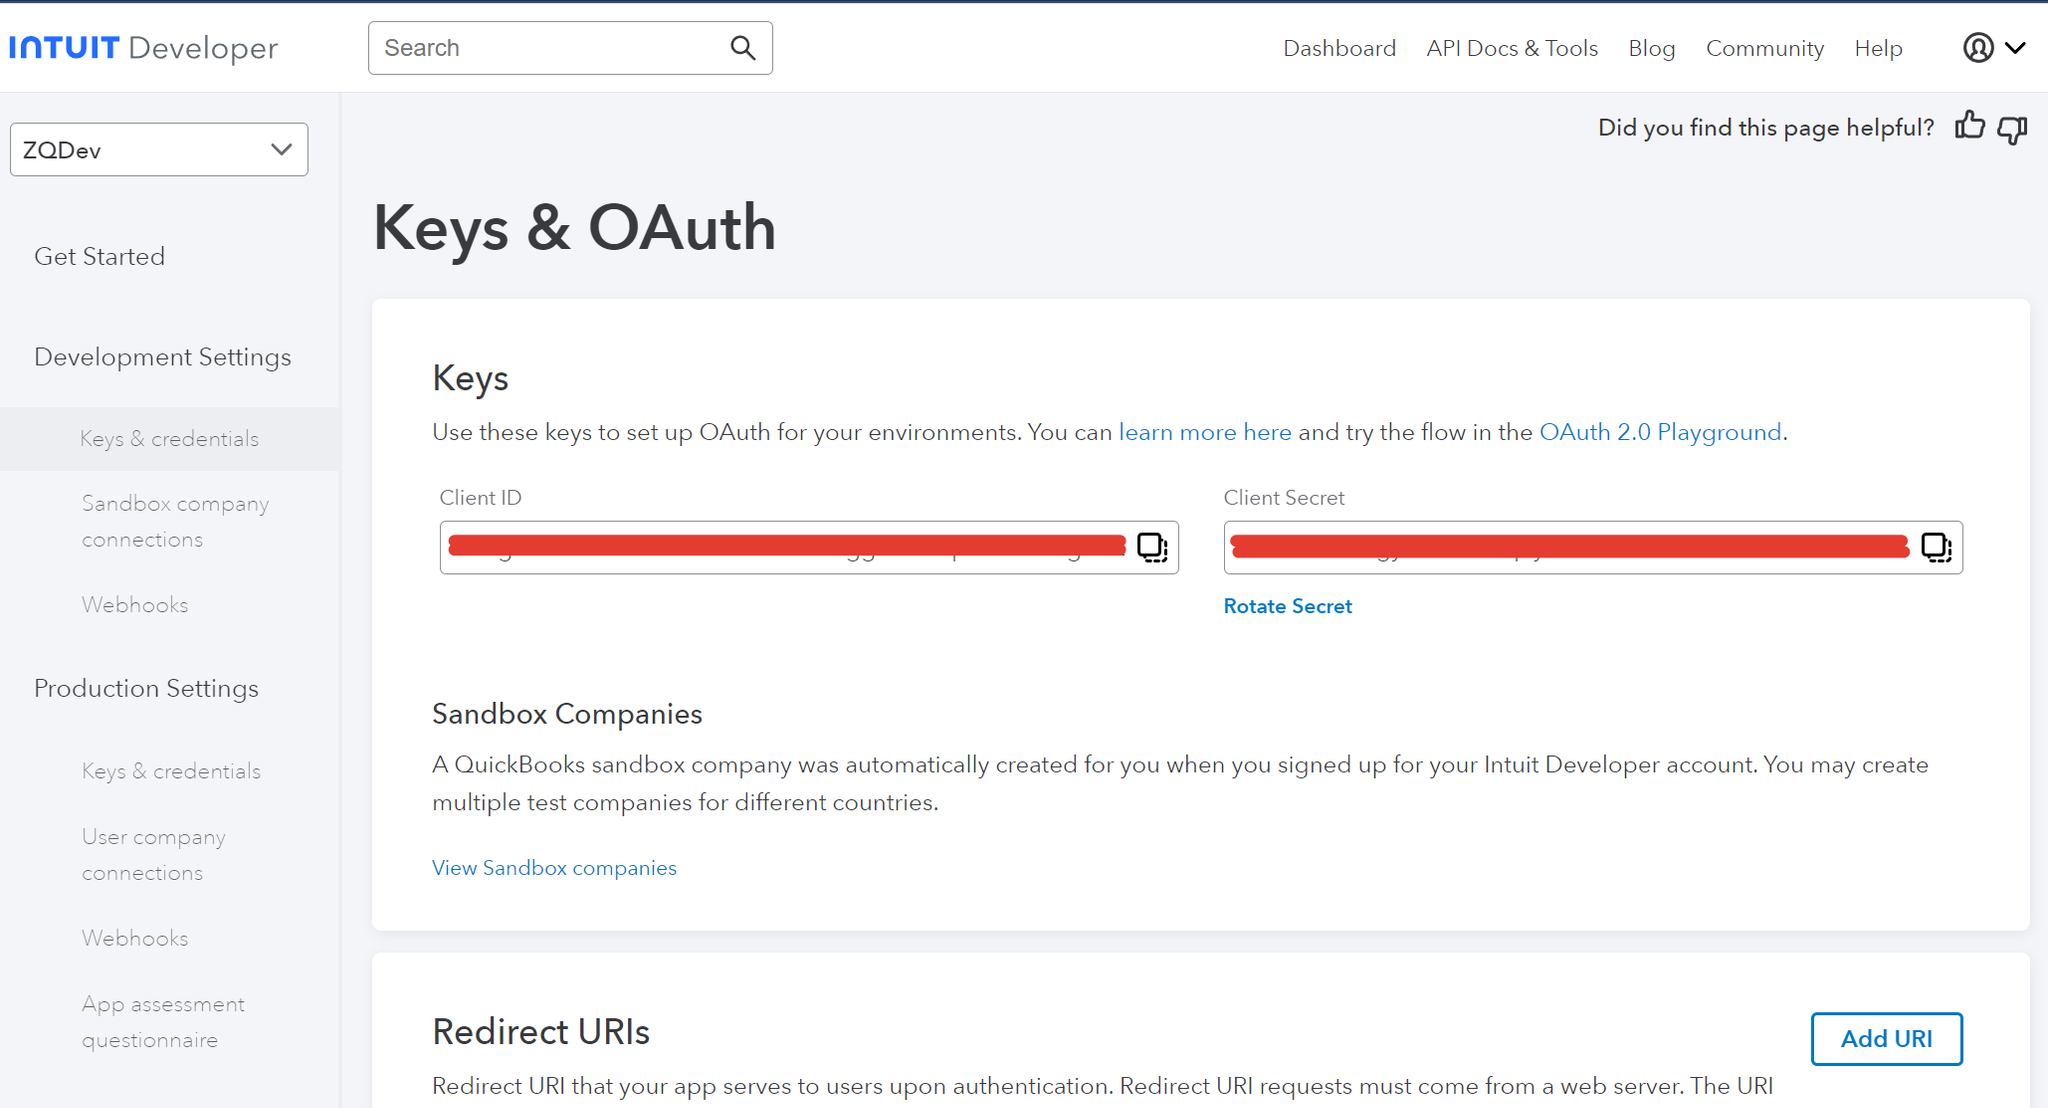
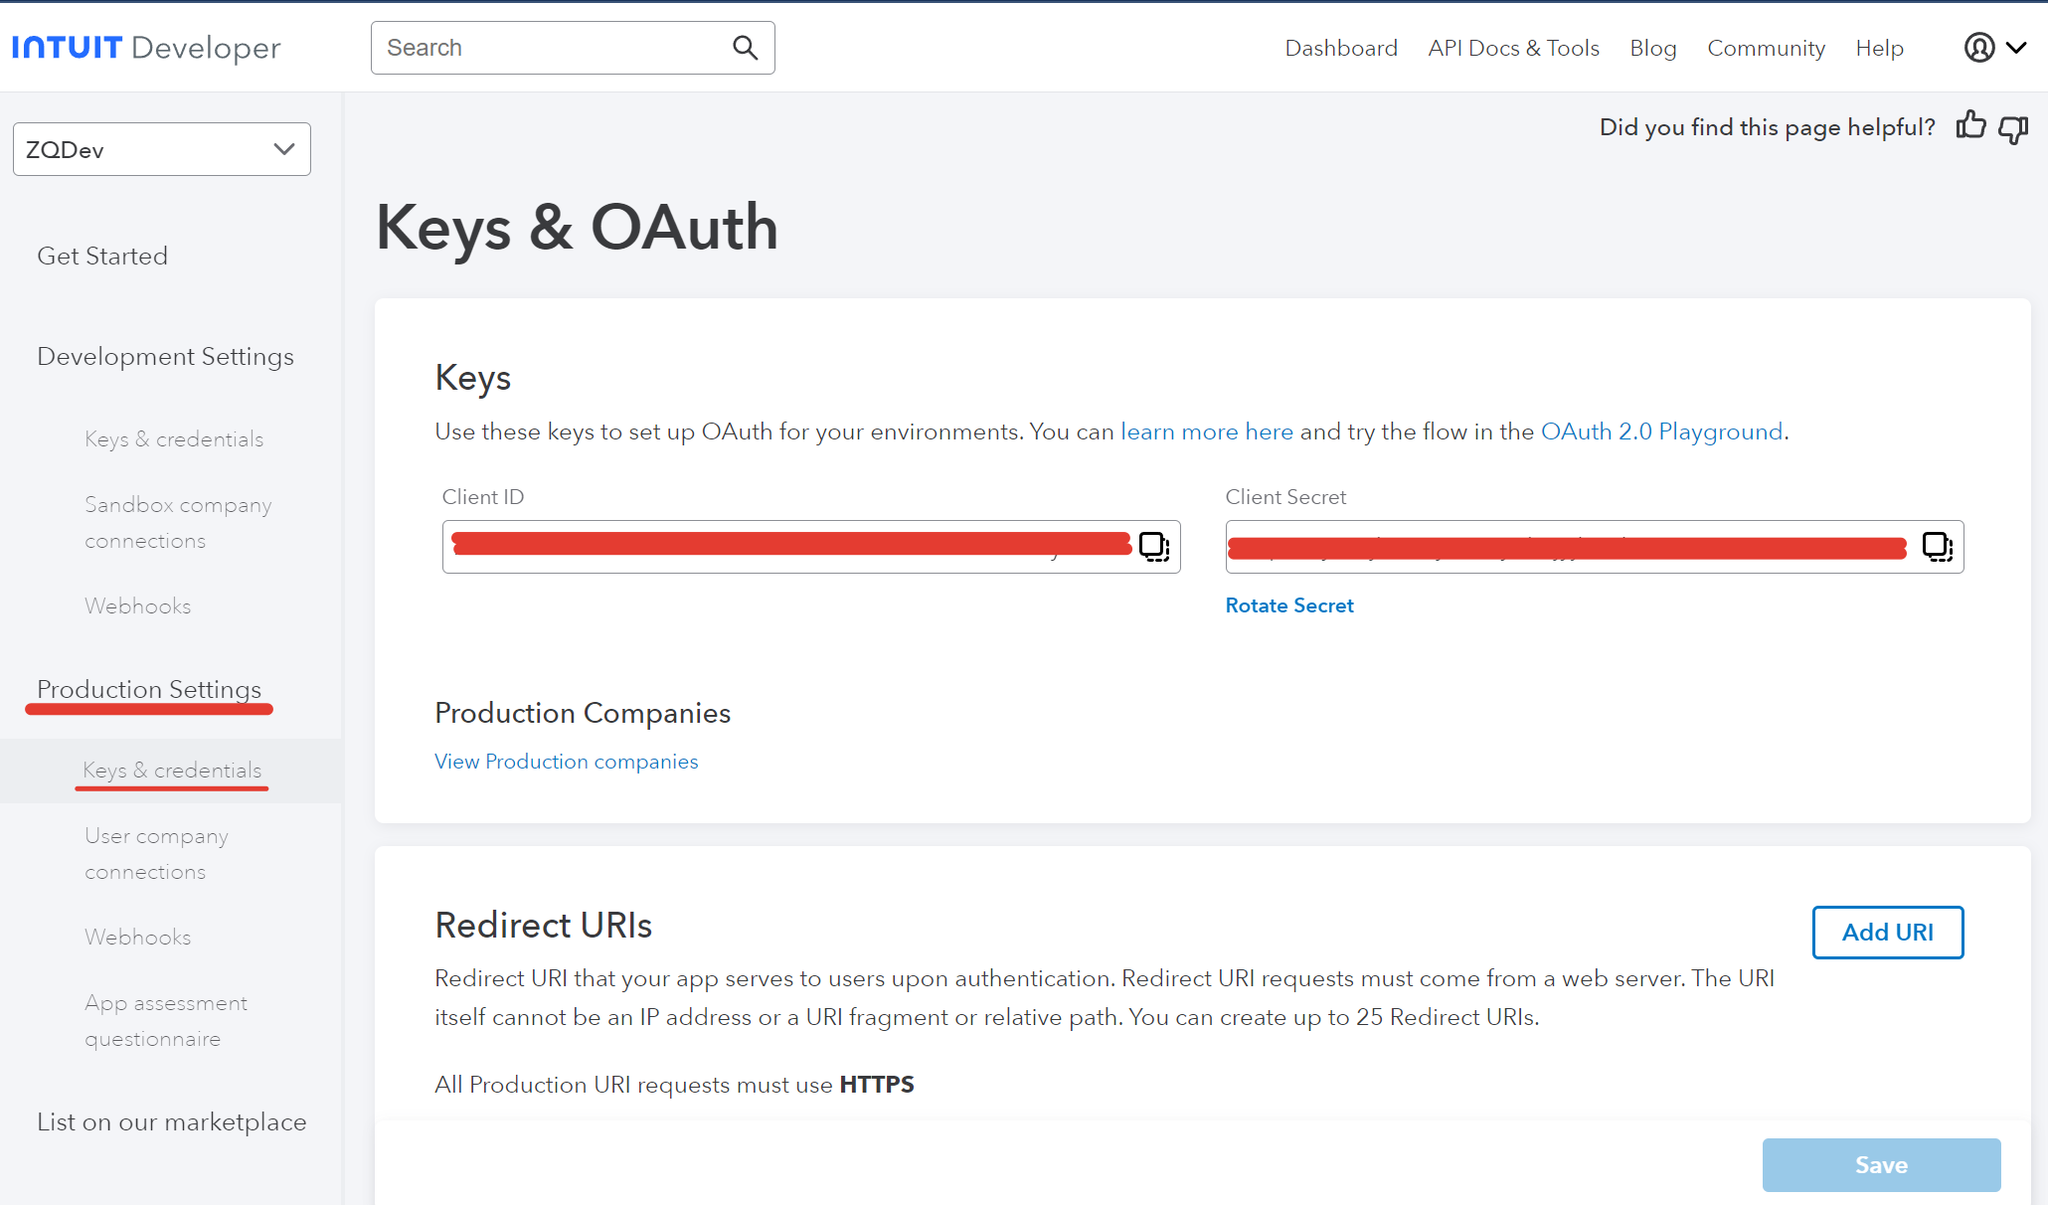
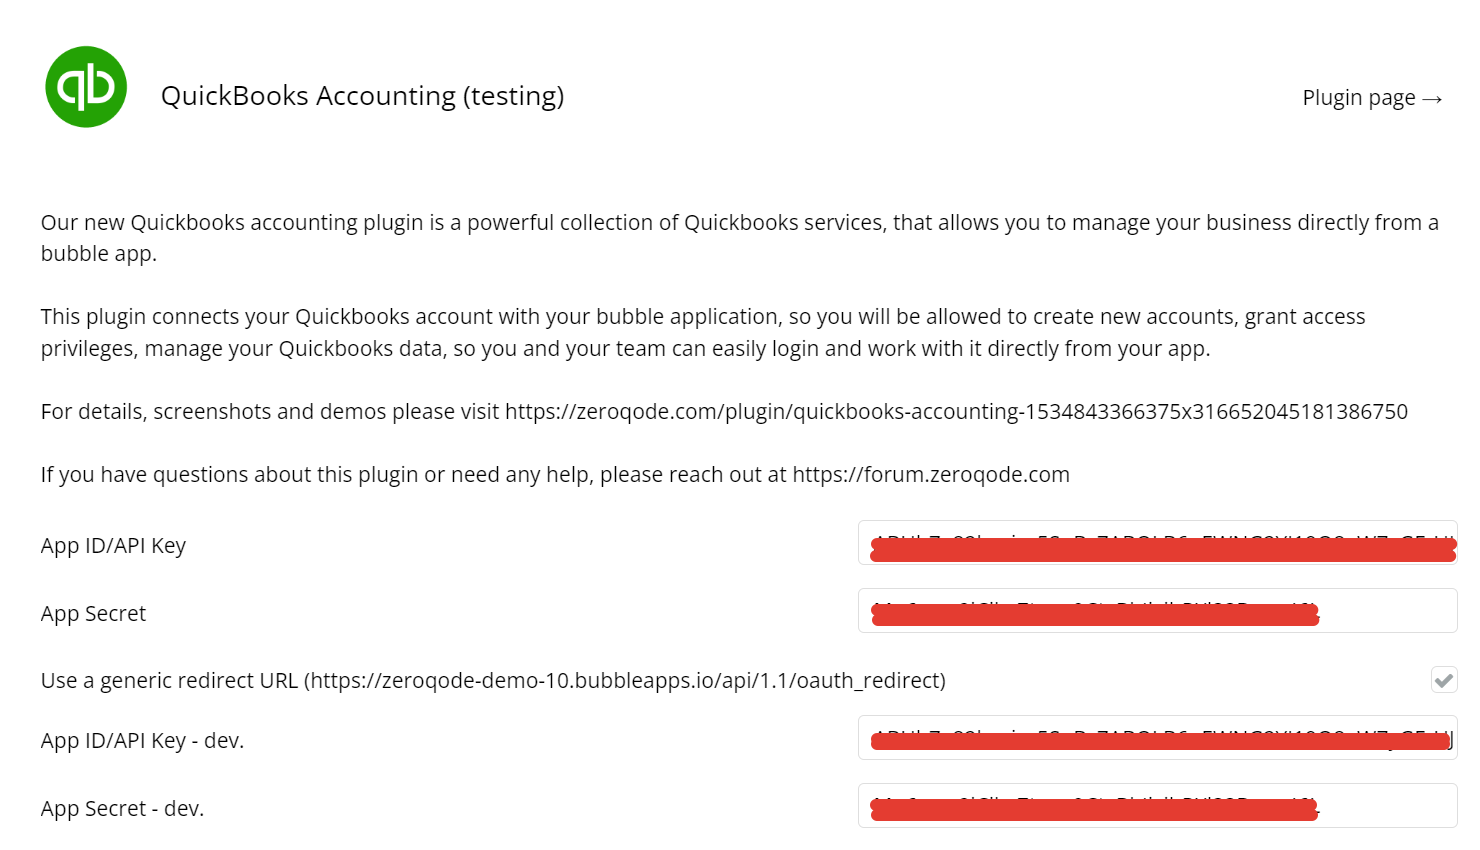
Get the keys “Client ID” and “Client Secret” from your app.
Place your “Client ID” and “Client Secret” into the plugin's settings in your app.
❗
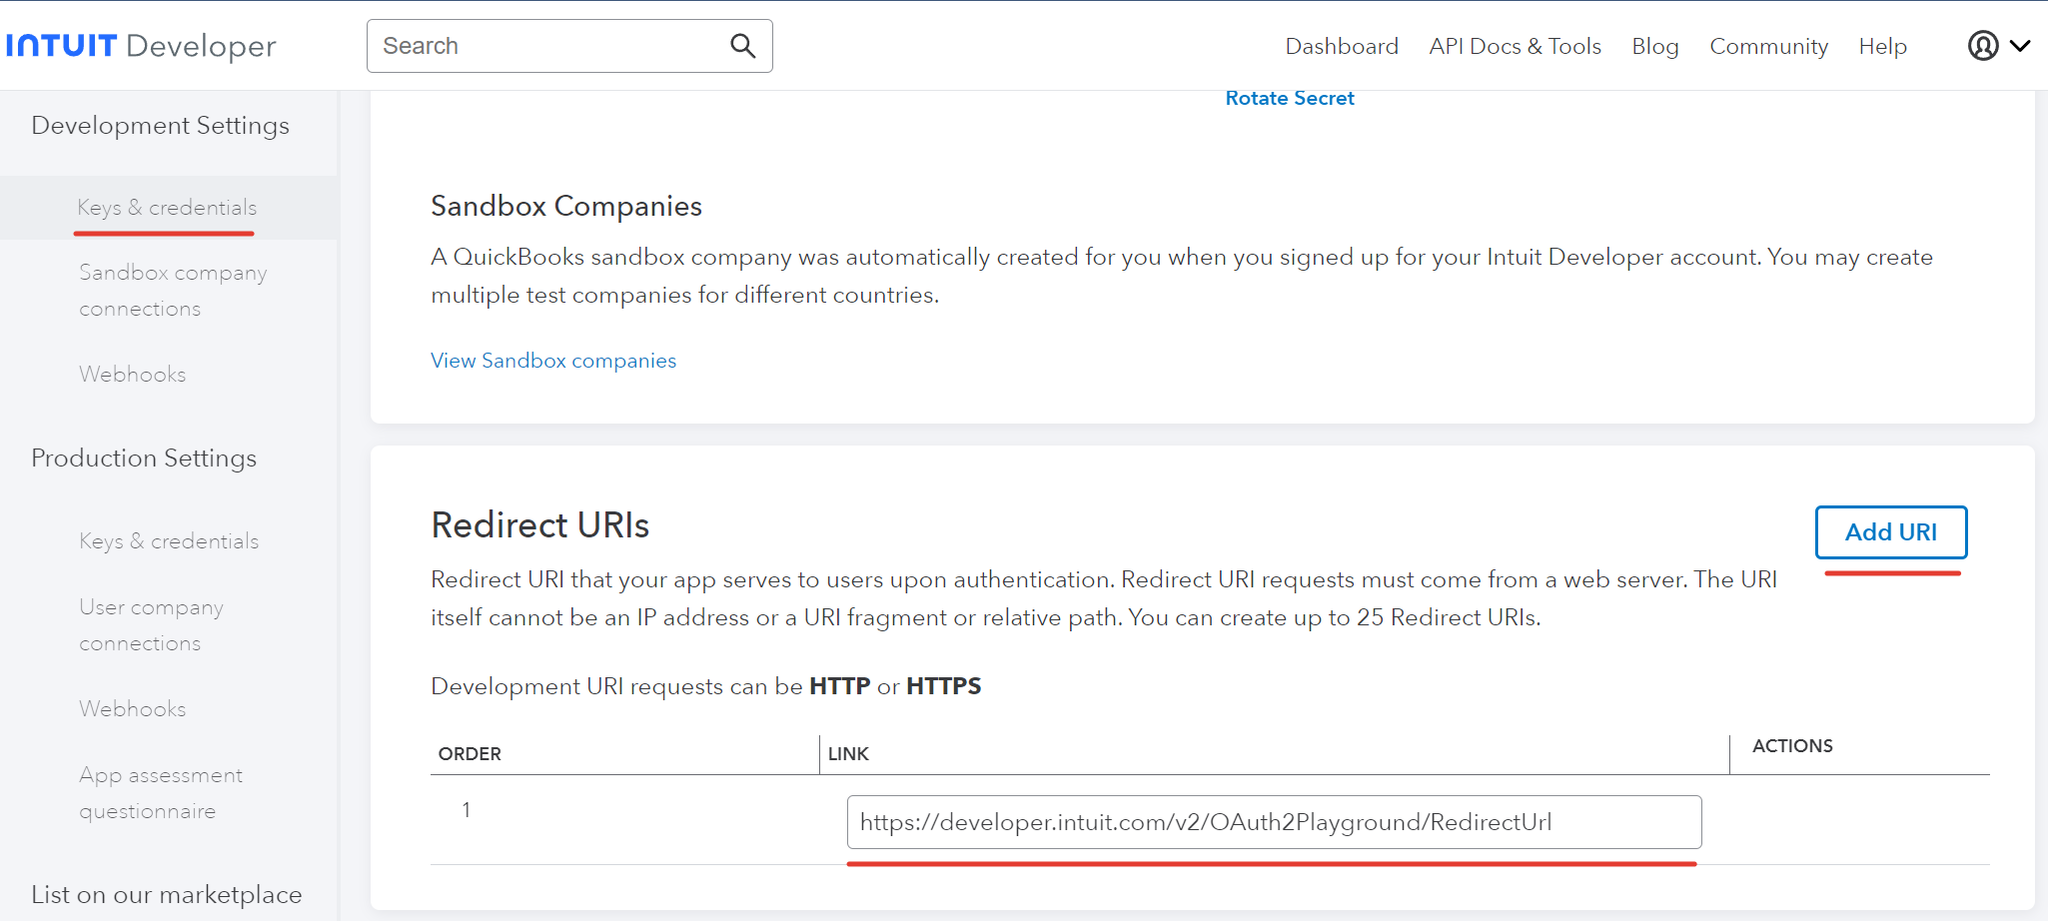
If you wish to add the Webhooks & continue with your App Listing on the Quickbooks Marketplace you can do so although it's not required to use the plugin.
Plugin Parameters
The 'realmId'
There are a few concepts that once are known will make your integration much easier to understand. The first is the realmId. As the user is going through the OAuth process and signing into your app they will choose the company they wish to use, Once this process is finished they will arrive back in your app and you will notice that there is now an extra parameter in your URL, eg. realmId=123456789.
It's important you grab this value from and save it to the current user because this will be needed in every action you use in reference to the current user's company. This should be saved as the parameter may not persist in other parts of your app.
The 'Sync Token'
Quickbooks uses a sync token to stop multiple users from corrupting data in the event the same record is altered at the same time. This means you should read the record then alter it, When you for example read a vendor's record - grab the sync token (tokens are numbers that increase by one each record change) & as you edit the record you will be able to provide the token there.
❕
It's good practice to only save the token in states on the page, Saving them in the current user or another section of your database will reduce performance but more importantly can lead to errors.
Complex {Looking: "Actions"}
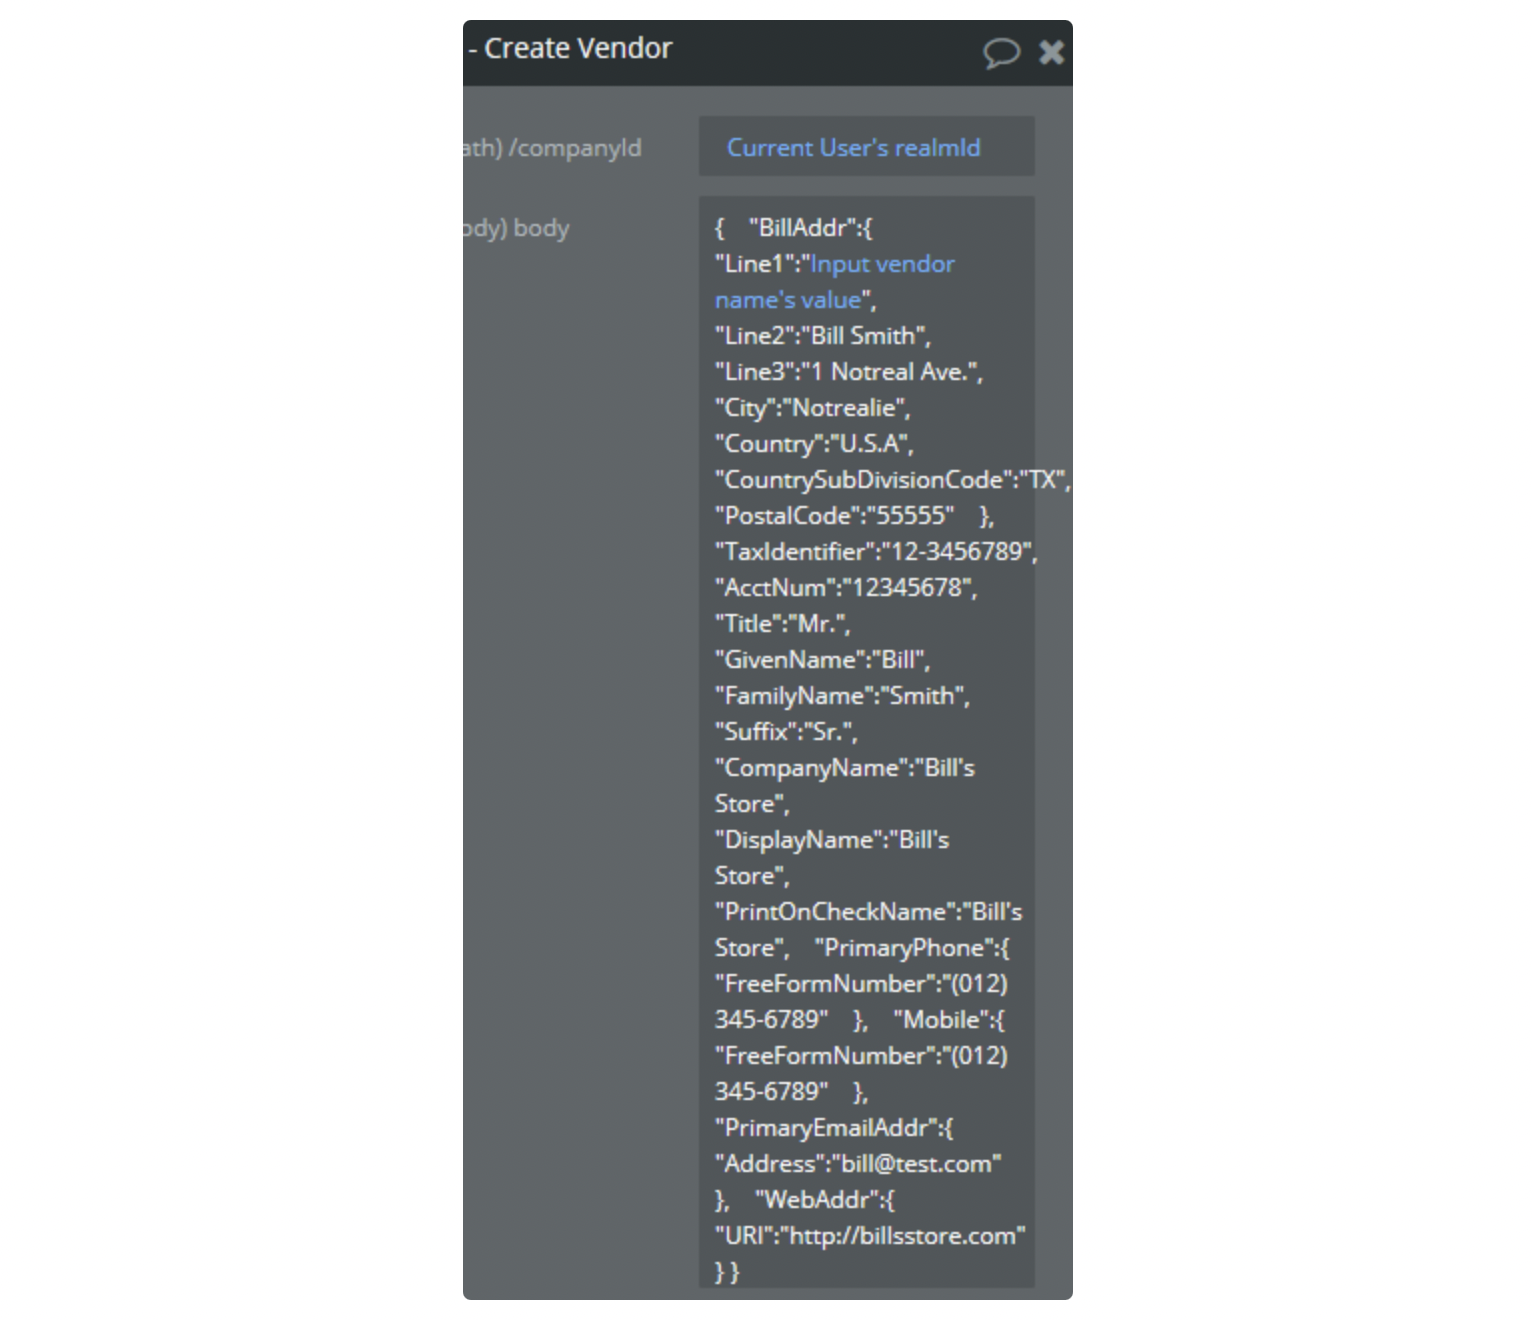
Quickbooks can achieve a lot, It's why they thrive and continue to grow. As you can imagine this makes the data more complex & in turn what we must provide when making calls / creating records also becomes more complex. To combat the number of actions the plugin would require to accommodate the millions of possible record variations we provide you the JSON so you can drop dynamic statements where you need them. This also means in the cases that you need something where your key & value need defining this is done with ease.
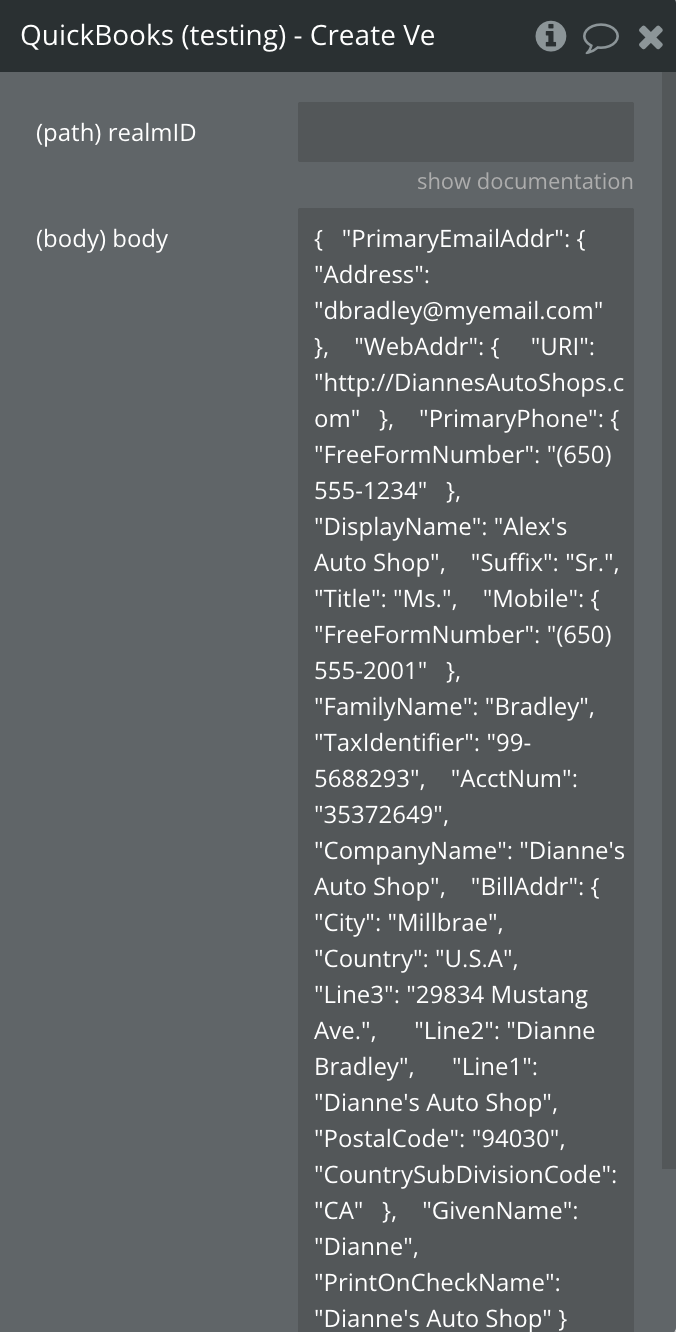
Let's look at one of the records, Here is a Vendor,
When you see JSON properties like this, in most cases we provide ALL the properties. A lot of the time they are all required however sometimes this is not the case - To view the Quickbooks documentation in regards to these objects, you can click here.
Looking at the above example to make something dynamic in the Bubble, we can do the following.
In the above example, you can see we have made the 'Line1' property dynamic.
⚠️
It's a good idea to add an 'on unhandled error' action to your app - if a user was to then input something that QuickBooks will return an error from, the error will not transpire to your user's screen.
❗
To learn about the proper use of the Quickbooks logo & to download image/button assets, you can visit here.
Plugin Element
QuickBooks Converter
Element convert response from Report’s API Calls to rows
Fields:
Title
Description
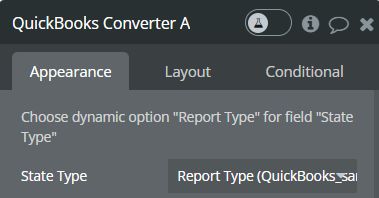
State Type
Choose “Report Type”
Exposed states
Title
Description
Type
Header Titles
Contain heater titles
List of text
Body Rows
Contain body rows
List of text
Header and Body Rows
Contain heater and body rows
List of text
Error type
API Call’s error type
Text
Error message
API Call’s error messages
Text
Element Actions
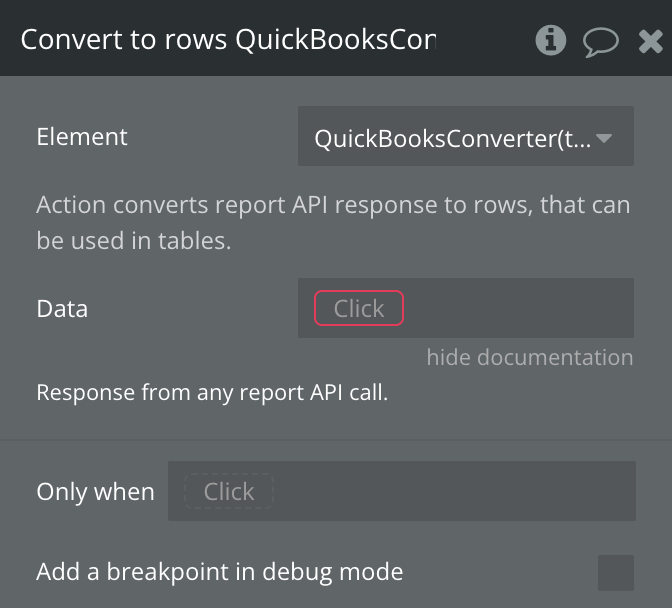
Convert to rows
Action converts report API response to rows, that can be used in tables.
Title
Description
Type
Data
Provide response from any report’s API call.
API Response
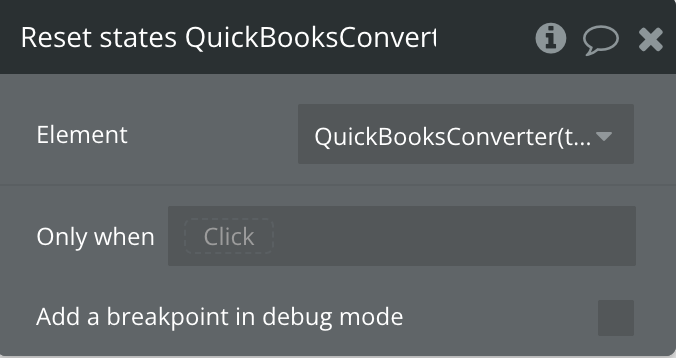
Reset states
Resets all element states to null
Title
Description
Type
Data
Provide response from any report’s API call.
API Response
Plugin Data Calls
Company Details
Retrieves the details of the authorized QuickBooks company.
Fields:
Name
Description
Type
realmID
RealmId data from current url after login
Text
Return values:
Name
Description
Type
CompanyInfo.CompanyName
Name of the company
Text
CompanyInfo.LegalName
Legal name of the company
Text
CompanyInfo.Country
Country of the company
Text
CompanyInfo.Email.Address
Email address of the company
Text
Get General Ledger
Retrieves the general ledger report from QuickBooks.
Fields:
Name
Description
Type
realmID
RealmId data from current url after login
Text
Return values:
Name
Description
Type
Header
Header information of the general ledger report
Object
Columns
Column definitions of the general ledger report
Object
Read Account
Retrieves information about a specific account.
Fields:
Name
Description
Type
/accountId
ID of the account to retrieve
Text
realmID
RealmId data from current url after login
Text
Return values:
Name
Description
Type
Account.Name
Name of the account
Text
Account.AccountType
Type of the account
Text
Account.CurrentBalance
Current balance of the account
Number
Read Tax Agency
Retrieves information about a specific tax agency.
Fields:
Name
Description
Type
/entityId
ID of the tax agency to retrieve
Text
realmID
RealmId data from current url after login
Text
Return values:
Name
Description
Type
Account.Name
Name of the tax agency account
Text
Account.AccountType
Type of the tax agency account
Text
Read Tax Code
Retrieves information about a specific tax code.
Fields:
Name
Description
Type
/entityId
ID of the tax code to retrieve
Text
realmID
RealmId data from current url after login
Text
Return values:
Name
Description
Type
Account.Name
Name of the tax code account
Text
Account.AccountType
Type of the tax code account
Text
Read Tax Rate
Retrieves information about a specific tax rate.
Fields:
Name
Description
Type
/entityId
ID of the tax rate to retrieve
Text
realmID
RealmId data from current url after login
Text
Return values:
Name
Description
Type
Account.Name
Name of the tax rate account
Text
Account.AccountType
Type of the tax rate account
Text
Read Payment
Retrieves information about a specific Payment.
Fields:
Name
Description
Type
/entityId
ID of the payment to retrieve
Text
realmID
RealmId data from current url after login
Text
Read Journal Entry
Retrieves information about a specific Journal Entry.
Fields:
Name
Description
Type
/journalentryId
ID of the journal to retrieve
Text
realmID
RealmId data from current url after login
Text
Read Changed Data List
Retrieves a list of entities that have changed since a specific date.
Fields:
Name
Description
Type
entities
Comma-separated list of entity types to check
Text
changedSince
Date from which to check for changes
Text
realmID
RealmId data from current url after login
Text
Return values:
Name
Description
Type
CDCResponse
List of changed entities
List
Get Preferences
Retrieves the preferences set for the QuickBooks company.
Fields:
Name
Description
Type
realmID
RealmId data from current url after login required
Text
Return values:
Name
Description
Type
Preferences.AccountingInfoPrefs
Accounting preferences
Object
Preferences.TaxPrefs
Tax preferences
Object
Preferences.CurrencyPrefs
Currency preferences
Object
Read Transfer
Retrieves information about a specific transfer.
Fields:
Name
Description
Type
/entityId
ID of the transfer to retrieve
Text
realmID
RealmId data from current url after login required
Text
Return values:
Name
Description
Type
Transfer.TxnDate
Transaction date of the transfer
Text
Transfer.Amount
Amount of the transfer
Number
Transfer.FromAccountRef
Reference to the source account
Object
Transfer.ToAccountRef
Reference to the destination account
Object
Read Vendor Credit
Retrieves information about a specific Vendor Credit.
Fields:
Name
Description
Type
/entityId
ID of the vendor credit to retrieve
Text
realmID
RealmId data from current url after login
Text
Read Item
Retrieves information about a specific item.
Fields:
Name
Description
Type
/entityId
ID of the item to retrieve
Text
realmID
RealmId data from current url after login required
Text
Return values:
Name
Description
Type
Item.Name
Name of the item
Text
Item.UnitPrice
Unit price of the item
Number
Item.Type
Type of the item
Text
Read Purchase Order
Retrieves information about a specific purchase order.
Fields:
Name
Description
Type
/entityId
ID of the purchase order to retrieve
Text
realmID
RealmId data from current url after login required
Text
Return values:
Name
Description
Type
PurchaseOrder.DocNumber
Document number of the purchase order
Text
PurchaseOrder.TotalAmt
Total amount of the purchase order
Number
PurchaseOrder.Line
Line items of the purchase order
List
Read Estimate
Retrieves information about a specific estimate.
Fields:
Name
Description
Type
/entityId
ID of the estimate to retrieve
Text
realmID
RealmId data from current url after login required
Text
Return values:
Name
Description
Type
Estimate.DocNumber
Document number of the estimate
Text
Estimate.TotalAmt
Total amount of the estimate
Number
Estimate.Line
Line items of the estimate
List
Read a Class
Retrieves information about a specific account class.
Fields:
Name
Description
Type
/classId
ID of the class to retrieve
Text
realmID
RealmId data from current url after login required
Text
Return values:
Name
Description
Type
Class.Name
Name of the class
Text
Class.Active
Whether the class is active
Boolean
Read Attachable
Retrieves information about a specific Attachable.
Fields:
Name
Description
Type
/entityId
ID of the Attachable to retrieve
Text
realmID
RealmId data from current url after login required
Text
Read Employee
Retrieves information about a specific employee.
Fields:
Name
Description
Type
/entityId
ID of the employee to retrieve
Text
realmID
RealmId data from current url after login required
Text
Return values:
Name
Description
Type
Employee.DisplayName
Display name of the employee
Text
Employee.PrimaryPhone.FreeFormNumber
Phone number of the employee
Text
Read Customer
Retrieves information about a specific customer.
Fields:
Name
Description
Type
/entityId
ID of the customer to retrieve
Text
Return values:
Name
Description
Type
Customer.DisplayName
Display name of the customer
Text
Customer.Balance
Current balance of the customer
Number
Customer.PrimaryEmailAddr.Address
Email address of the customer
Text
Read Deposit
Retrieves information about a specific deposit.
Fields:
Name
Description
Type
/entityId
ID of the deposit to retrieve
Text
realmID
RealmId data from current url after login required
Text
Return values:
Name
Description
Type
Deposit.TxnDate
Transaction date of the deposit
Text
Deposit.TotalAmt
Total amount of the deposit
Number
Deposit.Line
Line items of the deposit
List
Query Transfer
Retrieves a list of transfers from QuickBooks.
Fields:
Name
Description
Type
selectStatement
Select * from transfer
Text
realmID
RealmId data from current url after login
Text
Return values:
Name
Description
Type
QueryResponse Transfer
List of transfers
List
QueryResponse startPosition
Start position of the result set
Number
QueryResponse maxResults
Maximum number of results returned
Number
QueryResponse totalCount
Total count of records
Number
Query Employee
Retrieves a list of employees from QuickBooks.
Fields:
Name
Description
Type
selectStatement
Select * from employee
Text
realmID
RealmId data from current url after login
Text
Return values:
Name
Description
Type
QueryResponse Employee
List of employees
List
QueryResponse startPosition
Start position of the result set
Text
QueryResponse maxResults
Maximum number of results returned
Text
Query Customer
Retrieves a list of customers from QuickBooks.
Fields:
Name
Description
Type
selectStatement
Select * from Customer
Text
realmID
RealmId data from current url after login
Text
Return values:
Name
Description
Type
QueryResponse Customer
List of customers
List
QueryResponse startPosition
Start position of the result set
Number
QueryResponse maxResults
Maximum number of results returned
Number
Query Attachable
Retrieves a list of attachables from QuickBooks.
Fields:
Name
Description
Type
selectStatement
Select * from attachable
Text
realmID
RealmId data from current url after login
Text
Return values:
Name
Description
Type
QueryResponse Attachable
List of attachables
List
QueryResponse startPosition
Start position of the result set
Text
QueryResponse maxResults
Maximum number of results returned
Text
Query Sales Receipt
Retrieves a list of sales receipts from QuickBooks.
Fields:
Name
Description
Type
selectStatement
Select * from SalesReceipt
Text
realmID
RealmId data from current url after login
Text
Return values:
Name
Description
Type
QueryResponse SalesReceipt
List of sales receipts
List
QueryResponse startPosition
Start position of the result set
Number
QueryResponse maxResults
Maximum number of results returned
Number
Query Item
Retrieves a list of items from QuickBooks.
Fields:
Name
Description
Type
selectStatement
Select * from item
Text
realmID
RealmId data from current url after login
Text
Return values:
Name
Description
Type
QueryResponse Item
List of items
List
QueryResponse startPosition
Start position of the result set
Number
QueryResponse maxResults
Maximum number of results returned
Number
Query Vendor Credit
Retrieves a list of vendor credits from QuickBooks.
Fields:
Name
Description
Type
selectStatement
Select * from vendorcredit
Text
realmID
RealmId data from current url after login
Return values:
Name
Description
Type
QueryResponse VendorCredit
List of vendor credits
List
QueryResponse startPosition
Start position of the result set
Number
QueryResponse maxResults
Maximum number of results returned
Number
QueryResponse totalCount
Total count of records
Number
Query an account
Retrieves a list of accounts from QuickBooks.
Fields:
Name
Description
Type
selectStatement
Select * from Account
Text
realmID
RealmId data from current url after login
Text
Return values:
Name
Description
Type
QueryResponse Account
List of accounts
List
QueryResponse startPosition
Start position of the result set
Number
QueryResponse maxResults
Maximum number of results returned
Number
Query Estimate
Retrieves a list of estimates from QuickBooks.
Fields:
Name
Description
Type
selectStatement
Select * from estimate
Text
realmID
RealmId data from current url after login
Text
Return values:
Name
Description
Type
QueryResponse Estimate
List of estimates
List
QueryResponse startPosition
Start position of the result set
Number
QueryResponse maxResults
Maximum number of results returned
Number
Query Journal Entry
Retrieves a list of journal entries from QuickBooks.
Fields:
Name
Description
Type
selectStatement
Select * from journalentry
Text
realmID
RealmId data from current url after login
Return values:
Name
Description
Type
QueryResponse JournalEntry
List of journal entries
List
QueryResponse startPosition
Start position of the result set
Number
QueryResponse maxResults
Maximum number of results returned
Number
QueryResponse totalCount
Total count of records
Number
Query Payment
Retrieves a list of payments from QuickBooks.
Fields:
Name
Description
Type
selectStatement
Select * from payment
Text
realmID
RealmId data from current url after login
Return values:
Name
Description
Type
QueryResponse Payment
List of payments
List
QueryResponse startPosition
Start position of the result set
Number
QueryResponse maxResults
Maximum number of results returned
Number
Query Purchase
Retrieves a list of purchase from QuickBooks.
Fields:
Name
Description
Type
selectStatement
Select * from purchase
Text
companyId
RealmId data from current url after login
Query Purchase Order
Retrieves a list of purchase orders from QuickBooks.
Fields:
Name
Description
Type
selectStatement
Select * from purchaseorder
Text
companyId
RealmId data from current url after login
Text
Return values:
Name
Description
Type
QueryResponse PurchaseOrder
List of purchase orders
List
QueryResponse startPosition
Start position of the result set
Number
QueryResponse maxResults
Maximum number of results returned
Number
QueryResponse totalCount
Total count of records
Number
Query Invoice
Retrieves a list of invoices from QuickBooks.
Fields:
Name
Description
Type
selectStatement
Select * from invoice
Text
companyId
RealmId data from current url after login
Return values:
Name
Description
Type
QueryResponse Invoice
List of invoices
List
QueryResponse startPosition
Start position of the result set
Number
QueryResponse maxResults
Maximum number of results returned
Number
QueryResponse totalCount
Total count of records
Number
Query Taxcode
Retrieves a list of tax codes from QuickBooks.
Fields:
Name
Description
Type
selectStatement
Select * from taxcode
Text
companyId
RealmId data from current url after login
Text
Return values:
Name
Description
Type
QueryResponse TaxCode
List of tax codes
List
QueryResponse startPosition
Start position of the result set
Number
QueryResponse maxResults
Maximum number of results returned
Number
QueryResponse totalCount
Total count of records
Number
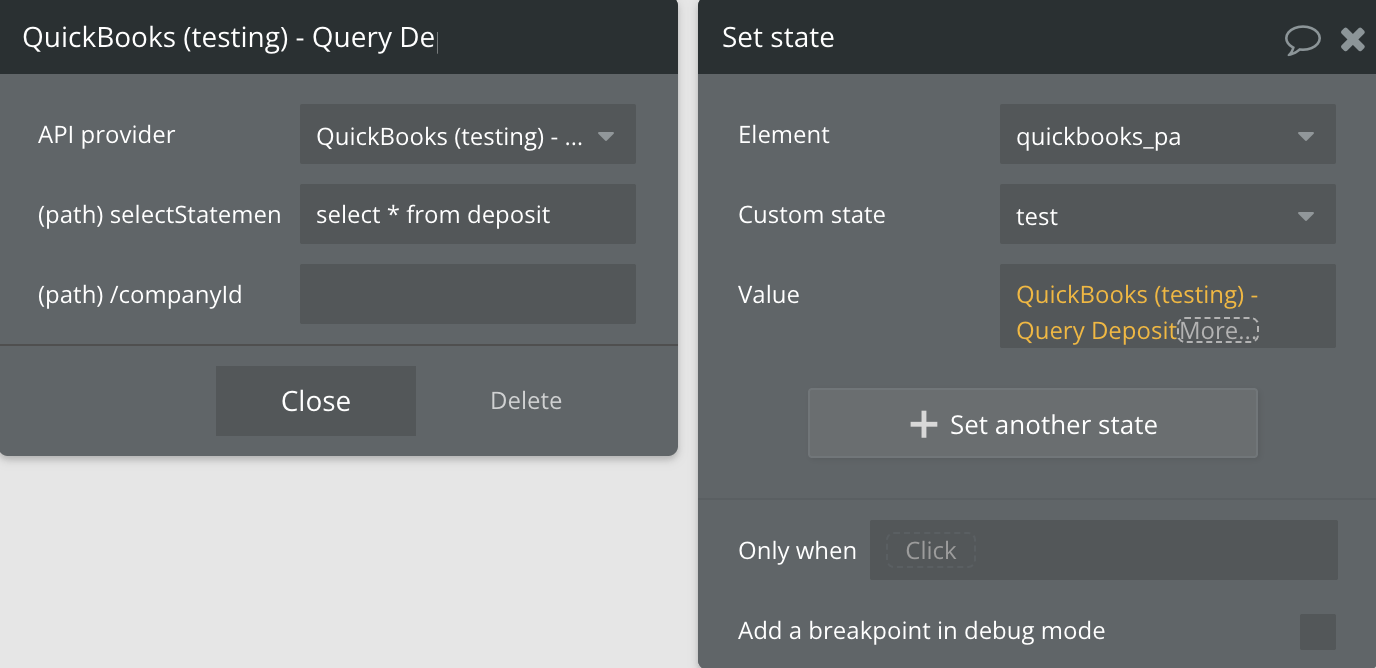
Query Deposit
Queries and retrieves information about multiple deposits based on criteria.
Fields:
Name
Description
Type
selectStatement
SQL-like query
Text
companyId
RealmId data from current url after login
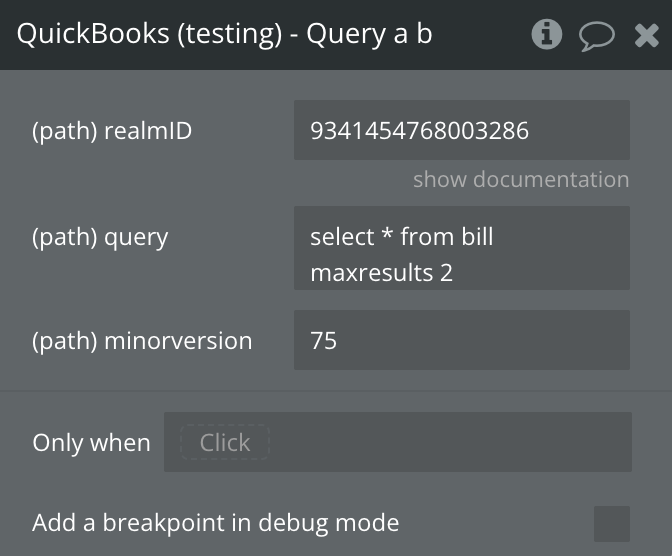
Query a bill
Returns the results of the query.
Fields:
Name
Description
Type
realmID
realmId data from current url after login
Text
query
query string - select * from bill maxresults 2
Text
minorversion
api version. Default: 75
Text
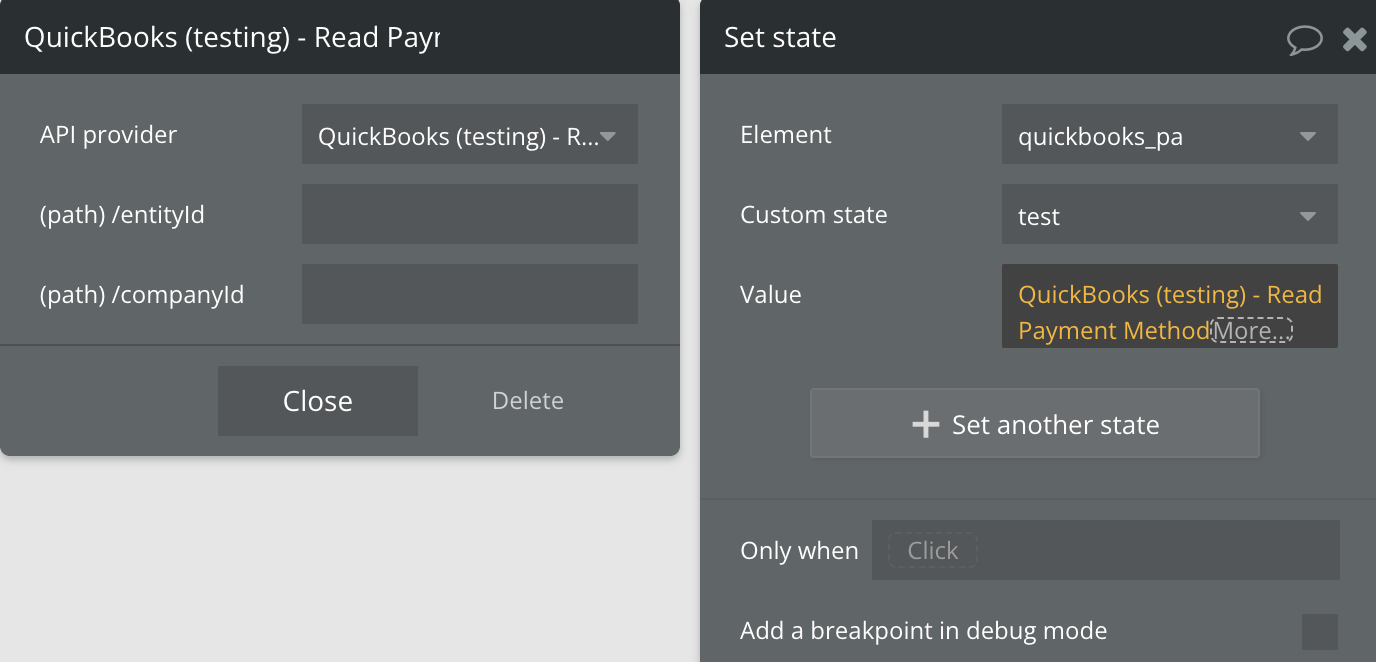
Read Payment Method
Retrieves information about a specific payment method.
Fields:
Name
Description
Type
/entityId
ID of the payment method to retrieve
Text
companyId
RealmId data from current url after login
Text
Return values:
Name
Description
Type
PaymentMethod.Name
Name of the payment method
Text
PaymentMethod.Type
Type of the payment method
Text
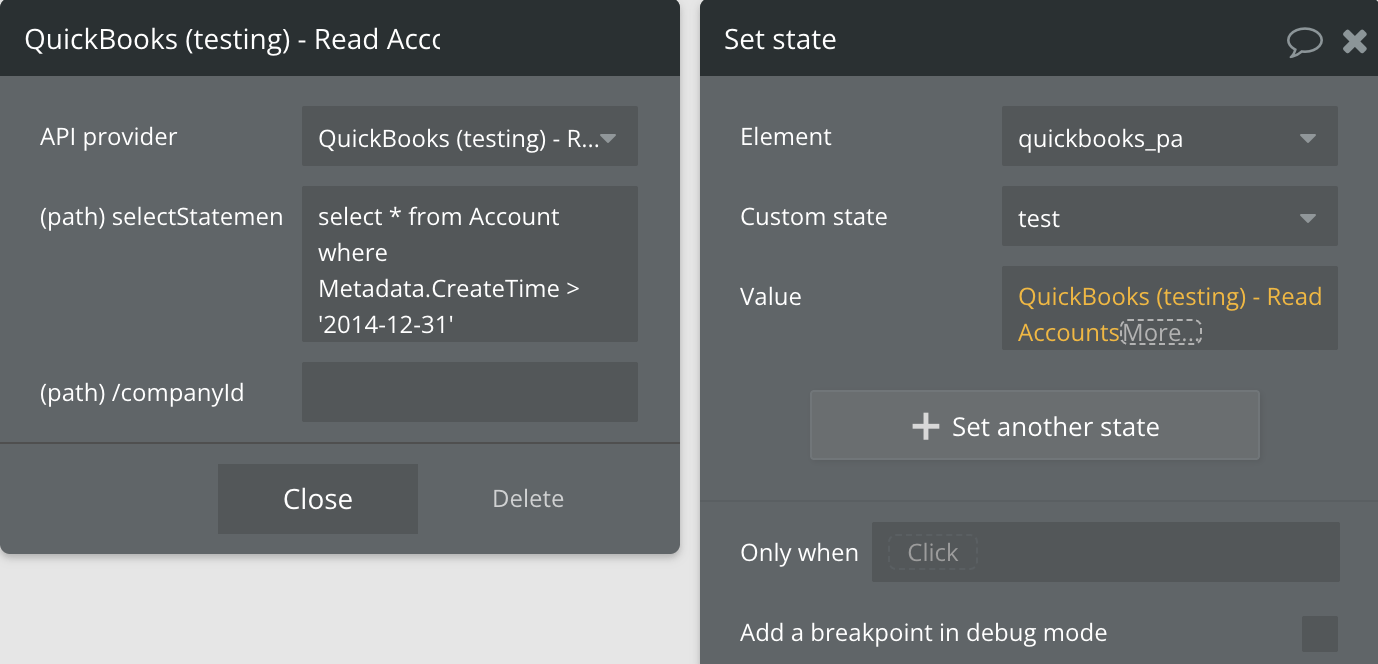
Read Accounts
Queries and retrieves information about multiple accounts based on criteria.
Fields:
Name
Description
Type
selectStatement
SQL-like query to filter accounts
Text
companyId
RealmId data from current url after login
Text
Return values:
Name
Description
Type
body.QueryResponse.Account
List of accounts matching the query
List
body.QueryResponse.startPosition
Starting position of the result set
Number
body.QueryResponse.maxResults
Maximum number of results returned
Number
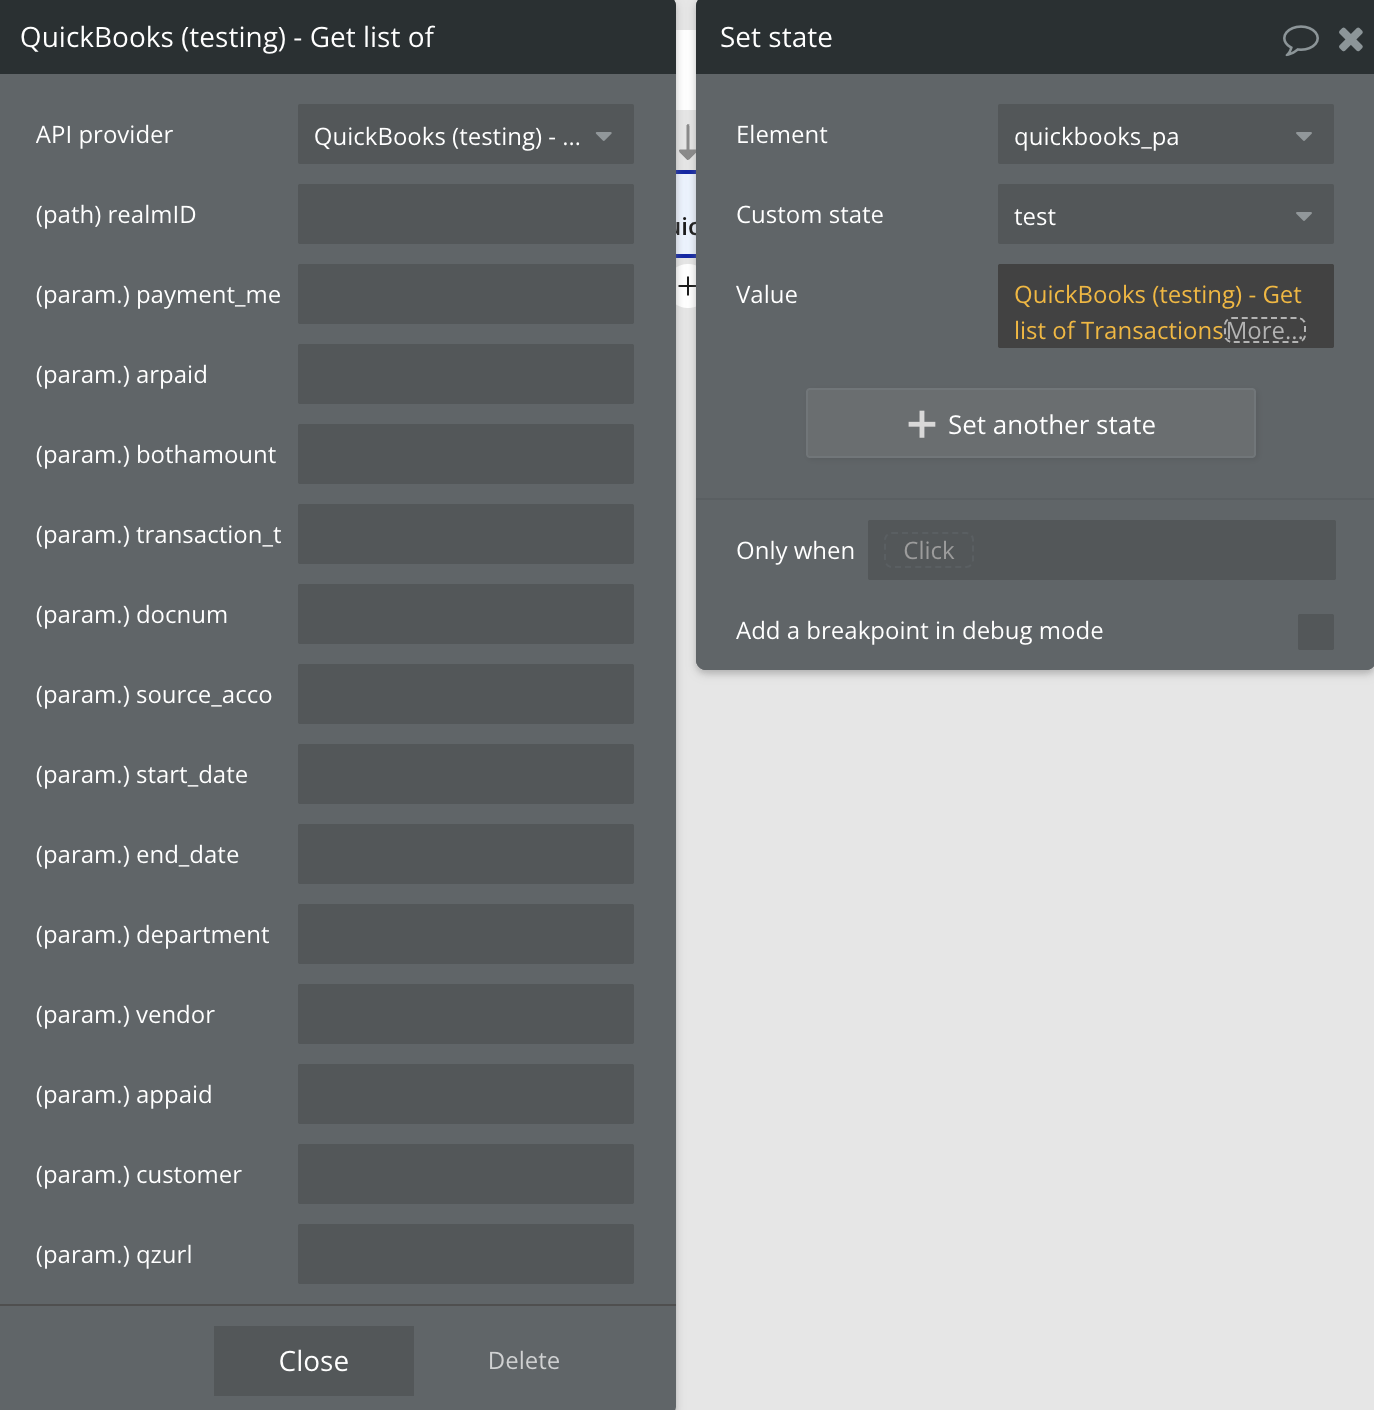
Get list of Transactions
Retrieves a list of transactions from QuickBooks.
Fields:
Name
Description
Type
payment_method
Filters report contents based on payment method (Cash, Check, etc.)
Text
arpaid
Filter by payment status (All, Paid, Unpaid)
Text
bothamount
Filter by transaction amount
Text
transaction_type
Filter by transaction type
Text
docnum
Filter by document number
Text
source_account_type
Filter by account type
Text
start_date
Start date for the report (YYYY-MM-DD)
Text
end_date
End date for the report (YYYY-MM-DD)
Text
department
Filter by department IDs
Text
vendor
Filter by vendor IDs
Text
appaid
Filter by payment status (Paid, Unpaid, All)
Text
customer
Filter by customer IDs
Text
qzurl
Generate Quick Zoom URL information
Text
realmID
RealmId data from current url after login
Text
Return values:
Name
Description
Type
Header Time
Time of the report
Text
Header ReportName
Name of the report
Text
Header DateMacro
Date macro used for the report
Text
Header StartPeriod
Start period of the report
Text
Header EndPeriod
End period of the report
Text
Header Currency
Currency of the report
Text
Rows Row
Rows of the report data
List
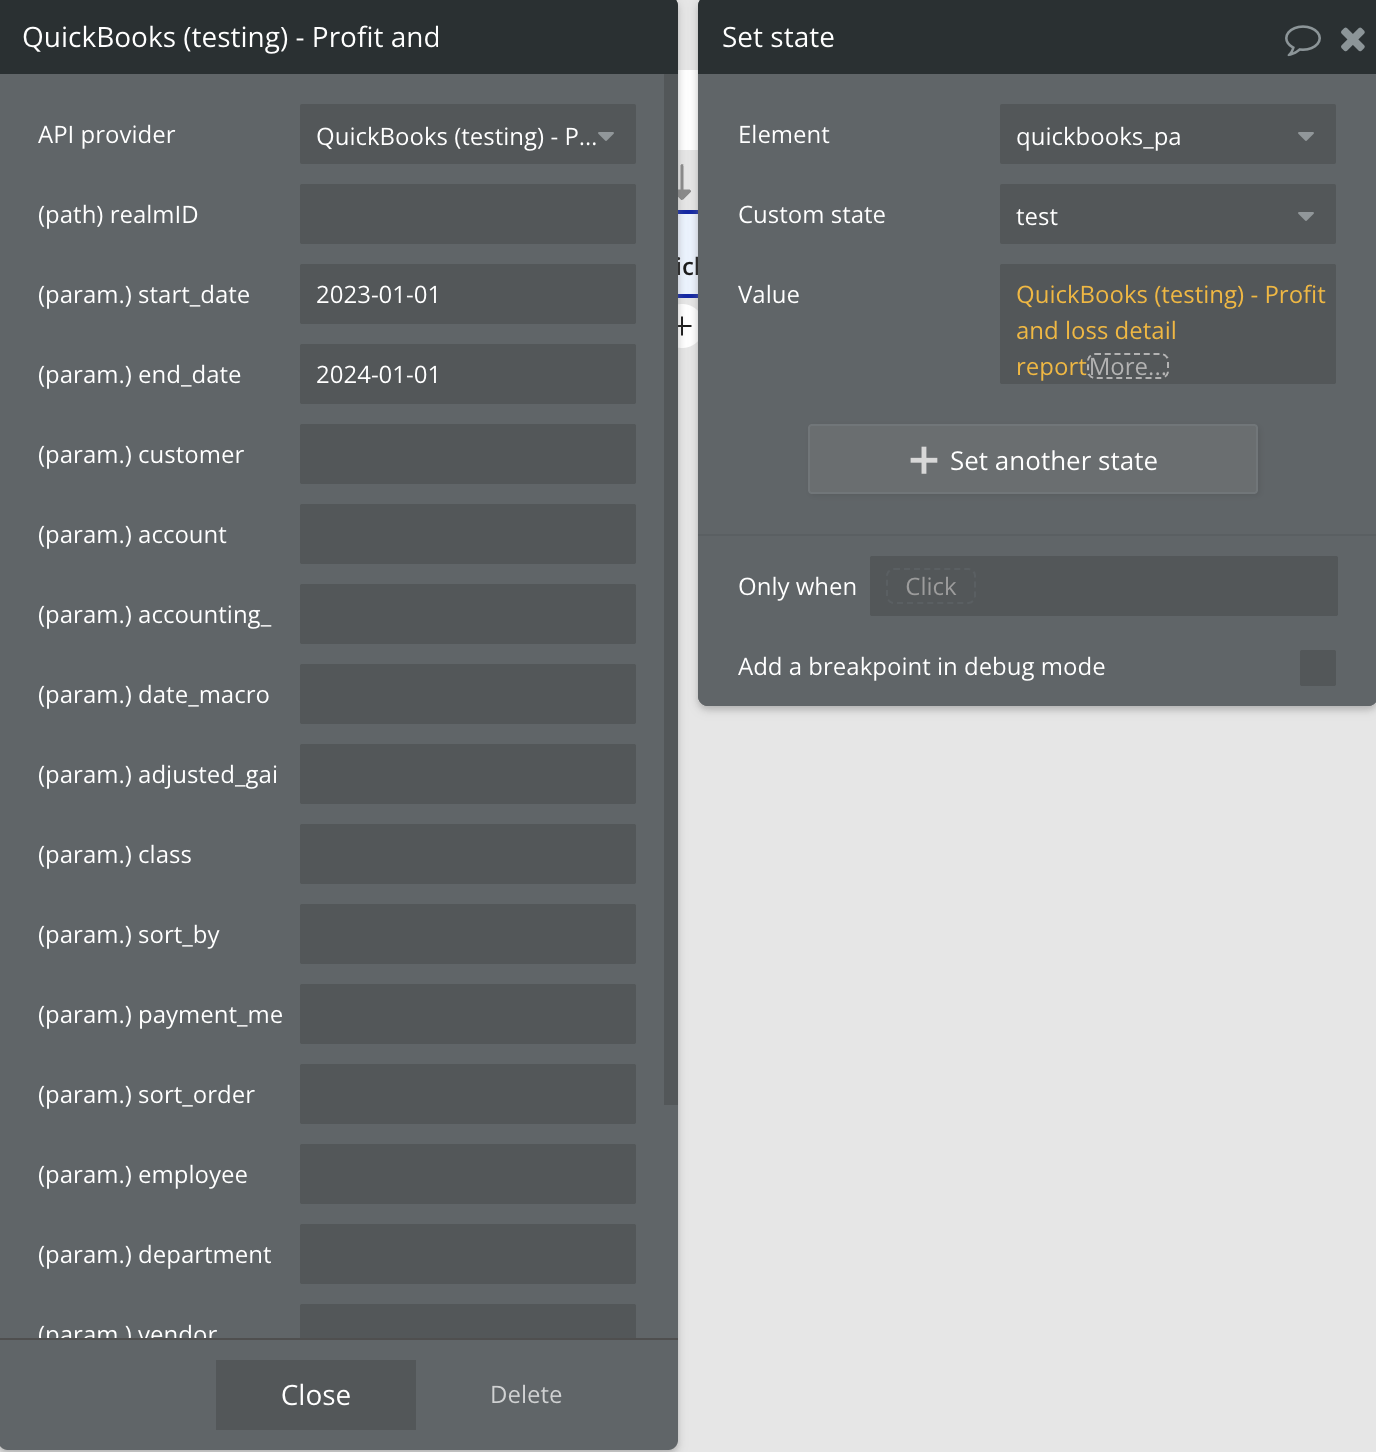
Profit and loss detail report
Retrieves a profit and loss detail report from QuickBooks.
Fields:
Name
Description
Type
start_date
Start date for the report (YYYY-MM-DD)
Text
end_date
End date for the report (YYYY-MM-DD)
Text
customer
Filter by customer IDs
Text
account
Filter by account IDs
Text
accounting_method
Accounting method (Cash, Accrual)
Text
date_macro
Predefined date range
Text
adjusted_gain_loss
Include unrealized gain and losses
Text
class
Filter by class IDs
Text
sort_by
Sort order
Text
payment_method
Filter by payment method
Text
sort_order
Sort order (ascend, descend)
Text
employee
Filter by employee IDs
Text
department
Filter by department IDs
Text
vendor
Filter by vendor IDs
Text
account_type
Filter by account type
Text
columns
Column types to be shown in the report
Text
realmID
RealmId data from current url after login
Text
Return values:
Detailed profit and loss report data.
Sales by customer report
Retrieves a sales by customer report from QuickBooks.
Fields:
Name
Description
Type
start_date
Start date for the report (YYYY-MM-DD)
Text
end_date
End date for the report (YYYY-MM-DD)
Text
customer
Filter by customer IDs
Text
accounting_method
Accounting method (Cash, Accrual)
Text
date_macro
Predefined date range
Text
class
Filter by class IDs
Text
sort_by
Sort order
Text
payment_method
Filter by payment method
Text
sort_order
Sort order (ascend, descend)
Text
department
Filter by department IDs
Text
qzurl
Generate Quick Zoom URL information
Text
item
Filter by item IDs
Text
summarize_column_by
Criteria for grouping report results
Text
realmID
RealmId data from current url after login
Text
Return values:
Sales by customer report data.
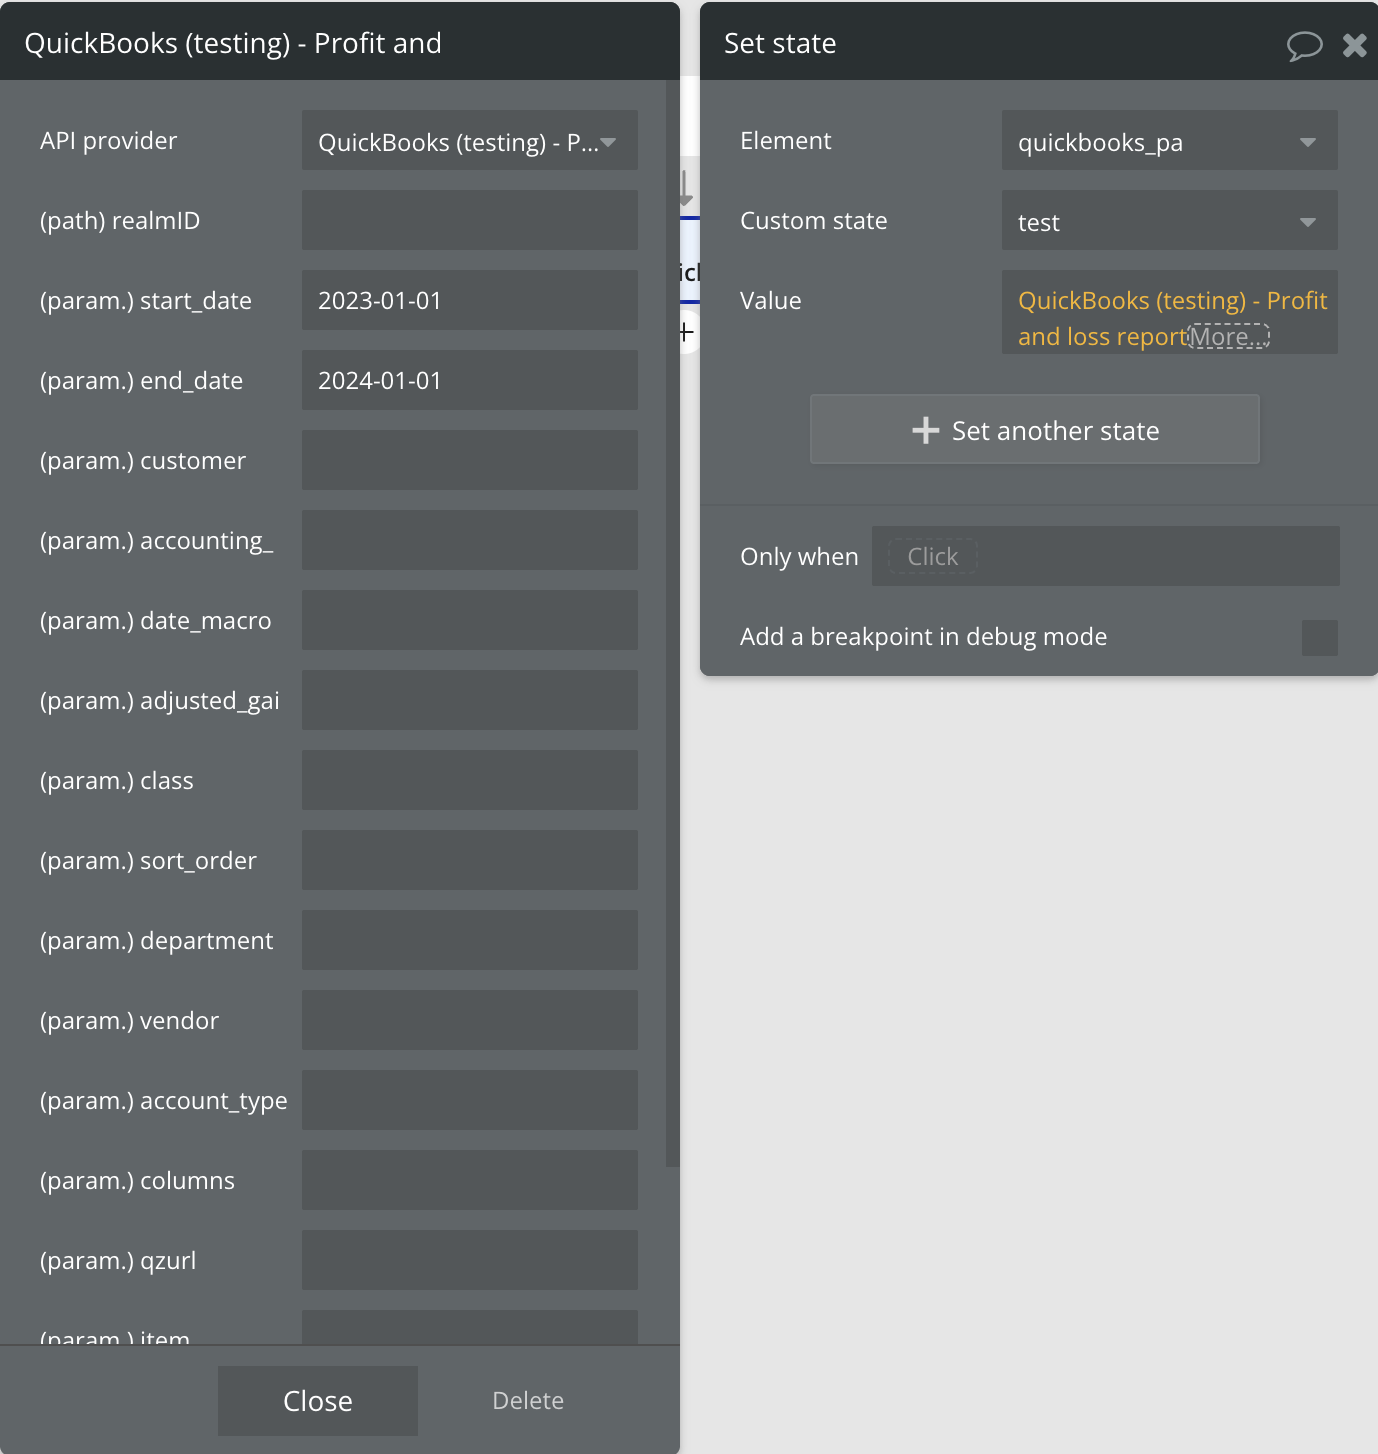
Profit and loss report
Retrieves a profit and loss report from QuickBooks.
Fields:
Name
Description
Type
start_date
Start date for the report (YYYY-MM-DD)
Text
end_date
End date for the report (YYYY-MM-DD)
Text
customer
Filter by customer IDs
Text
accounting_method
Accounting method (Cash, Accrual)
Text
date_macro
Predefined date range
Text
adjusted_gain_loss
Include unrealized gain and losses
Text
class
Filter by class IDs
Text
sort_order
Sort order (ascend, descend)
Text
department
Filter by department IDs
Text
vendor
Filter by vendor IDs
Text
account_type
Filter by account type
Text
columns
Column types to be shown in the report
Text
qzurl
Generate Quick Zoom URL information
Text
item
Filter by item IDs
Text
summarize_column_by
Criteria for grouping report results
Text
realmID
RealmId data from current url after login
Text
Return values:
Profit and loss report data.
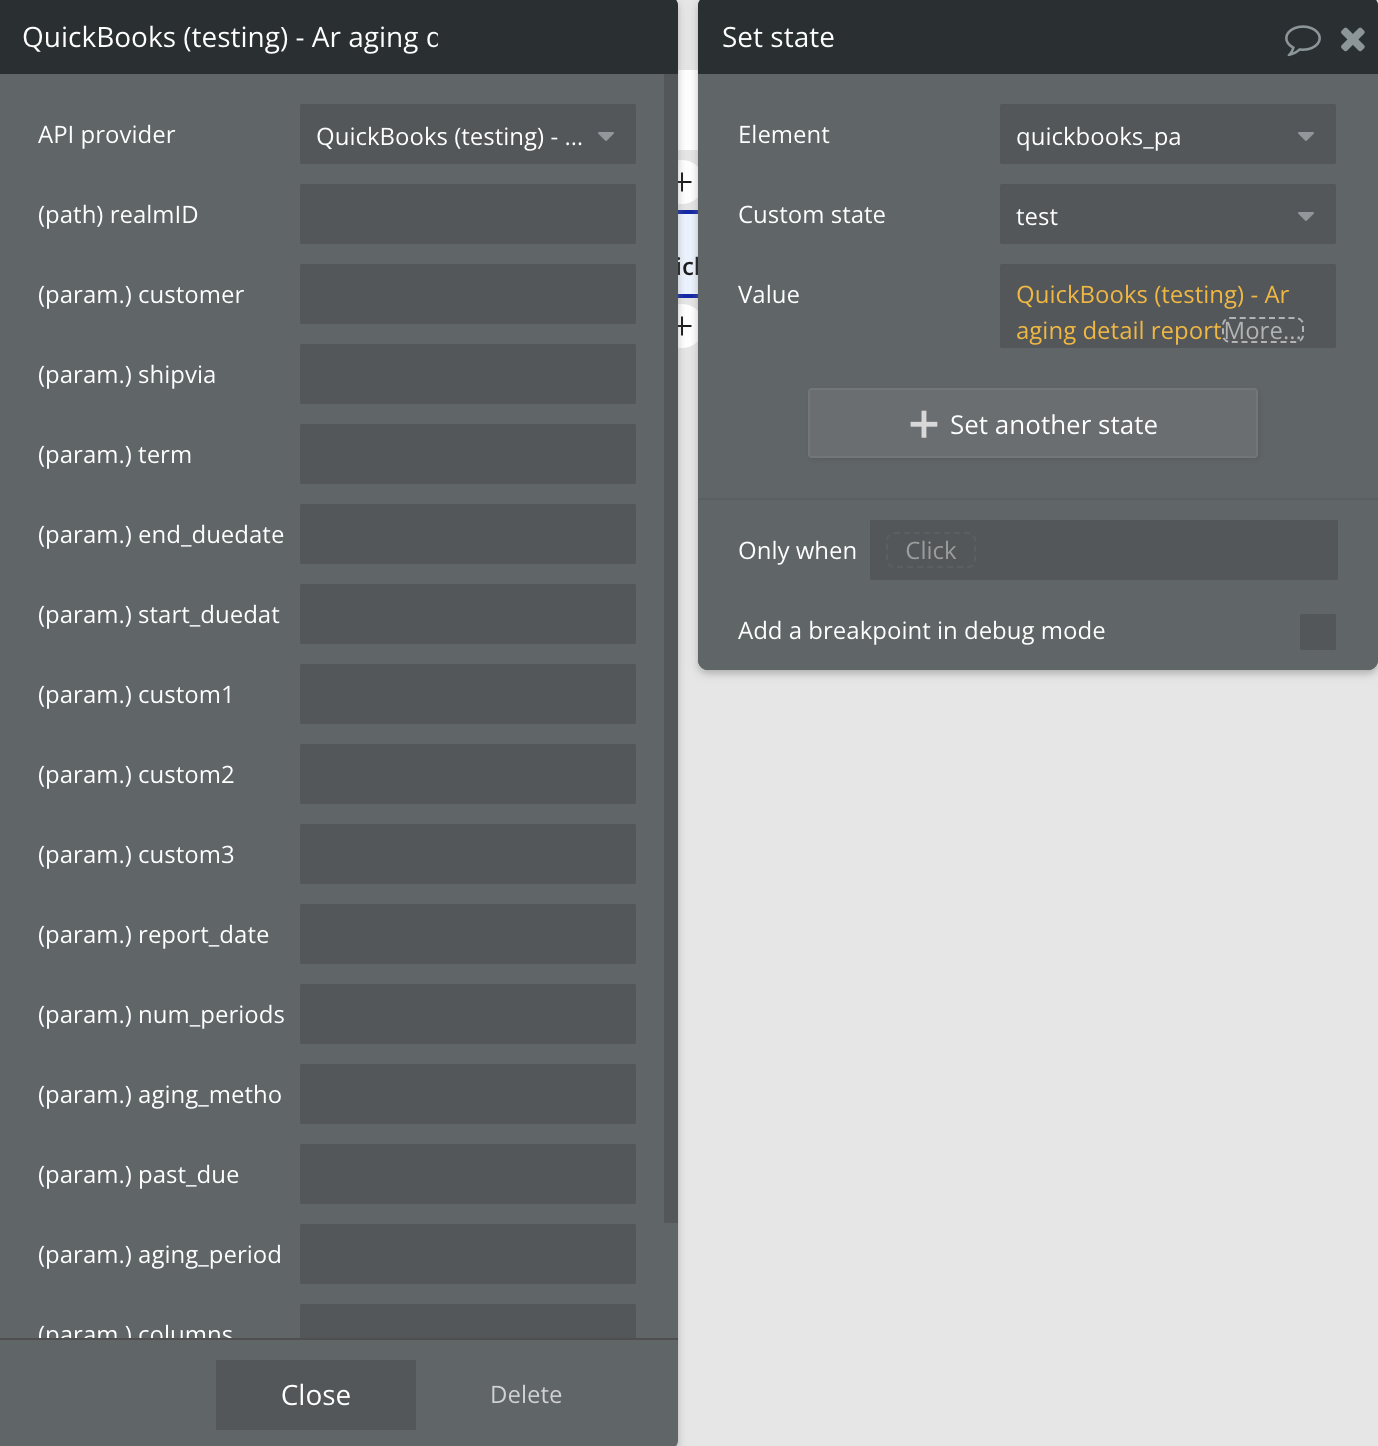
Ar aging detail report
Retrieves an accounts receivable aging detail report from QuickBooks.
Fields:
Name
Description
Type
customer
Filter by customer IDs
Text
shipvia
Filter by shipping method
Text
term
Filter by term IDs
Text
end_duedate
End due date for the report (YYYY-MM-DD)
Text
start_duedate
Start due date for the report (YYYY-MM-DD)
Text
custom1
Filter by custom field 1
Text
custom2
Filter by custom field 2
Text
custom3
Filter by custom field 3
Text
report_date
Report date (YYYY-MM-DD)
Text
num_periods
Number of periods to show in the report
Text
aging_method
Aging method (Report_Date, Current)
Text
past_due
Minimum days past due
Text
aging_period
Number of days in the aging period
Text
columns
Column types to be shown in the report
Text
realmID
RealmId data from current url after login
Text
Return values:
Accounts receivable aging detail report data.
Plugin Actions
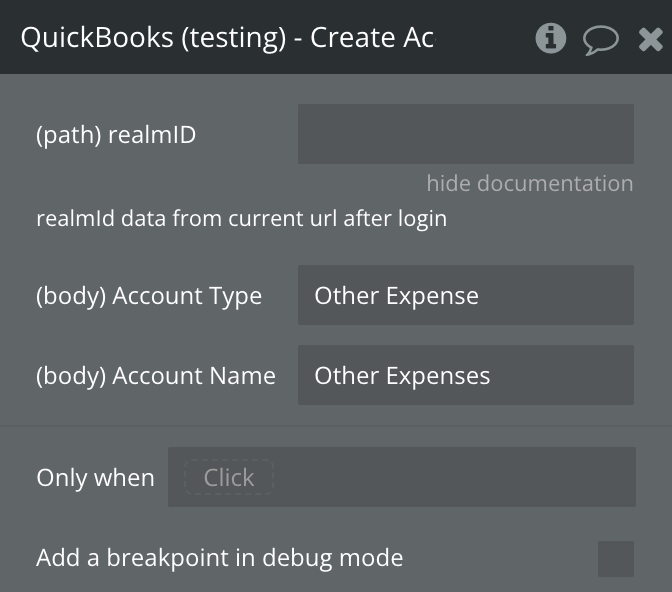
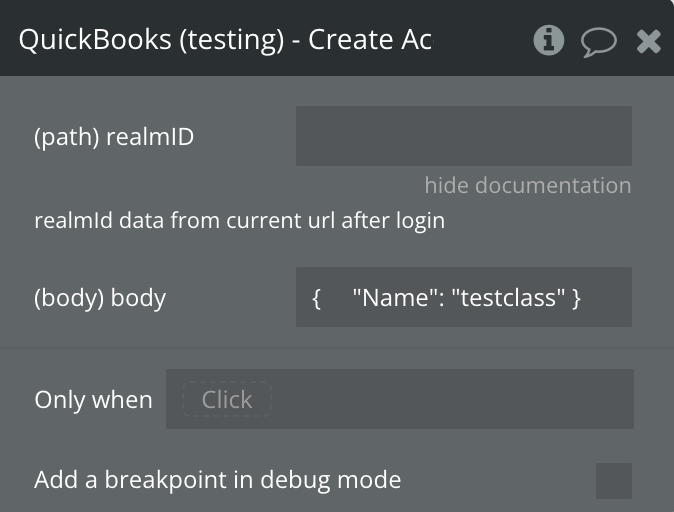
Create Account
Creates a new account in QuickBooks.
Fields:
Name
Description
Type
Account Type
Type of account to create
Text
Account Name
Name of the account
Text
realmID
RealmId data from current url after login
Text
Return values:
Name
Description
Type
Account.Name
Name of the created account
Text
Account.Id
ID of the created account
Text
Account.AccountType
Type of the created account
Text
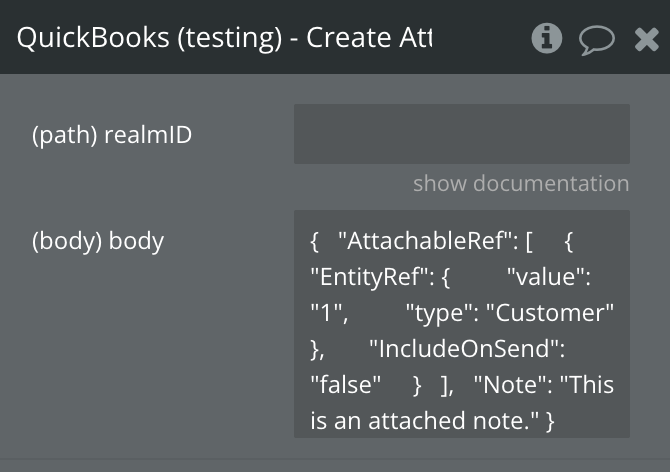
Create Attachable
Creates a note attachment in QuickBooks that can be attached to various entities.
Fields:
Name
Description
Type
body
JSON body containing attachable information with EntityRef and note text
Text
realmID
RealmId data from current url after login
Text
Return values:
Name
Description
Type
Attachable Id
ID of the created attachable
Text
Attachable Note
Text content of the note
Text
Attachable SyncToken
Sync token of the attachable
Text
Attachable AttachableRef
References to entities this attachment is linked to
List
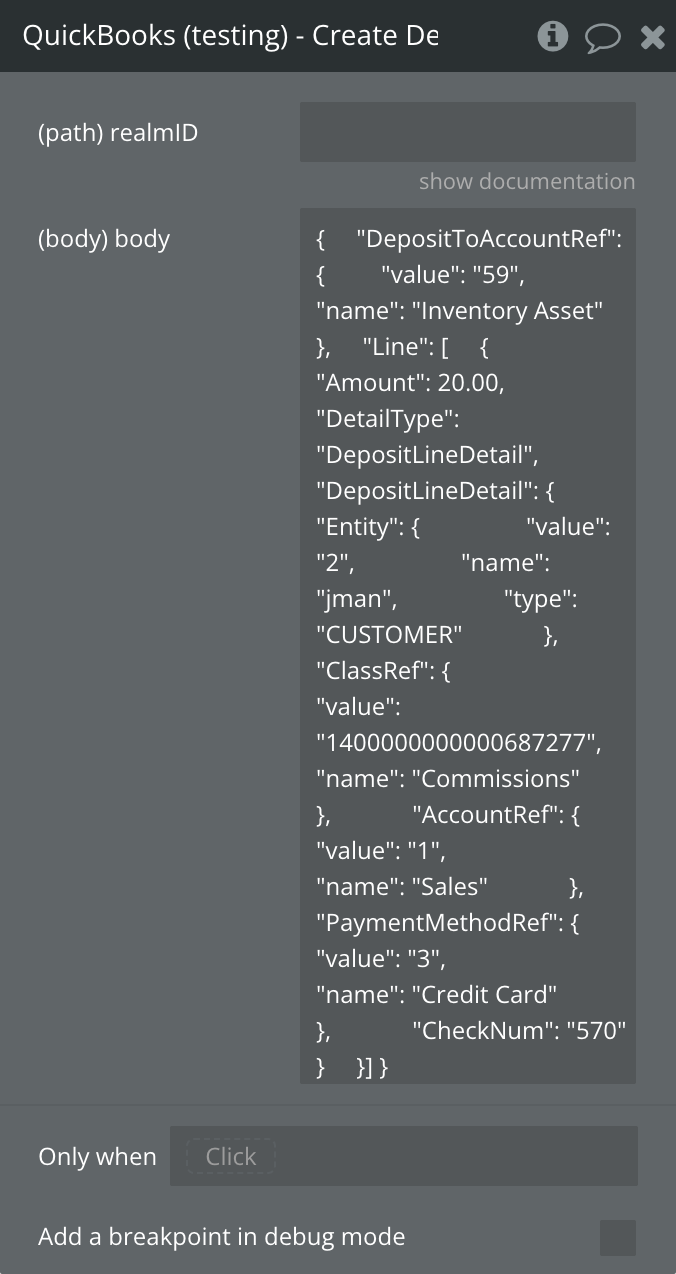
Create Deposit
Creates a new deposit in QuickBooks.
Fields:
Name
Description
Type
body
JSON containing the deposit data
Text
realmID
RealmId data from current url after login
Text
Return values:
Name
Description
Type
Deposit.Id
ID of the created deposit
Text
Deposit.TotalAmt
Total amount of the deposit
Number
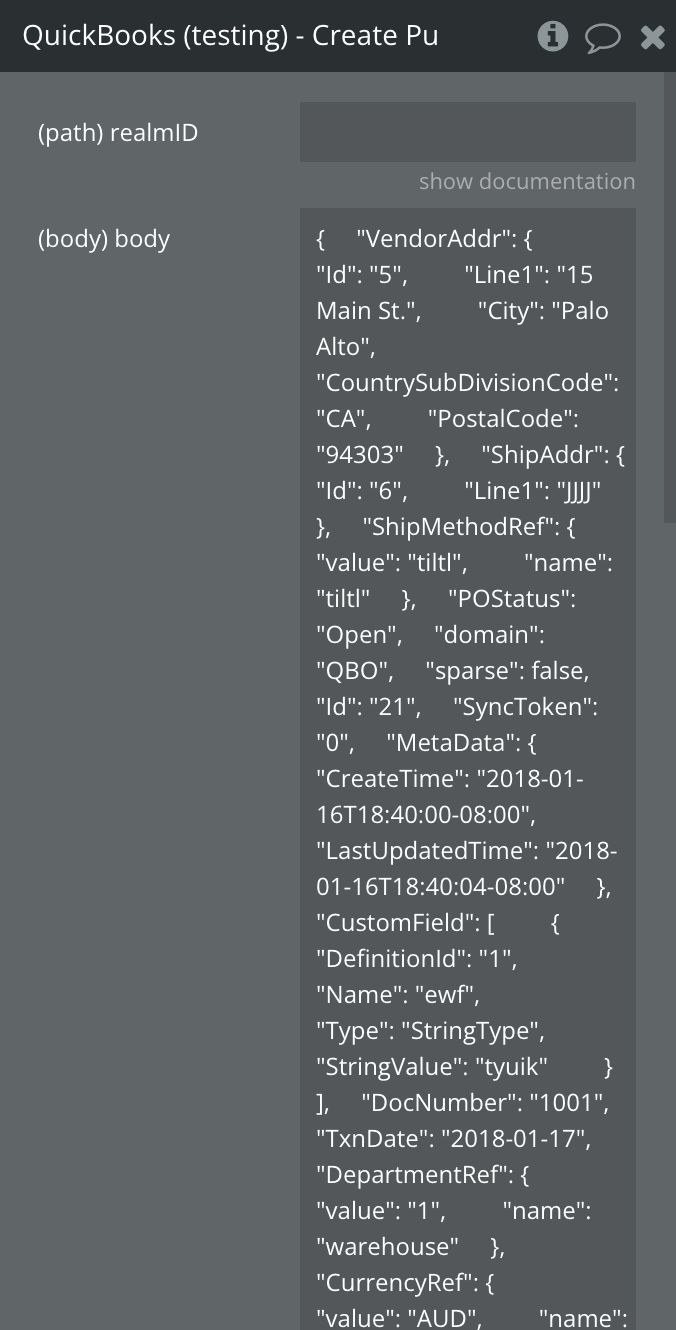
Create Purchase Order
Creates a new purchase order in QuickBooks.
Fields:
Name
Description
Type
body
JSON containing the purchase order data
Text
realmID
RealmId data from current url after login
Text
Return values:
Name
Description
Type
PurchaseOrder.Id
ID of the created purchase order
Text
PurchaseOrder.DocNumber
Document number of the purchase order
Text
PurchaseOrder.TotalAmt
Total amount of the purchase order
Number
Create Account Class
Creates a new account class in QuickBooks.
Fields:
Name
Description
Type
body
JSON containing the account class data
Text
realmID
RealmId data from current url after login
Text
Return values:
Name
Description
Type
Class.Id
ID of the created class
Text
Class.Name
Name of the created class
Text
Create Customer
Creates a new customer in QuickBooks.
Fields:
Name
Description
Type
body
JSON containing the customer data
Text
realmID
RealmId data from current url after login
Text
Return values:
Name
Description
Type
Customer.Id
ID of the created customer
Text
Customer.DisplayName
Display name of the created customer
Text
Customer.PrimaryEmailAddr.Address
Email address of the customer
Text
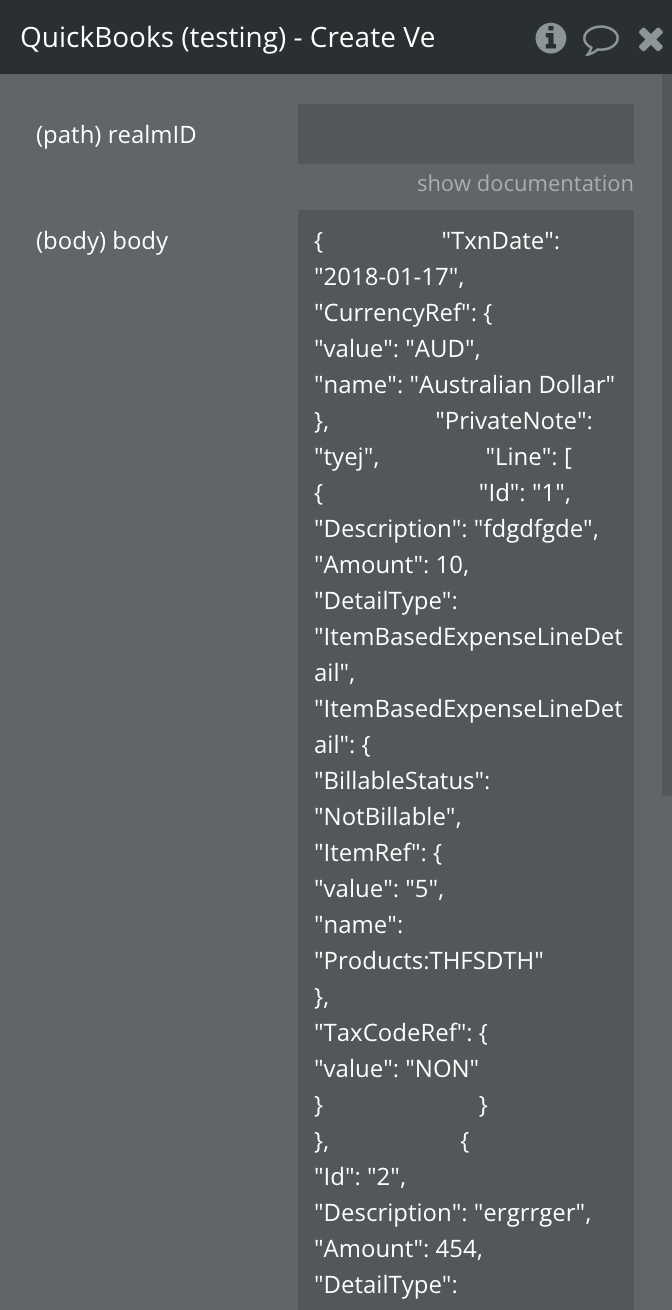
Create Vendor Credit
Creates a new vendor credit in QuickBooks.
Fields:
Name
Description
Type
body
JSON body containing vendor credit information
Text
realmID
RealmId data from current url after login
Text
Return values:
Name
Description
Type
VendorCredit Id
ID of the created vendor credit
Text
VendorCredit TotalAmt
Total amount of the vendor credit
Number
VendorCredit TxnDate
Transaction date
Text
VendorCredit Line
Line items in the vendor credit
List
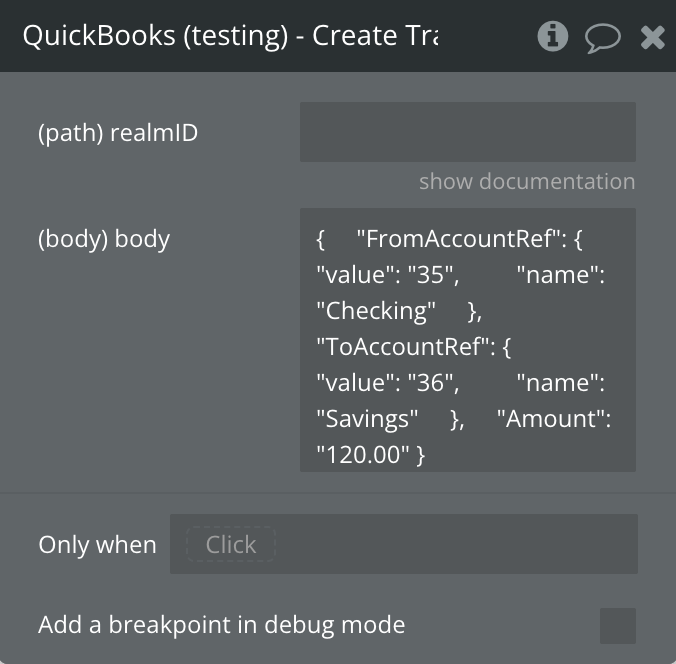
Create Transfer
Creates a new transfer between accounts in QuickBooks.
Fields:
Name
Description
Type
body
JSON containing the transfer data
Text
realmID
RealmId data from current url after login
Text
Return values:
Name
Description
Type
Transfer.Id
ID of the created transfer
Text
Transfer.Amount
Amount of the transfer
Number
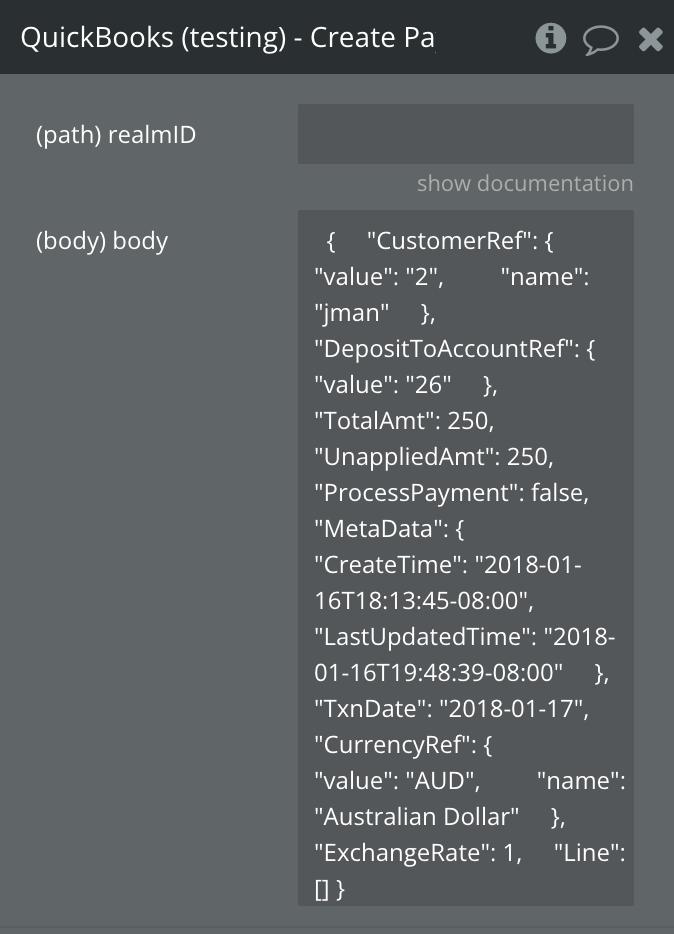
Create Payment
Creates a new payment in QuickBooks.
Fields:
Name
Description
Type
body
JSON body containing payment information
Text
realmID
RealmId data from current url after login
Text
Return values:
Name
Description
Type
Payment Id
ID of the created payment
Text
Payment TotalAmt
Total amount of the payment
Number
Payment UnappliedAmt
Unapplied amount of the payment
Number
Payment CustomerRef
Reference to the customer
Object
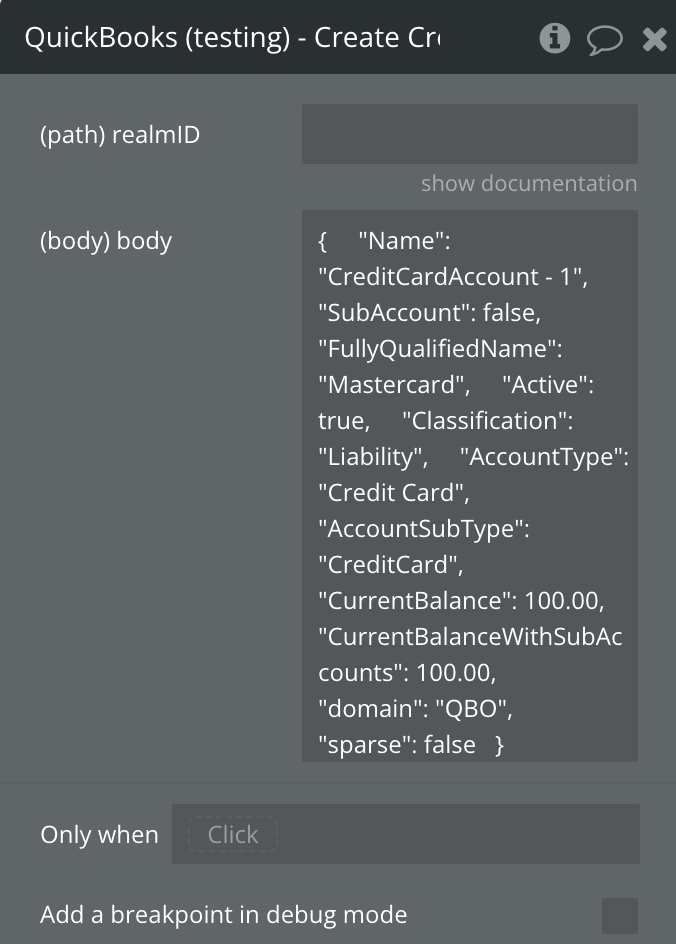
Create Credit Card Account
Creates a new credit card account in QuickBooks.
Fields:
Name
Description
Type
body
JSON containing the credit card account data
Text
Return values:
Name
Description
Type
Account.Id
ID of the created credit card account
Text
Account.Name
Name of the created credit card account
Text
Account.AccountType
Type of the created account (Credit Card)
Text
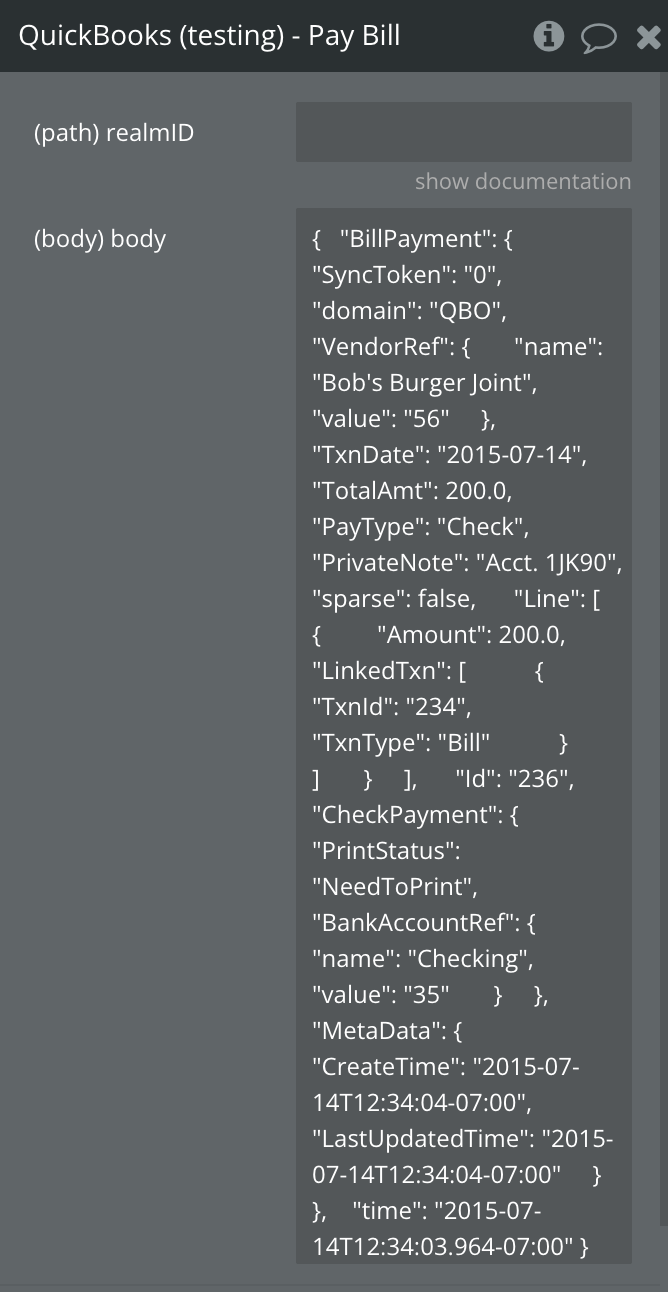
Pay Bill
Creates a bill payment in QuickBooks.
Fields:
Name
Description
Type
body
JSON containing the bill payment data
Text
Return values:
Name
Description
Type
BillPayment.Id
ID of the created bill payment
Text
BillPayment.TotalAmt
Total amount of the bill payment
Text
BillPayment.PayType
Payment type (e.g., Check)
Text
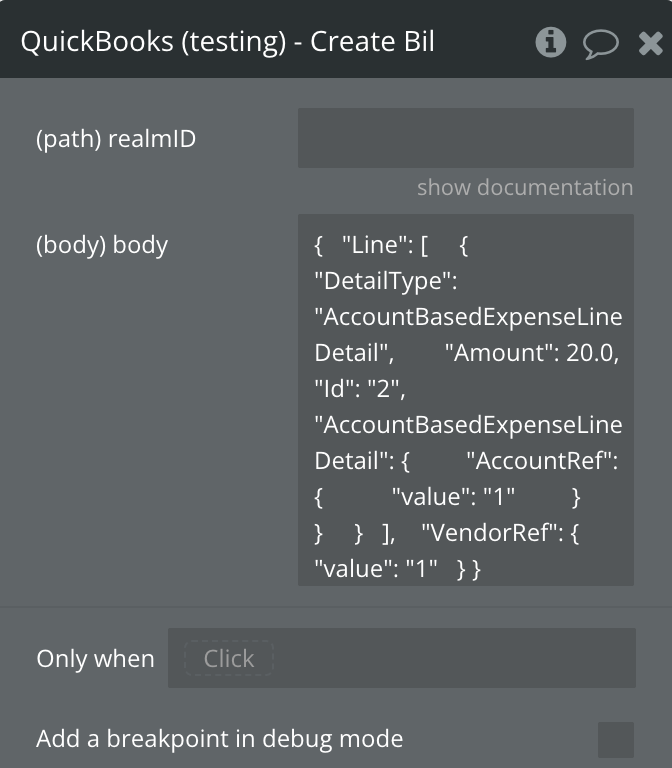
Create Bill
Creates a new bill in QuickBooks.
Fields:
Name
Description
Type
body
JSON body containing bill information
JSON
realmID
RealmId data from current url after login
Text
Return values:
Name
Description
Type
body Bill Id
ID of the created bill
Text
body Bill SyncToken
Sync token of the created bill
Text
body Bill TotalAmt
Total amount of the bill
Number
error status_code
HTTP status code of the response
Number
returned_an_error
Whether the request returned an error
Boolean
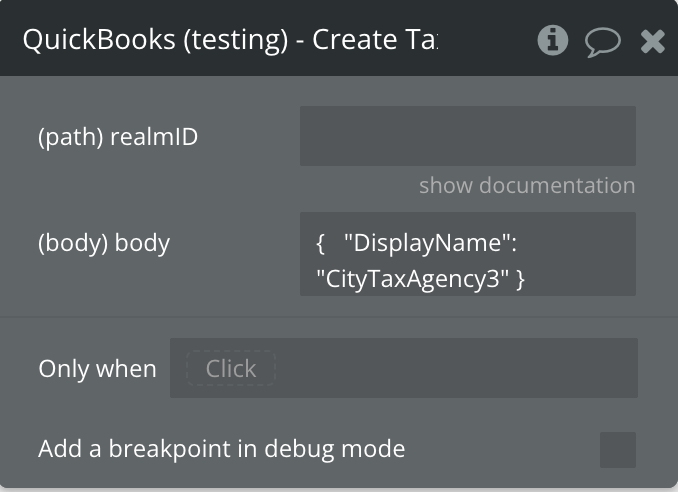
Create Tax Agency
Creates a new tax agency in QuickBooks.
Fields:
Name
Description
Type
body
JSON containing the tax agency data
Text
Return values:
Name
Description
Type
TaxAgency.Id
ID of the created tax agency
Text
TaxAgency.DisplayName
Display name of the created tax agency
Text
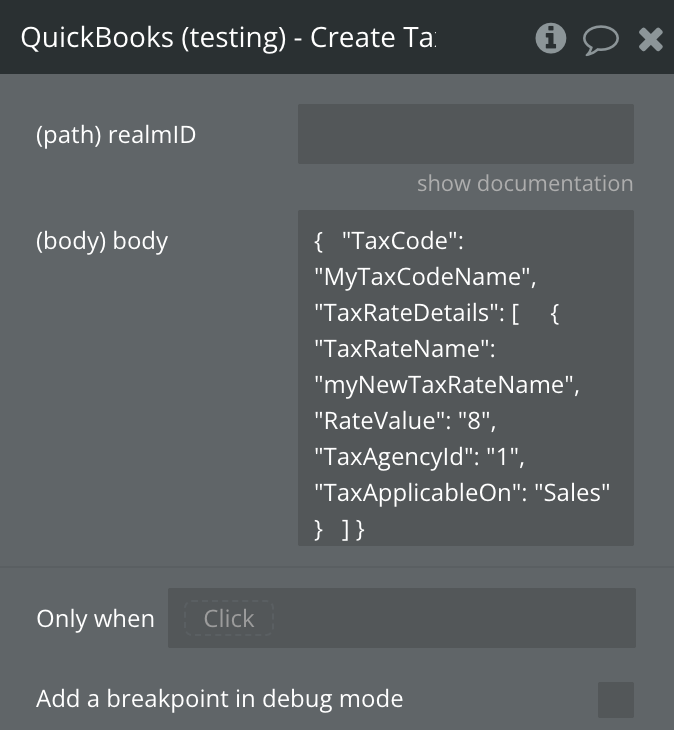
Create Tax Rate
Creates a new tax rate in QuickBooks.
Fields:
Name
Description
Type
body
JSON containing the tax rate data
Text
realmID
RealmId data from current url after login
Text
Return values:
Name
Description
Type
TaxCode
Name of the created tax code
Text
TaxCodeId
ID of the created tax code
Text
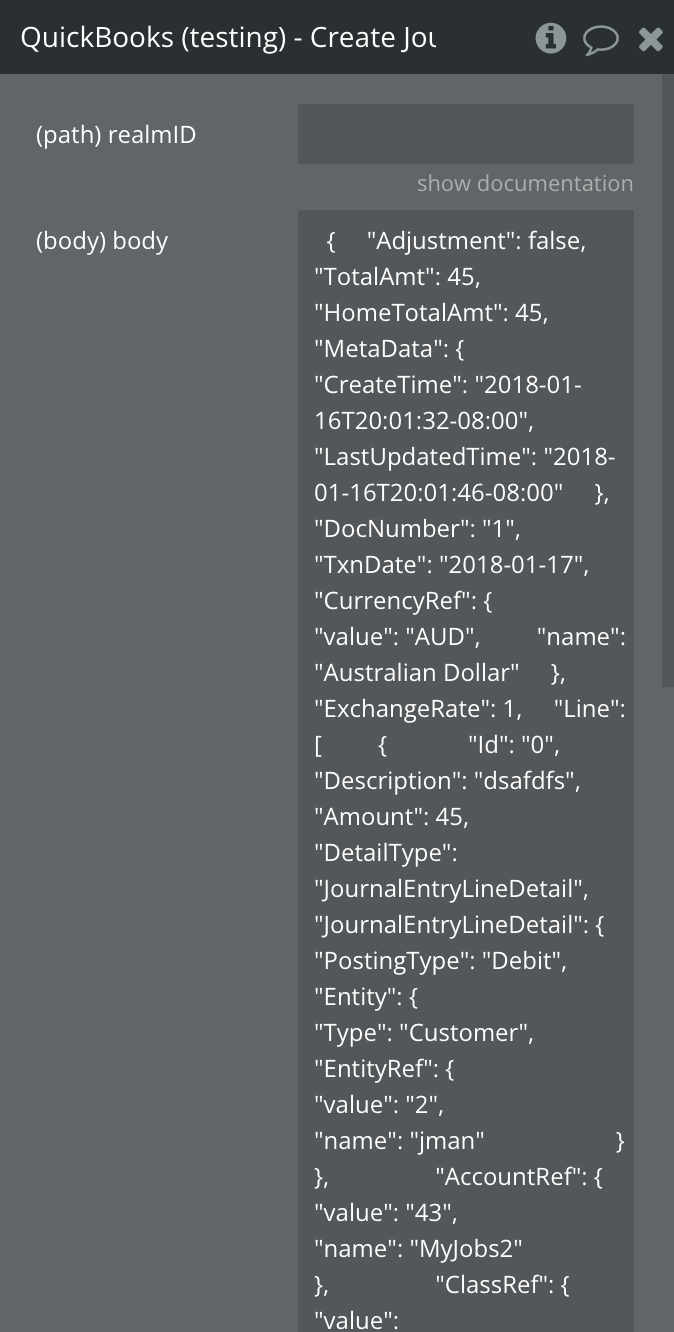
Create Journal Entry
Creates a new journal entry in QuickBooks.
Fields:
Name
Description
Type
body
JSON body containing journal entry information
Text
realmID
RealmId data from current url after login
Text
Return values:
Name
Description
Type
JournalEntry Id
ID of the created journal entry
Text
JournalEntry DocNumber
Document number
Text
JournalEntry TotalAmt
Total amount of the journal entry
Number
JournalEntry Line
Line items in the journal entry
List
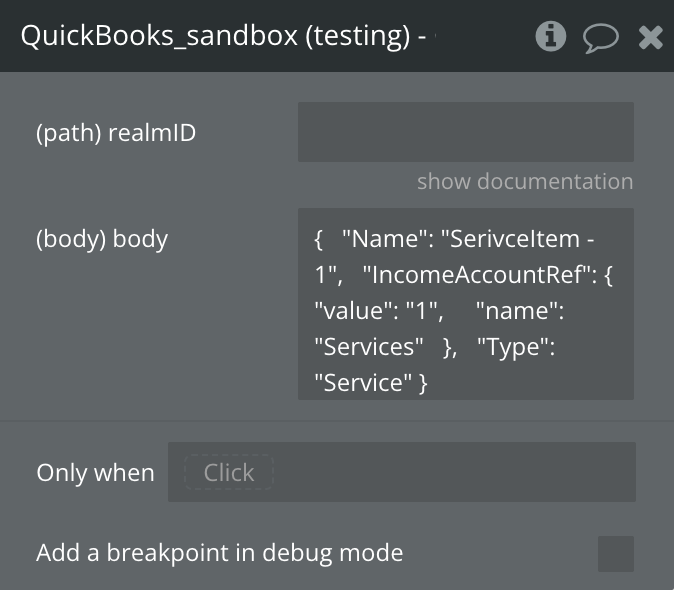
Create Item
Creates a new item in QuickBooks.
Fields:
Name
Description
Type
body
JSON containing the item data
Text
realmID
RealmId data from current url after login
Text
Return values:
Name
Description
Type
Item.Id
ID of the created item
Text
Item.Name
Name of the created item
Text
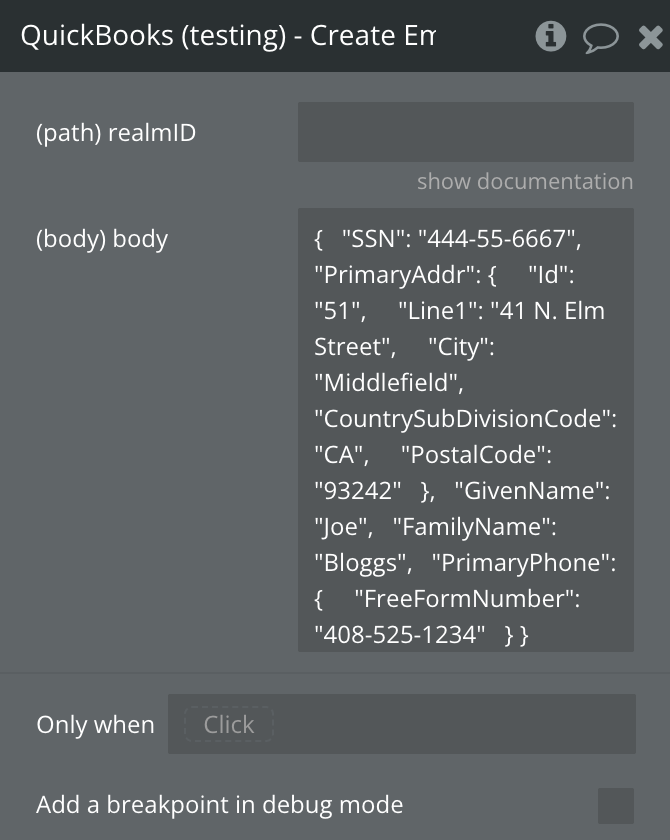
Create Employee
Creates a new employee in QuickBooks.
Fields:
Name
Description
Type
body
JSON containing the employee data
Text
realmID
RealmId data from current url after login
Text
Return values:
Name
Description
Type
Employee.Id
ID of the created employee
Text
Employee.DisplayName
Display name of the created employee
Text
Create Vendor
Creates a new vendor in QuickBooks.
Fields:
Name
Description
Type
body
JSON body containing vendor information
Text
realmID
RealmId data from current url after login
Text
Return values:
Name
Description
Type
Vendor Id
ID of the created vendor
Text
Vendor DisplayName
Display name of the vendor
Text
Vendor CompanyName
Company name of the vendor
Text
Vendor PrimaryEmailAddr
Primary email address of the vendor
Object
Create Estimate
Creates a new estimate in QuickBooks.
Fields:
Name
Description
Type
body
JSON containing the estimate data
Text
realmID
RealmId data from current url after login
Text
Return values:
Name
Description
Type
Estimate.Id
ID of the created estimate
Text
Estimate.TotalAmt
Total amount of the estimate
Number
Read Vendor
Reads vendor information from QuickBooks.
Fields:
Name
Description
Type
/entityId
ID of the vendor to read
Text
realmID
RealmId data from current url after login
Text
Return values:
Name
Description
Type
Vendor Id
ID of the vendor
Text
Vendor DisplayName
Display name of the vendor
Text
Vendor CompanyName
Company name of the vendor
Text
Vendor BillAddr
Billing address of the vendor
Object
Update Account
Updates an existing account in QuickBooks.
Fields:
Name
Description
Type
body
JSON containing the account data to update
Text
companyID
RealmId data from current url after login
Text
Return values:
Name
Description
Type
Account.Id
ID of the updated account
Text
Account.SyncToken
Sync token of the updated account
Text
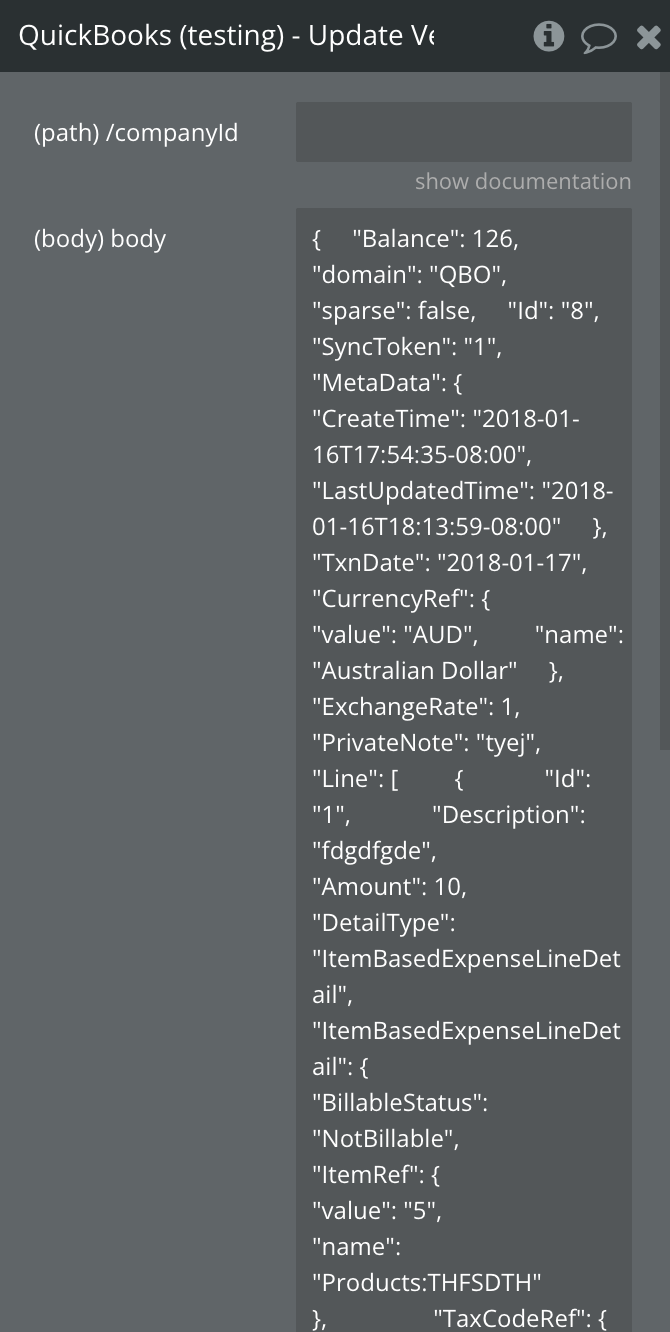
Update Transfer
Updates an existing transfer in QuickBooks.
Fields:
Name
Description
Type
body
JSON containing the transfer data to update
Text
companyID
RealmId data from current url after login
Text
Return values:
Name
Description
Type
Transfer.Id
ID of the updated transfer
Text
Transfer.SyncToken
Sync token of the updated transfer
Text
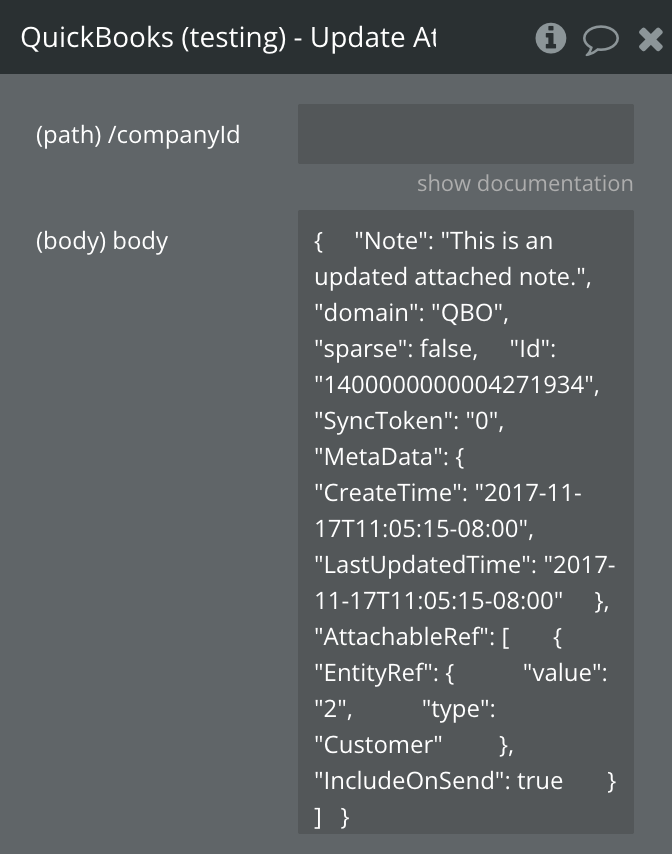
Update Attachable
Updates an existing note attachment in QuickBooks.
Fields:
Name
Description
Type
body
JSON body containing updated attachable information
JSON
Return values:
Name
Description
Type
Attachable Id
ID of the updated attachable
Text
Attachable Note
Text content of the note
Text
Attachable SyncToken
Sync token of the attachable
Text
Attachable AttachableRef
References to entities this attachment is linked to
List
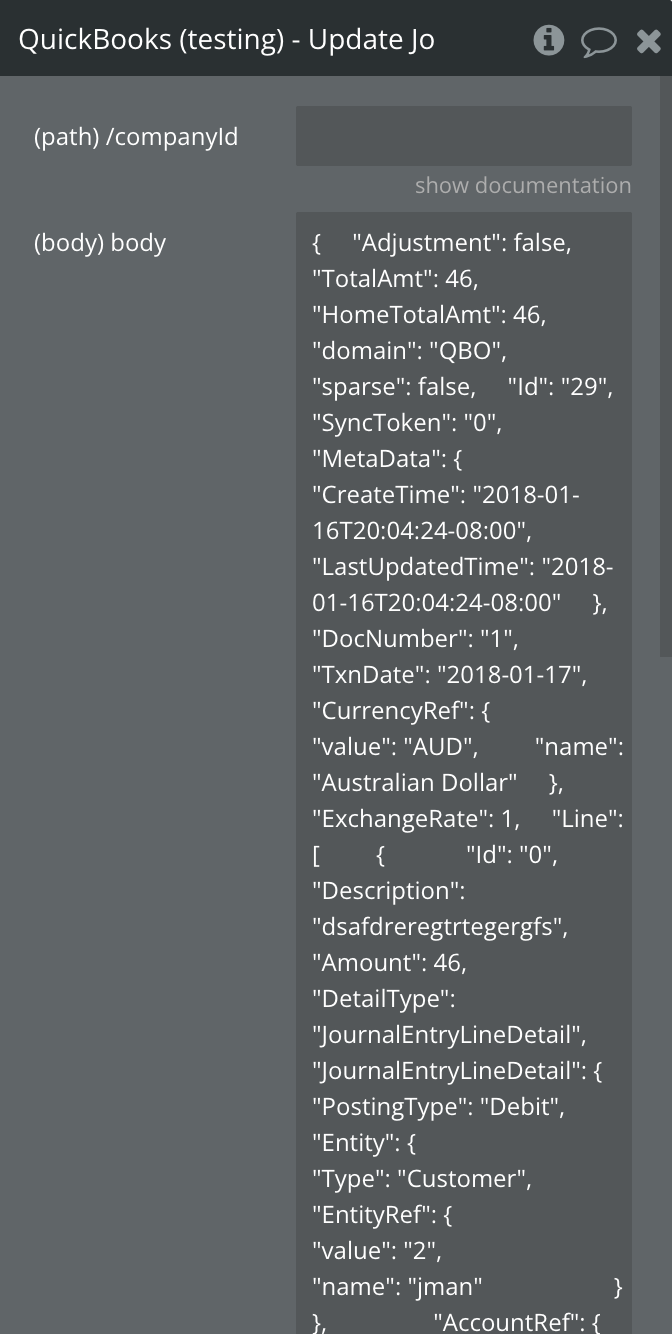
Update Journal Entry
Updates an existing journal entry in QuickBooks.
Fields:
Name
Description
Type
body
JSON body containing updated journal entry information
JSON
Return values:
Name
Description
Type
JournalEntry Id
ID of the updated journal entry
Text
JournalEntry DocNumber
Document number
Text
JournalEntry Line
Line items in the journal entry
List
JournalEntry TxnDate
Transaction date
Text
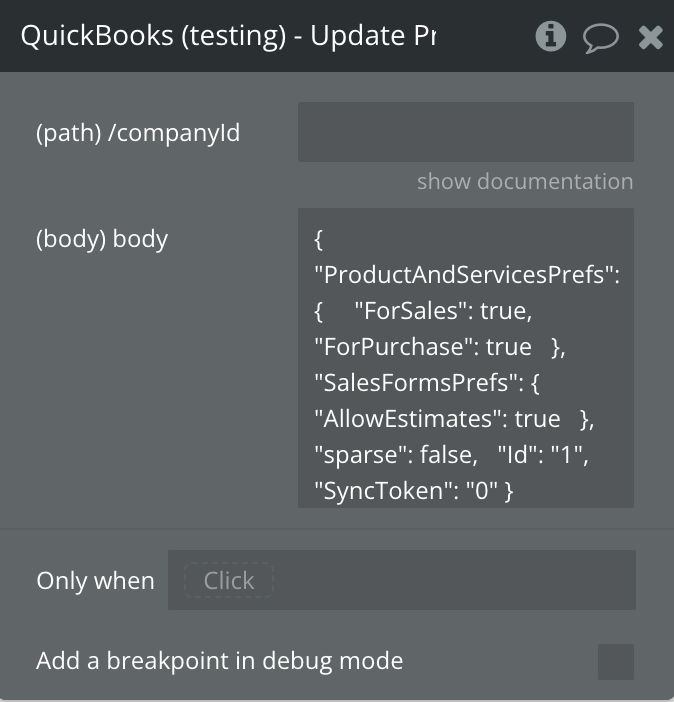
Update Preferences
Updates the preferences for the QuickBooks company.
Fields:
Name
Description
Type
body
JSON containing the preferences data to update
Text
companyID
RealmId data from current url after login
Text
Return values:
Name
Description
Type
Preferences.Id
ID of the updated preferences
Text
Preferences.SyncToken
Sync token of the updated preferences
Text
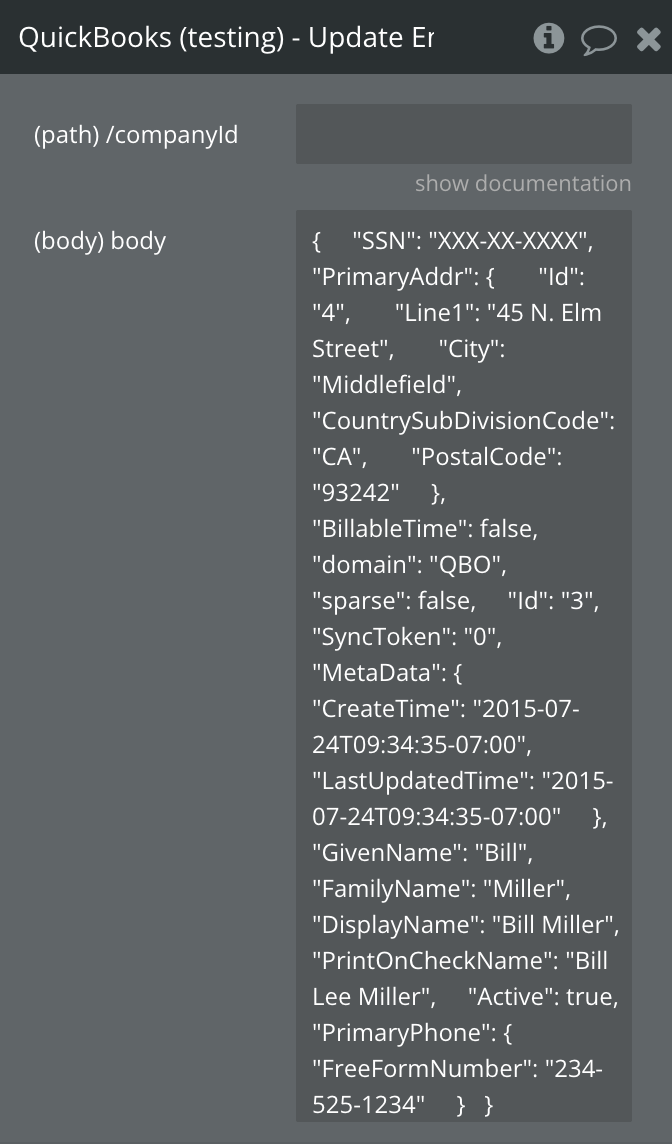
Update Employee
Updates an existing employee in QuickBooks.
Fields:
Name
Description
Type
body
JSON containing the employee data to update
Text
companyID
RealmId data from current url after login
Text
Return values:
Name
Description
Type
Employee.Id
ID of the updated employee
Text
Employee.SyncToken
Sync token of the updated employee
Text
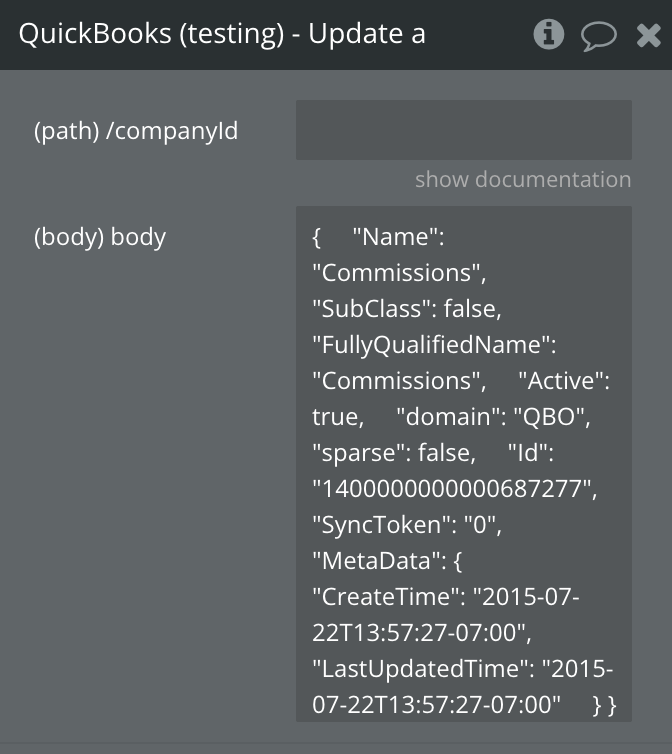
Update a Class
Updates an existing account class in QuickBooks.
Fields:
Name
Description
Type
body
JSON containing the class data to update
Text
companyID
RealmId data from current url after login
Text
Return values:
Name
Description
Type
Class.Id
ID of the updated class
Text
Class.SyncToken
Sync token of the updated class
Text
Update Vendor Credit
Updates an existing vendor credit in QuickBooks.
Fields:
Name
Description
Type
body
JSON body containing updated vendor credit information
JSON
Return values:
Name
Description
Type
VendorCredit Id
ID of the updated vendor credit
Text
VendorCredit TotalAmt
Total amount of the vendor credit
Number
VendorCredit Line
Line items in the vendor credit
List
VendorCredit PrivateNote
Private note on the vendor credit
Text
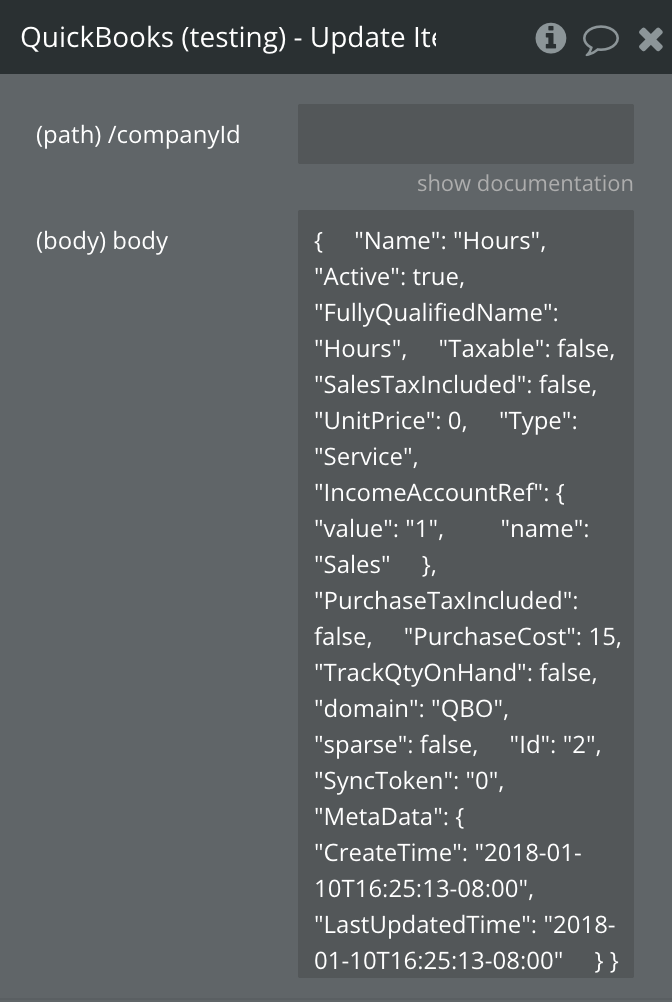
Update Item
Updates an existing item in QuickBooks.
Fields:
Name
Description
Type
body
JSON containing the item data to update
Text
companyID
RealmId data from current url after login
Text
Return values:
Name
Description
Type
Item.Id
ID of the updated item
Text
Item.SyncToken
Sync token of the updated item
Text
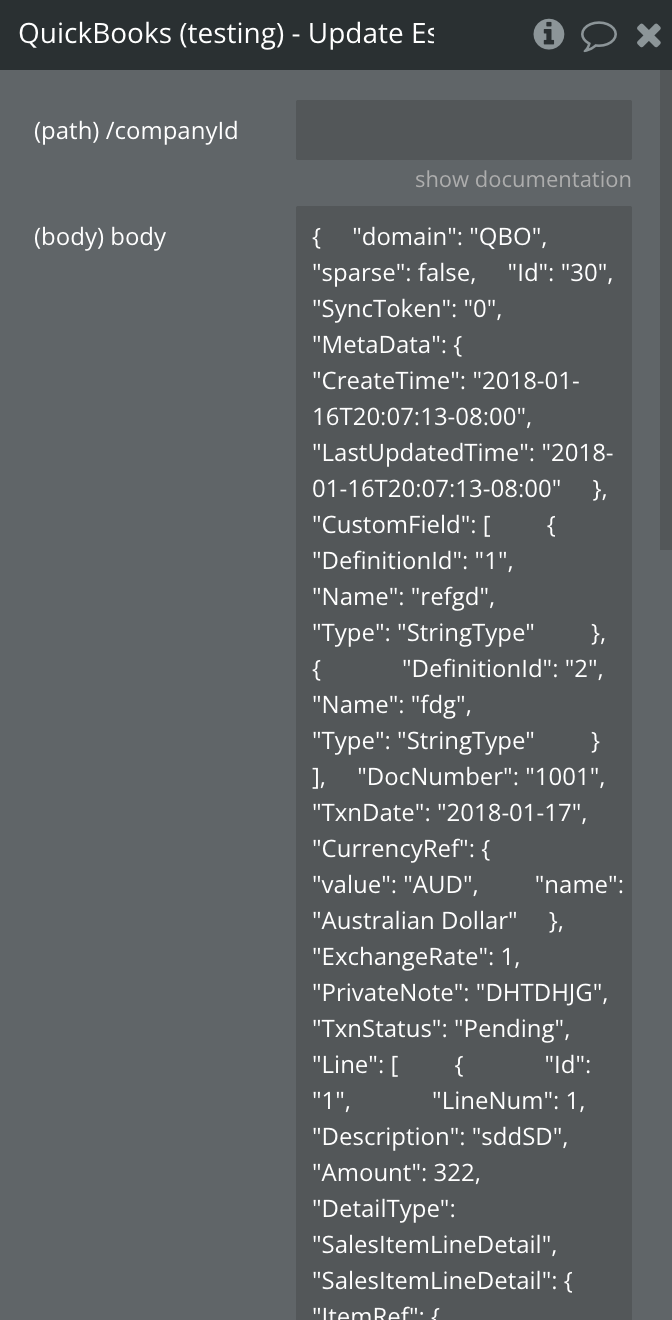
Update Estimate
Updates an existing estimate in QuickBooks.
Fields:
Name
Description
Type
body
JSON containing the estimate data to update
Text
companyID
RealmId data from current url after login
Text
Return values:
Name
Description
Type
Estimate.Id
ID of the updated estimate
Text
Estimate.SyncToken
Sync token of the updated estimate
Text
Create Payment Method
Creates a new payment method in QuickBooks.
Fields:
Name
Description
Type
body
JSON containing the payment method data
Text
companyID
RealmId data from current url after login
Text
Return values:
Name
Description
Type
PaymentMethod.Name
Name of the created payment method
Text
PaymentMethod.Id
ID of the created payment method
Text
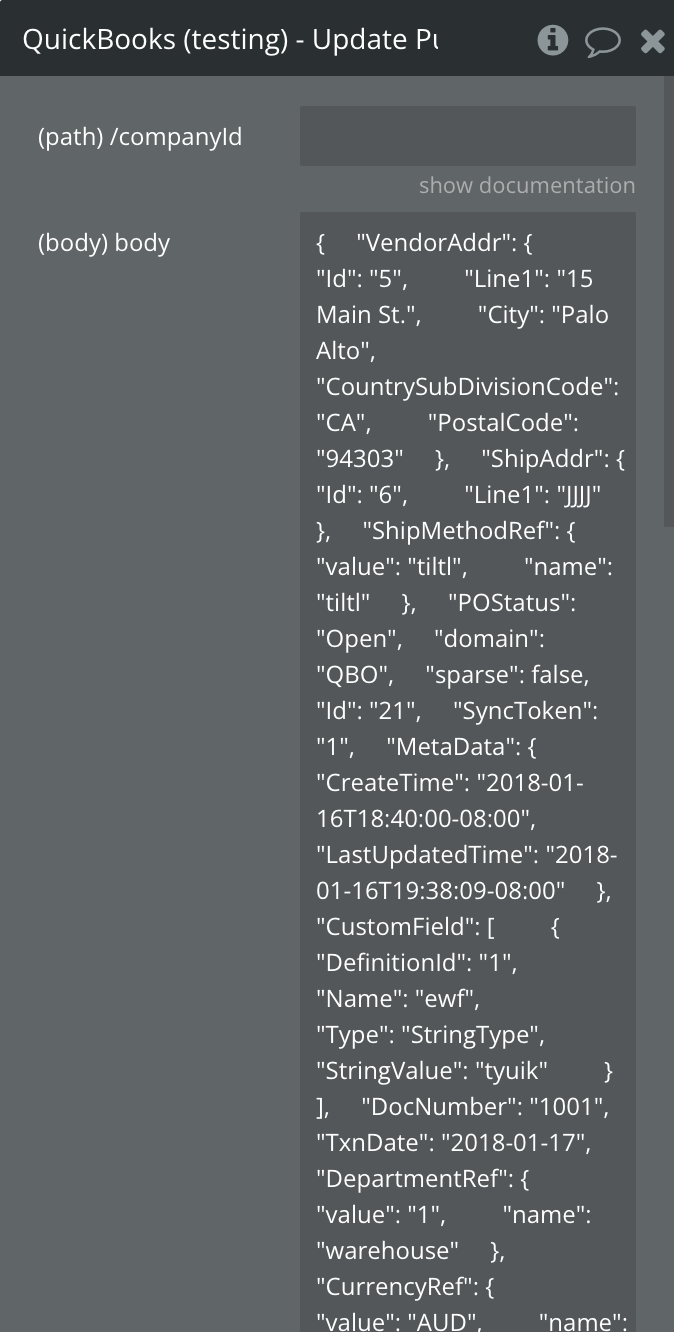
Update Purchase Order
Updates an existing purchase order in QuickBooks.
Fields:
Name
Description
Type
body
JSON containing the purchase order data to update
Text
companyID
RealmId data from current url after login
Text
Return values:
Name
Description
Type
PurchaseOrder.Id
ID of the updated purchase order
Text
PurchaseOrder.SyncToken
Sync token of the updated purchase order
Text
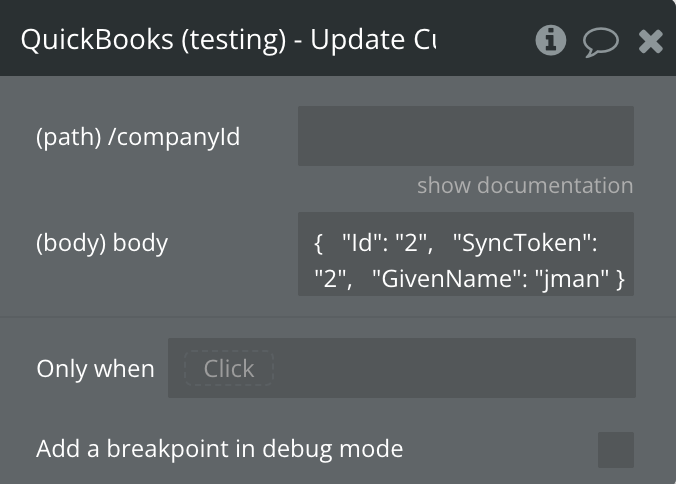
Update Customer
Updates an existing customer in QuickBooks.
Fields:
Name
Description
Type
body
JSON containing the customer data to update
Text
companyID
RealmId data from current url after login
Text
Return values:
Name
Description
Type
Customer.Id
ID of the updated customer
Text
Customer.SyncToken
Sync token of the updated customer
Text
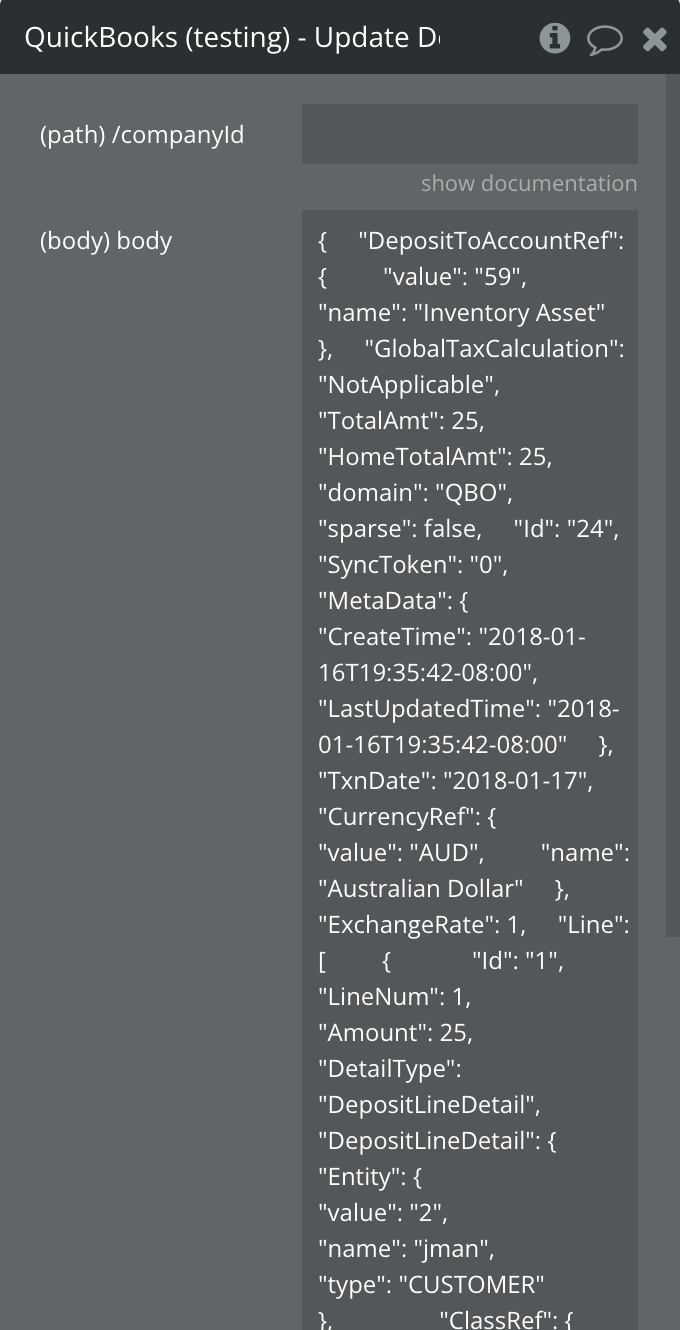
Update Deposit
Updates an existing deposit in QuickBooks.
Fields:
Name
Description
Type
body
JSON containing the deposit data to update
Text
companyID
RealmId data from current url after login
Text
Return values:
Name
Description
Type
Deposit.Id
ID of the updated deposit
Text
Deposit.SyncToken
Sync token of the updated deposit
Text
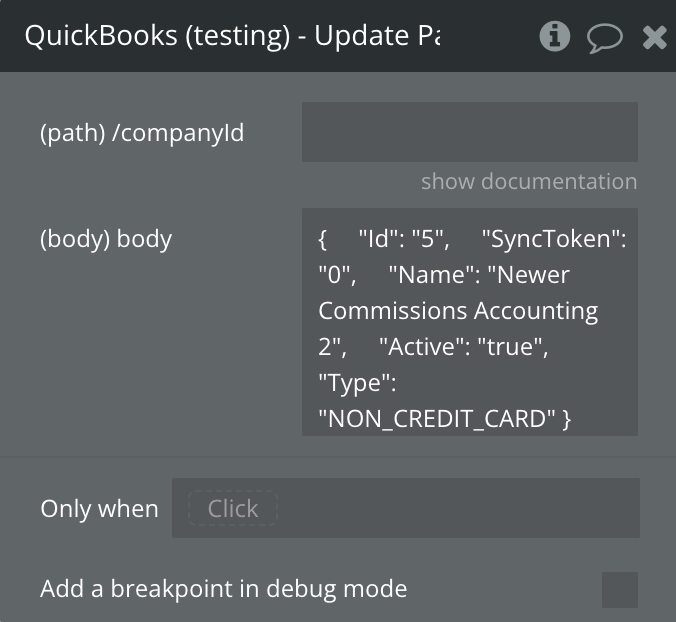
Update Payment Method
Updates an existing payment method in QuickBooks.
Fields:
Name
Description
Type
body
JSON containing the payment method data to update
Text
companyID
RealmId data from current url after login
Text
Return values:
Name
Description
Type
PaymentMethod.Id
ID of the updated payment method
Text
PaymentMethod.SyncToken
Sync token of the updated payment method
Text
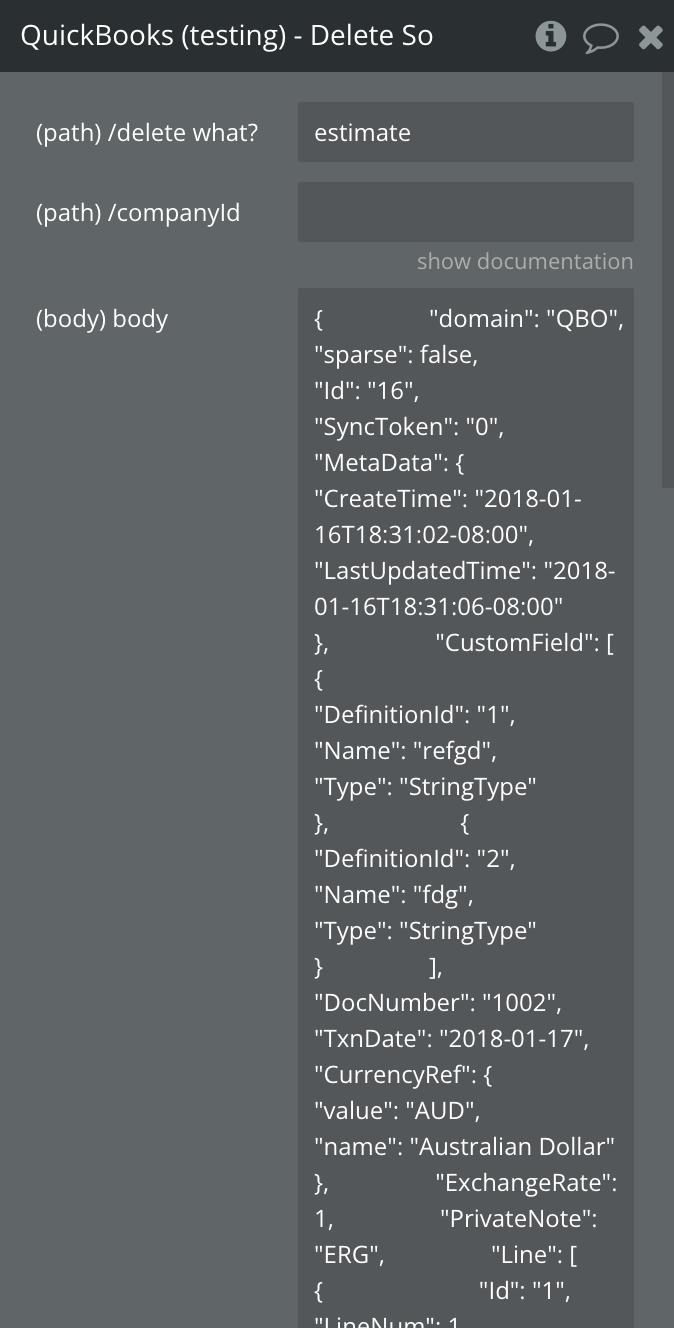
Delete Something
Deletes an entity (like an estimate) from QuickBooks.
Fields:
Name
Description
Type
body
JSON body containing entity ID and SyncToken
JSON
/delete what?
Type of entity to delete (e.g., "estimate")
Text
Return values:
Name
Description
Type
Estimate Id
ID of the deleted entity
Text
Estimate status
Status of the deletion operation
Text
Estimate domain
Domain of the entity
Text
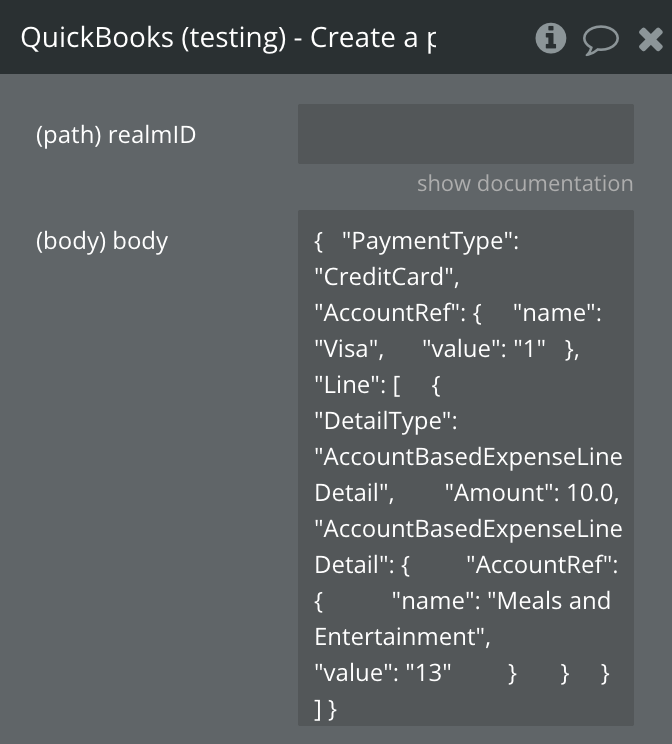
Create a purchase
Creates a new purchase in QuickBooks.
Fields:
Name
Description
Type
body
JSON body containing purchase information
Text
companyID
RealmId data from current url after login
Text
Return values:
Name
Description
Type
Purchase Id
ID of the created purchase
Text
Purchase TotalAmt
Total amount of the purchase
Text
Purchase PaymentType
Payment type of the purchase
Text
Delete a purchase
Deletes a purchase in QuickBooks.
Fields:
Name
Description
Type
SyncToken
Version number of the object
Text
Id
Unique identifier for the purchase
Text
companyID
RealmId data from current url after login
Text
Return values:
Name
Description
Type
Purchase status
Status of the delete operation
Text
Purchase Id
ID of the deleted purchase
Text
Read a purchase
Reads a purchase from QuickBooks.
Fields:
Name
Description
Type
realmID
Realm ID of the QuickBooks company
Text
purchaseId
ID of the purchase to read
Text
Return values:
Name
Description
Type
Purchase Id
ID of the purchase
Text
Purchase TotalAmt
Total amount of the purchase
Text
Purchase PaymentType
Payment type of the purchase
Text
Purchase Line
Lines of the purchase
List
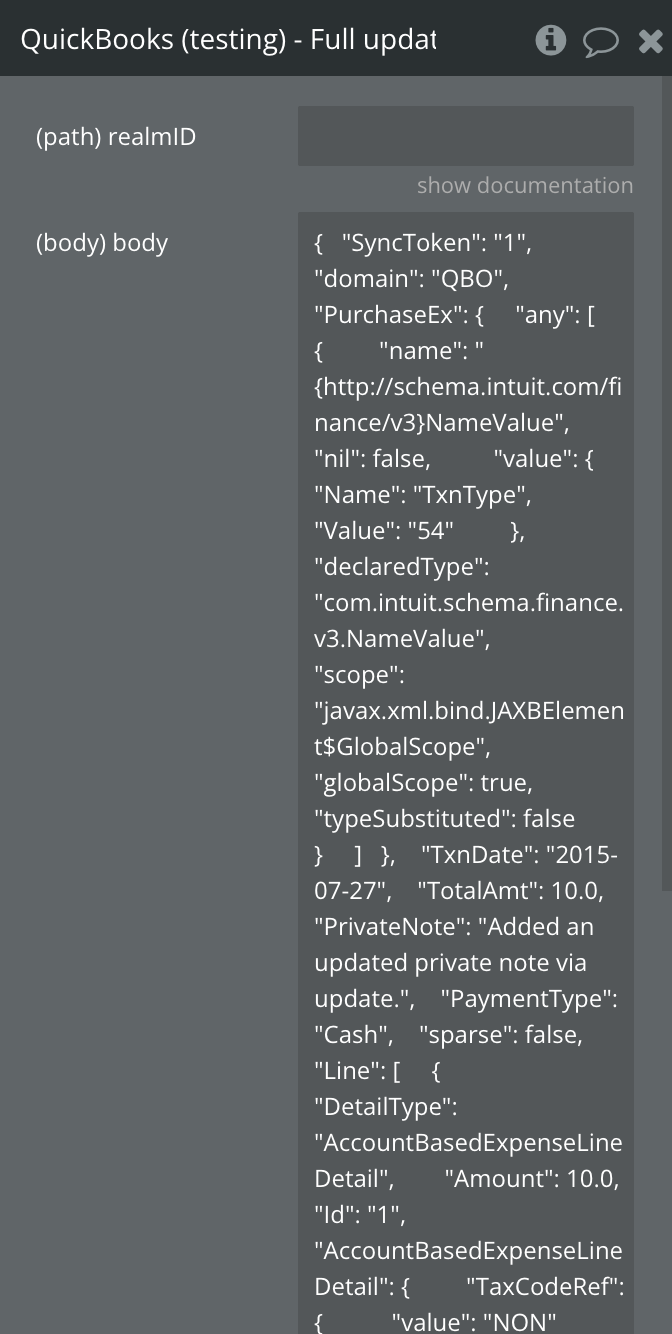
Full update a purchase
Updates a purchase in QuickBooks.
Fields:
Name
Description
Type
body
JSON body containing updated purchase information
Text
realmID
Realm ID of the QuickBooks company
Text
Return values:
Name
Description
Type
Id
ID of the updated purchase
Text
SyncToken
Sync token of the updated purchase
Text
TotalAmt
Total amount of the updated purchase
Text
PaymentType
Payment type of the updated purchase
Text
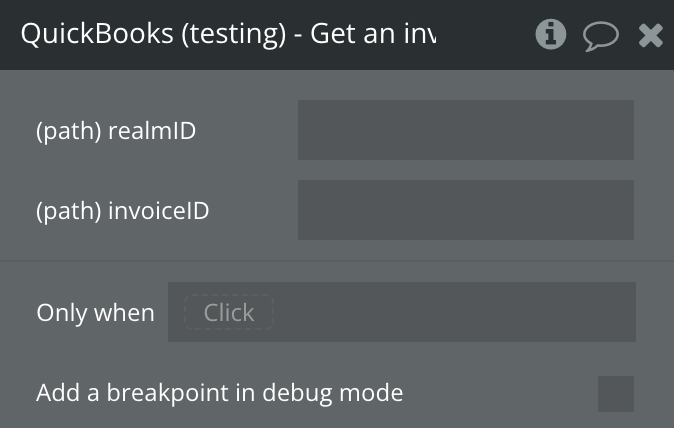
Get an invoice as PDF
Retrieves an invoice as PDF from QuickBooks.
Fields:
Name
Description
Type
realmID
Realm ID of the QuickBooks company
Text
invoiceID
ID of the invoice to retrieve as PDF
Text
Return values:
PDF file of the invoice.
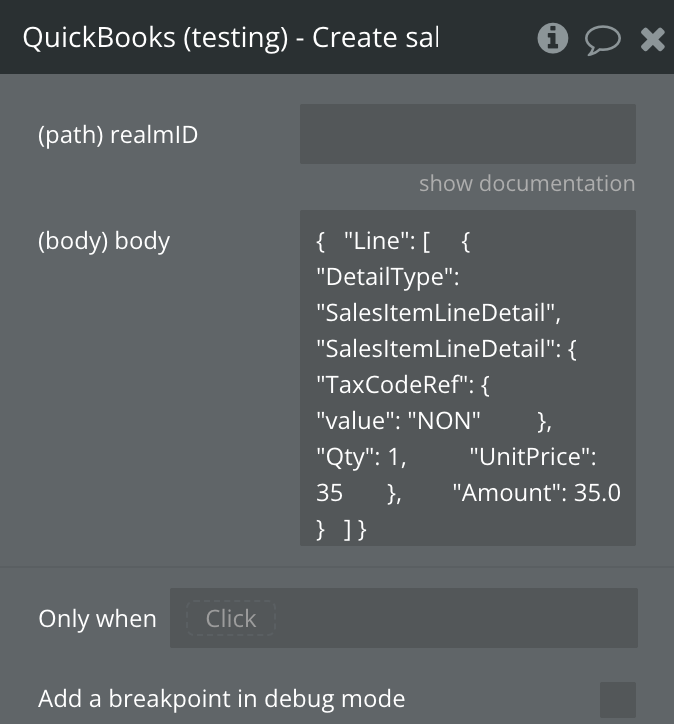
Create sales receipt
Creates a new sales receipt in QuickBooks.
Fields:
Name
Description
Type
body
JSON body containing sales receipt information
Text
realmID
Realm ID of the QuickBooks company
Text
Return values:
Name
Description
Type
SalesReceipt Id
ID of the created sales receipt
Text
SalesReceipt DocNumber
Document number of the sales receipt
Text
SalesReceipt TotalAmt
Total amount of the sales receipt
Number
SalesReceipt Line
Lines of the sales receipt
List
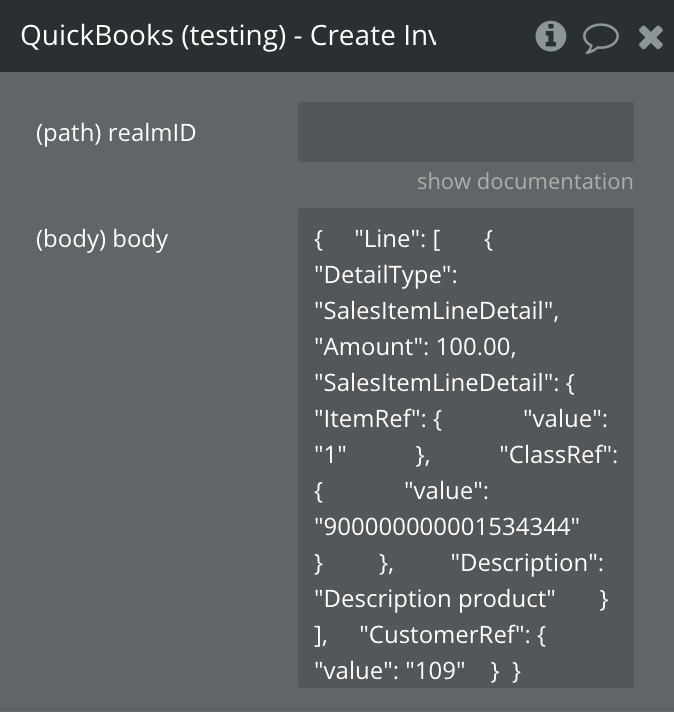
Create Invoice
Creates a new invoice in QuickBooks.
Fields:
Name
Description
Type
body
JSON containing the invoice data
Text
realmID
Realm ID of the QuickBooks company
Text
Return values:
Name
Description
Type
Invoice.Id
ID of the created invoice
Text
Invoice.DocNumber
Document number of the invoice
Text
Invoice.TotalAmt
Total amount of the invoice
Number
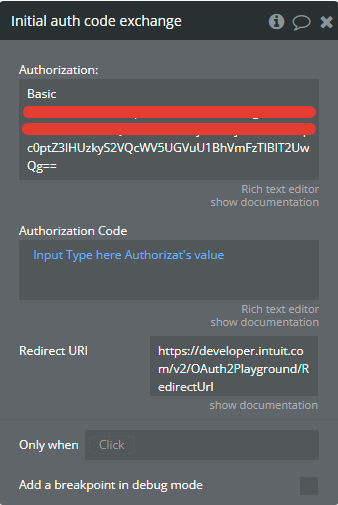
Initial auth code exchange
The action is designed to exchange the authorization code for access tokens.
Fields:
Title
Description
Type
Authorization
Header field in the form of Authorization: Basic <credentials>, where credentials is the Base64 encoding of ID and password joined by a single colon : .
string
Authorization Code
The authorization code your app received from the Intuit OAuth 2.0 response.
string
Redirect URI
The redirect URI listed for your app.
string
Returned values:
Title
Description
Type
error
Error
string
accessToken
The token used to access our API. Max length: 4096 characters.
string
expires_in
The remaining lifetime of the access token. The value begins at 3600. This is in seconds (one hour).
string
refreshToken
The token used for refreshing the access token. Max length: 512 characters.
string
id_token
Token ID
string
error_description
Error description
string
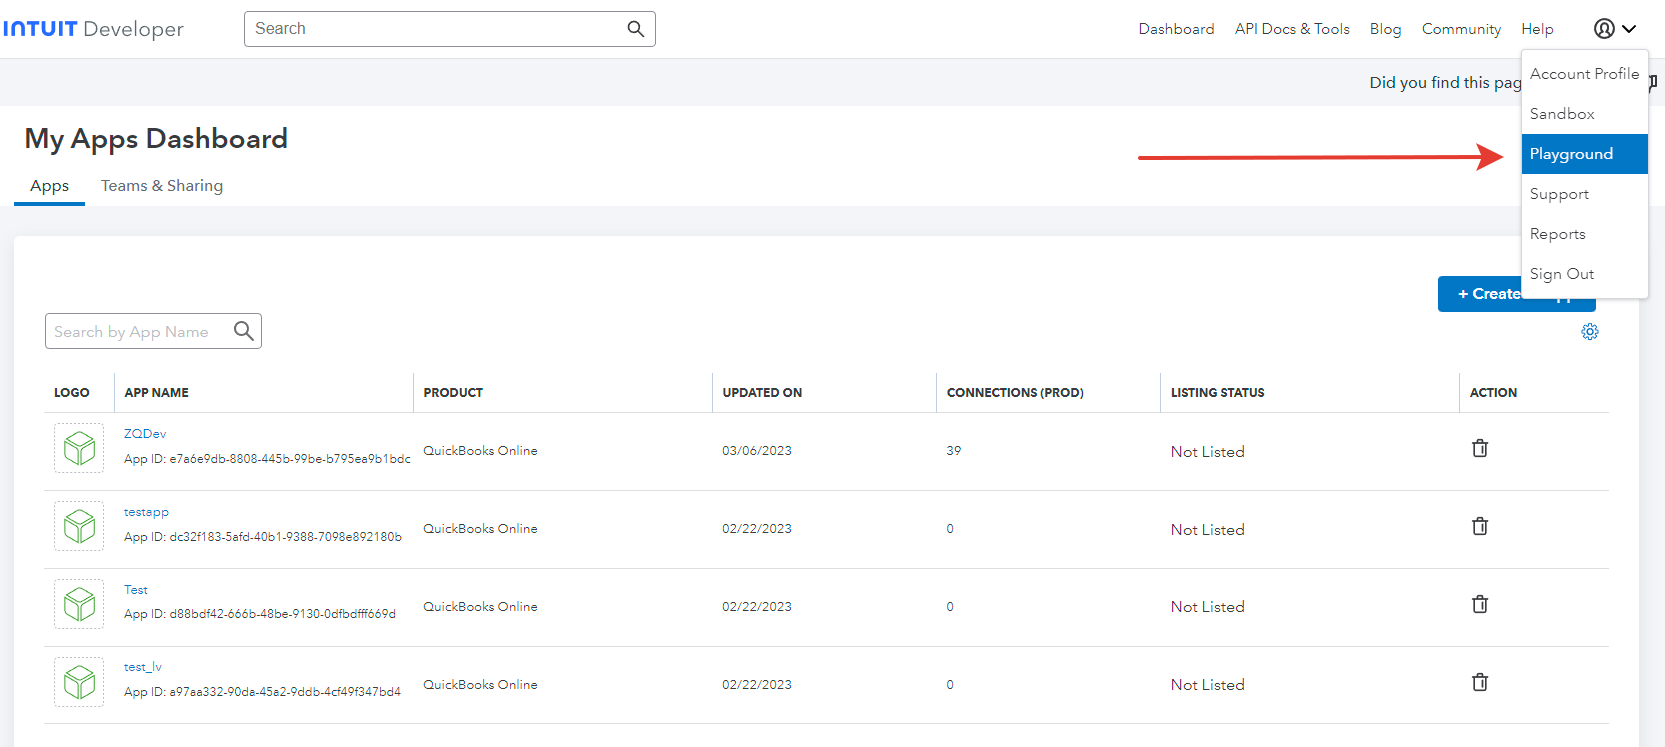
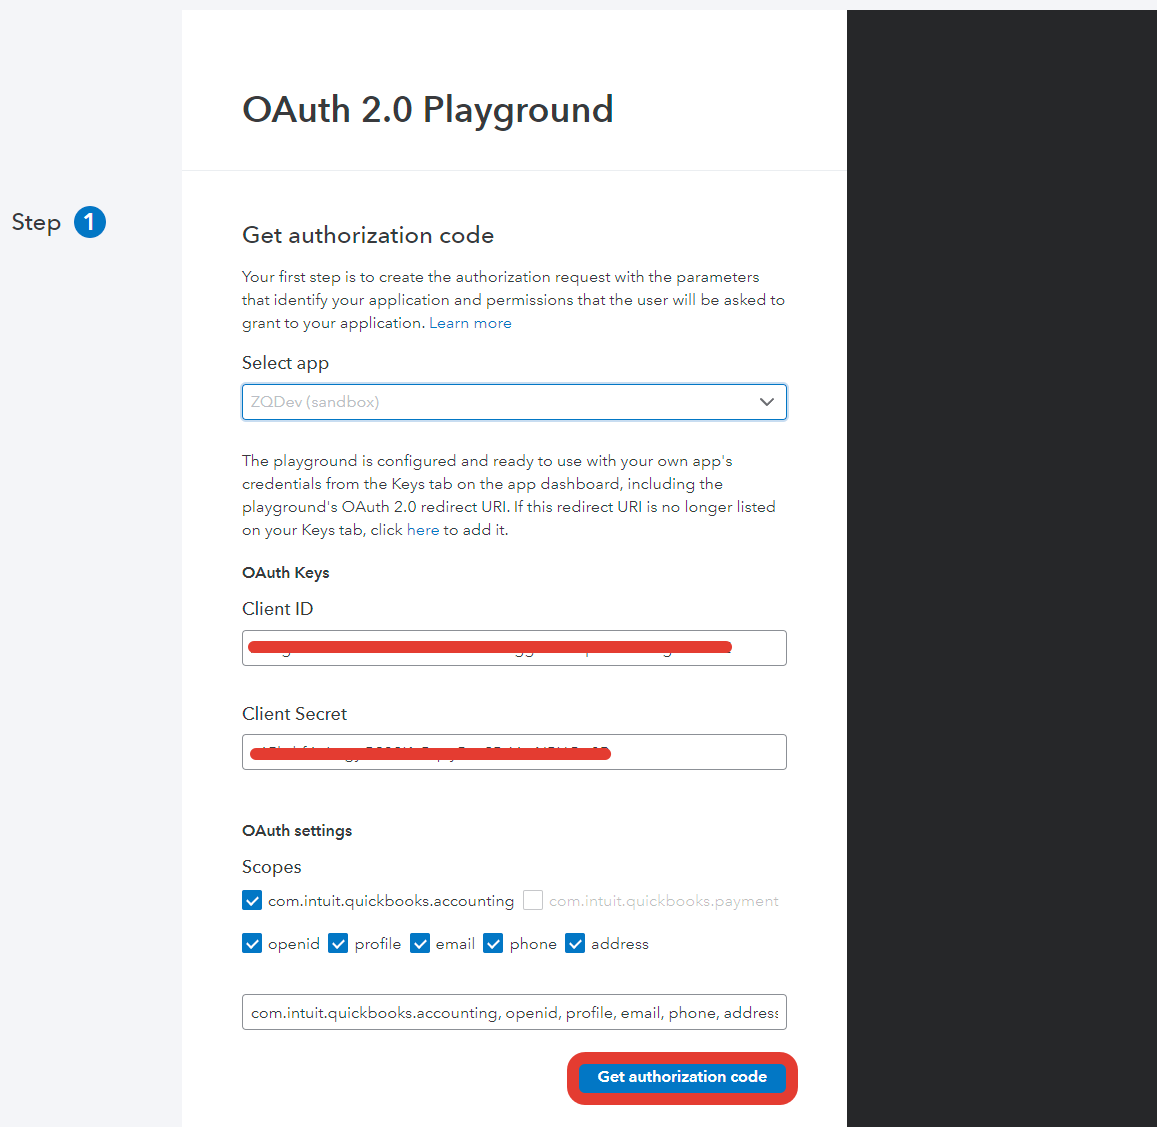
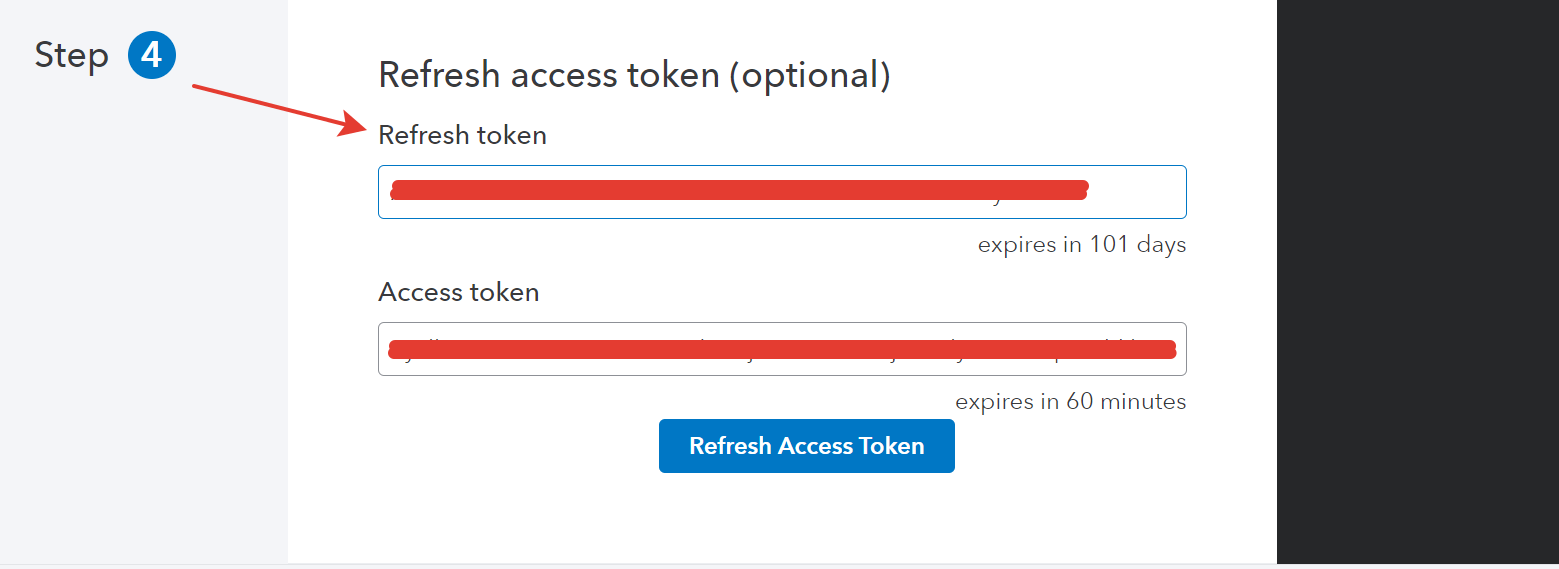
To get the Authorization Header field, go to Playground your developer account.
Fill in all the required fields and click “Get authorization code”.
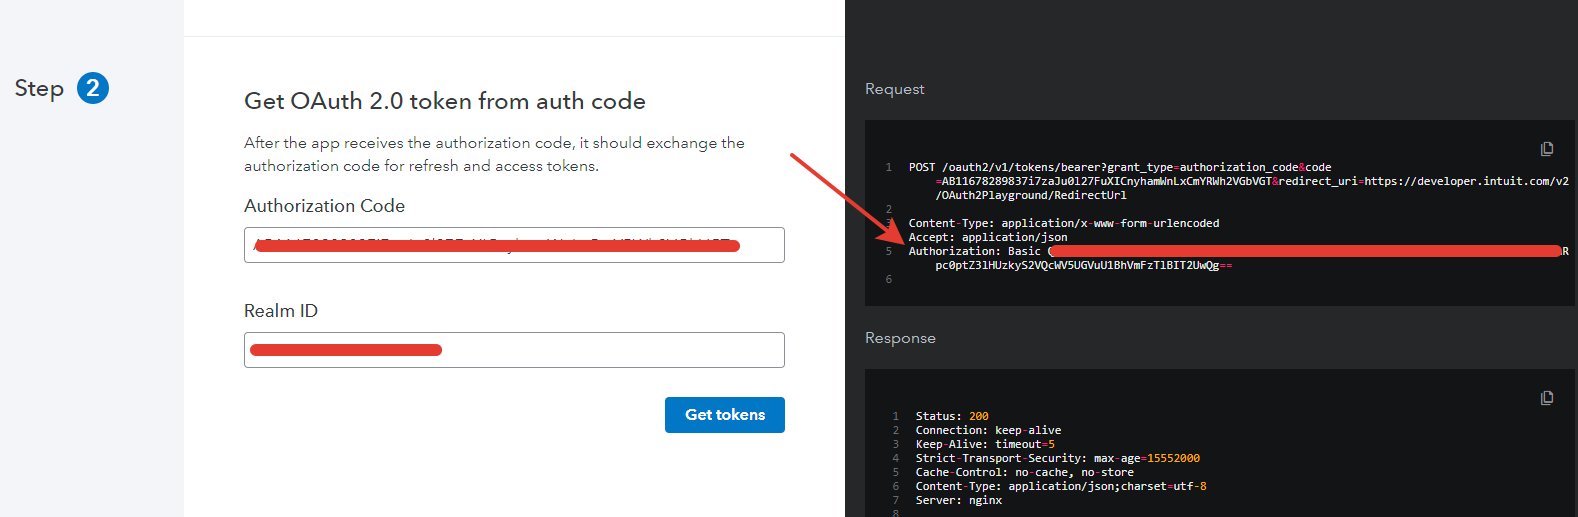
After you receive the “Authorization code” and “Realm ID”, click “Get tokens”. You will receive Authorization Header field.
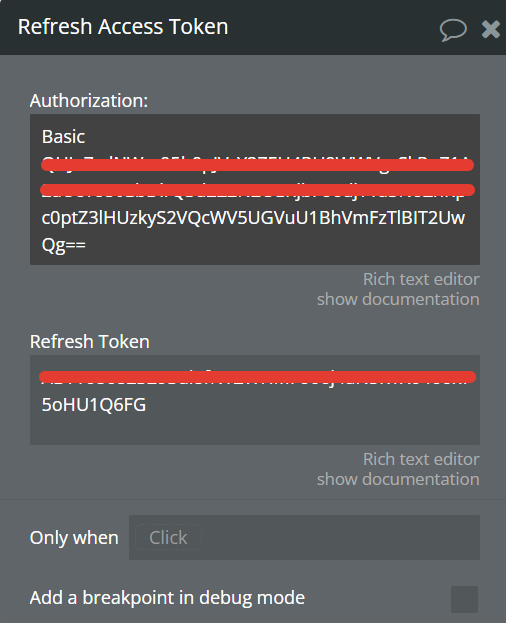
Refresh Access Token
Use refresh tokens to “refresh” expired access tokens. You can refresh access tokens without prompting users for permission.
Fields:
Title
Description
Type
Authorization
Header field in the form of Authorization: Basic <credentials>, where credentials is the Base64 encoding of ID and password joined by a single colon : .
string
Refresh Token
The refresh_token value you exchanged the authorization code for.
string
Returned values:
Title
Description
Type
error
Error
string
accessToken
The token used to access our API. Max length: 4096 characters.
string
expires_in
The remaining lifetime of the access token. The value begins at 3600. This is in seconds (one hour).
string
error_description
Error description
string
Get a "Refresh Token" in the developer's personal account after clicking the "Get tokens" button in the Playground section.
Changelogs
Update 03.06.25 - Version 1.38.0
Added "Query a bill" actions call.
Update 25.03.25 - Version 1.36.0
Updated response for "Profit and loss report" and "Profit and loss detail report" API calls.
Update 24.07.24 - Version 1.35.0
Minor update .
Update 19.06.24 - Version 1.34.0
Updated demo/service links.
Update 03.04.24 - Version 1.33.0
Added data call "Query Purchase".
Update 31.03.24 - Version 1.32.0
Query Payment.
Update 15.03.24 - Version 1.31.0
Updated description.
Update 03.02.24 - Version 1.30.0
added "Reset states" action.
Update: 24/01/2024 - Version: 1.29
QuickBooks Accounting: Added API calls "Profit and loss detail report," "Sales by customer report," "Profit and loss report," "Ar aging detail API report" and element "QuickBooks Converter."
Update: 24/01/2024 - Version: 1.22
QuickBooks Sandbox: Added API calls "Profit and loss detail report," "Sales by customer report," "Profit and loss report," "Ar aging detail API report" and element "QuickBooks Converter."
Update: 23/01/2024 - Version: 1.27
QuickBooks Accounting: Added "Get an invoice as PDF" action.