
Demo to preview the settings
Demo page: http://rapidplugins-1.bubbleapps.io/pwa
Introduction
This plugin allows you to convert your Bubble app into a Progressive Webapp (PWA).
This will allow your users to install your App on their homescreen. A splash screen will also be shown to the sure while loading the PWA.
The Plugin Automatically generates all meta tags and manifests JSON for you. It also allows you to Upload Splash Screens for different iOS Device Sizes, as Apple is very strict regarding this and only shows the splash screen if the correct file is used (according to the device orientation)
This Plugin also installs service workers and therefore offers offline functionality.
⚠️ Please note that Offline functionality is available only on Paid Bubble Plans ⚠️

⚠️Installation warning⚠️
Each element has the Install action that is used to install the app on your device. But, based on official documentation the installation process may varies by the browser and by platform.
Desktop
Mobile
How to Setup
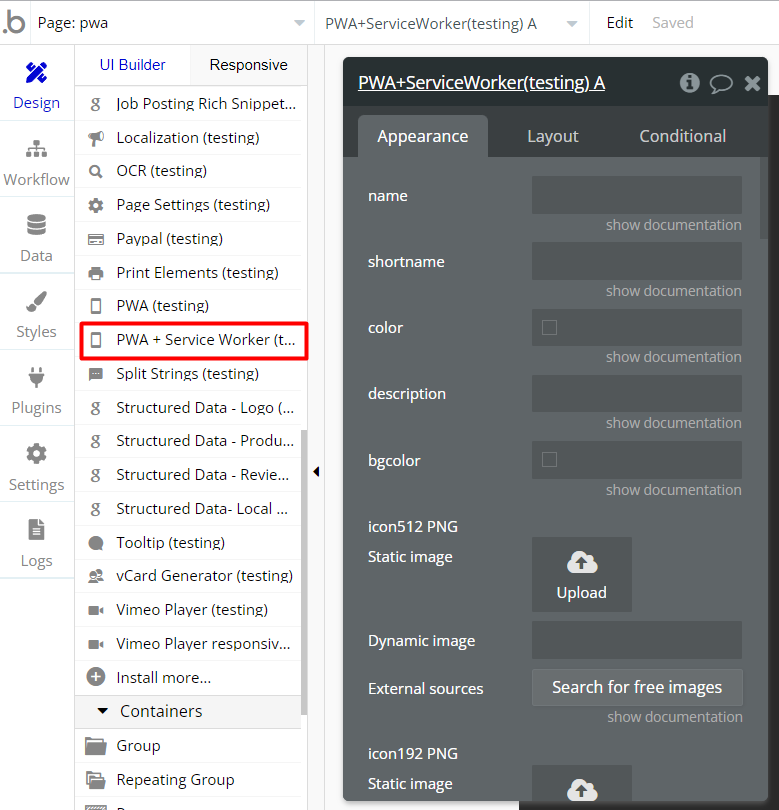
- Add the Plugin Element to Your Page
- Go to the Design tab in your Bubble editor.
- Drag the PWA or PWA + Service Worker element onto your page.
- Use PWA if you only want to support app installation without offline features.
- Use PWA + Service Worker if you also want offline functionality and advanced caching.
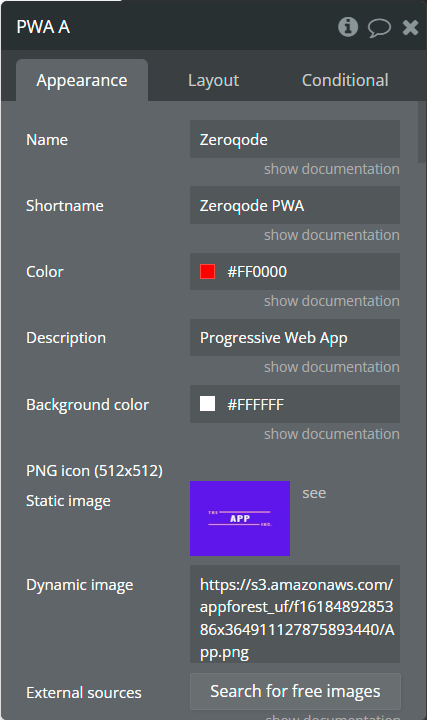
After installing the Plugin, head over to the Plugins tab and fill out the three Keys "App Name, Nav Button Color, and Theme Color". Make sure to use a hex code for the Nav Button Color (eg: #ffffff).
- Configure Element Properties
- Click on the element you added.
- Set any relevant properties. For PWA + Service Worker, you may need to define Service Worker file paths or other advanced options.
Please be aware that Apple is quite strict regarding Splash Screens. Splash Screens are only shown correctly on iOS devices if you specify and upload a file for all the different device orientations.
You can upload all the different splash screen files with different sizes (in pixels) in the element inspector. We know that it is very tedious to do this, so we would recommend you use a tool such as https://appsco.pe/developer/splash-screens to generate the files.
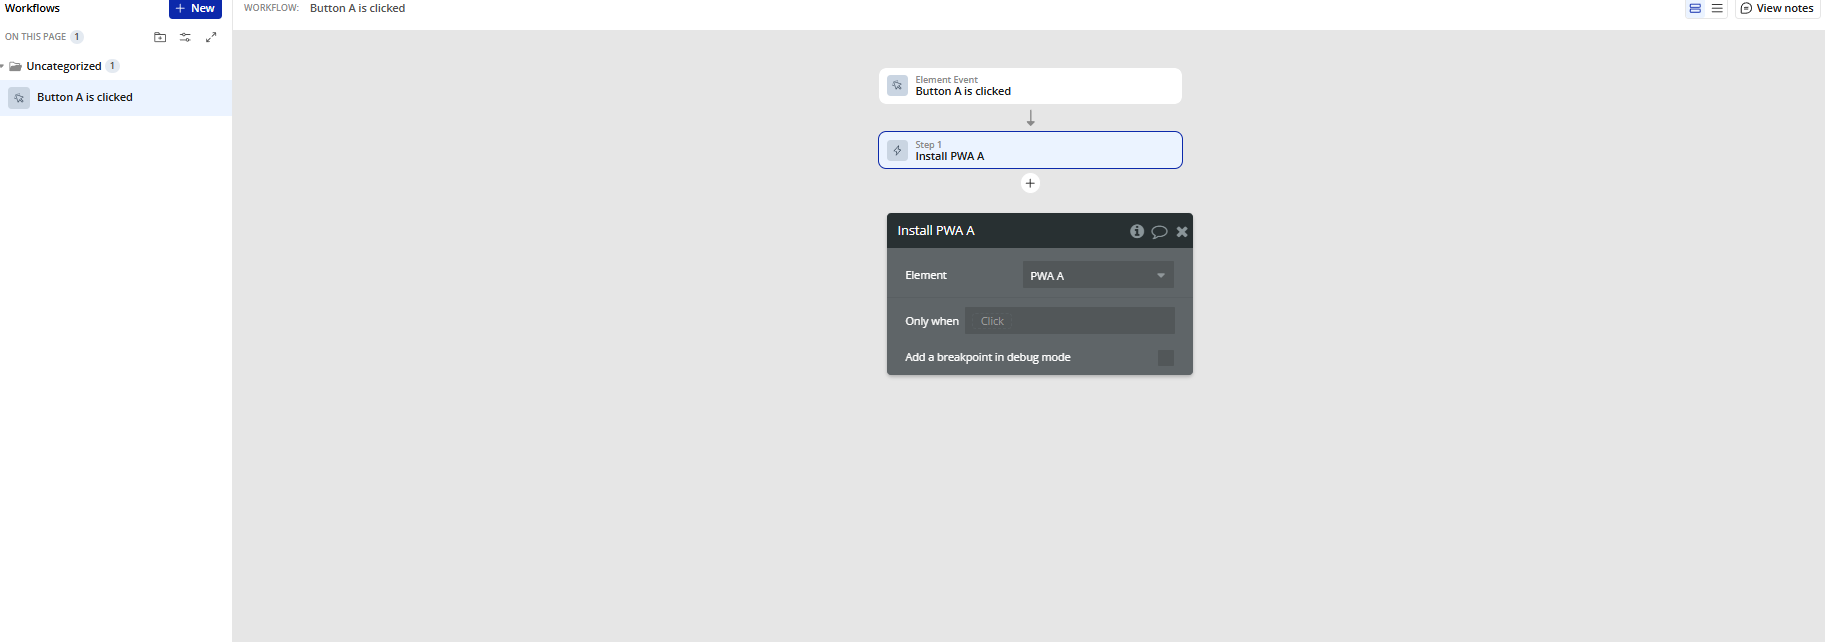
- Use Plugin Actions in Workflows
- Go to the Workflow tab.
- Create a new workflow triggered by any event you choose (e.g., a button click).
- Add one of these actions:
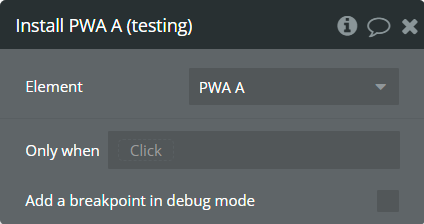
- Install A PWA → prompts the user to install your app.
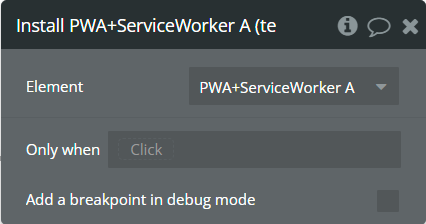
- Install A PWA + Service Worker → installs the app and registers the Service Worker for offline usage.

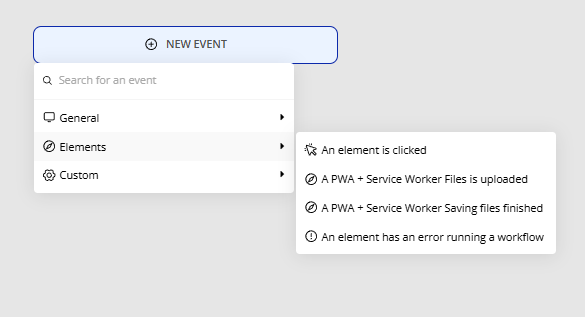
- Use Plugin Events
- Listen for these events in your workflows:
- A PWA + Service Worker Files Is Uploaded → triggered when the Service Worker files are successfully uploaded.
- A PWA + Service Worker Saving Files Finished → triggered when saving the Service Worker files completes.
- You can use these events to show notifications, trigger next steps in your app, or debug your Service Worker setup.
Service Workers + Offline Functionality (Requires Paid Bubble Plan)
The instructions are the same as for the other element, except for one Step.
- If you want to install Service Workers and enable Offline Functionality, drag the PWA + Service Worker Element onto your page.
- Visit the URL https://s3.amazonaws.com/appforest_uf/f1618832588005x566671081254037200/sw.js and download the file hosted there "sw.js" to your device.
- Open the file using a text or code editor. At the top of the file, there is a line saying "var urlsToCache =" and then a list of two URLs.
- Please keep the /sw.js url! The other URL "/" can be replaced by you with the URL of your pwa.
- If your PWA should load the index page of your app, you can leave the URL as is. Save any changes to your file.
- Head over to Settings->SEO/Metatags of your bubble application and scroll to the bottom where it says "host files in the root directory."
- Upload the file you saved, and make sure it is named sw.js. Once the file is uploaded, hit save and deploy your application to live.
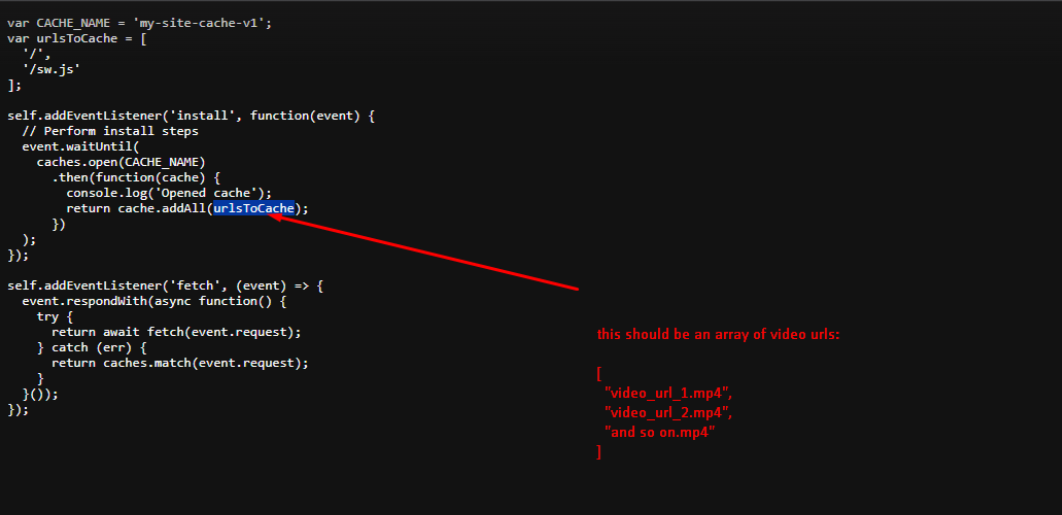
Video saved for offline view
If you want to implement a feature that saves video on device, please use this file instead of above mentioned (after download, be sure to unzip it and indicate all URLs of the stored videos).
Saving images offline
If you want to upload images in your application offline and then download them when the network is available, follow these steps:
- Download the file "sw.js" to your device.
This file does not complement the previous one, but completely replaces it with similar settings.
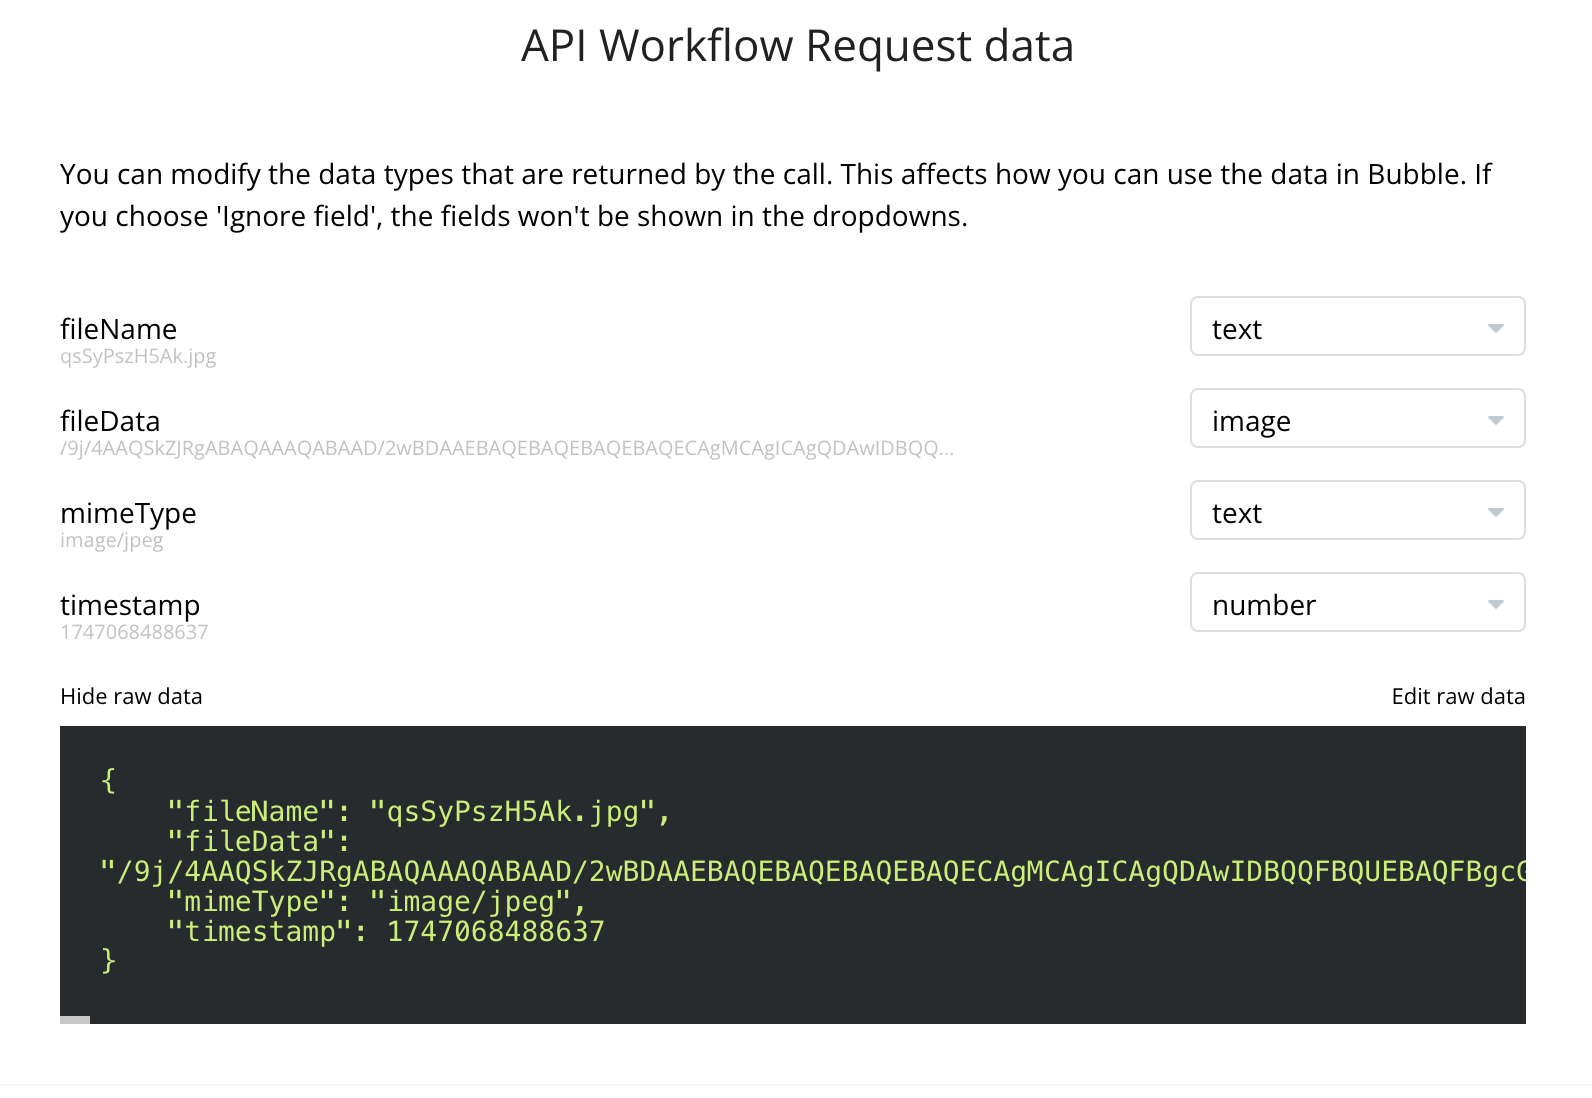
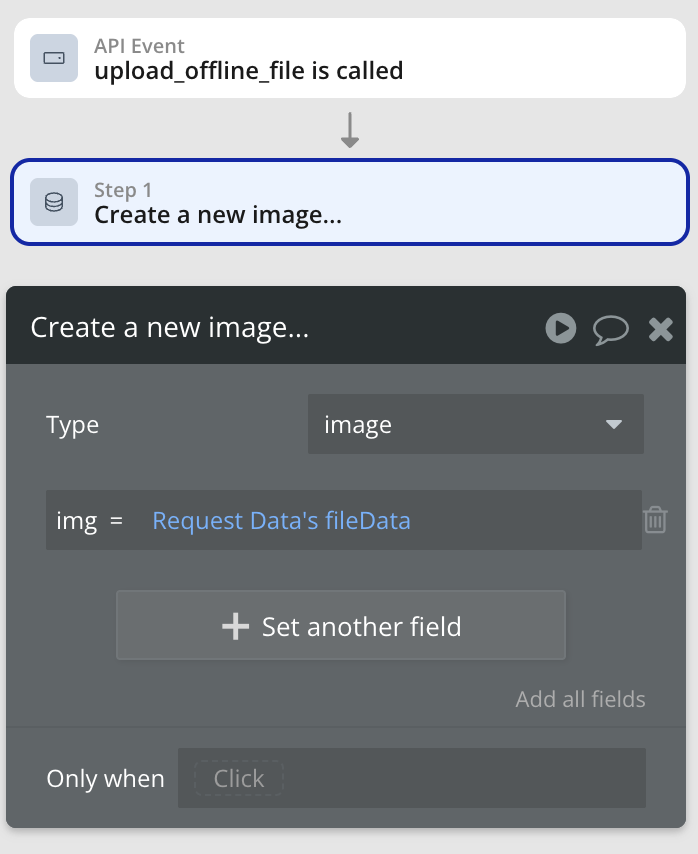
- Go to the Backend Workflow tab of your application and create a new event that will be triggered when images are uploaded from the temporary storage when the network appears.
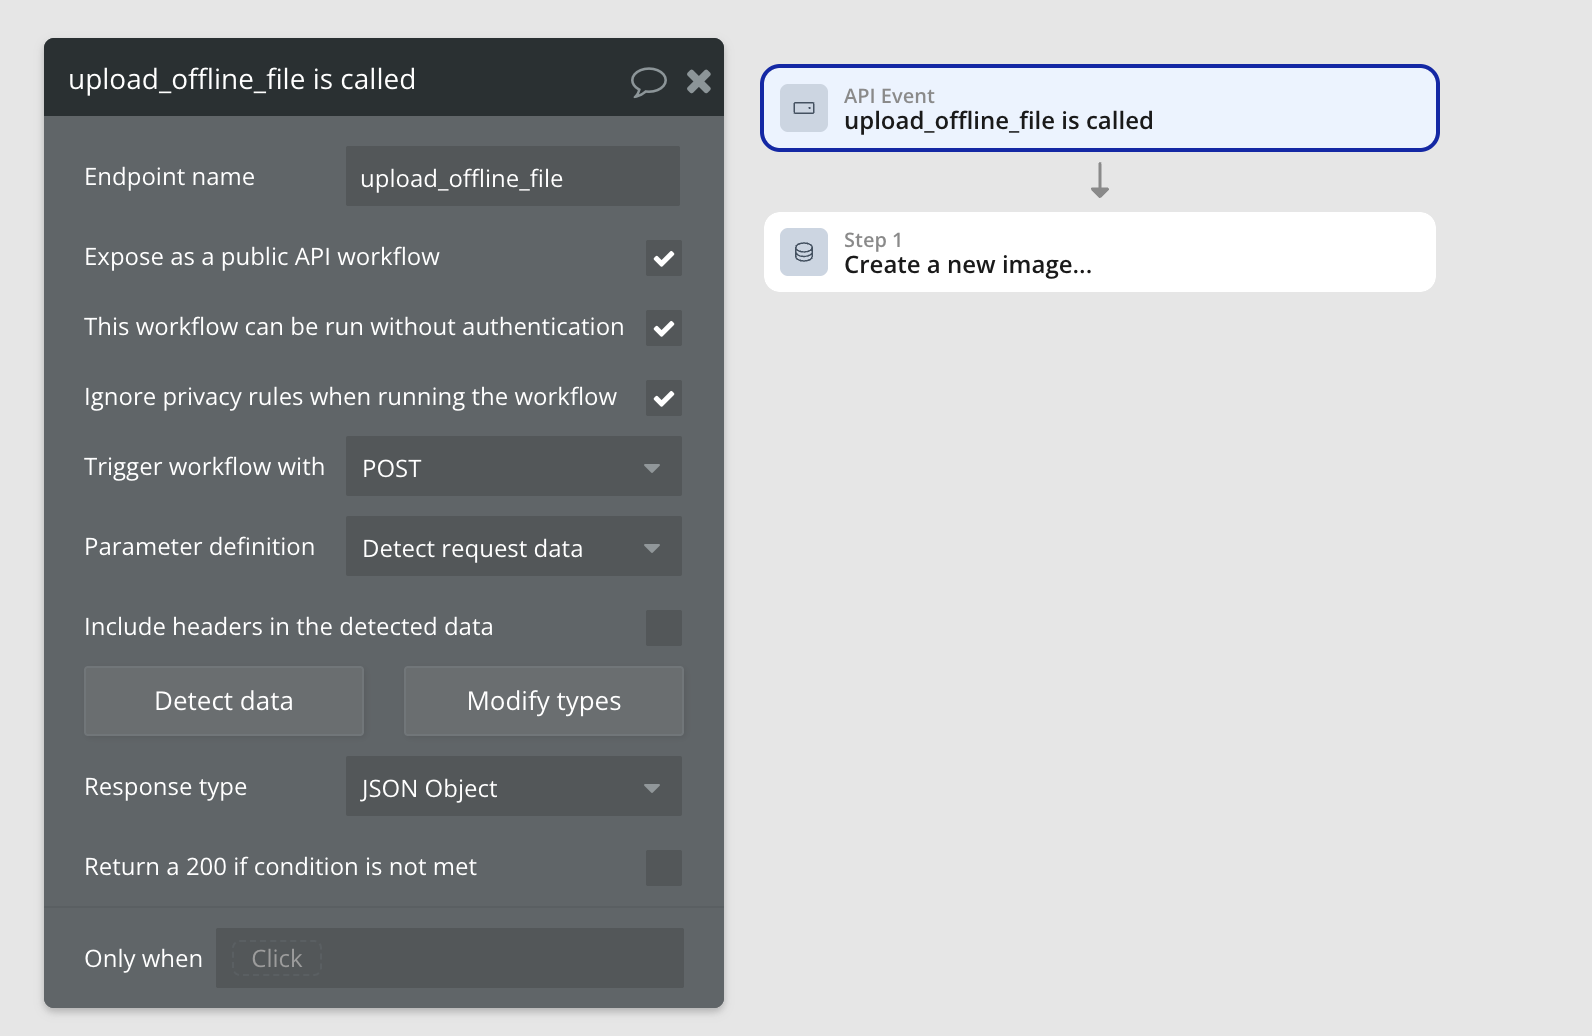
- Click Detect data and copy the endpoint
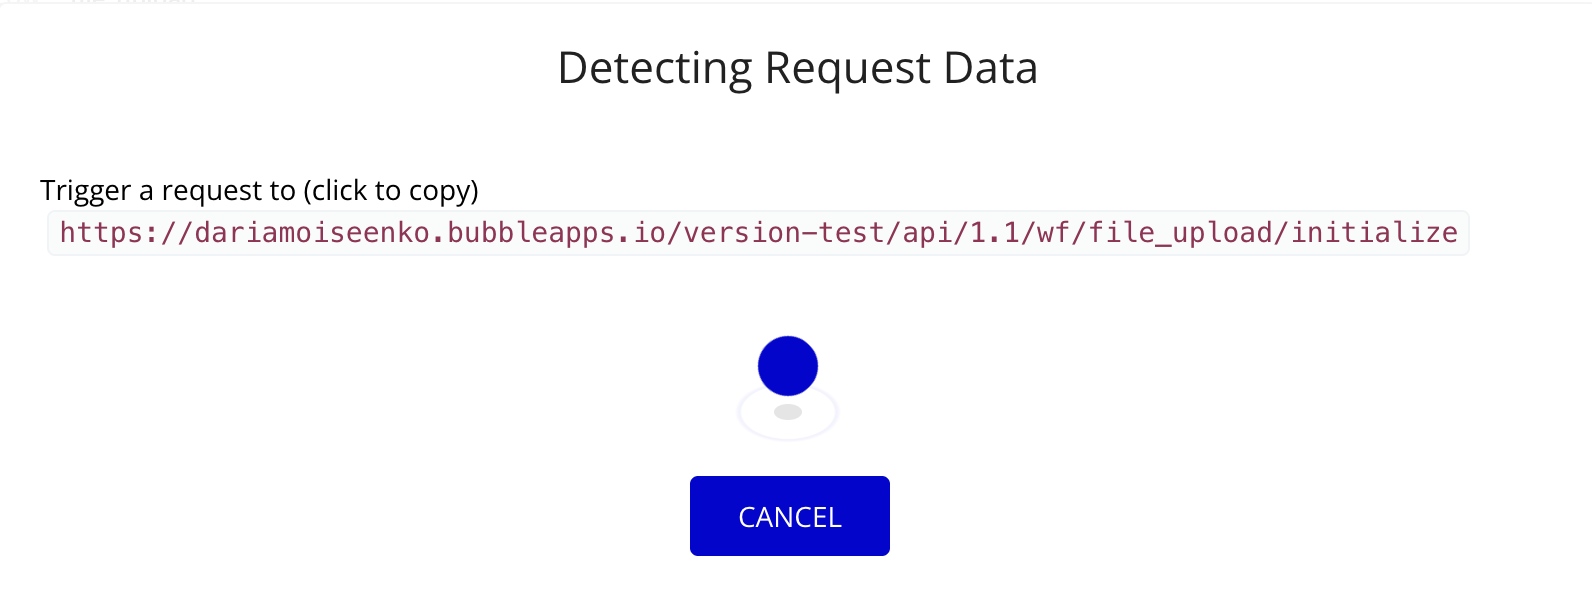
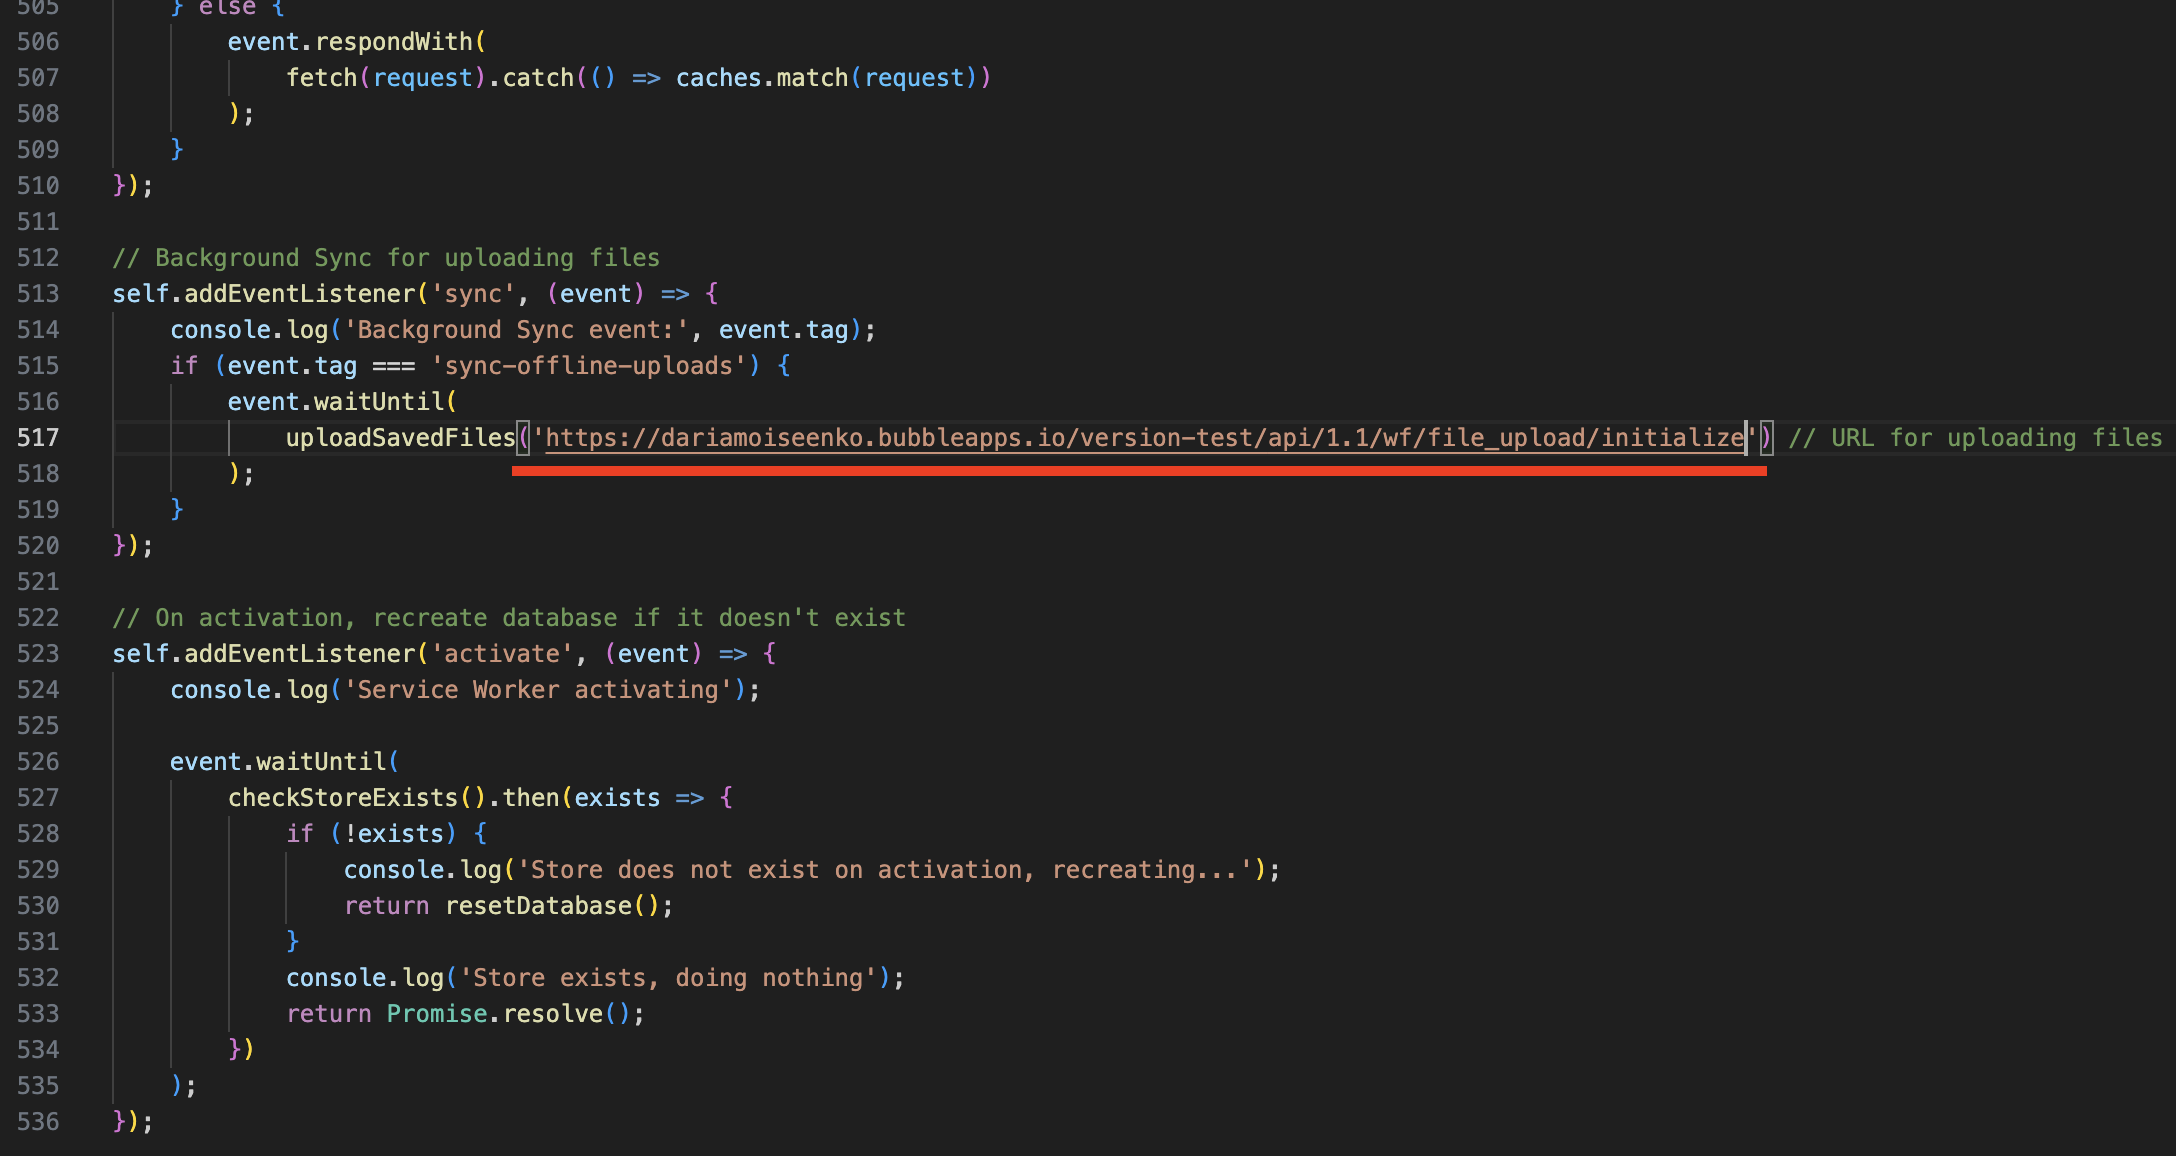
- Open the code editor and paste the copied endpoint as shown in the screenshot
- Save the sw.js file and put it in the section "SEO and metatags" -> "Hosting files in the root directory” and deploy the application

- After successfully deploying the application, repeat step 3 in development mode and simultaneously launch the live version of the application.
- Switch your app to offline mode and upload an image (for example, via a file uploader). The image will be saved to a temporary storage IndexedDB.
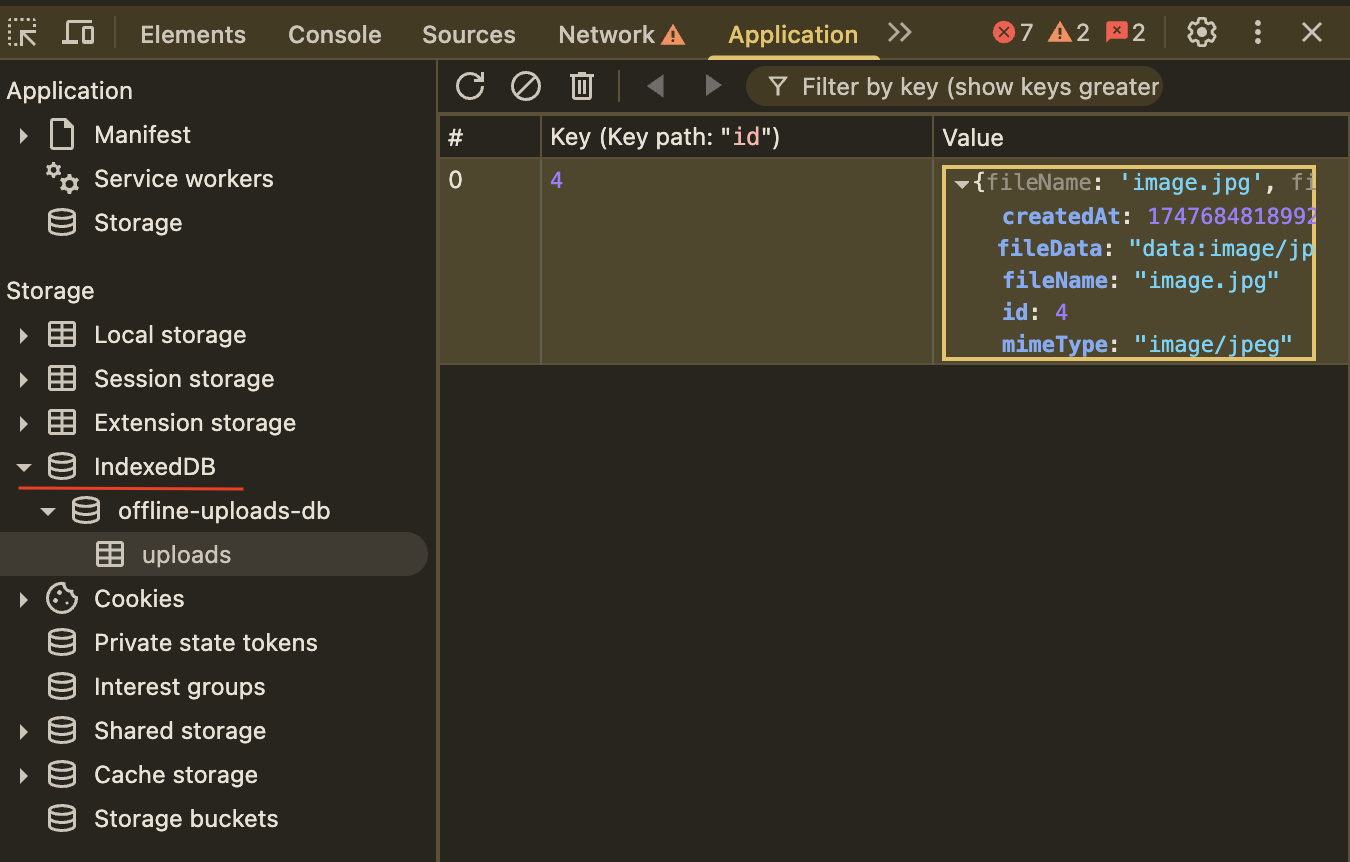
- After the network appears and the page is reloaded, the image will automatically be sent to the created endpoint Backend Workflow and initializes the event.
- After successful initialization in the sw.js file should be removed from the endpoint 'version-test' and 'initialize' and repeat step 5.

- Now you can save images to the Bubble database when the network appears.
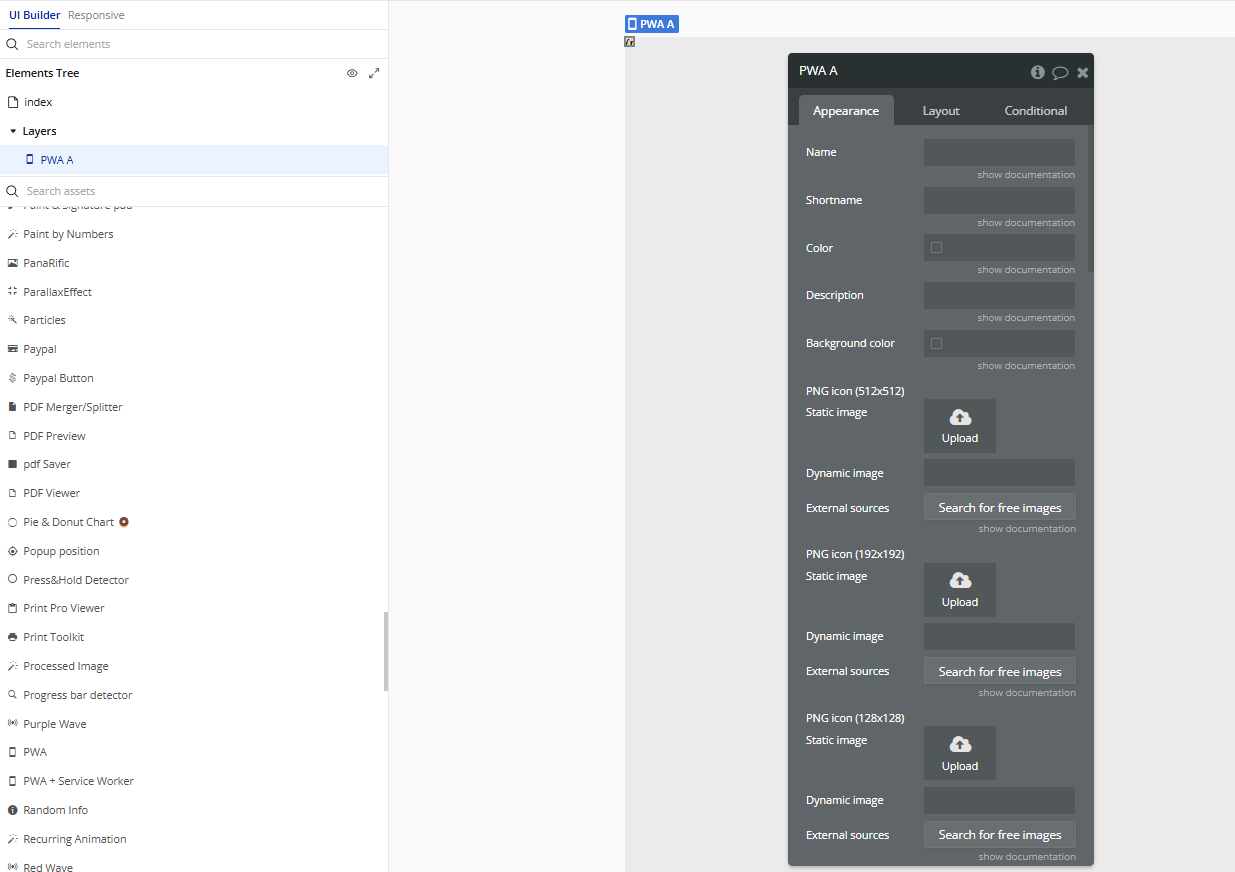
Plugin Element - PWA
The element that allows to convert the app into a PWA.
Element Fields
Element Actions
Element States
Plugin Element - PWA + Service Worker
The element that allows to convert the app into a PWA with service worker features.
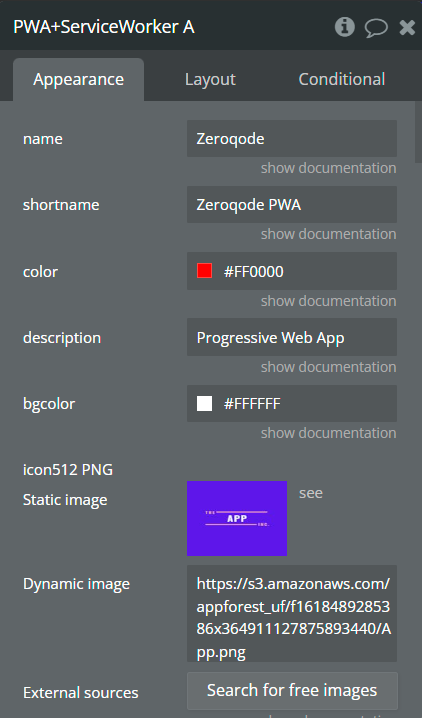
Element Fields
Element Actions
Element States
