Demo to preview the settings
Live Demo: https://pwc-html-mailer-demo.bubbleapps.io/
Introduction
Send HTML Emails using your SendGrid Key.
Prerequisites
You must have a Sendgrid Developer account in order to interact with the plugin.
If you don’t have any of the accounts, you can easily create one for SendGrid Developer platform - https://app.sendgrid.com
Note: It is required for customers to verify their Sender Identities for Sendgrid Service: https://sendgrid.com/docs/for-developers/sending-email/sender-identity/
The previous plugin version supported sending emails using Gmail. Currently due to Google updates this feature is no longer available.

How to setup
Getting API Keys with SendGrid
- Create a new account or use the created one in the SendGrid platform https://app.sendgrid.com
Click the Settings tab(1), then click the "API Keys" tab(2), then click the "Create API Key" button(3).

2. Enter your API key name and select permission (Full access recommended).
NOTE: Copy the API key and save it before the window closes. You cannot get it one more time.
3. Enter the API Key in the same field in the plugin's settings
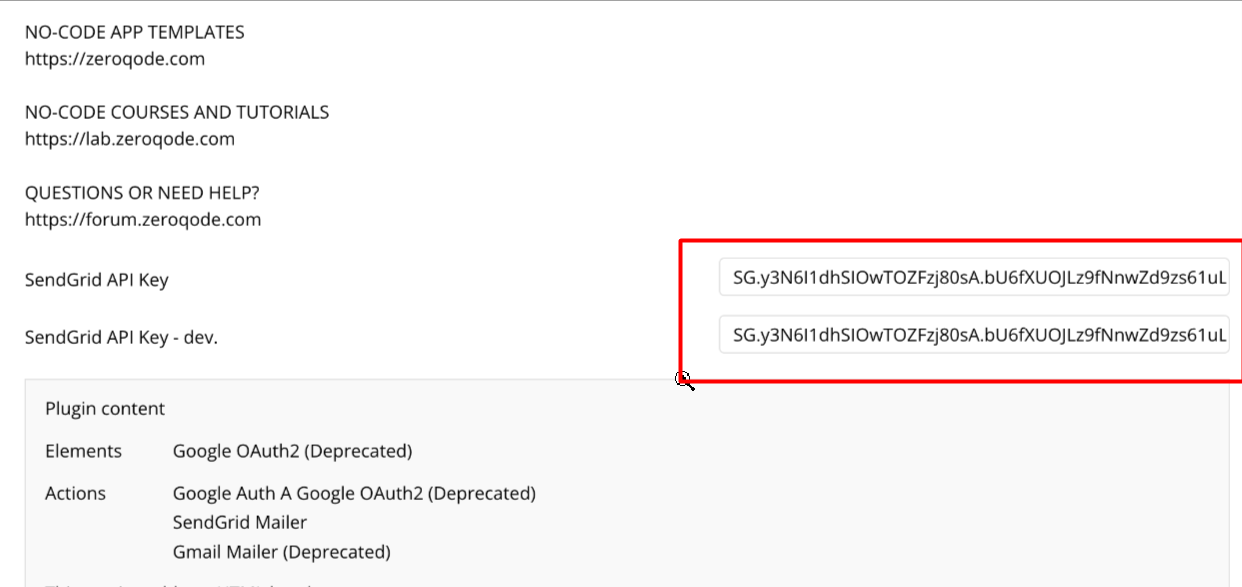
4. After these actions you can use the "SendGrid Mailer" action and send the mail with HTML body and/or attachments via SendGrid service.
Plugin Actions
SendGrid Mailer - action used to send html mail. The action fields available: