Demo to preview the settings
Introduction
CloudSponge Contact Picker Plugin - offers seamless integration and the possibility to import major address books contacts into your application.
Prerequisites
You must have an account with CloudSponge to interact with the plugin. Create you development account here.
Plugin setup
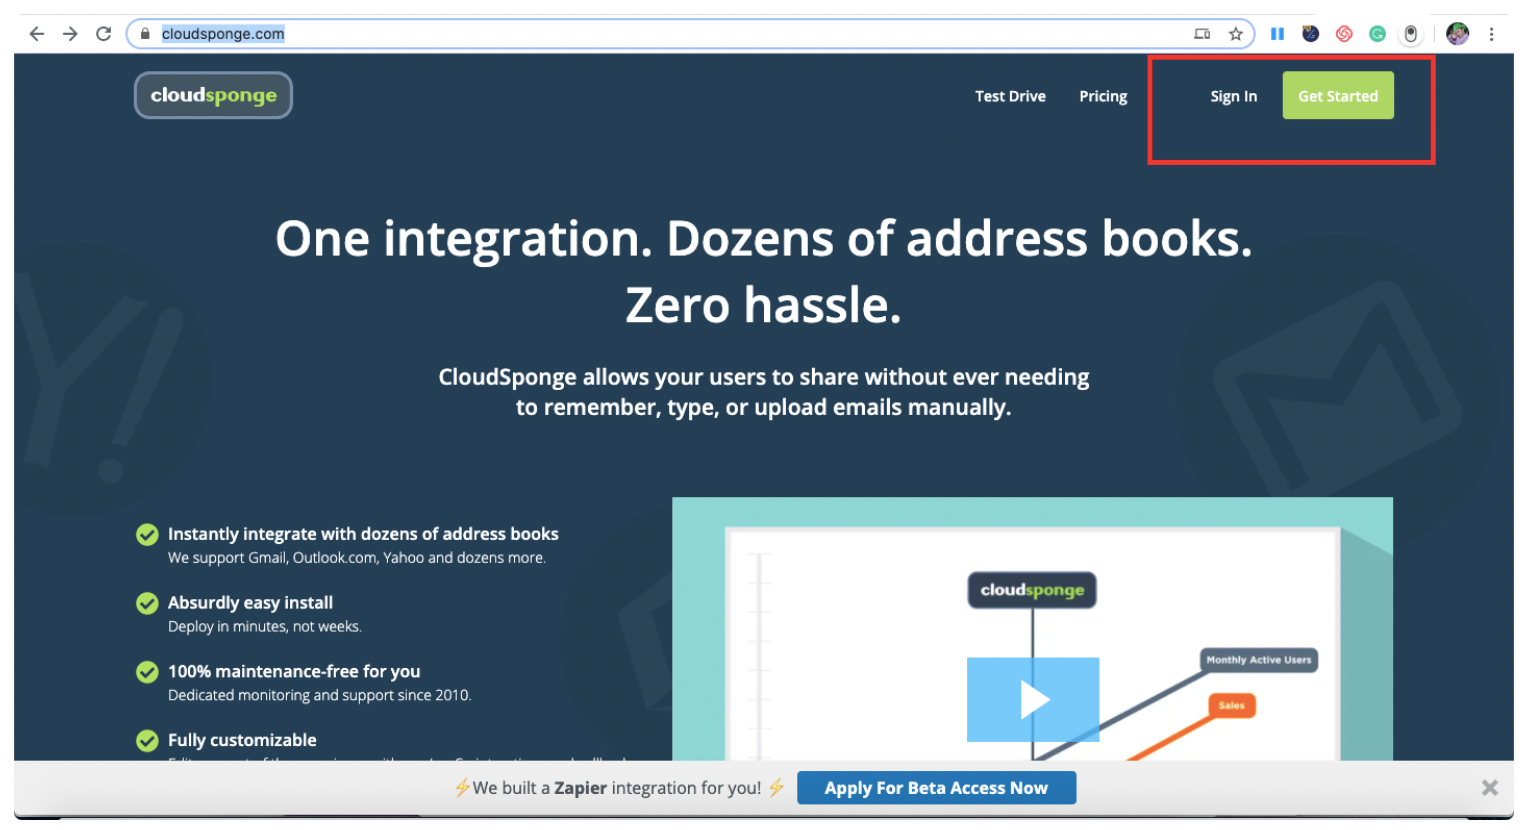
- Go to the CloudSponge page
- Sign in with your account or create a new one.
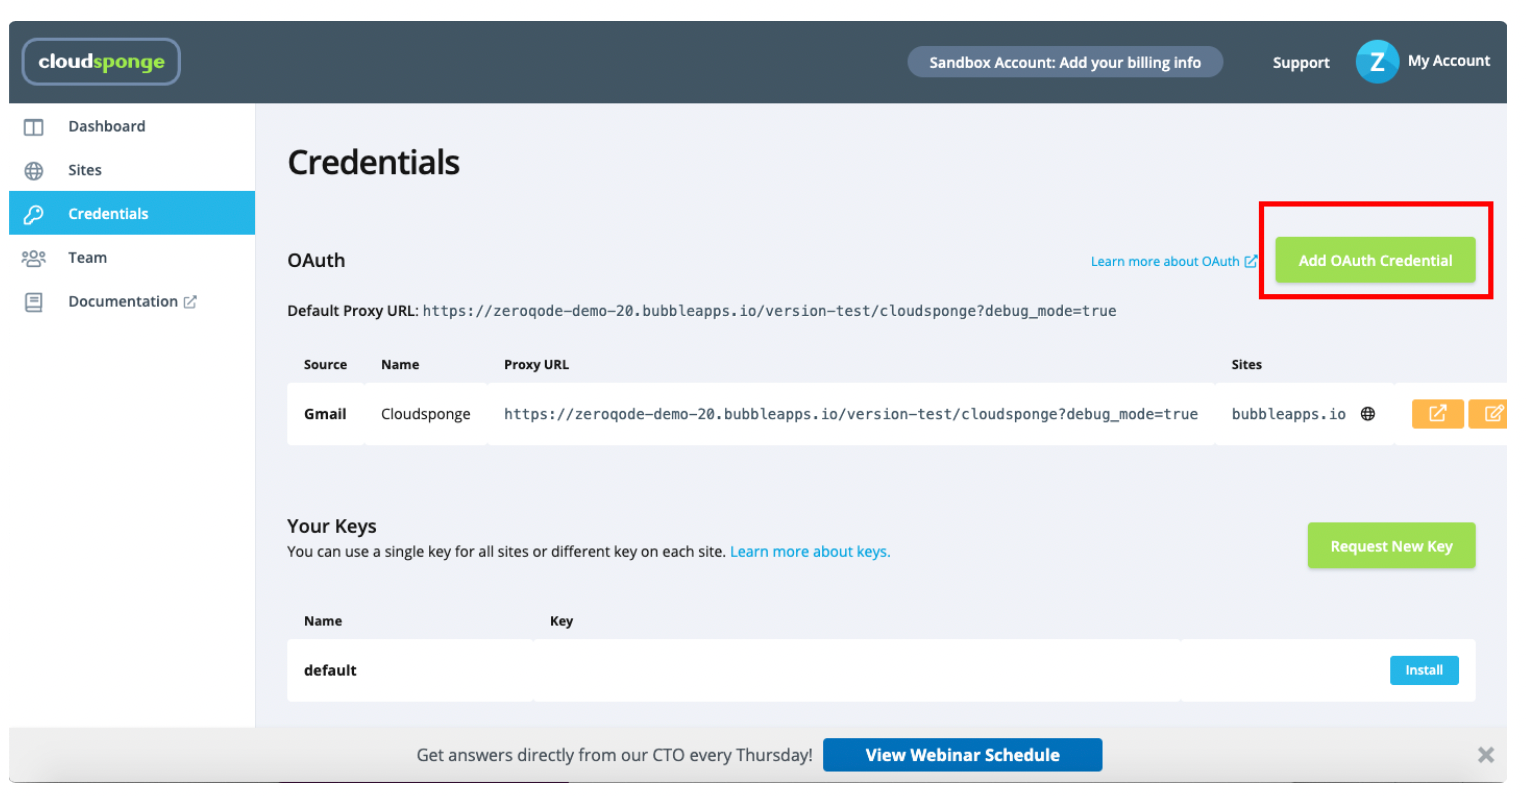
3. Create an App to get access to your CloudSponge app KEY
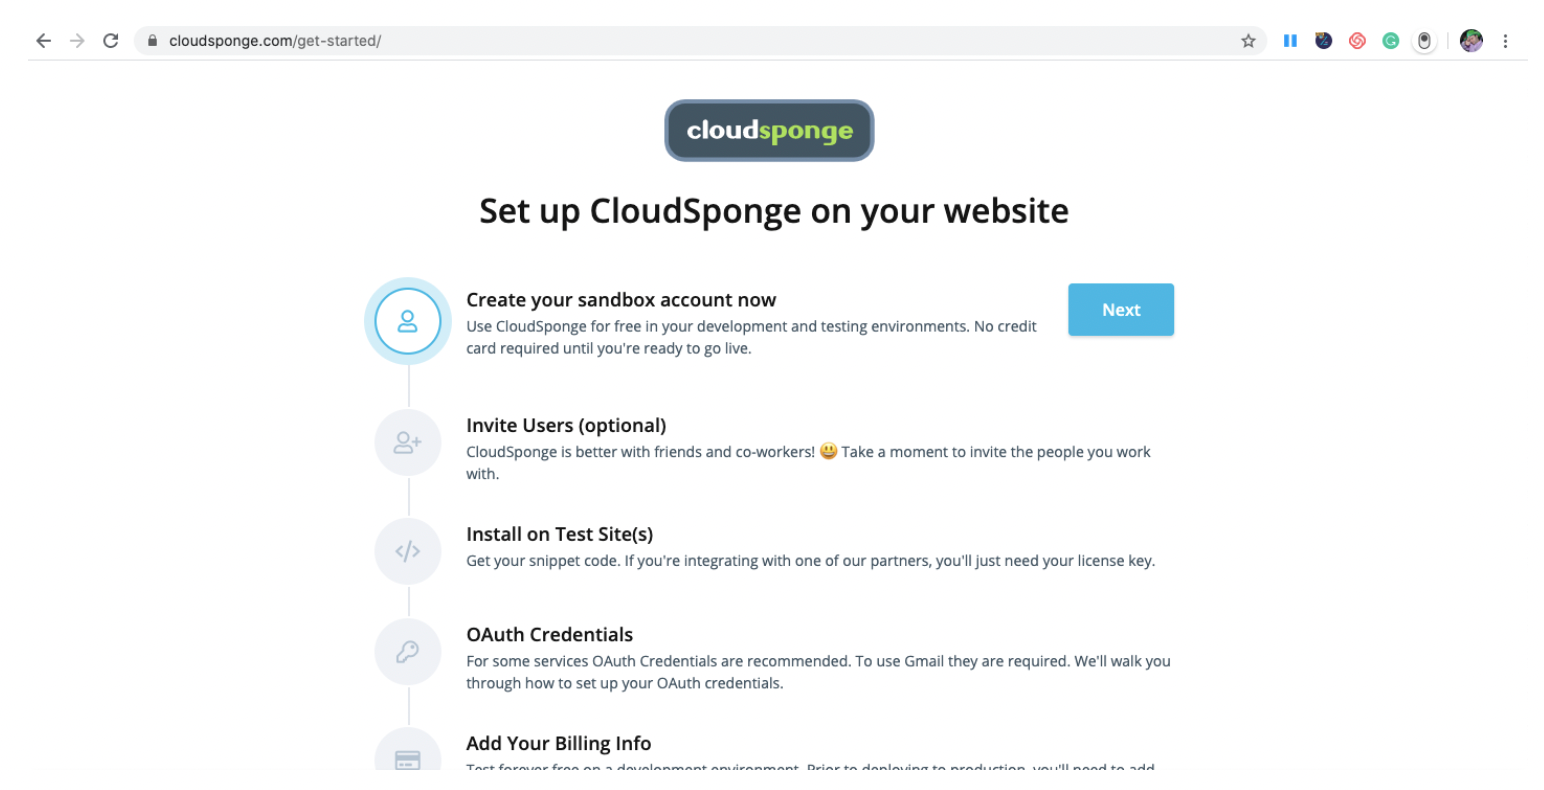
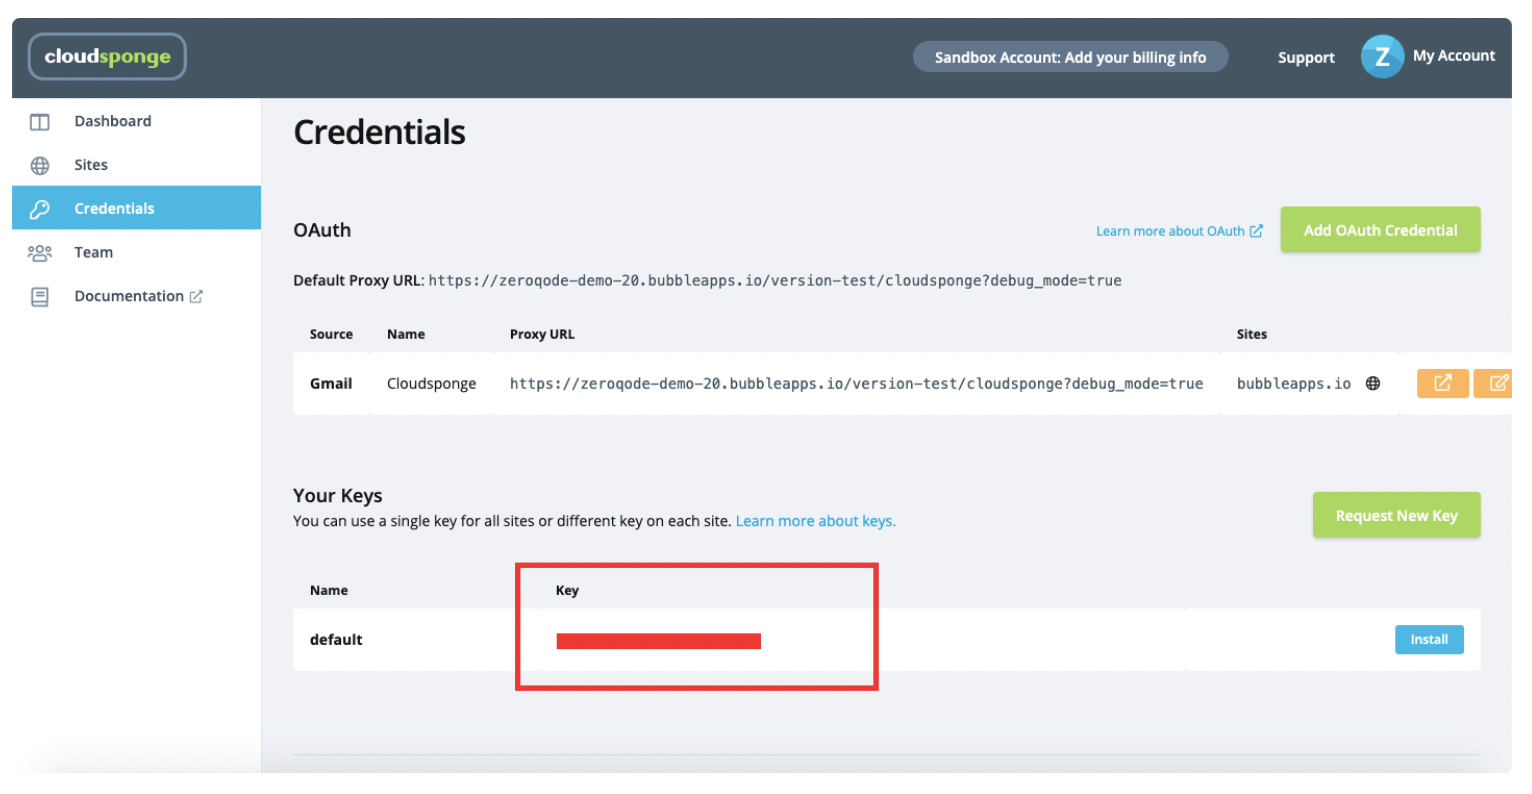
4. Get your Cloudsponge KEY in credentials tab.
5. Set the OAuth credentials from Google, Yahoo and Microsoft accounts; Add the the proxy URL for Google Contacts in the CloudSponge dashboard.
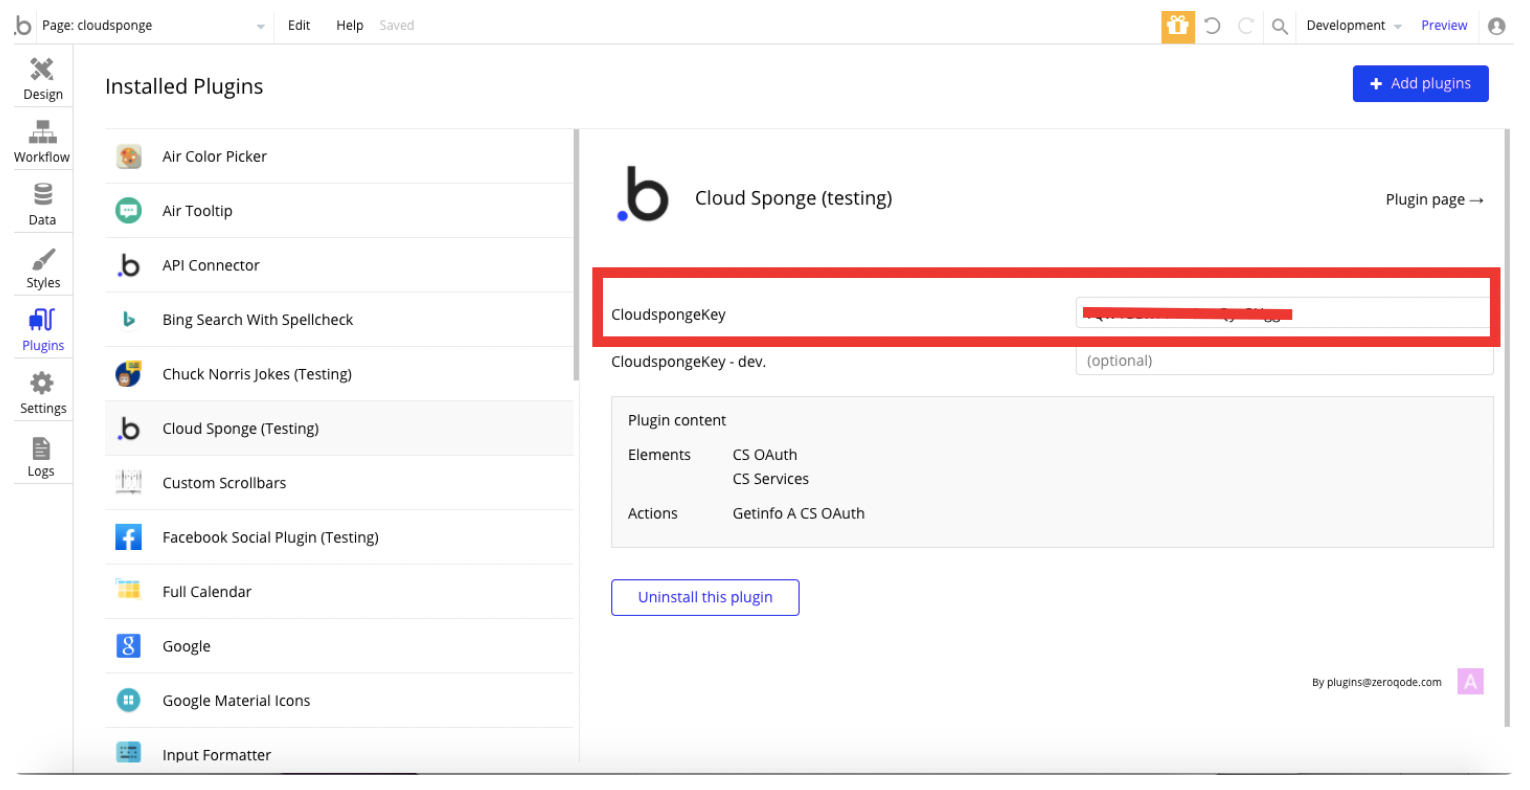
6. Insert CloudSponge key in Bubble plugin settings.
You're all set!
7. Place the Oauth Element on page for the authorization process, use it as text area for your contacts or make it 0x0 pixels to just authorize.
Plugin Element
Plugin Visual Element
The plugin contains 3 visual elementы which should be used on page.
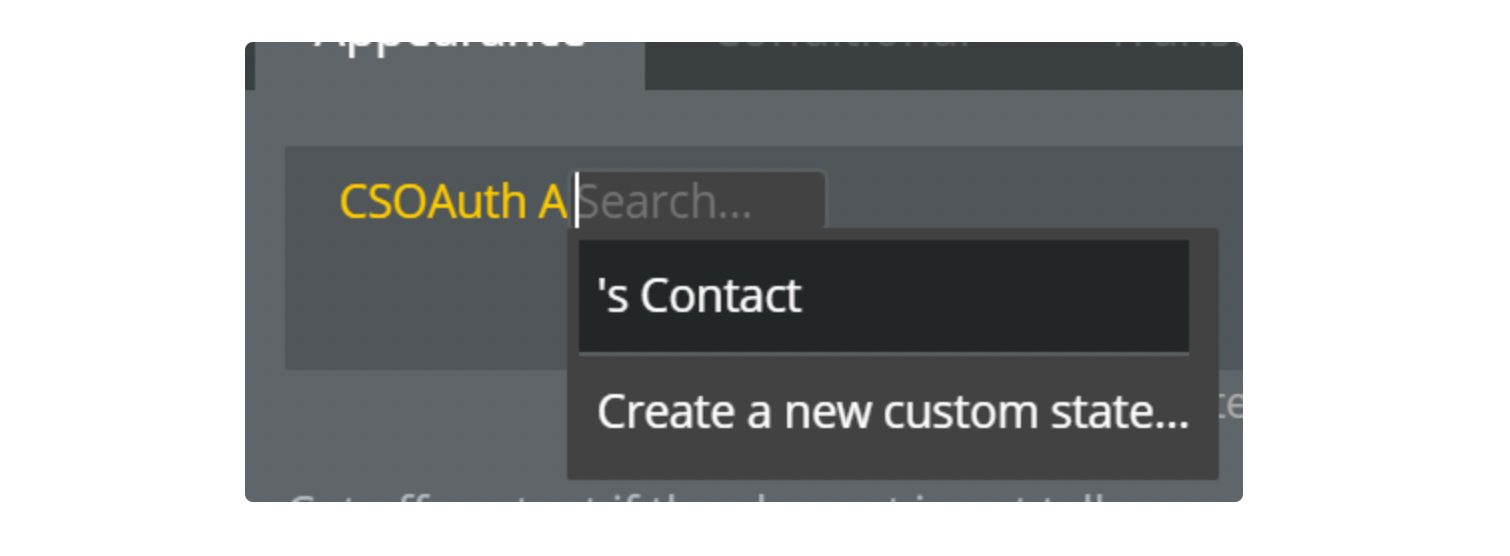
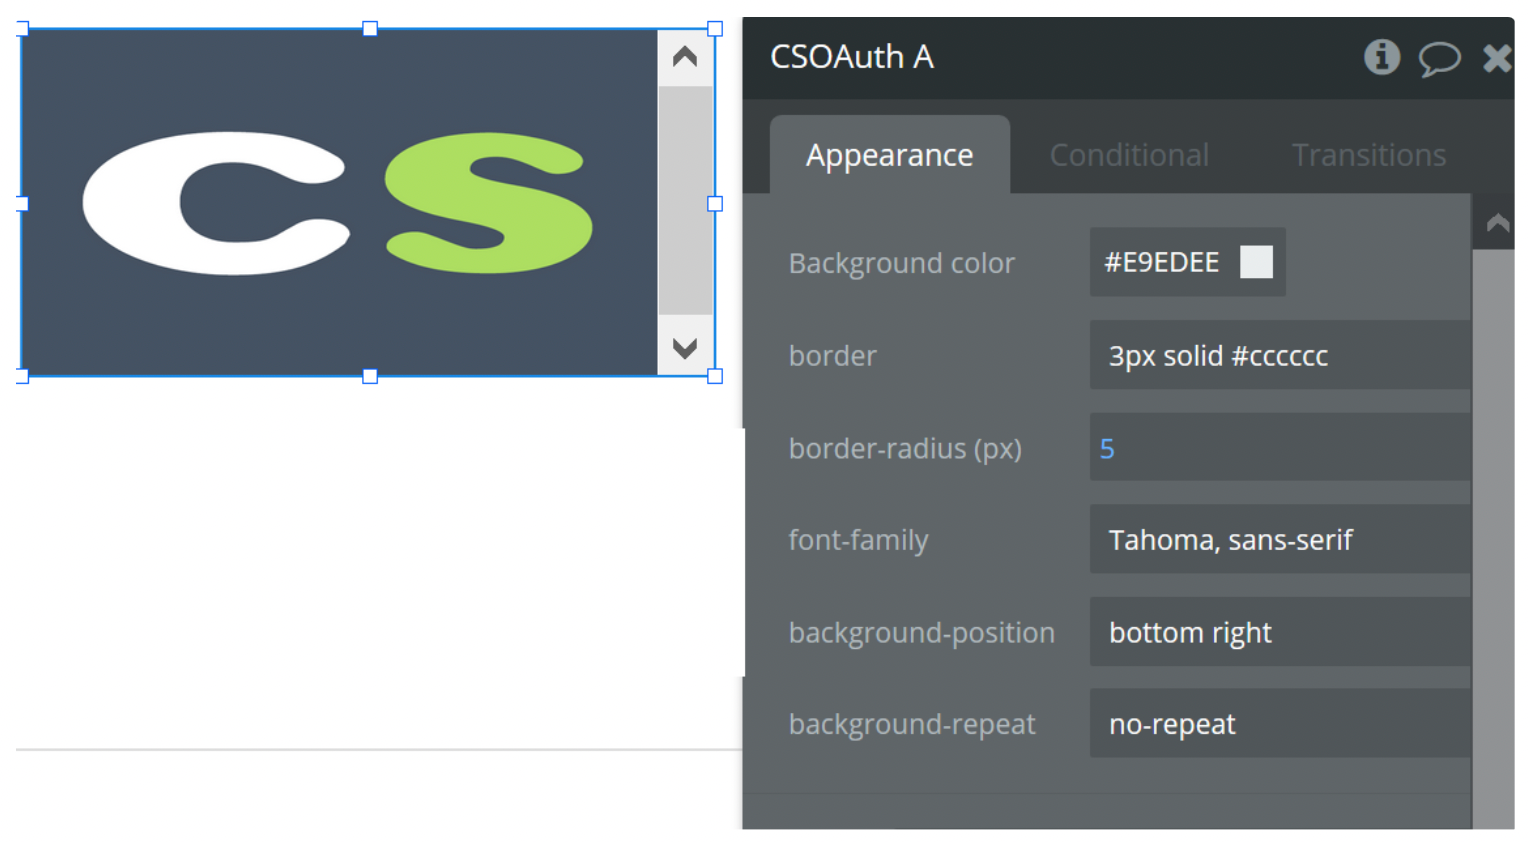
CSOauth Element
This element is a Oauth / Textarea for authorization and it has a textarea to display the chosen contacts.
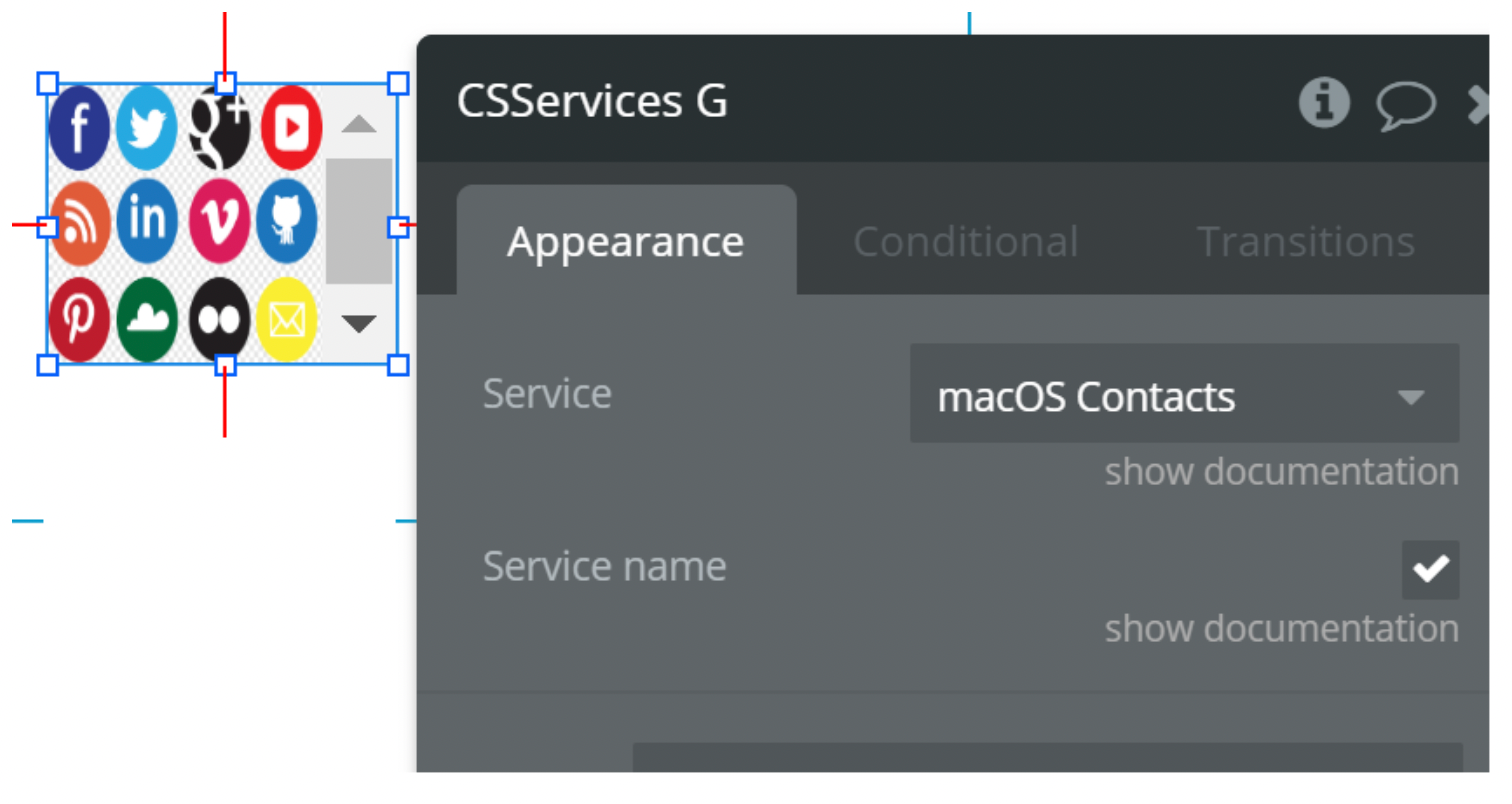
CS Services Element
The element is used to open one service chosen by the user and display the name of the service.
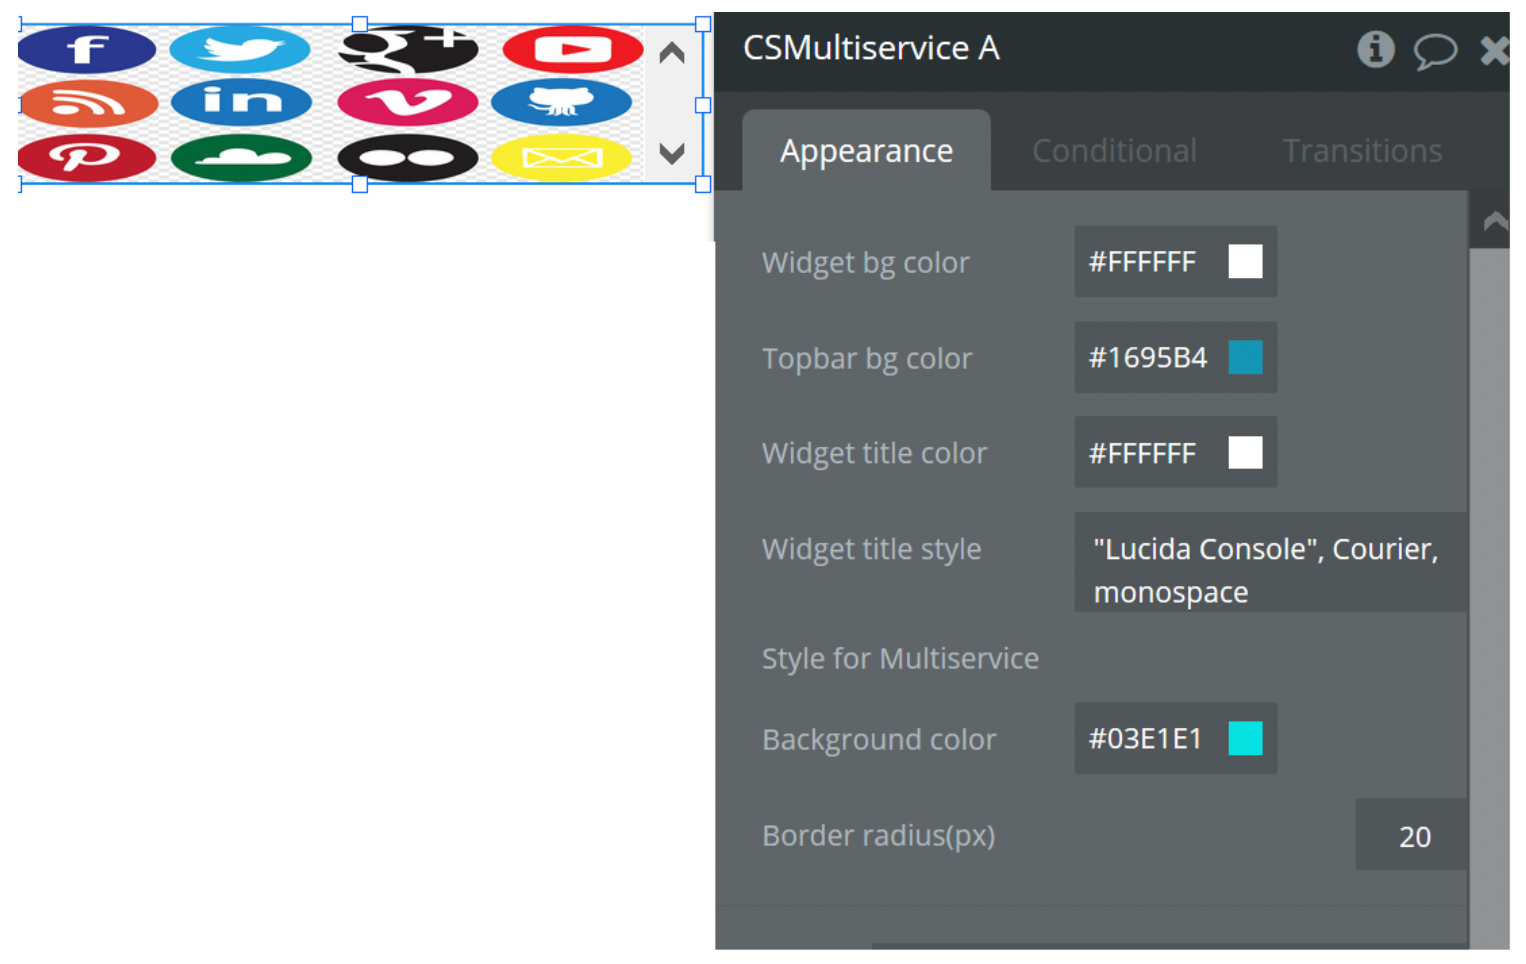
CS Multiservice Element
The element is used to open the widget screen where a user chooses which type of service to get the contacts.
Plugin Actions
- Getinfo - action is used to retrieve the contact data in state form from CSOauth element
Plugin States
- CSOauth Contact - state which returns contact value of the CSOauth element.