Demo to preview the settings
Introduction
Allow Users to log in with their Twitch credentials.
Prerequisites
- You must have the Twitch Developer account.
How to set up
Register your App
Follow this link to sign into the developer console.
Before you register your app in the next step, please ensure you have two factor authentication set up on your Twitch account. This is a requirement for registering an application.
Once you've completed the above step, you'll now be able to register an application. From your developer dashboard, click on the button to create:

You'll be prompted to set a name for the app and an OAuth Redirect URL. The redirect URL is the page in your application that is used to trigger the login/signup workflow.
Gather your Client ID and Secret
Open the settings window for your recently created app and find your Client ID and Client Secret (you'll have to generate one):
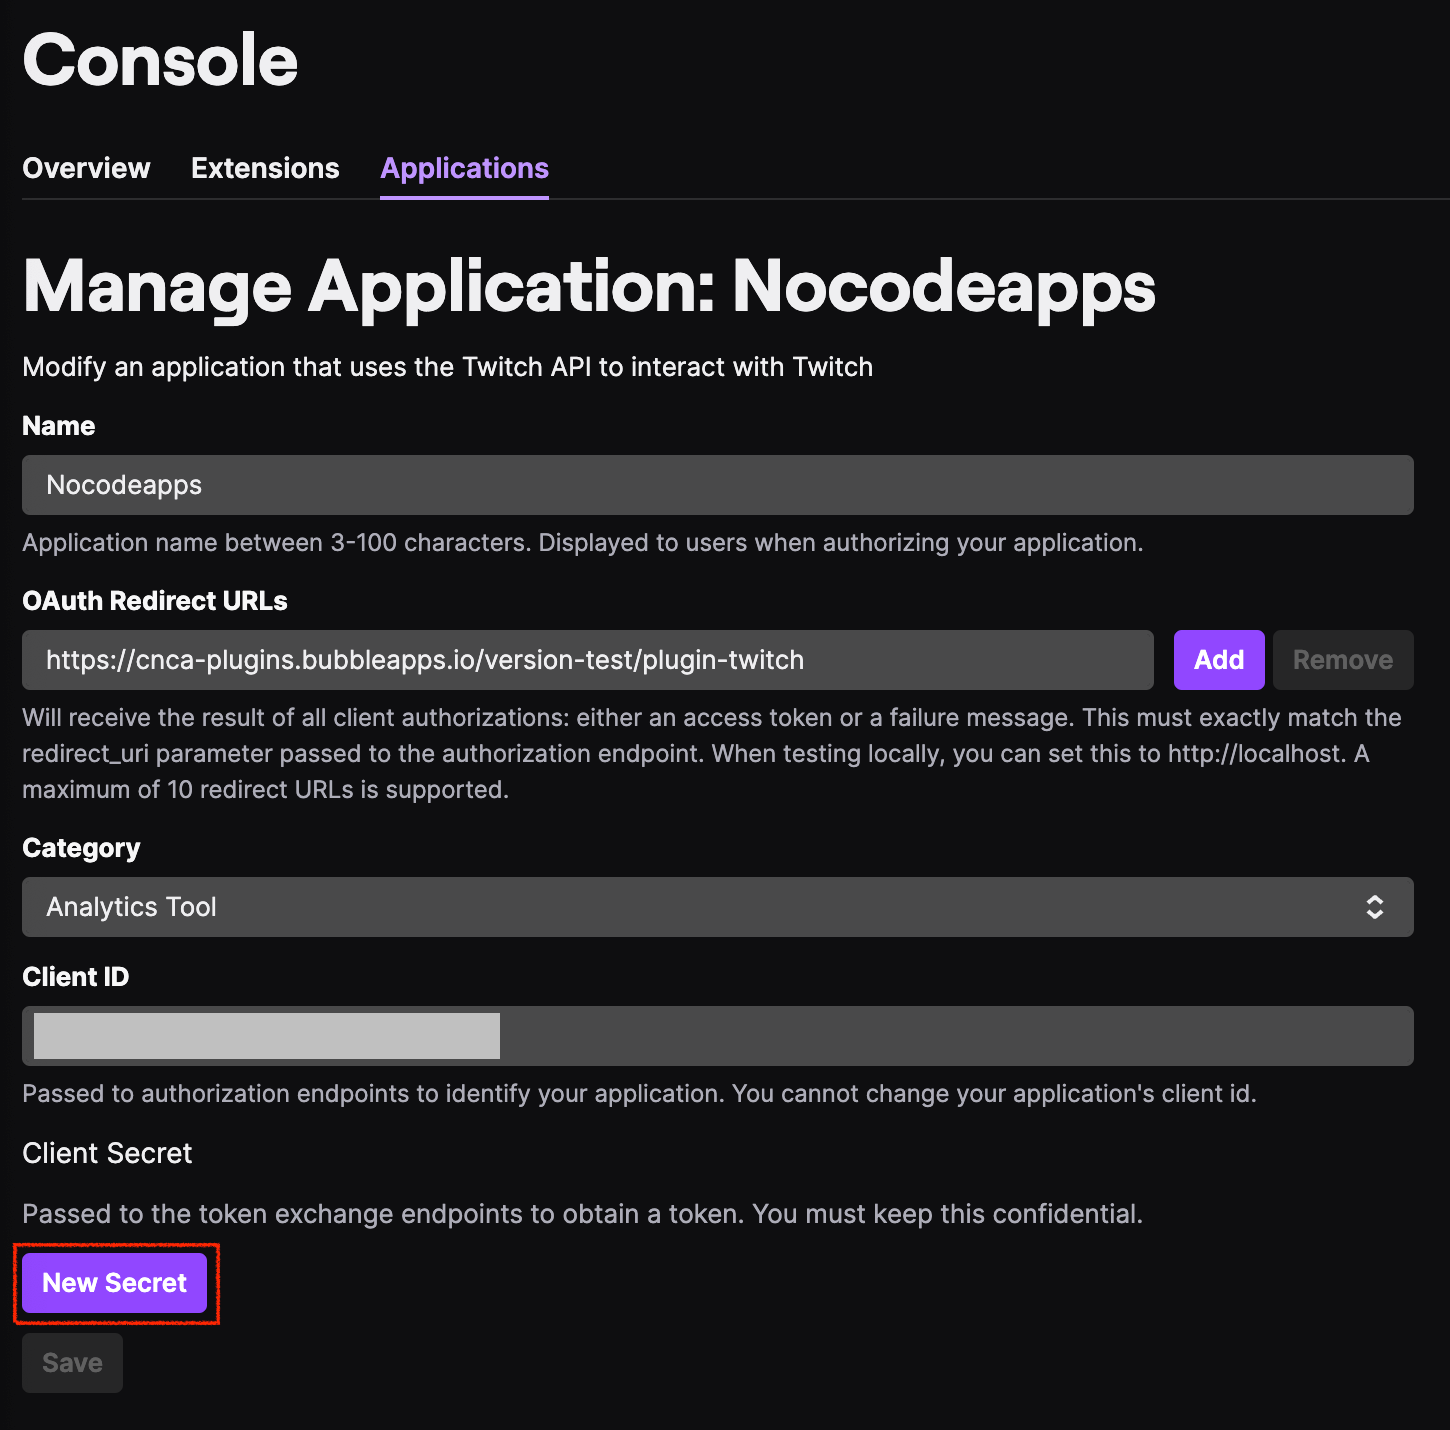
Add an OAuth Redirect URL. This is the exact URL for the page in your app that will trigger the signup/login workflow.
The Client ID is there for you ready to copy. Click on New Secret to create a new Client Secret. These two values will be used in your plugin settings area:
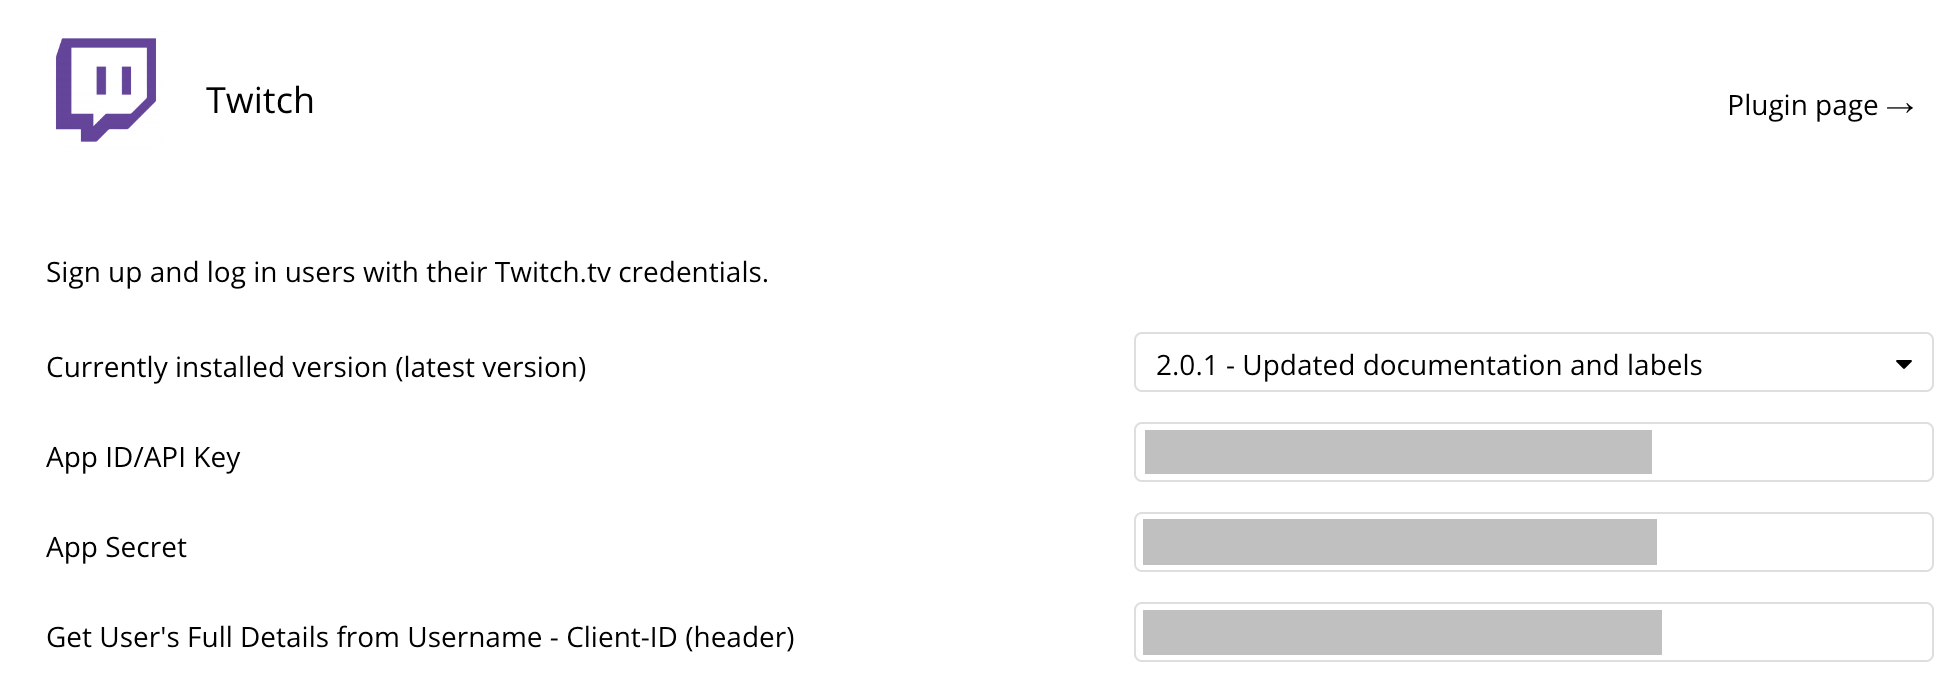
Client ID from Twitch goes into the App ID/API Key input
Client Secret from Twitch goes into the App Secret input
Client ID from Twitch goes into the Get User's Full Details from Username - Client-ID (header) input
That's it! You're ready to allow your users to log in to their Twitch account.
Log in With Twitch
Add a button on your page to use for logging into your Twitch account. You'll select the following option below for the workflow action:

Now select Twitch from the list of OAuth providers
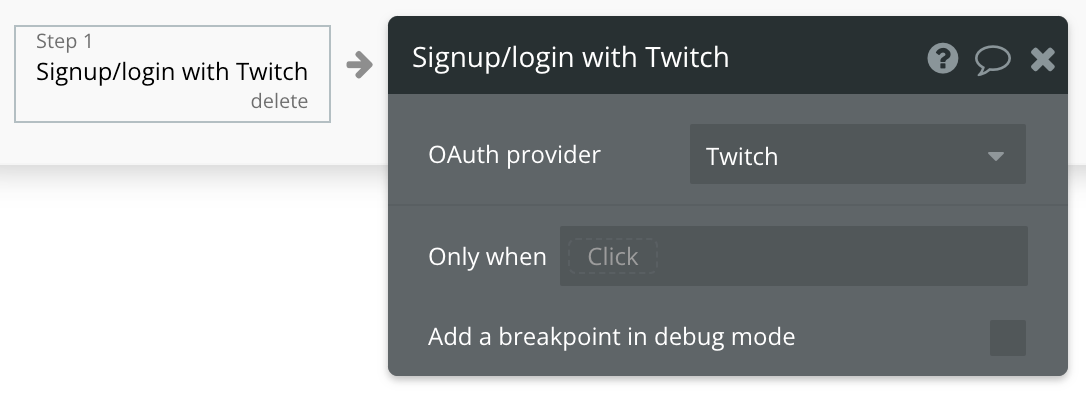
Preview your application and log into your Twitch account.
Get User's Username - Data Call
Set up the datasource
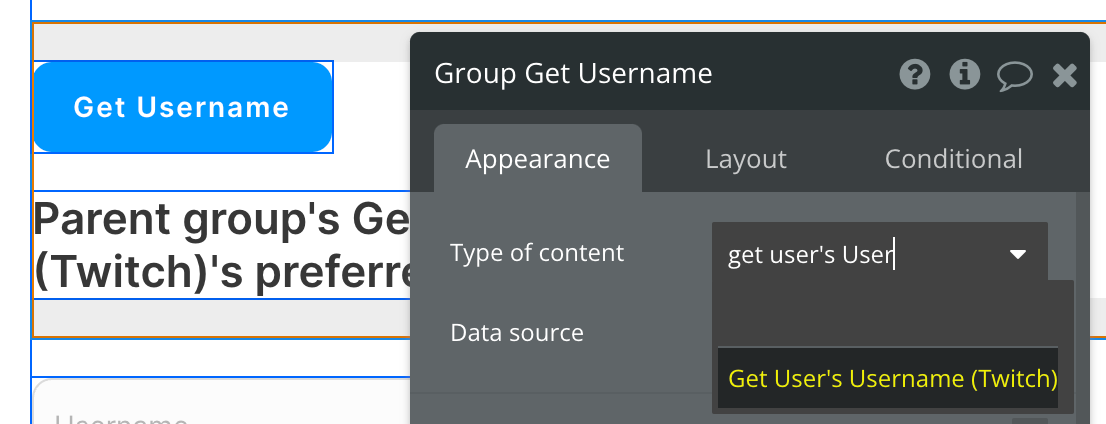
We're using a group in our example. Make sure whatever element you use has the correct type of content set (Get User's Username (Twitch)):
Set up the API call
Using the blue button from the screenshot above, we'll use a Display data action to send the results of this API call to the group we've set up.

That's it! As long as you followed the Getting Started page to authenticate with your Twitch account, this call will allow you to retrieve any information from your User.
Get User's Full Details from Username - Data Call
Set up the datasource
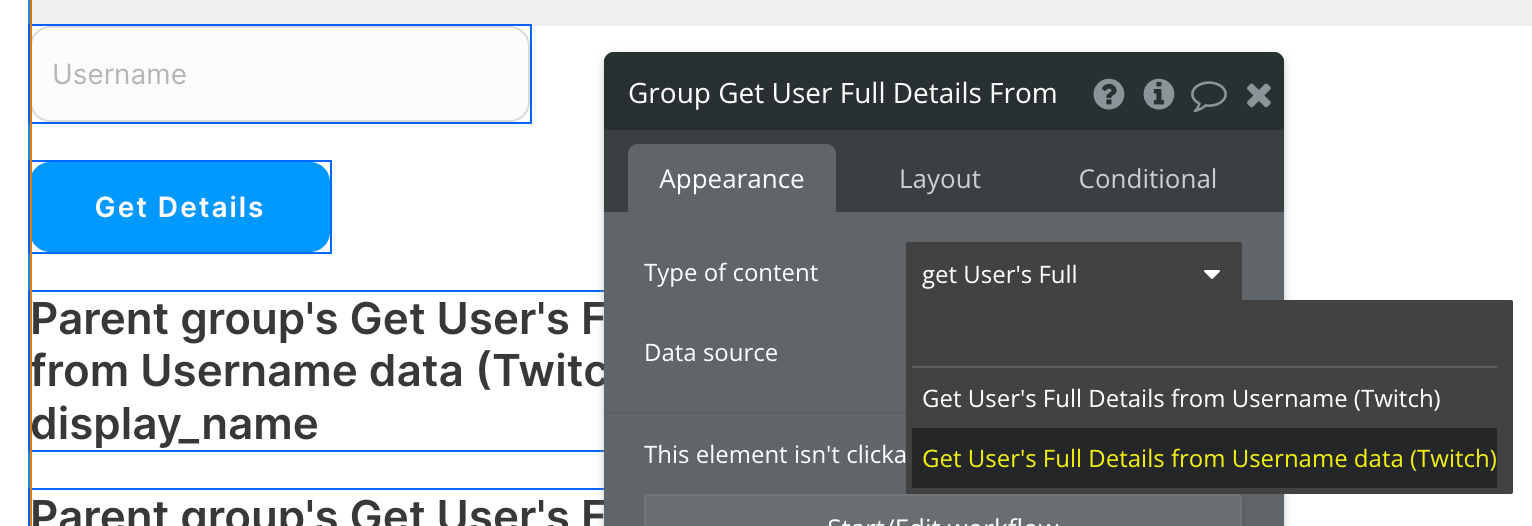
We're using a group in our example. Make sure whatever element you use has the correct type of content set (Get User's Full Details from Username data (Twitch)):
Set up the API call
Using the blue button from the screenshot above, we'll use a Display data action to send the results of this API call to the group we've set up.

Now map the input to its corresponding path.
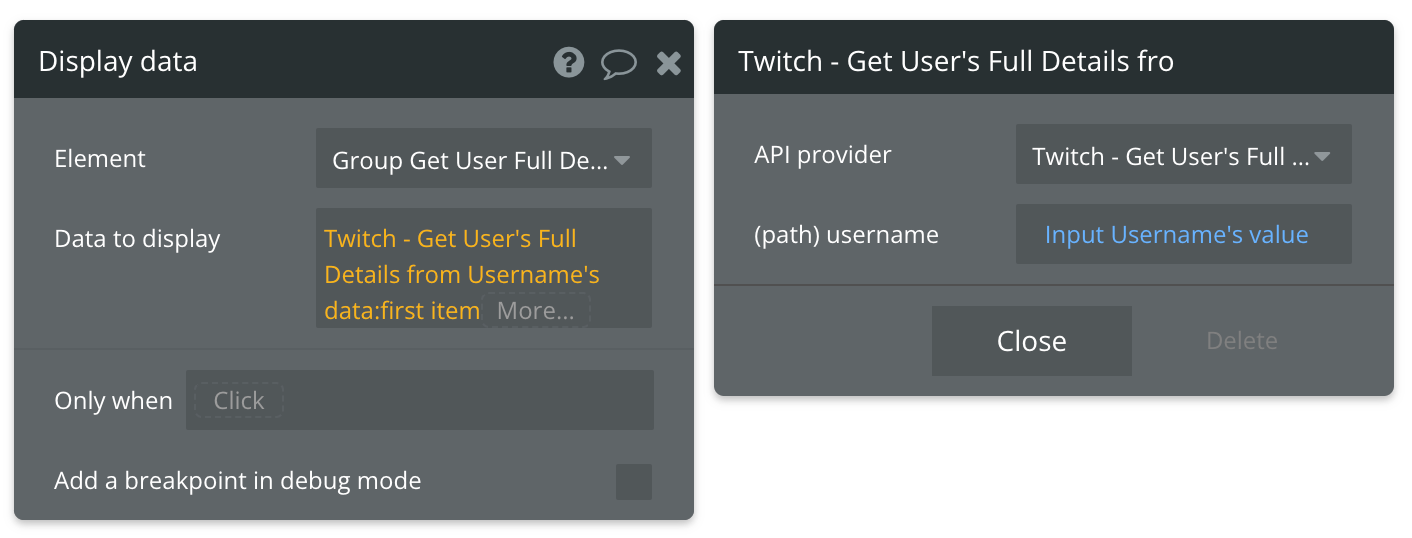
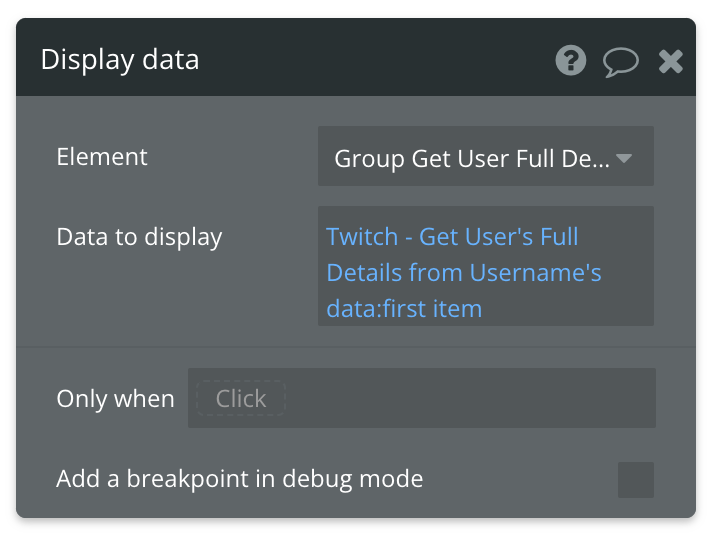
The final expression should end in data:first item. This API call returns multiple responses, but since we're only concerned with authenticated User, we only need the first item from this list.
That's it!
Available Path (* indicates a required value)
username* - The Username of your Twitch account you authenticated with.
